Thanks, there’s about 10mm difference between the holes, and the top mounting holes are a little offset from the bottom. Good to know that it’s something as simple as drilling a hole. I was worried I had to replace the mounting plate which looked welded in.
oh I had to cut also but I tried to make it as little as possible so it all just fit in snug. one thing that is a bonus well with move anyway not sure on L2 was the auto plastic surround can go over the top of it espaecially if you have the stock boot you just pop it down over the ripples till it stays in a good spot. It makes it look factory even though it may move around abit still I think it looks neater than the just the manual rubber boot thing.
I am not that lucky @evilhighway. The mounting area needs to be cut quite a bit to accommodate the manual shifter.

Is there anything wrong with mounting the shifter under the car? But I think it’ll be stronger from the top down. Any thoughts?
I have mounted mine on top. Note in the picture that the pivot is about the tunnel level. I wanted the gear knob close to the steering wheel for fast shifts. While the stick is long the shift throws are much shorter than factory and everything is adjustable. I did start with the factory base mounted on top but what you see is the final evolution. Yes there does appear to be two gear sticks. The super long on is the hydro handbrake. It was a failure and needs a redesign. The issue with was the master cylinder and not being able to bleed it. I knew that would be an issue and had sought to mitigate the issue but “failed”.
easiest way is take your shifter etc out turn the floor mount thing upside down draw around it and bolt holes too. then you know where you need to cut.
Thanks for the suggestions guys, will be mounting it on top and will be making a template with the bolt holes for cutting. I only have a Dremel type rotary tool which I’ll be using for cutting, so fun times ahead.
1 Like
Do not try to do this with just a Dremel type rotary tool, it takes a very long time.
The rubber boot I used as a template
The rotary tool and tiny lil cutting blade
And a pic of it in, would you guys drill 4 new holes or try to line up the two side holes that I had originally planned to use
4 Likes
Personally i would try to line up those two holes, but in doing that it might throw the linkages out i little bit.
1 Like
Thanks Mokeman, I’ll wait till the motor is in before I start anymore drilling and cutting.
just make sure your cales reach your gearbox and you should be fine. It is usually when you make them into short shift that the cables get a bit more stress and may bend sooner than stock fitment. In all honesty that looks fine to me. If it goes a little further forward so the 2 holes on the left match up then you should be fine with the cable.
Sweet evilhighway, if I can leave it where it is I will. Will wait till I get the motor in to determine lengths at the end.
On another note I have the following parts for the 4x100 conversion:
L700 LCA’s
Sirion front hub and carrier
Stock L200 swaybar
Sirion brakes and discs
To my knowledge I need the following:
Jackshaft with copen passenger side shaft (I have the Mira driver side shaft)
I’ve read some conflicting information, am I missing anything else for the 4x100 conversion?
I need to bend the swaybar I think (thanks Gormsby) apart from that anything else I should be mindful of?
if you cant find a jack shaft for the drives side. You can always get a custom made cv shaft. Jack shaft’s are hard to find. I do have the length of what is needed in you of my you tubes but for the life of me i cant remember which one. Sway bar I used mira or move ones as they are pretty much the same use the thinner (mira usually) of them it will give you more flex in cornering than what the stiffer thicker ones will and give you more tyre on the road. I used a ratchet strap to bring it together abit when fitting them but once in they work fine.
You will have to mod your bolt hole for the shocks to fit the sirion hubs or use sirion or L7 struts with either mira or L7 springs.
What conflicting info are you refering to?
1 Like
The other thing is why are you getting rid of your 4 speed on facebook?
Thanks for the info Evilhighway! I might just keep it stock at 4*110 for the moment, everything is seemingly getting hard now.
Is it better that I list it all here? Just trying to get rid of stuff so I can make some room, I don’t have much space in my garage.
you can list in for sale section here that’s no issue I thought you were going from auto to manual and was wondering why you would get rid of the 4 speed for it. I guess you want to go 5 speed but in all honesty I would rather the 4 speed over the 5.
Thanks Evilhighway, I’ll list what I have in the for sale section here.
The 4 speed I’m selling is the 4 speed auto.
I only have 5 speed gearboxes, have read that the 4 speed is better too. But I’ll make do with what I have.
Haven’t done much work on the car as I’m still diliberating what I do with gearbox and 4*100.
I think I’ll start installing the LCAs and carrier hubs first and will decide what I do later with CVs, gearbox and all that jazz
Can you link me to your YouTube channel?
1 Like
just search for Jimmy Gee in youtube (red mira as pic) you will then find all my crappy vids haha
1 Like
I found it!
Link to what you need to do for an easy 4x100 conversion in to an L200: https://youtu.be/d5EECGReLFU
Thanks for the vids man, you took all the guesswork out for me and damn it was a pain with what you did but at least the vids answered some questions I had
1 Like
Wished I wasn’t lazy af and put some more time into this car.
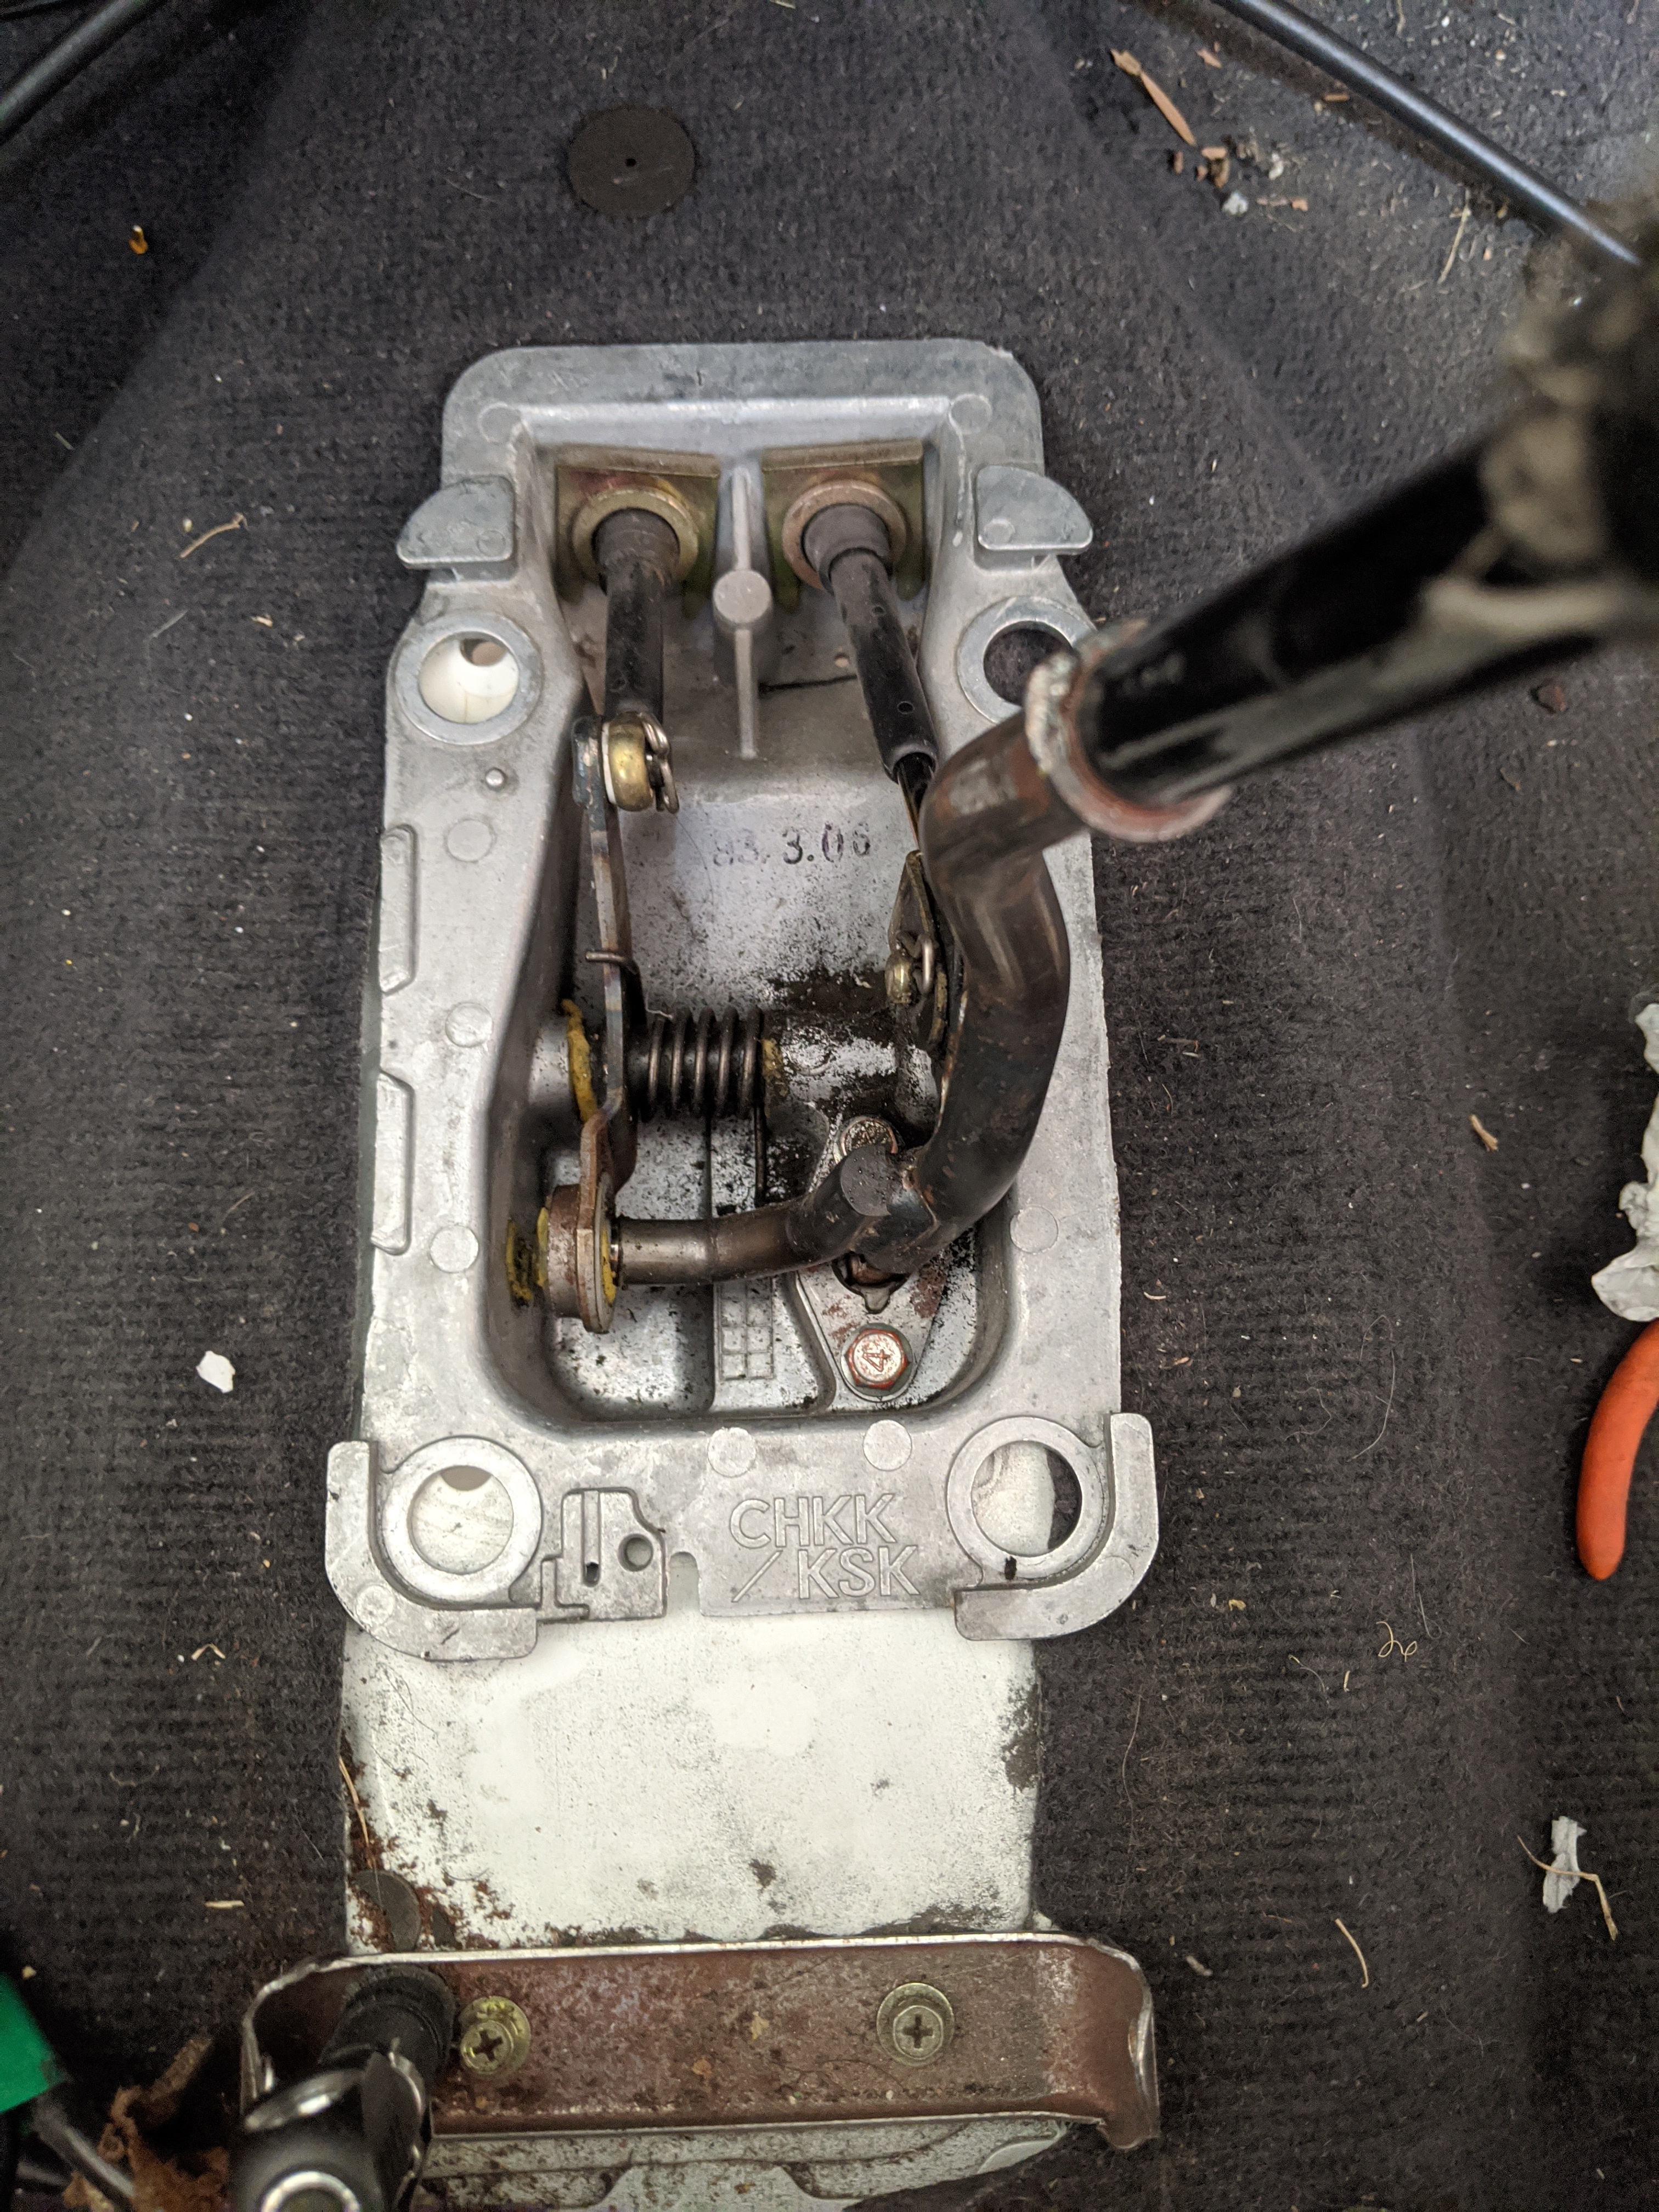
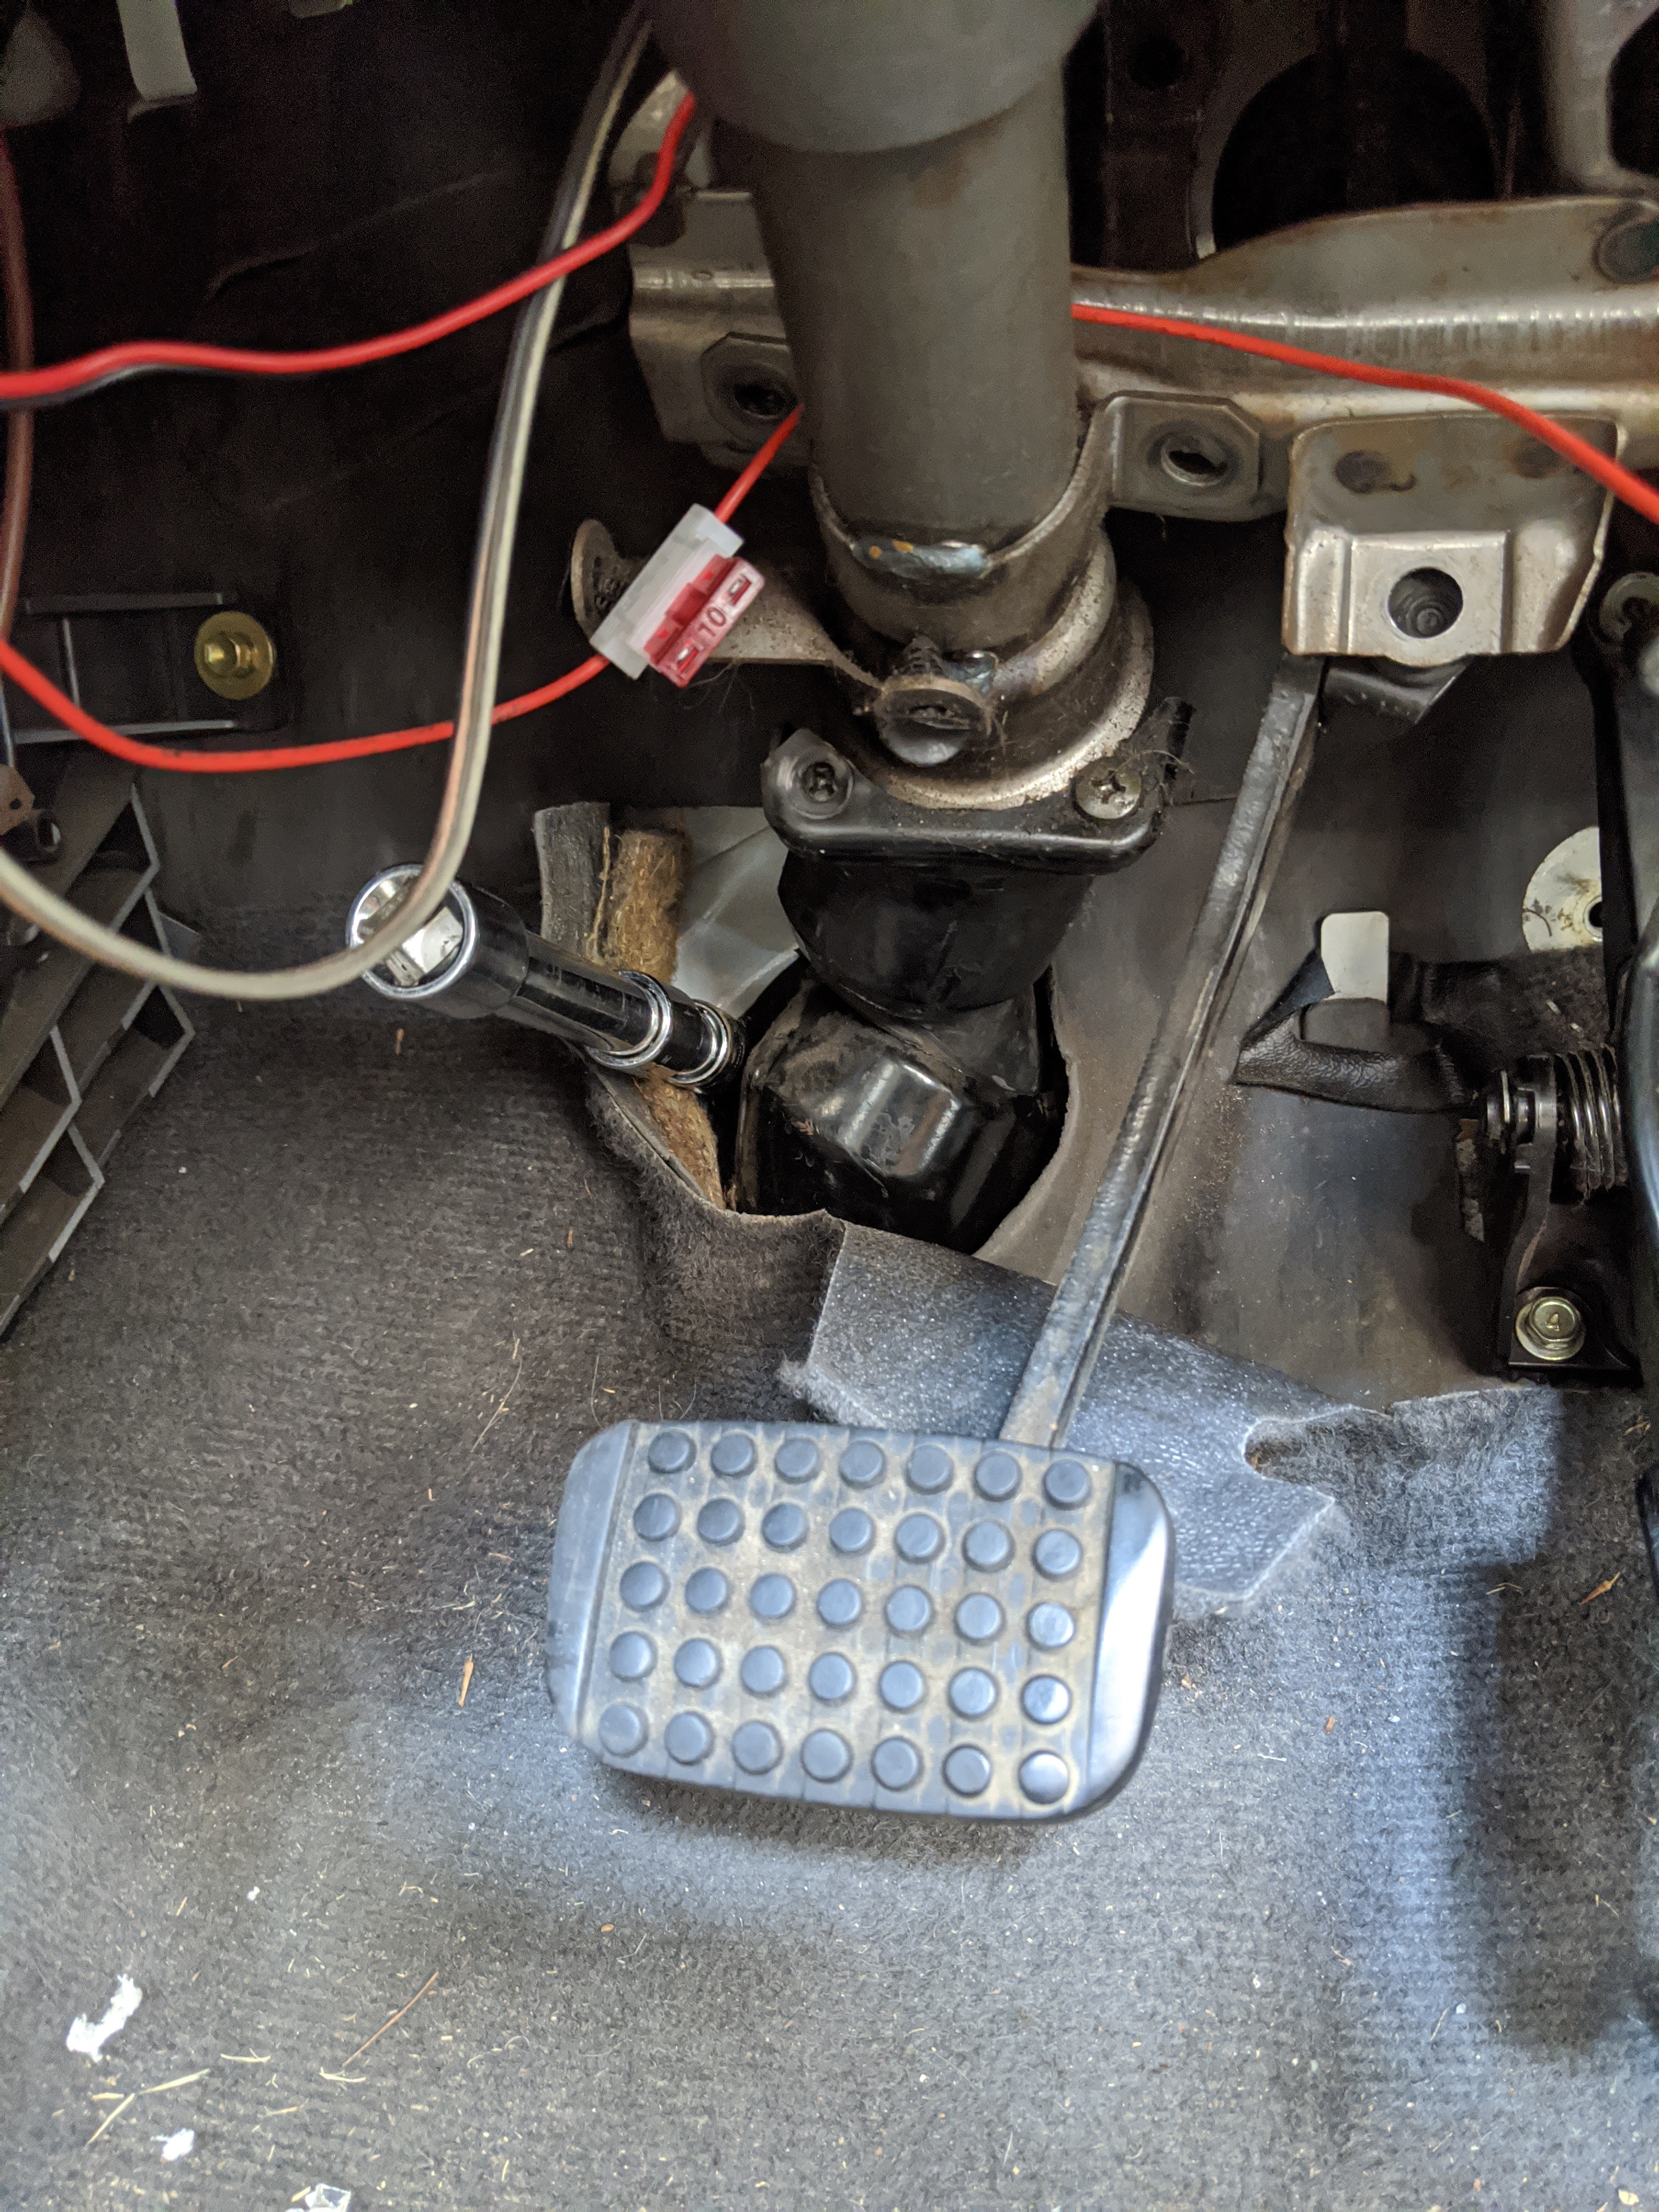
Got a bit of work done but am stuck with where I drill the hole for the clutch cable. I’ve google’d and found Gormsby and Toyota4life pics but it’s not clear where I drill or where the clutch cable looks like it can go.
Sometimes I feel like I should have just left the auto box in, there’s a few 10mm and 12mm bolts that need removal
There’s no need to remove the indicator surround, I thought there was one last bolt holding it up that I couldn’t see
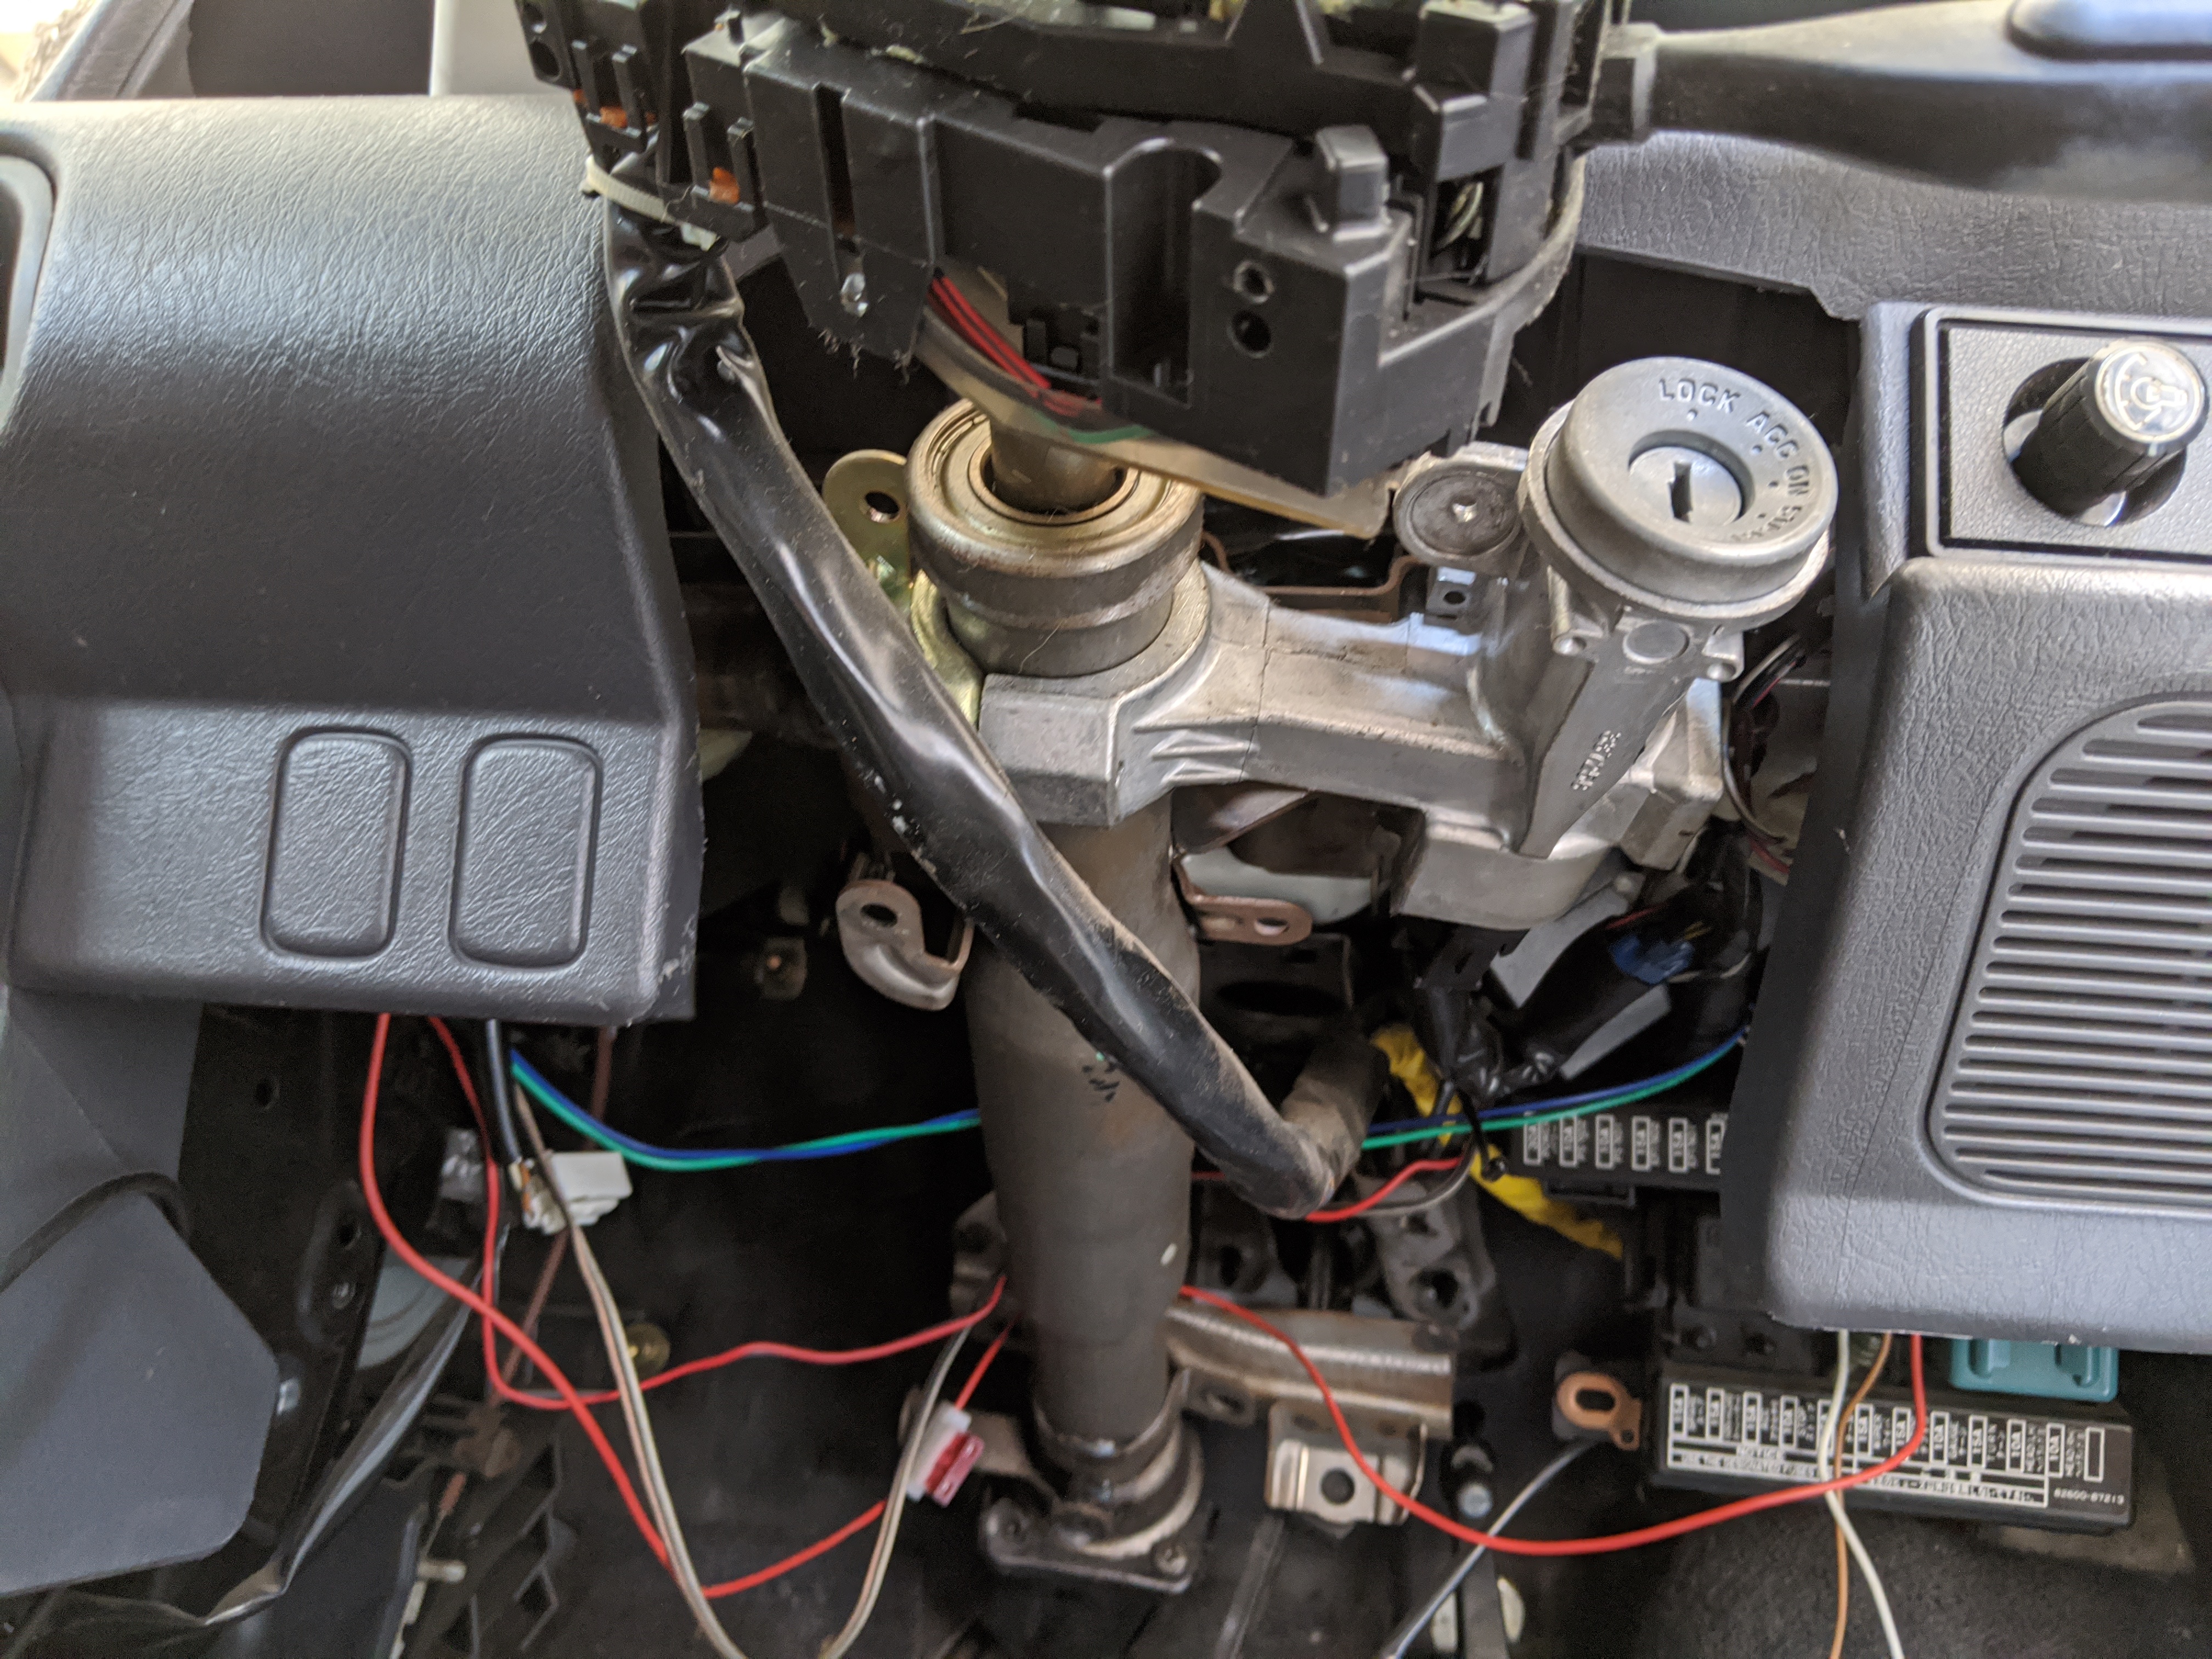
But it’s just this tab holding it up
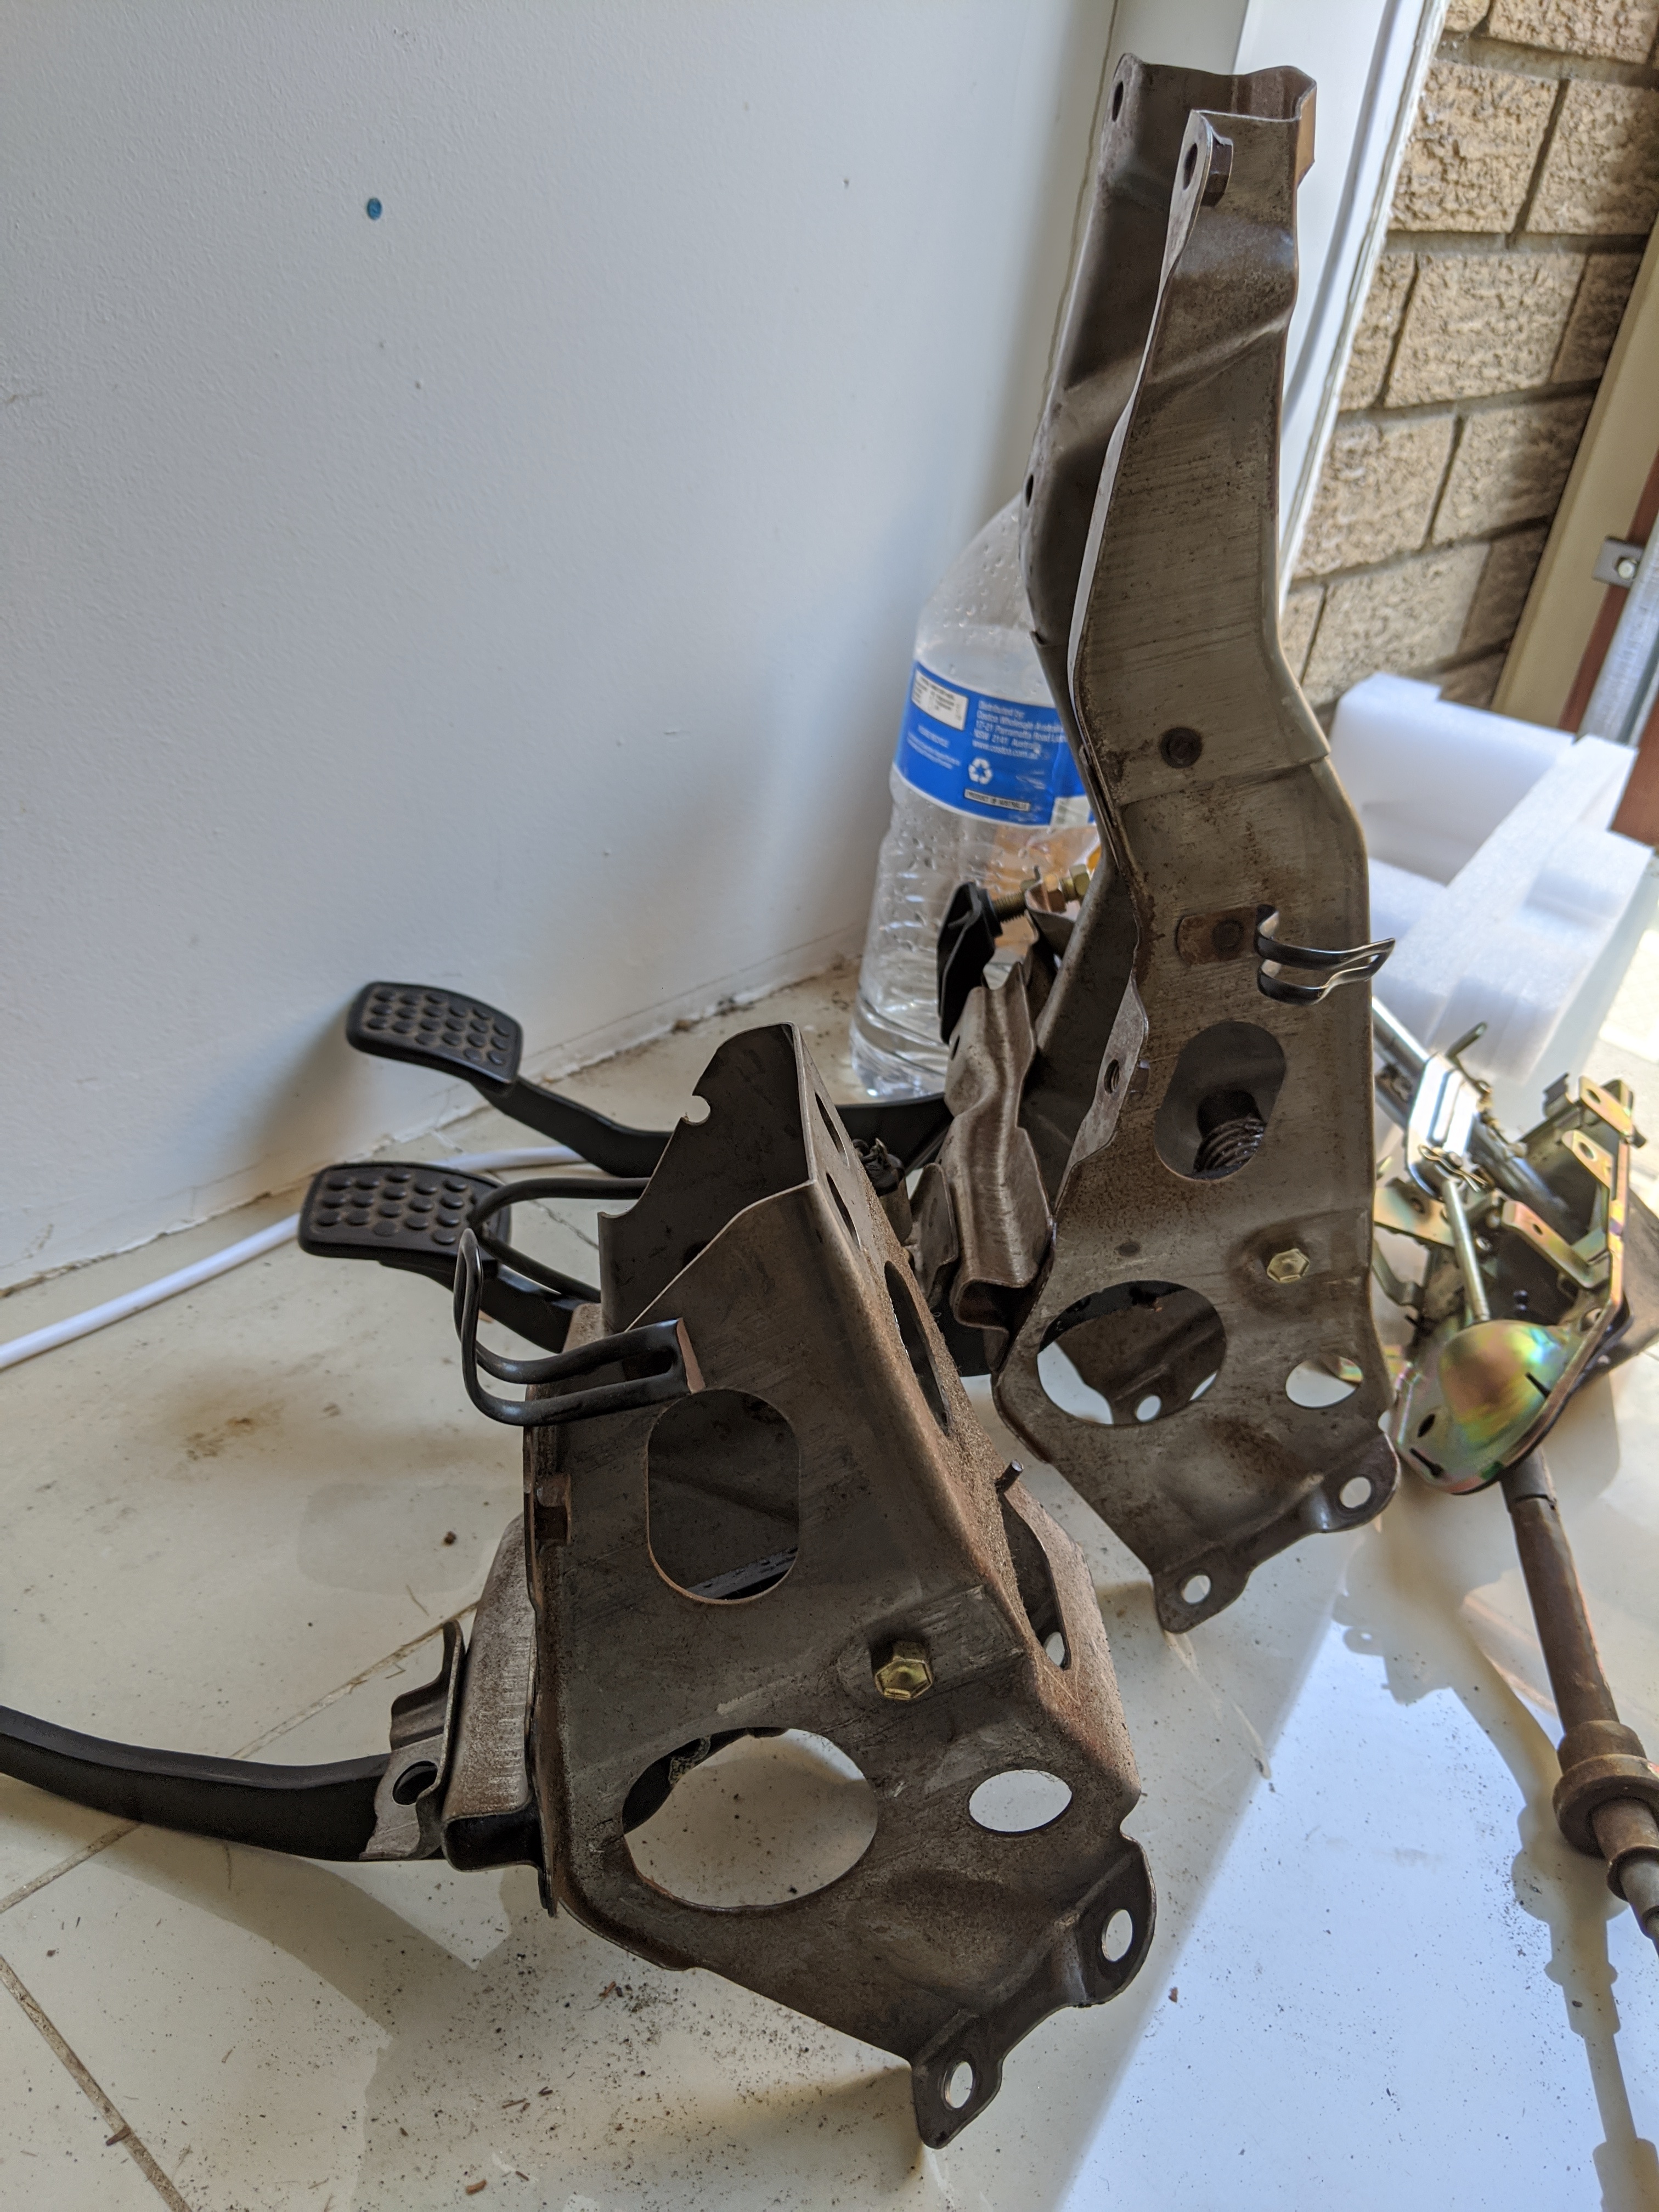
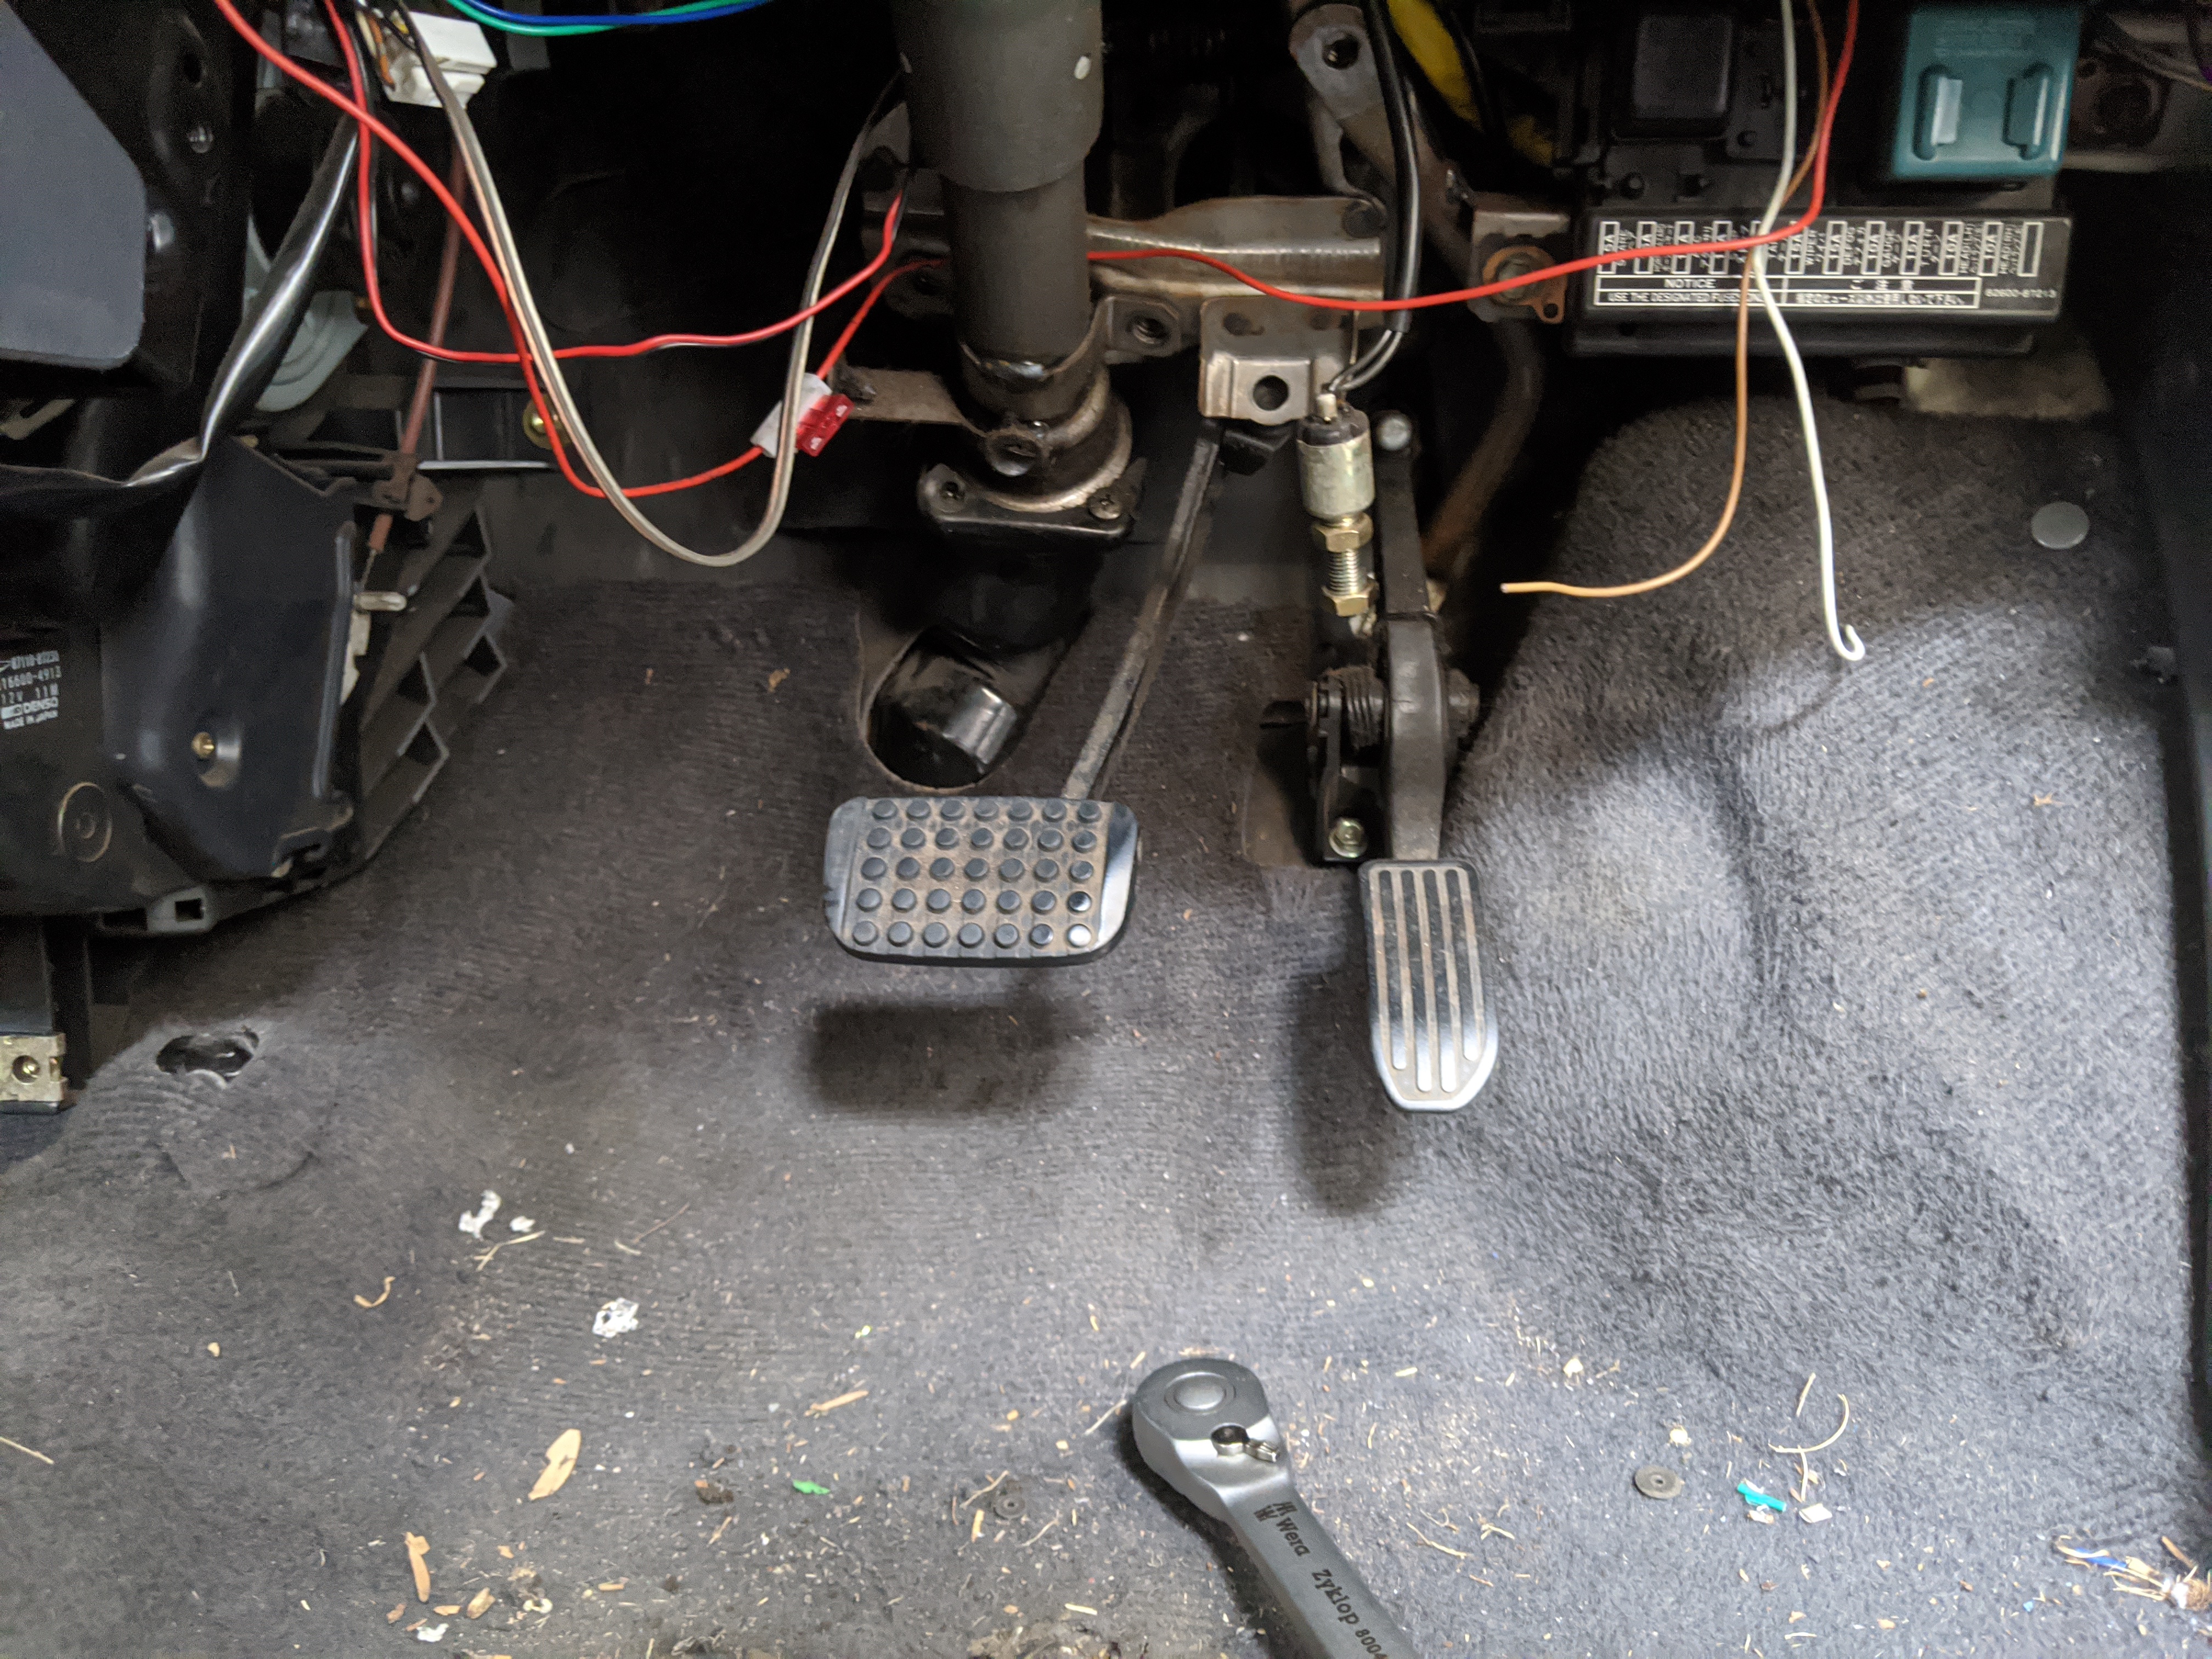
You’ll need to remove these 4 10mm bolts so that you can move the steering forward so that you can remove the pedal assembly
There’s an extra two bolts on the manual pedal assembly
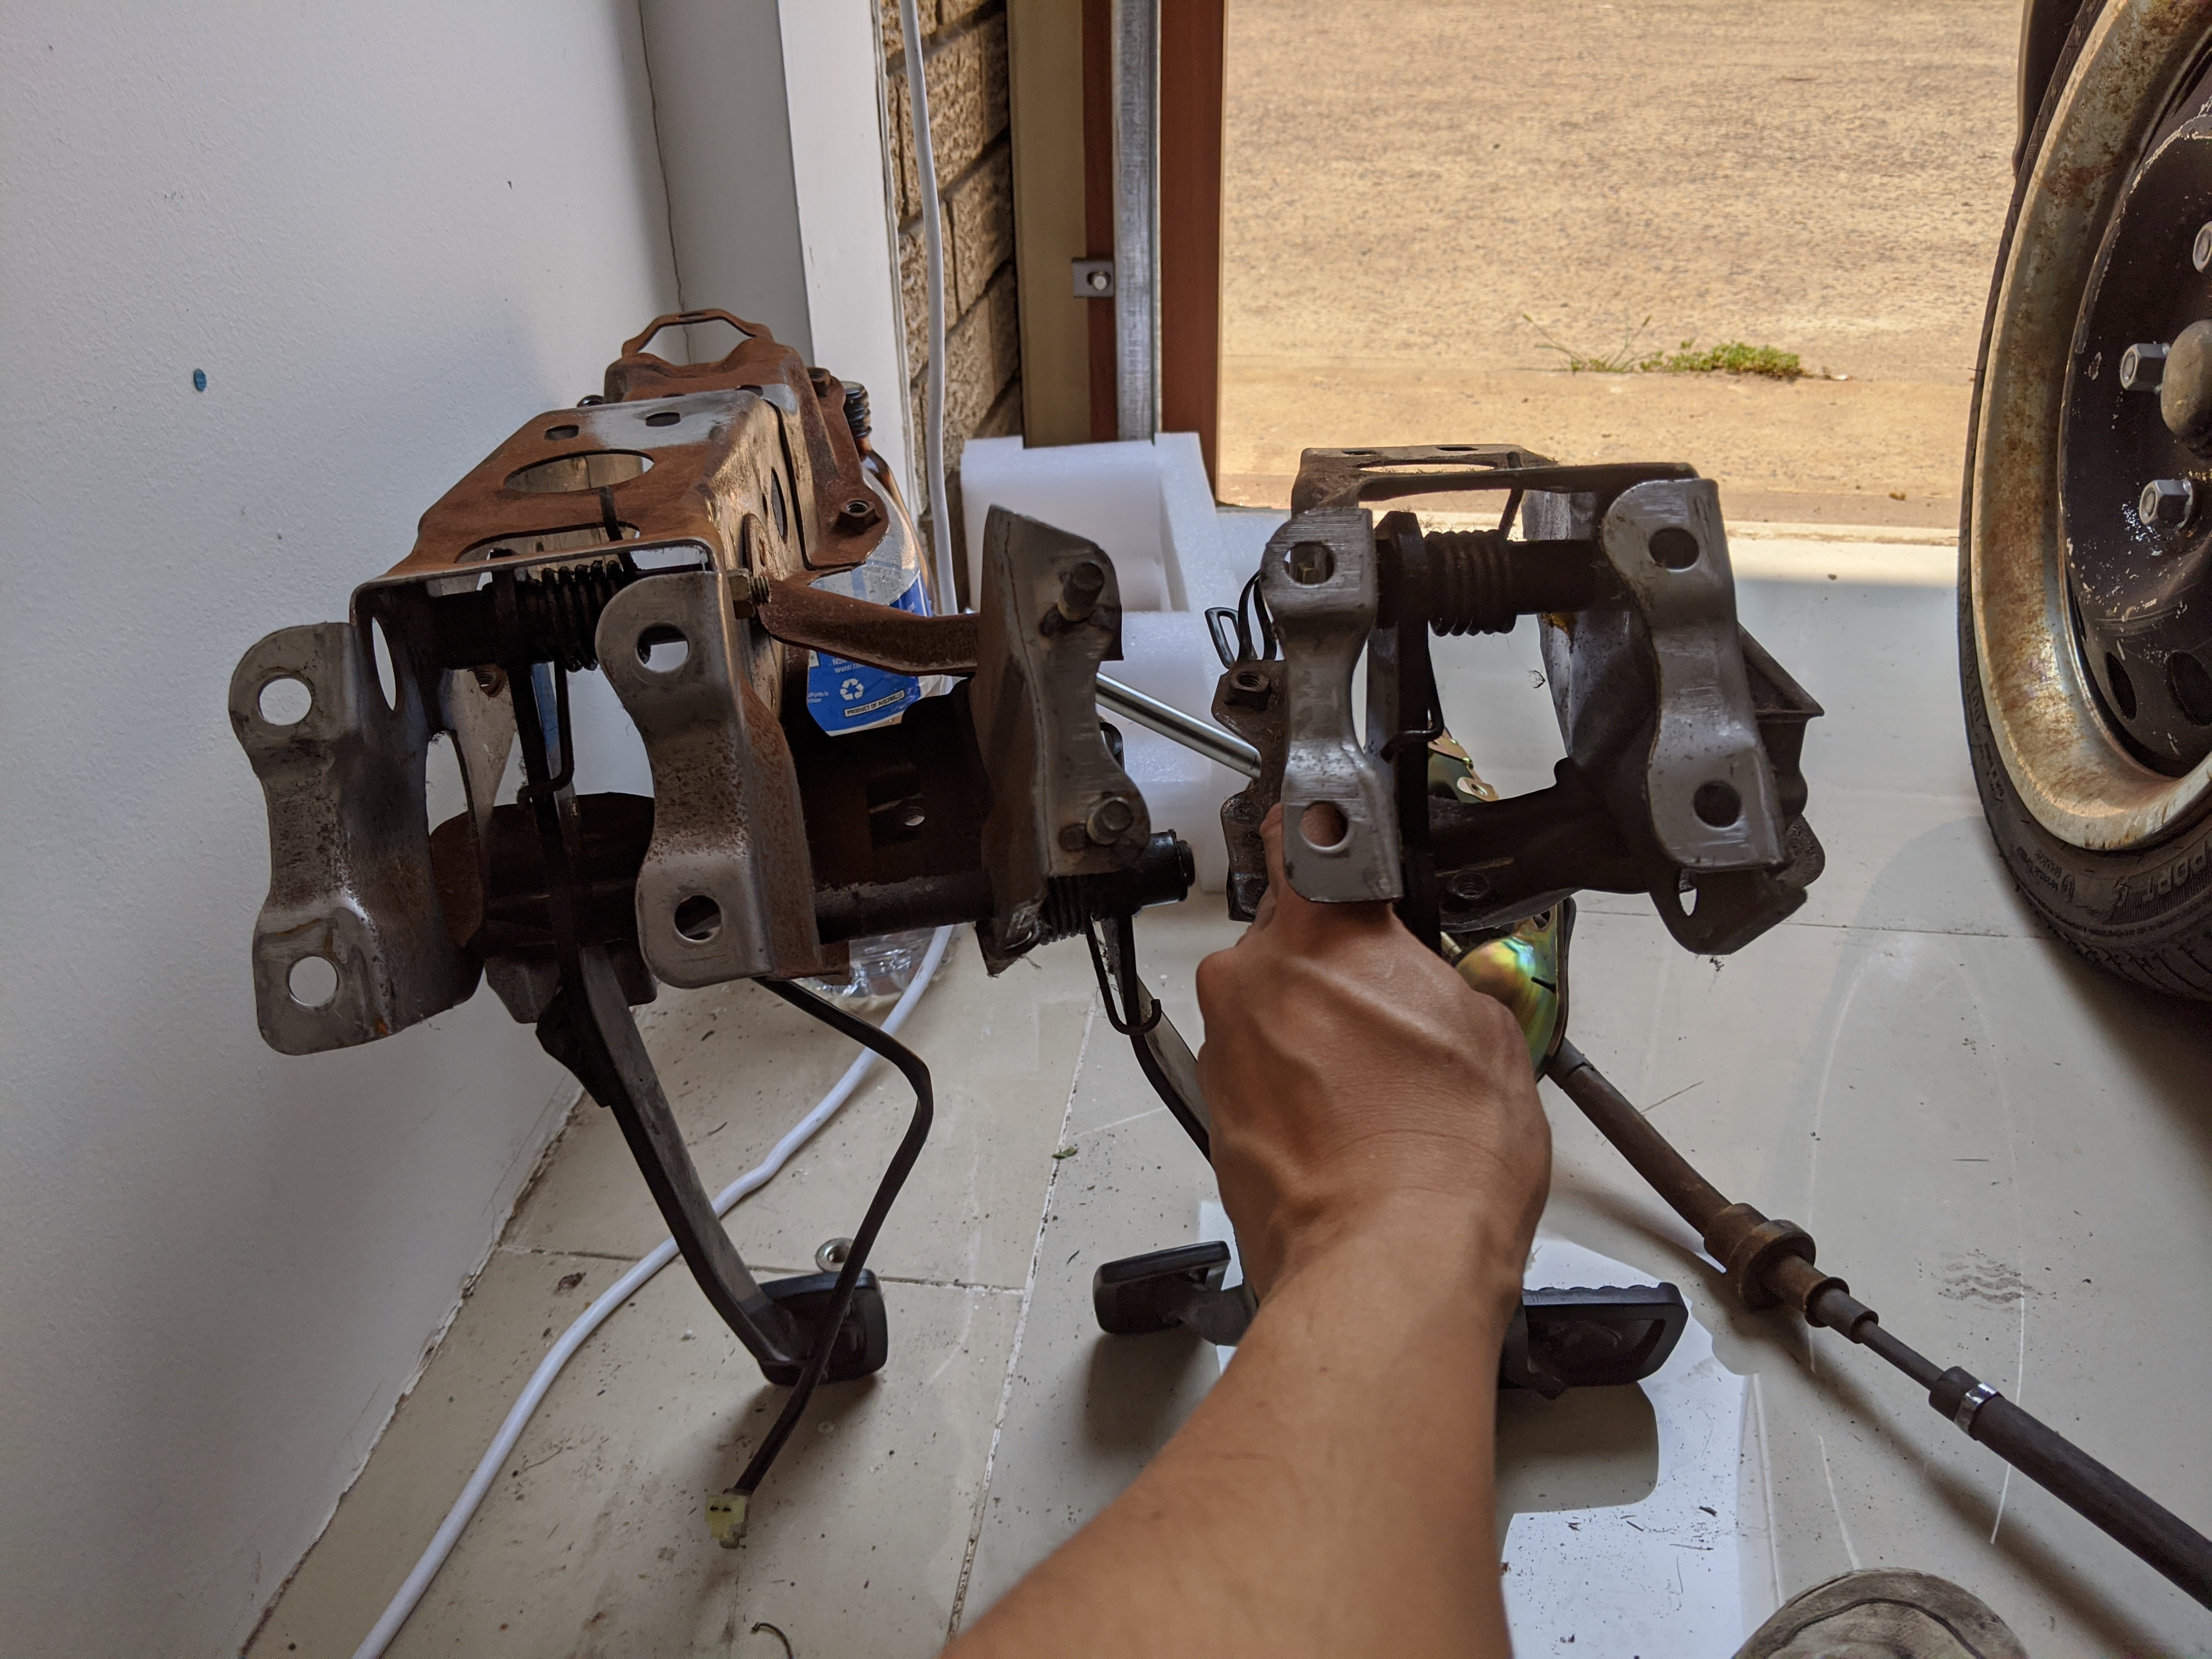
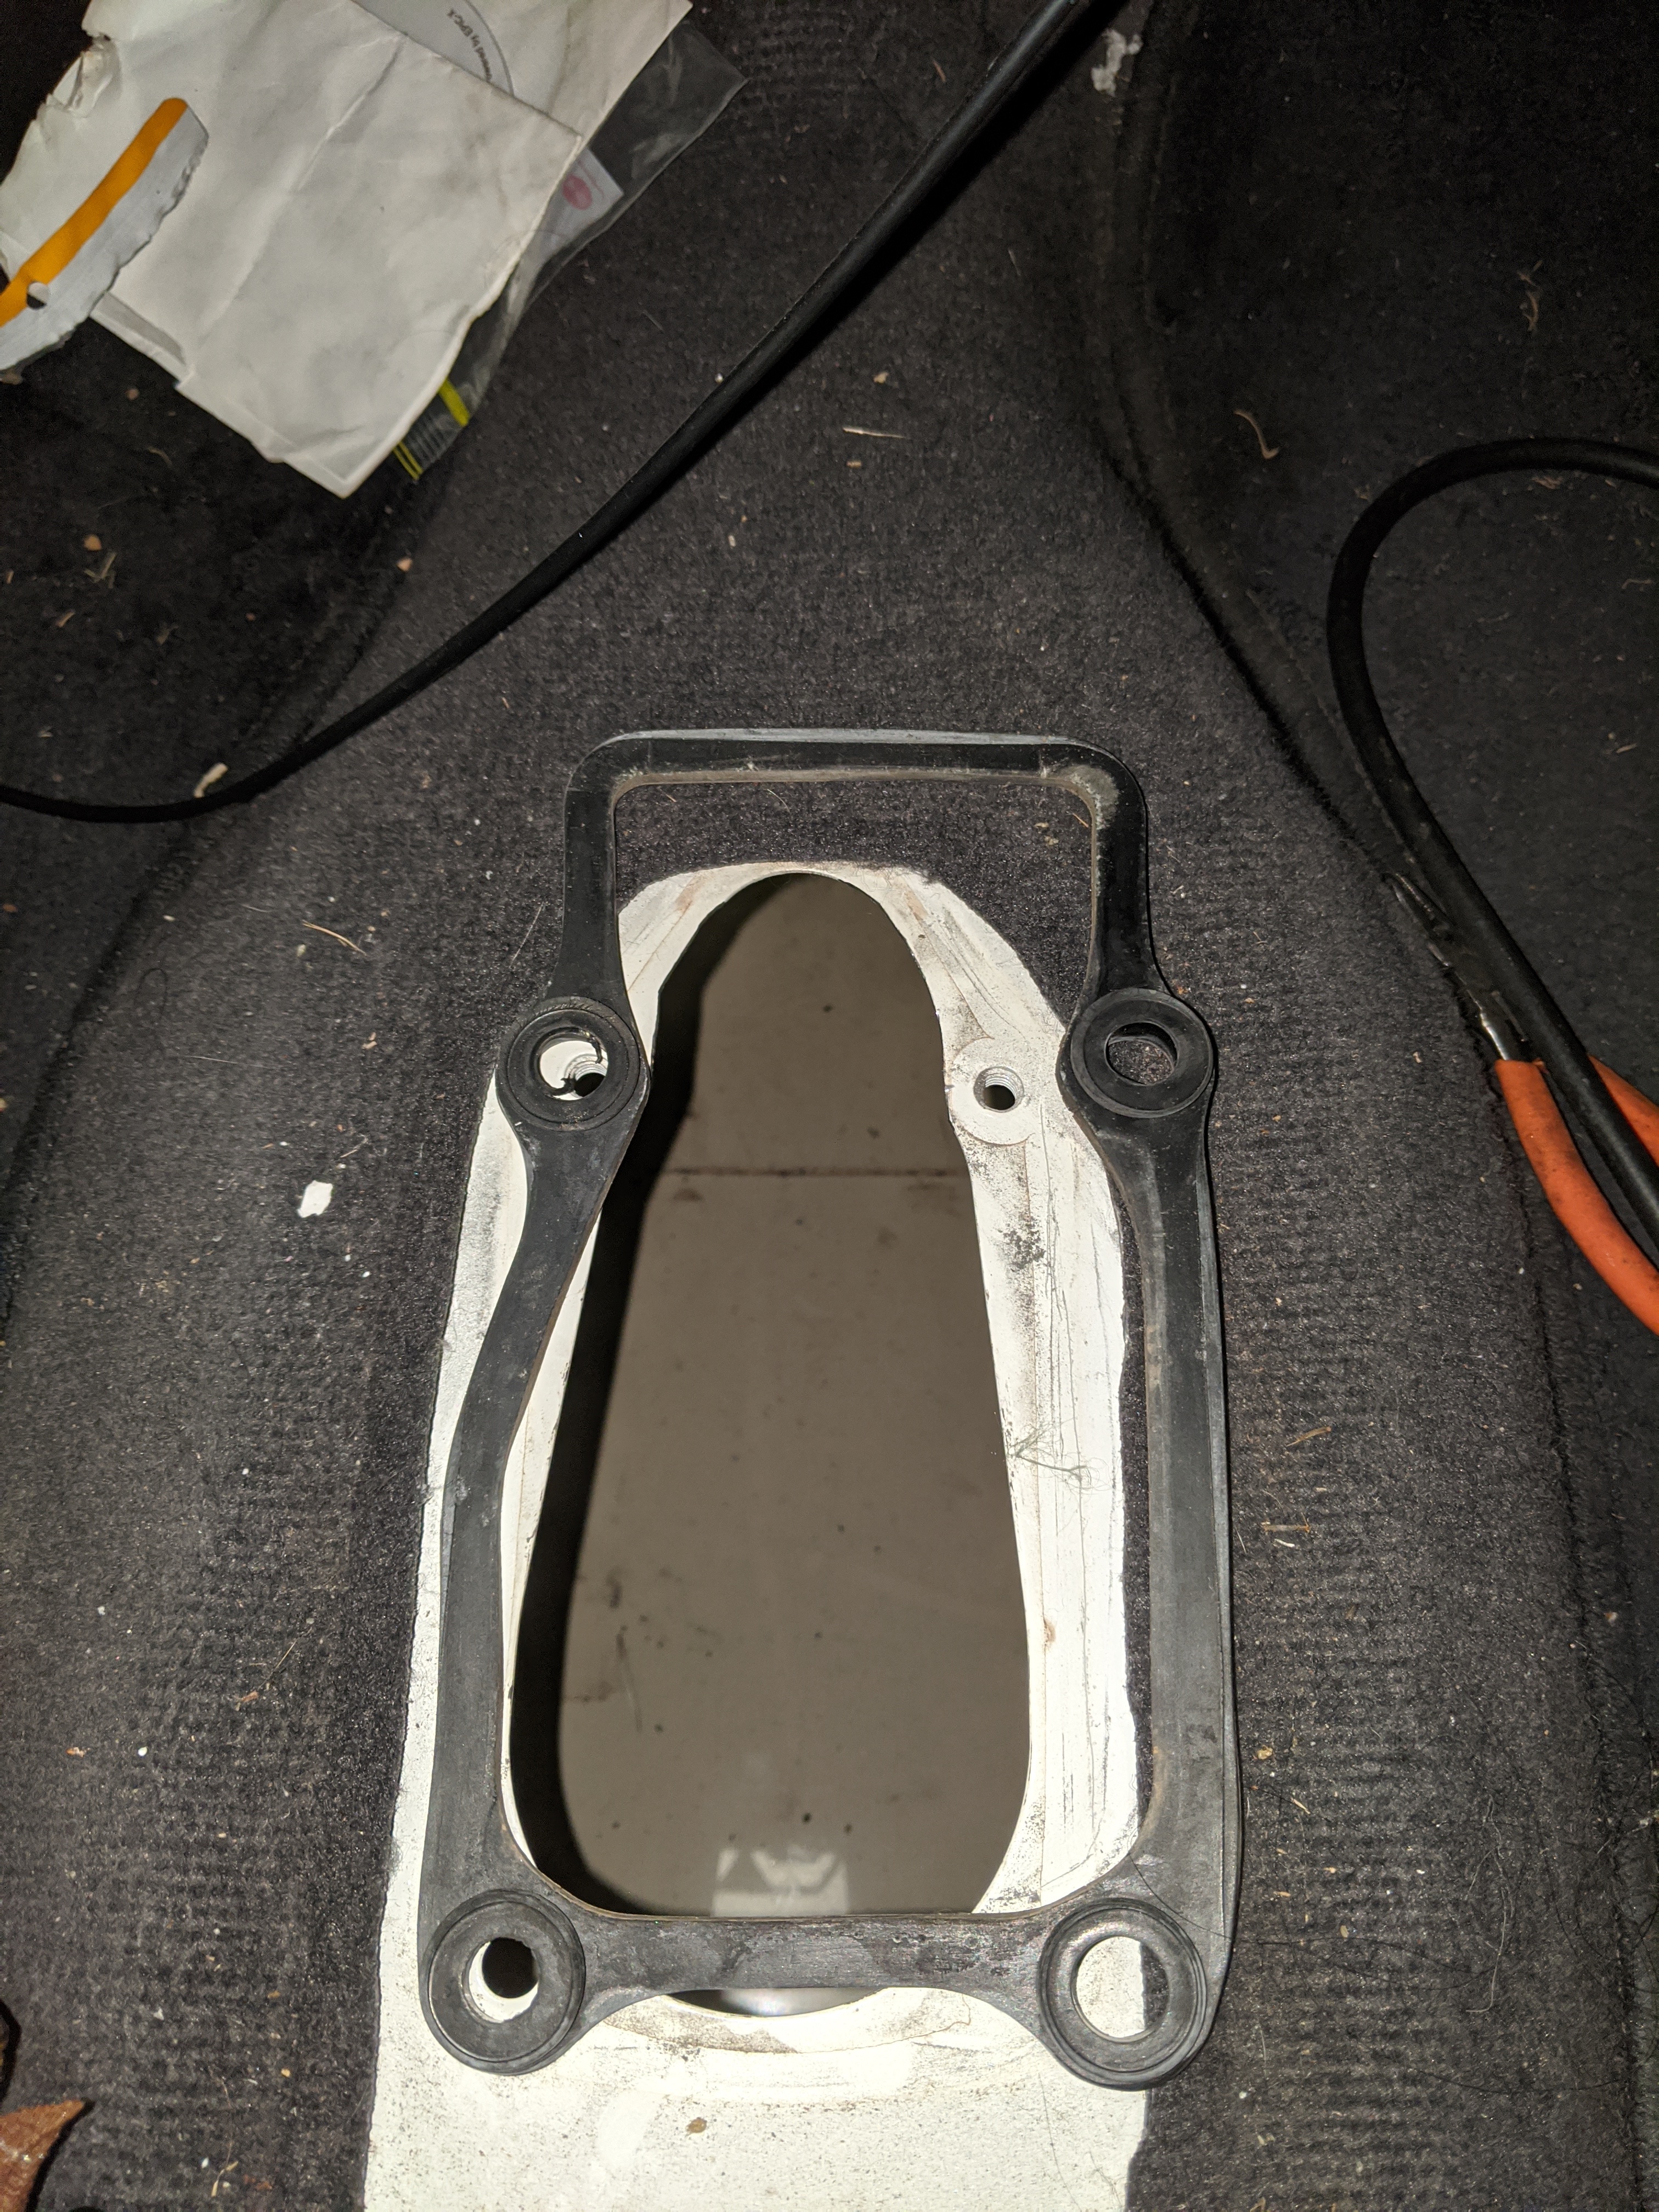
And there’s holes already marked in the body of the car for where those two extra bolts go
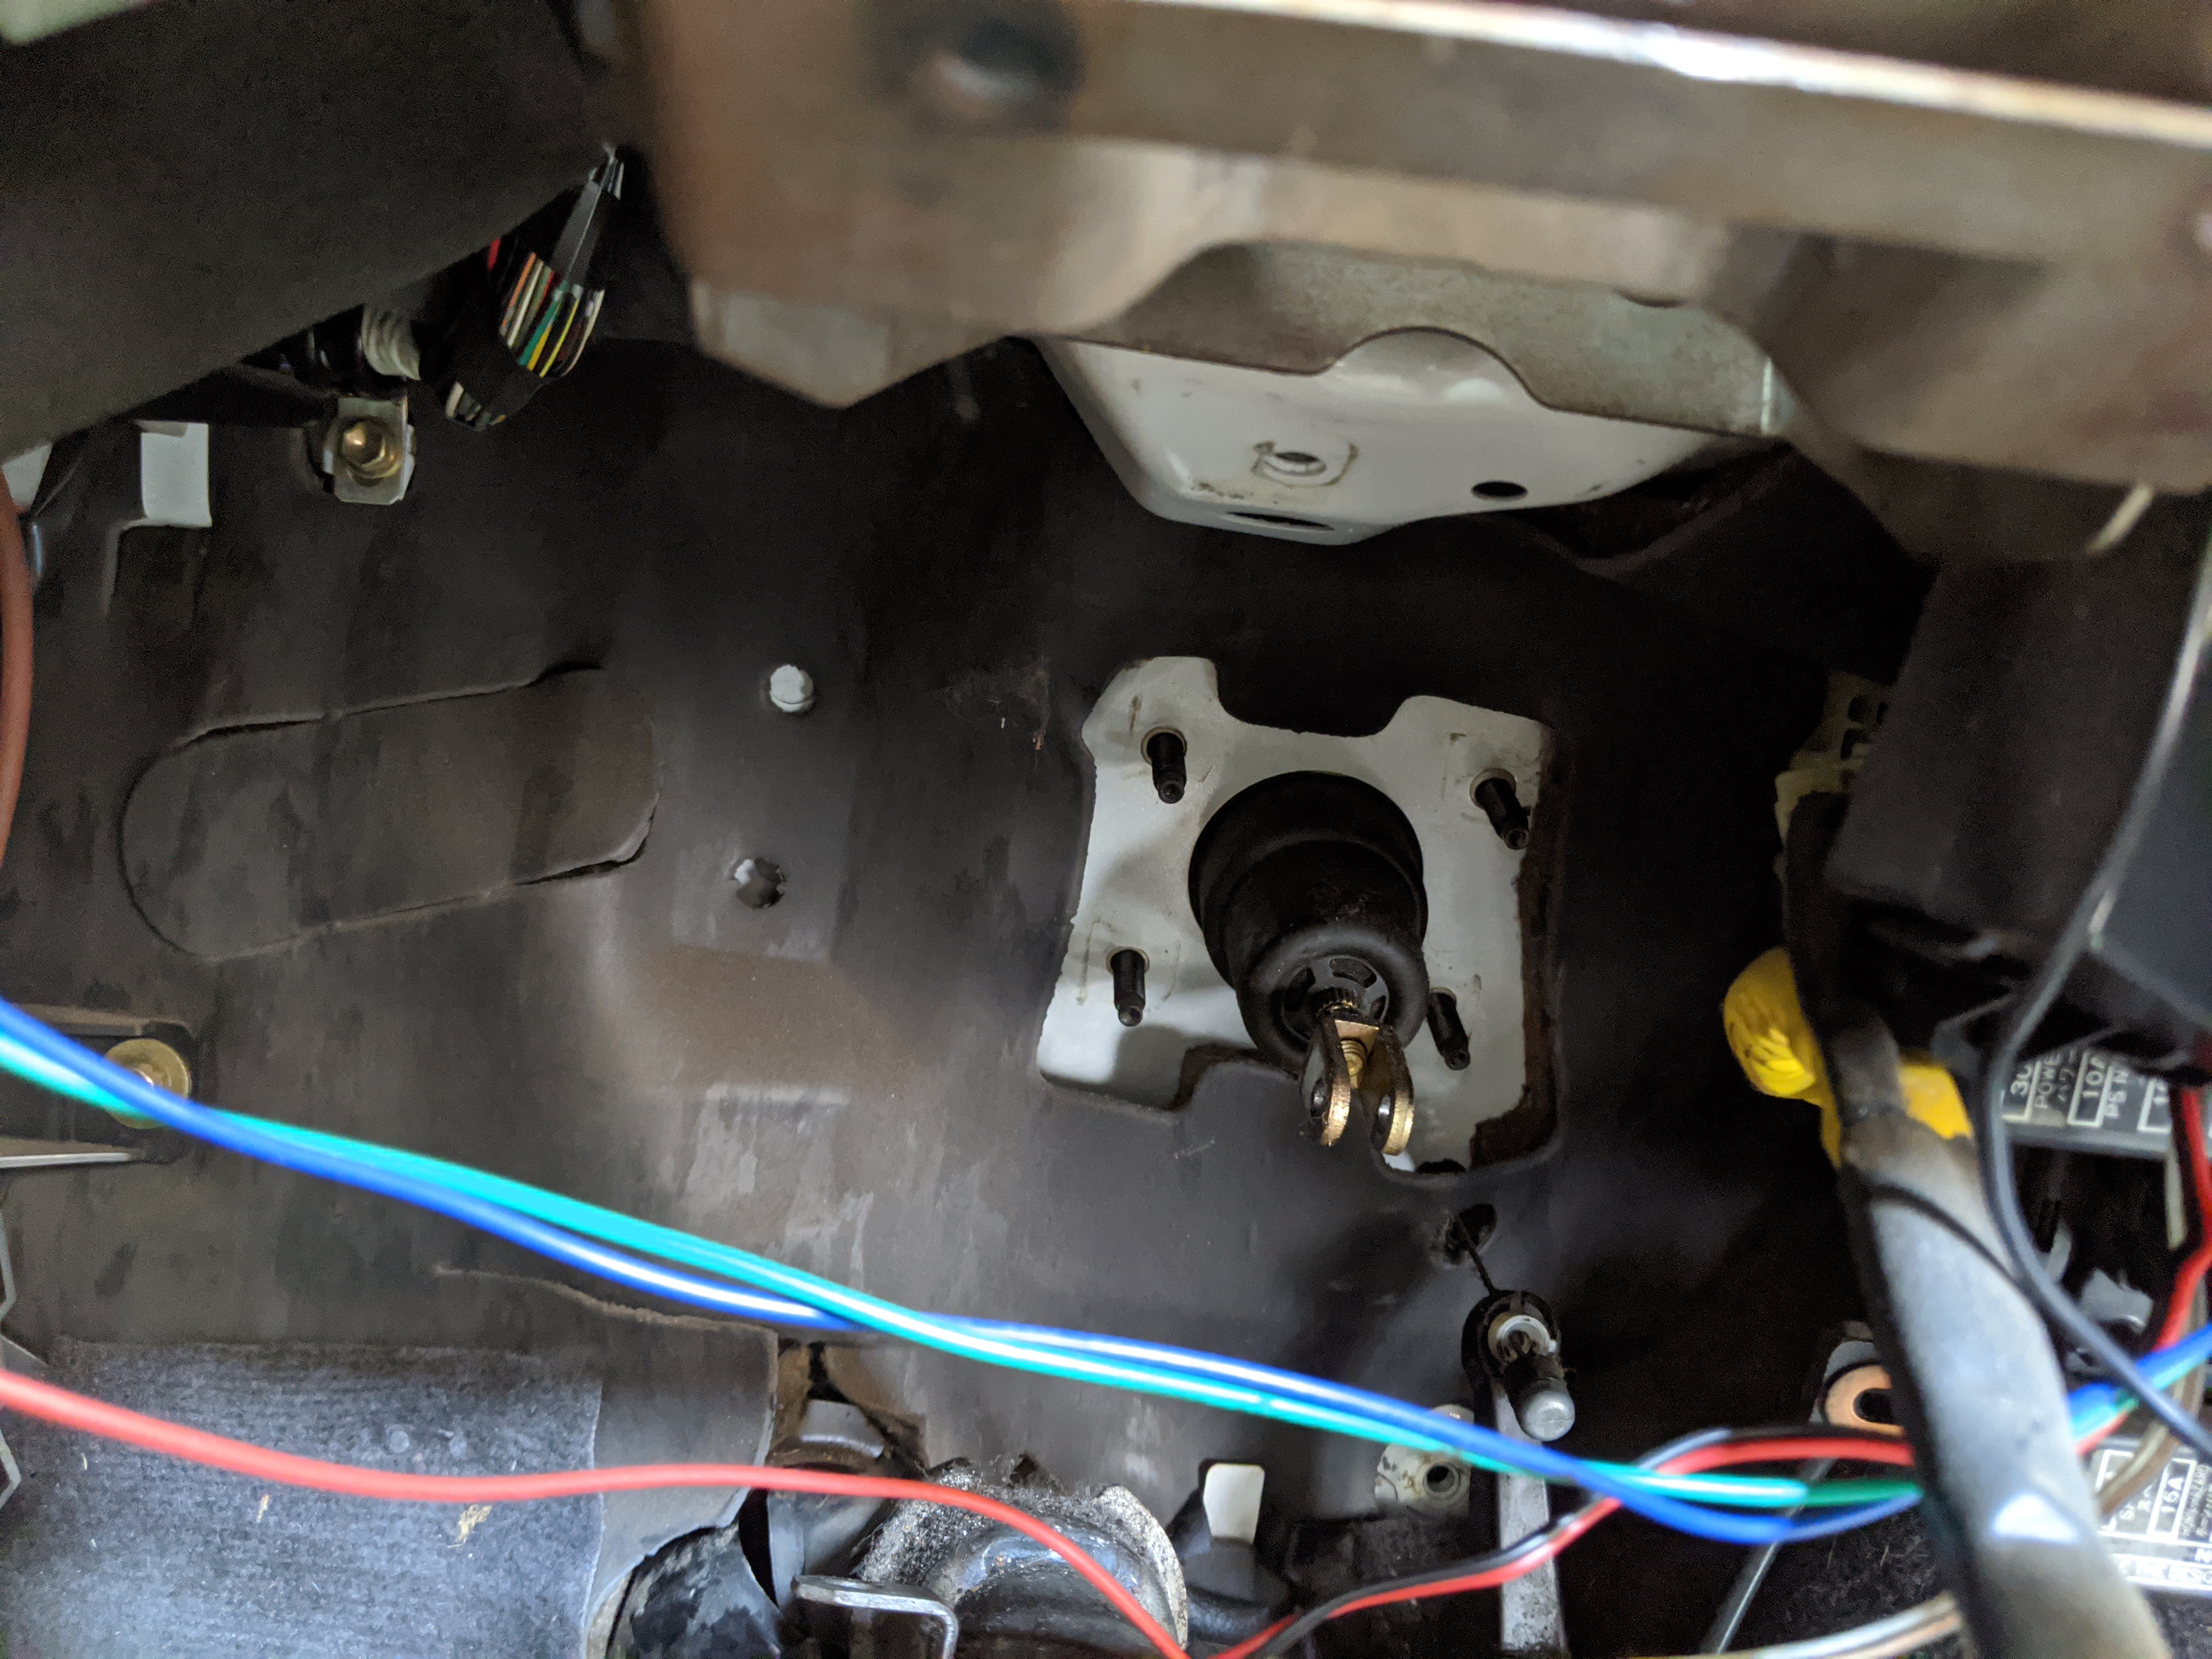
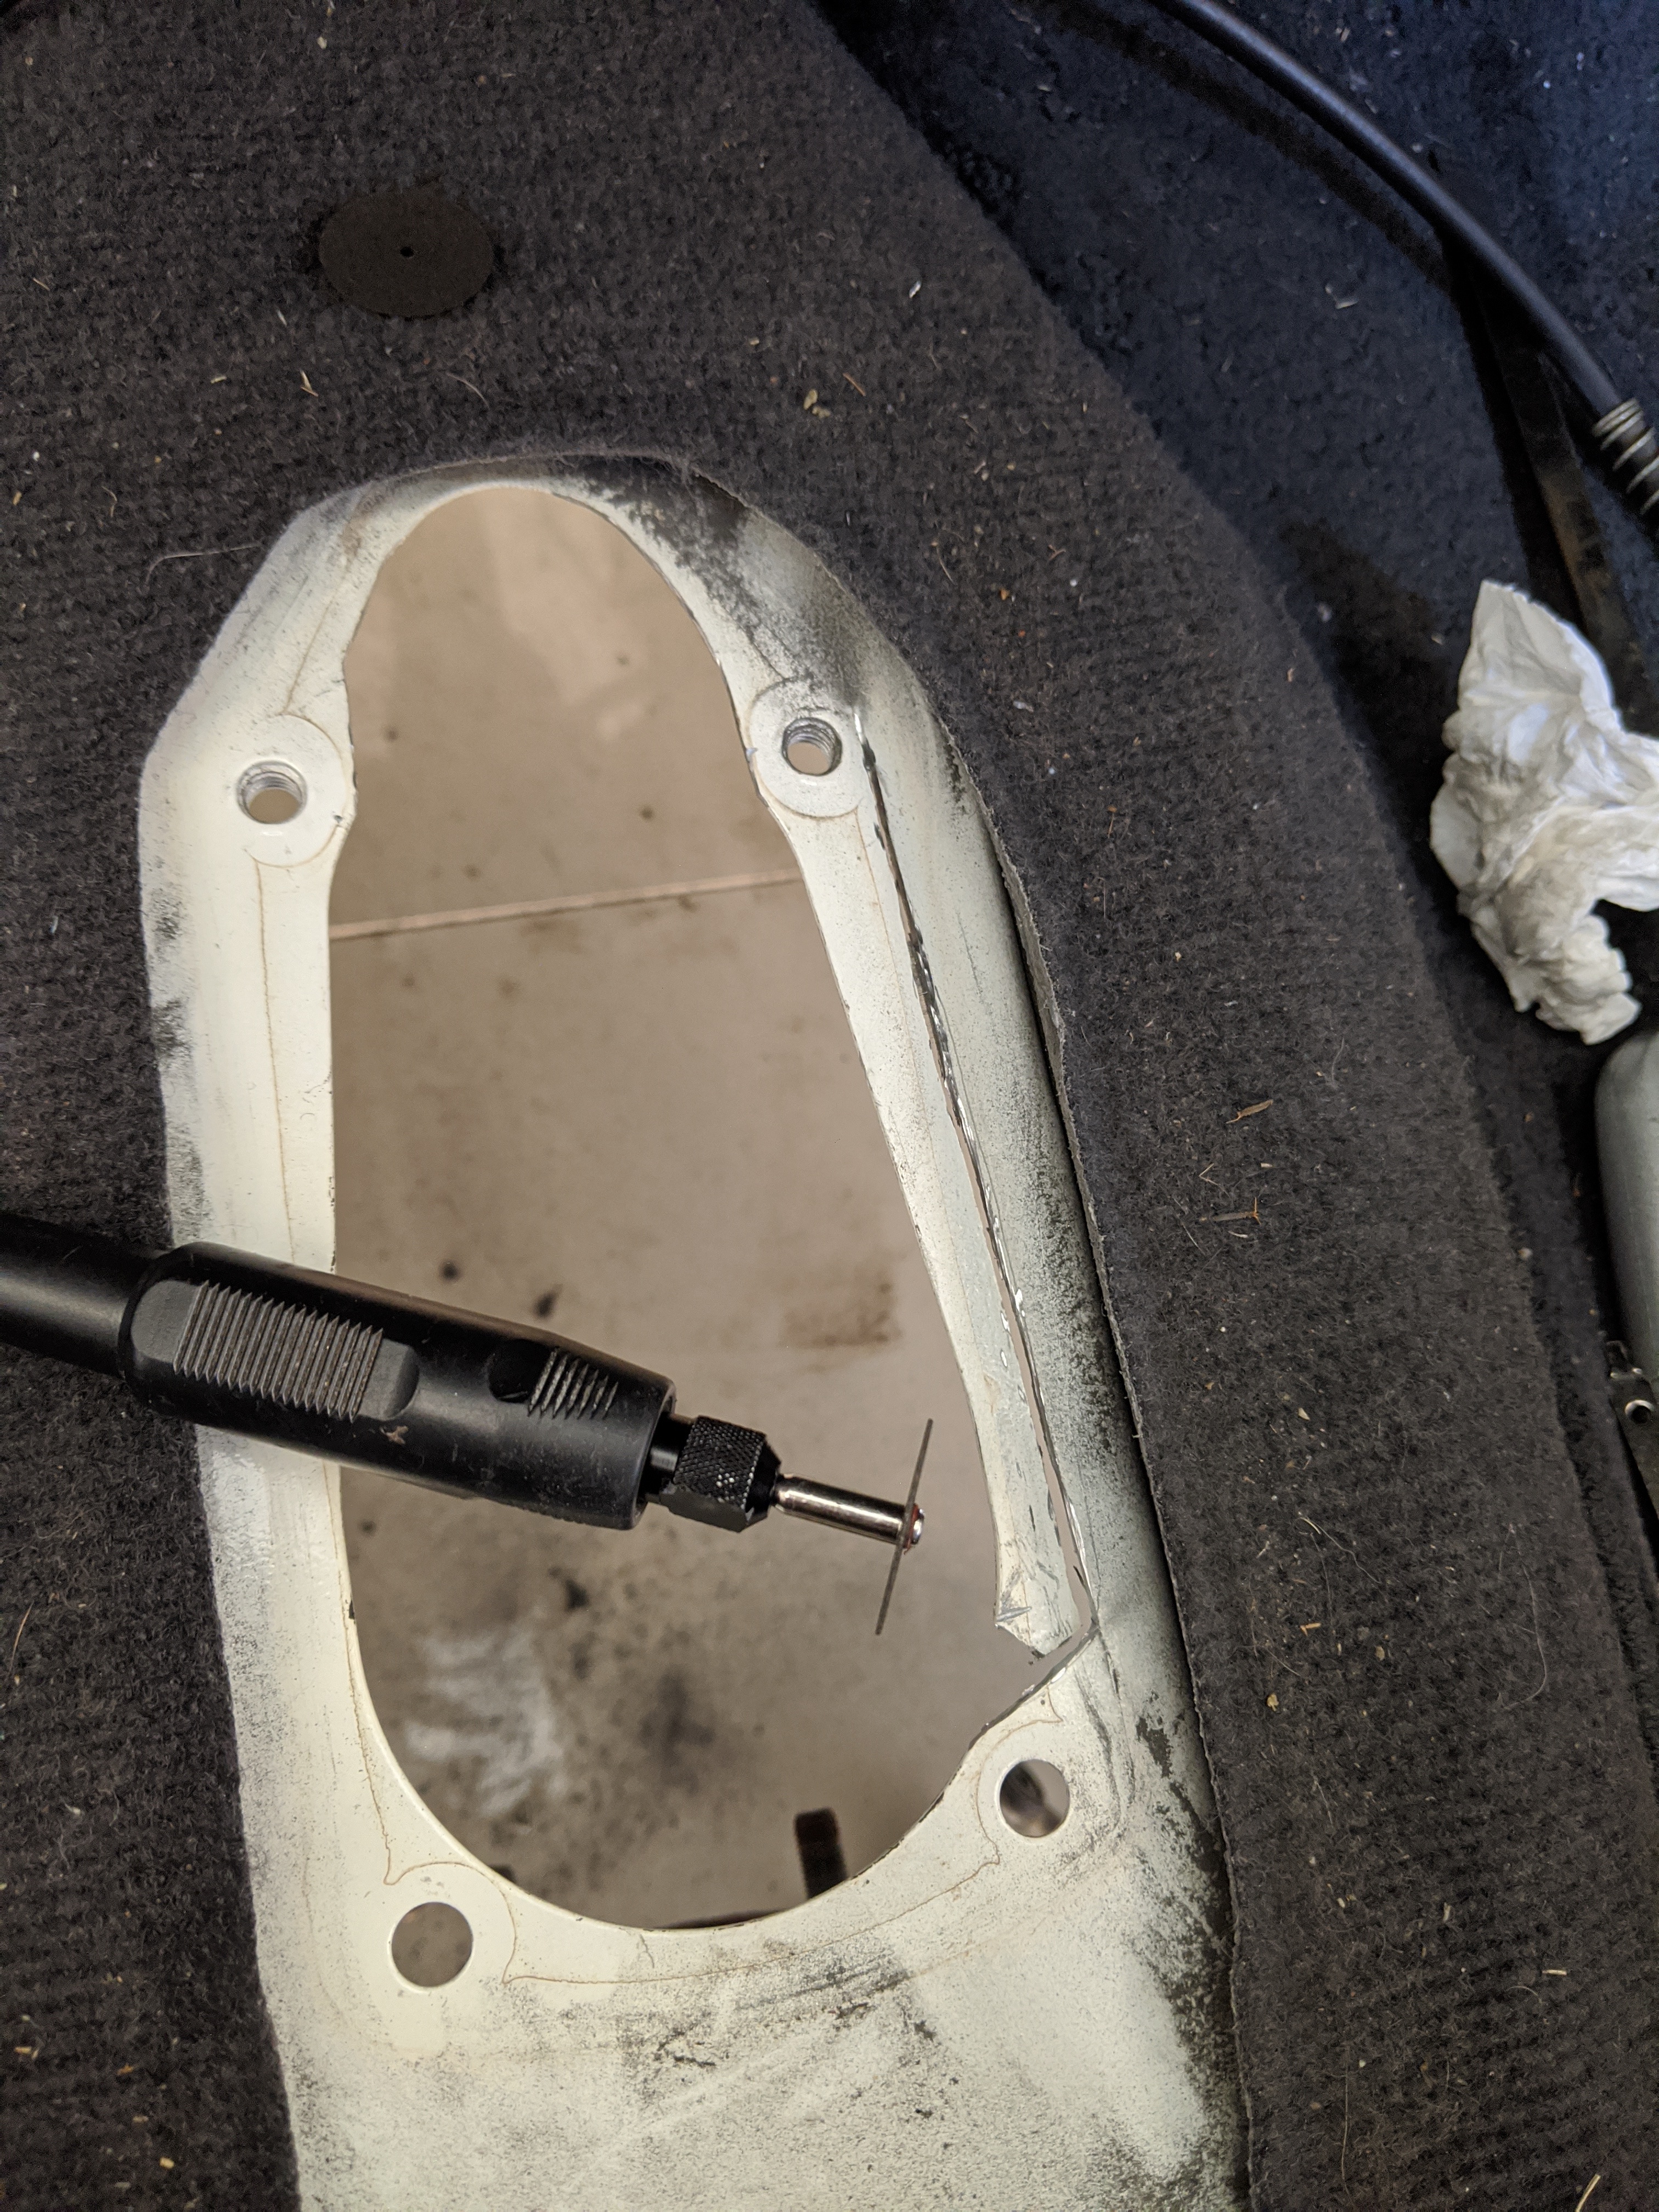
And now this is where I’m stuck, I need to drill an extra hole for the clutch cable, not sure where it goes and how big it should be
1 Like
The pedal assembly from the manual is practically the same as the auto pedal assembly, but there’s an extra long mounting arm where the steering hooks in to.
Since the steering wheel has a place to mount, would there be anything with chopping that extra mounting arm? And make it the same length as the auto pedal assembly, I have a feeling that the extra length will assist with it flexing.