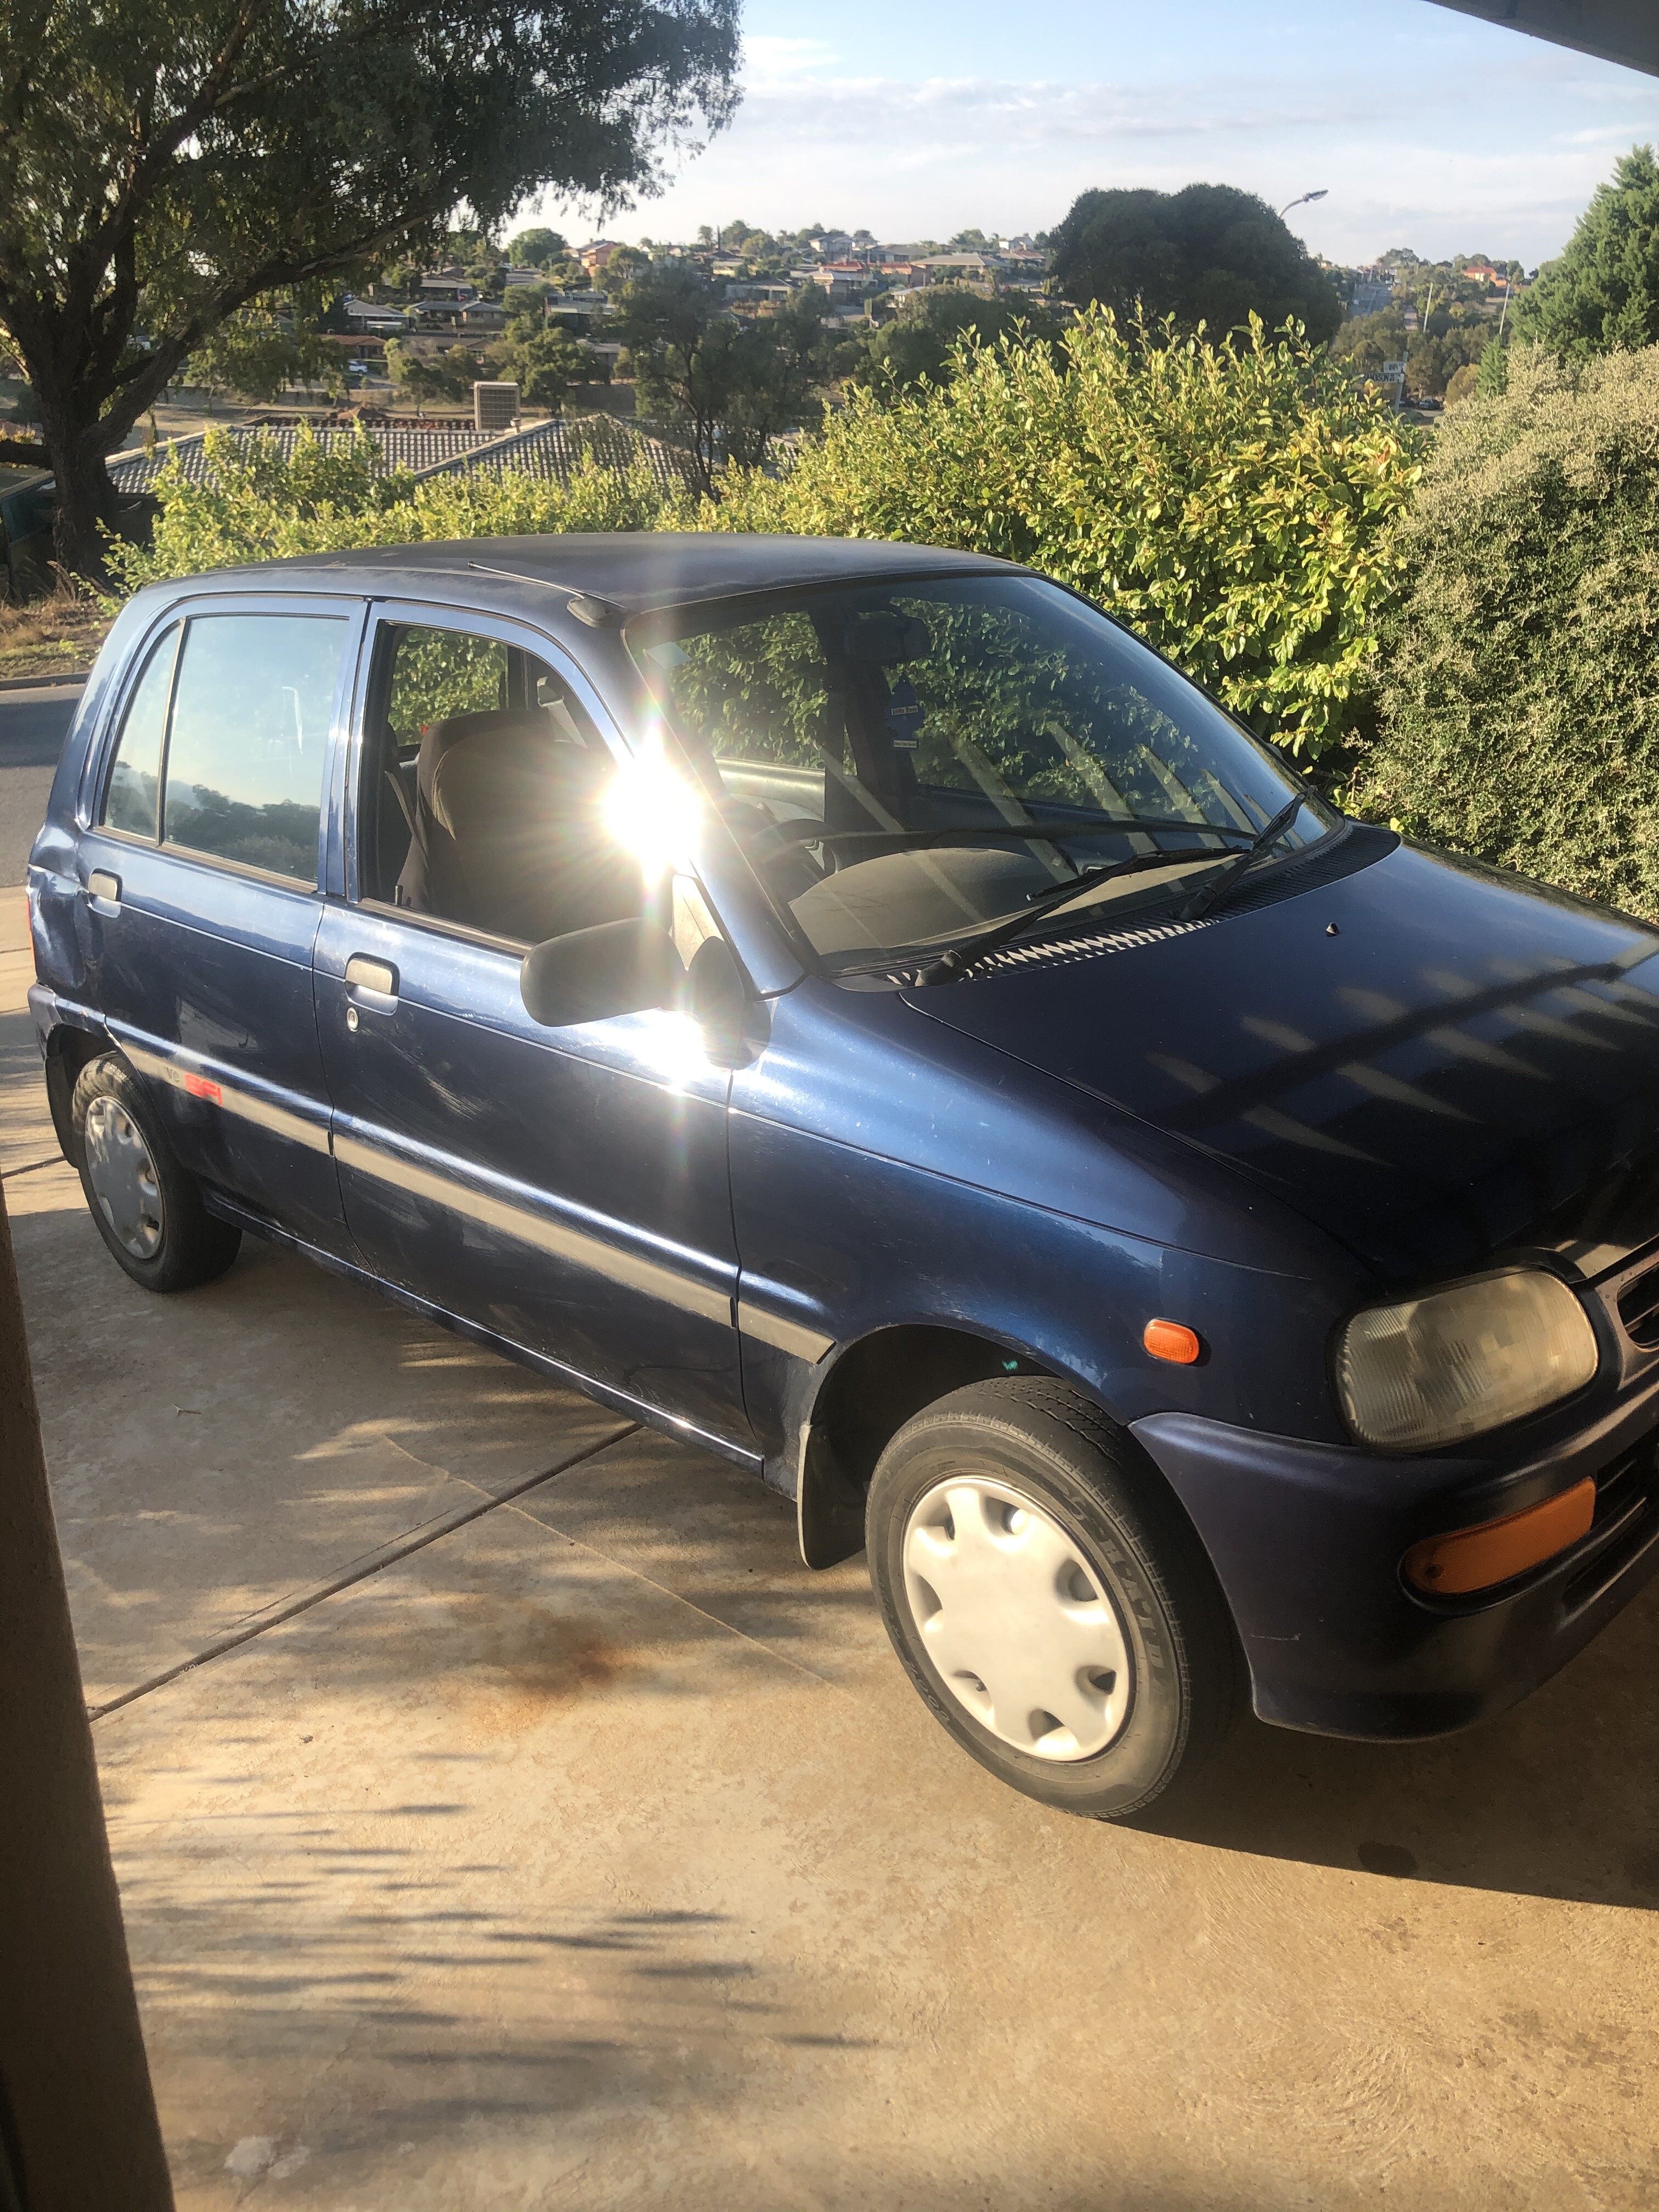
Locally I’m pretty lucky (not as lucky as you QLD fellas) to have a few DAi fam live pretty close and we are gifted with some unreal hills driving right in our back yard. Driving said hills has taught me a few things about my beloved cuore.
- it needs bracing as she is quite twitchy and unpredictable through the tight windy roads
- i need better quality coil overs. The coil overs I’m running do their job great, height adjustable and firm. but the bounce so bad with no damper adjustment. i need so bc coil overs or even tien coil overs with the electronic damper adjust. as I’ve decided this car will be seeing the race track a bit in the future. so need something i can rely on.
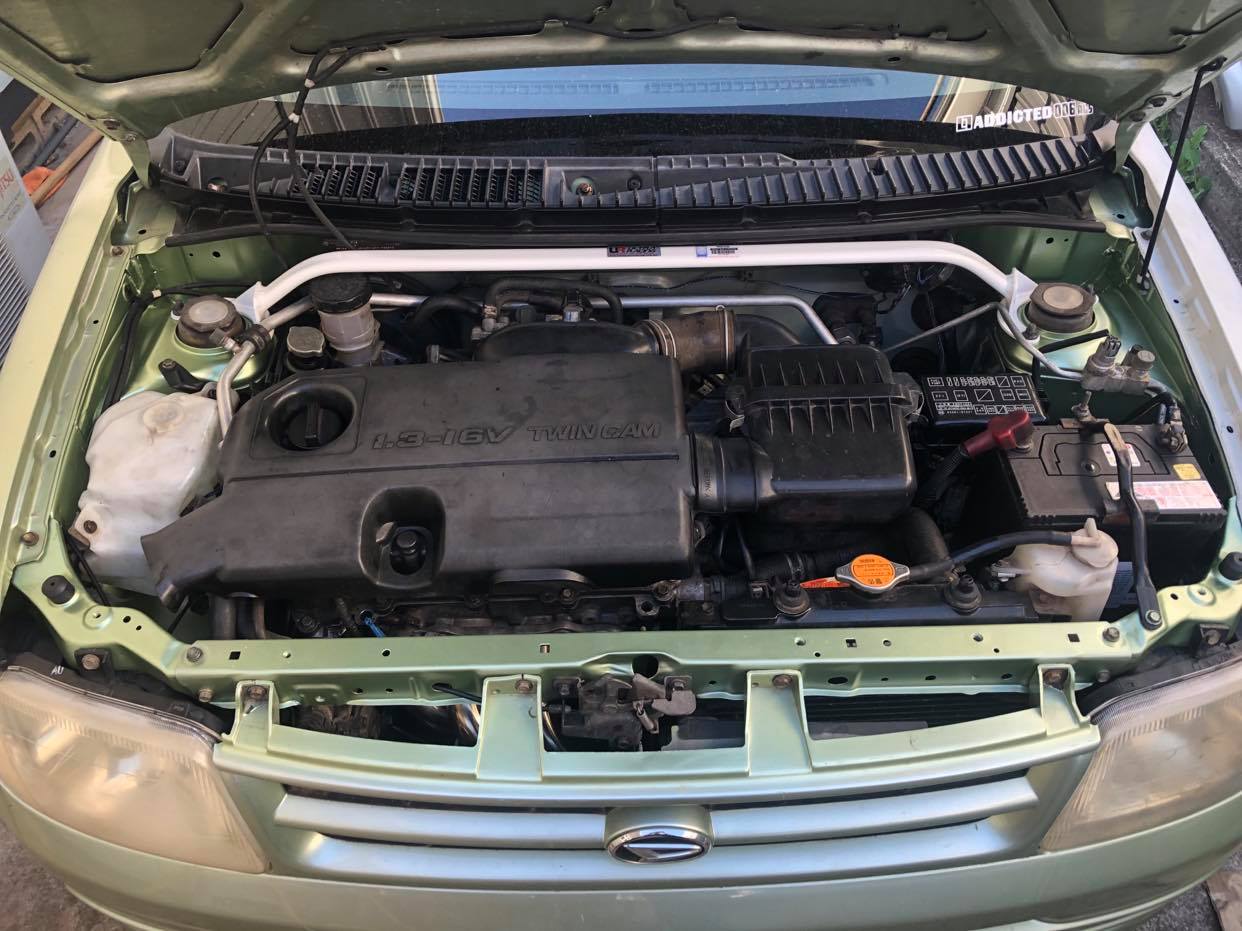
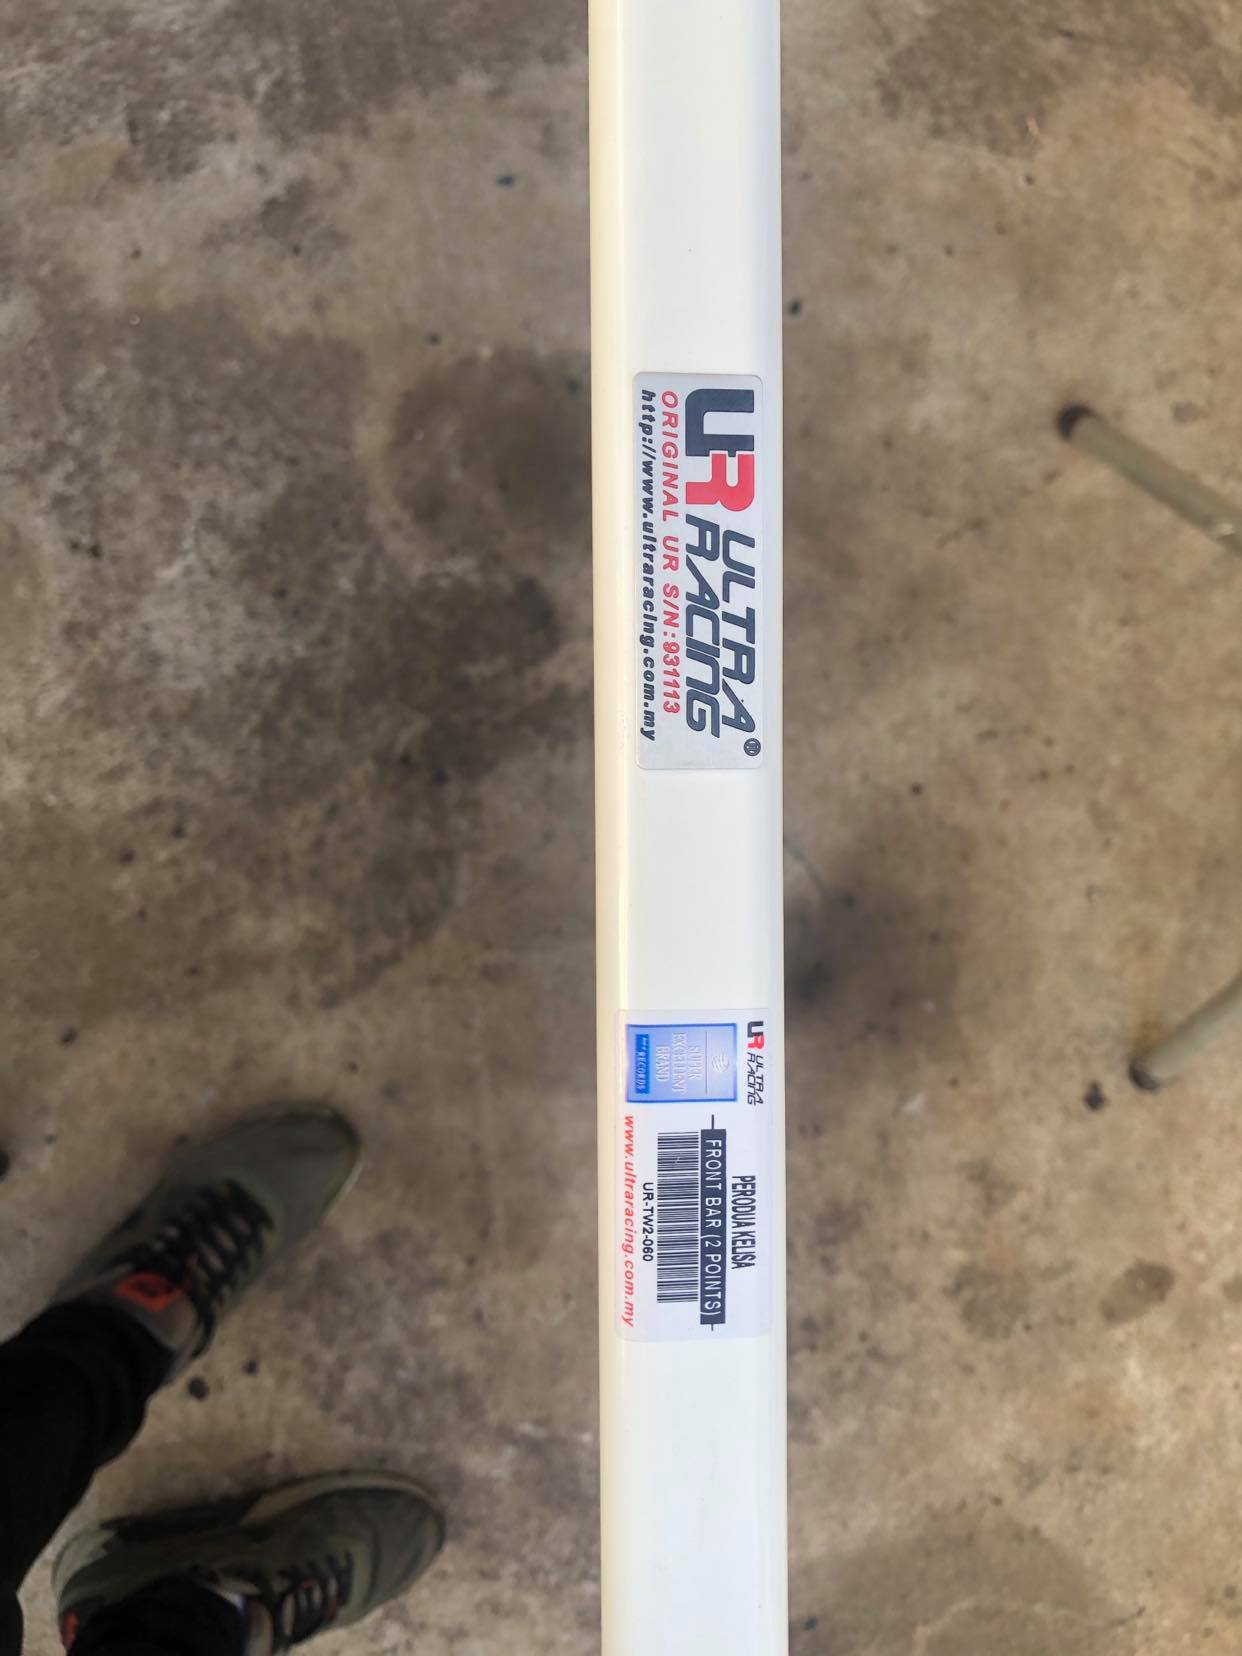
For now i will install a little strut tower brace on the front and will be looking in to a half cage to stiffen the rear end up. but more on that in the future. for now. have some piccys.
4 Likes
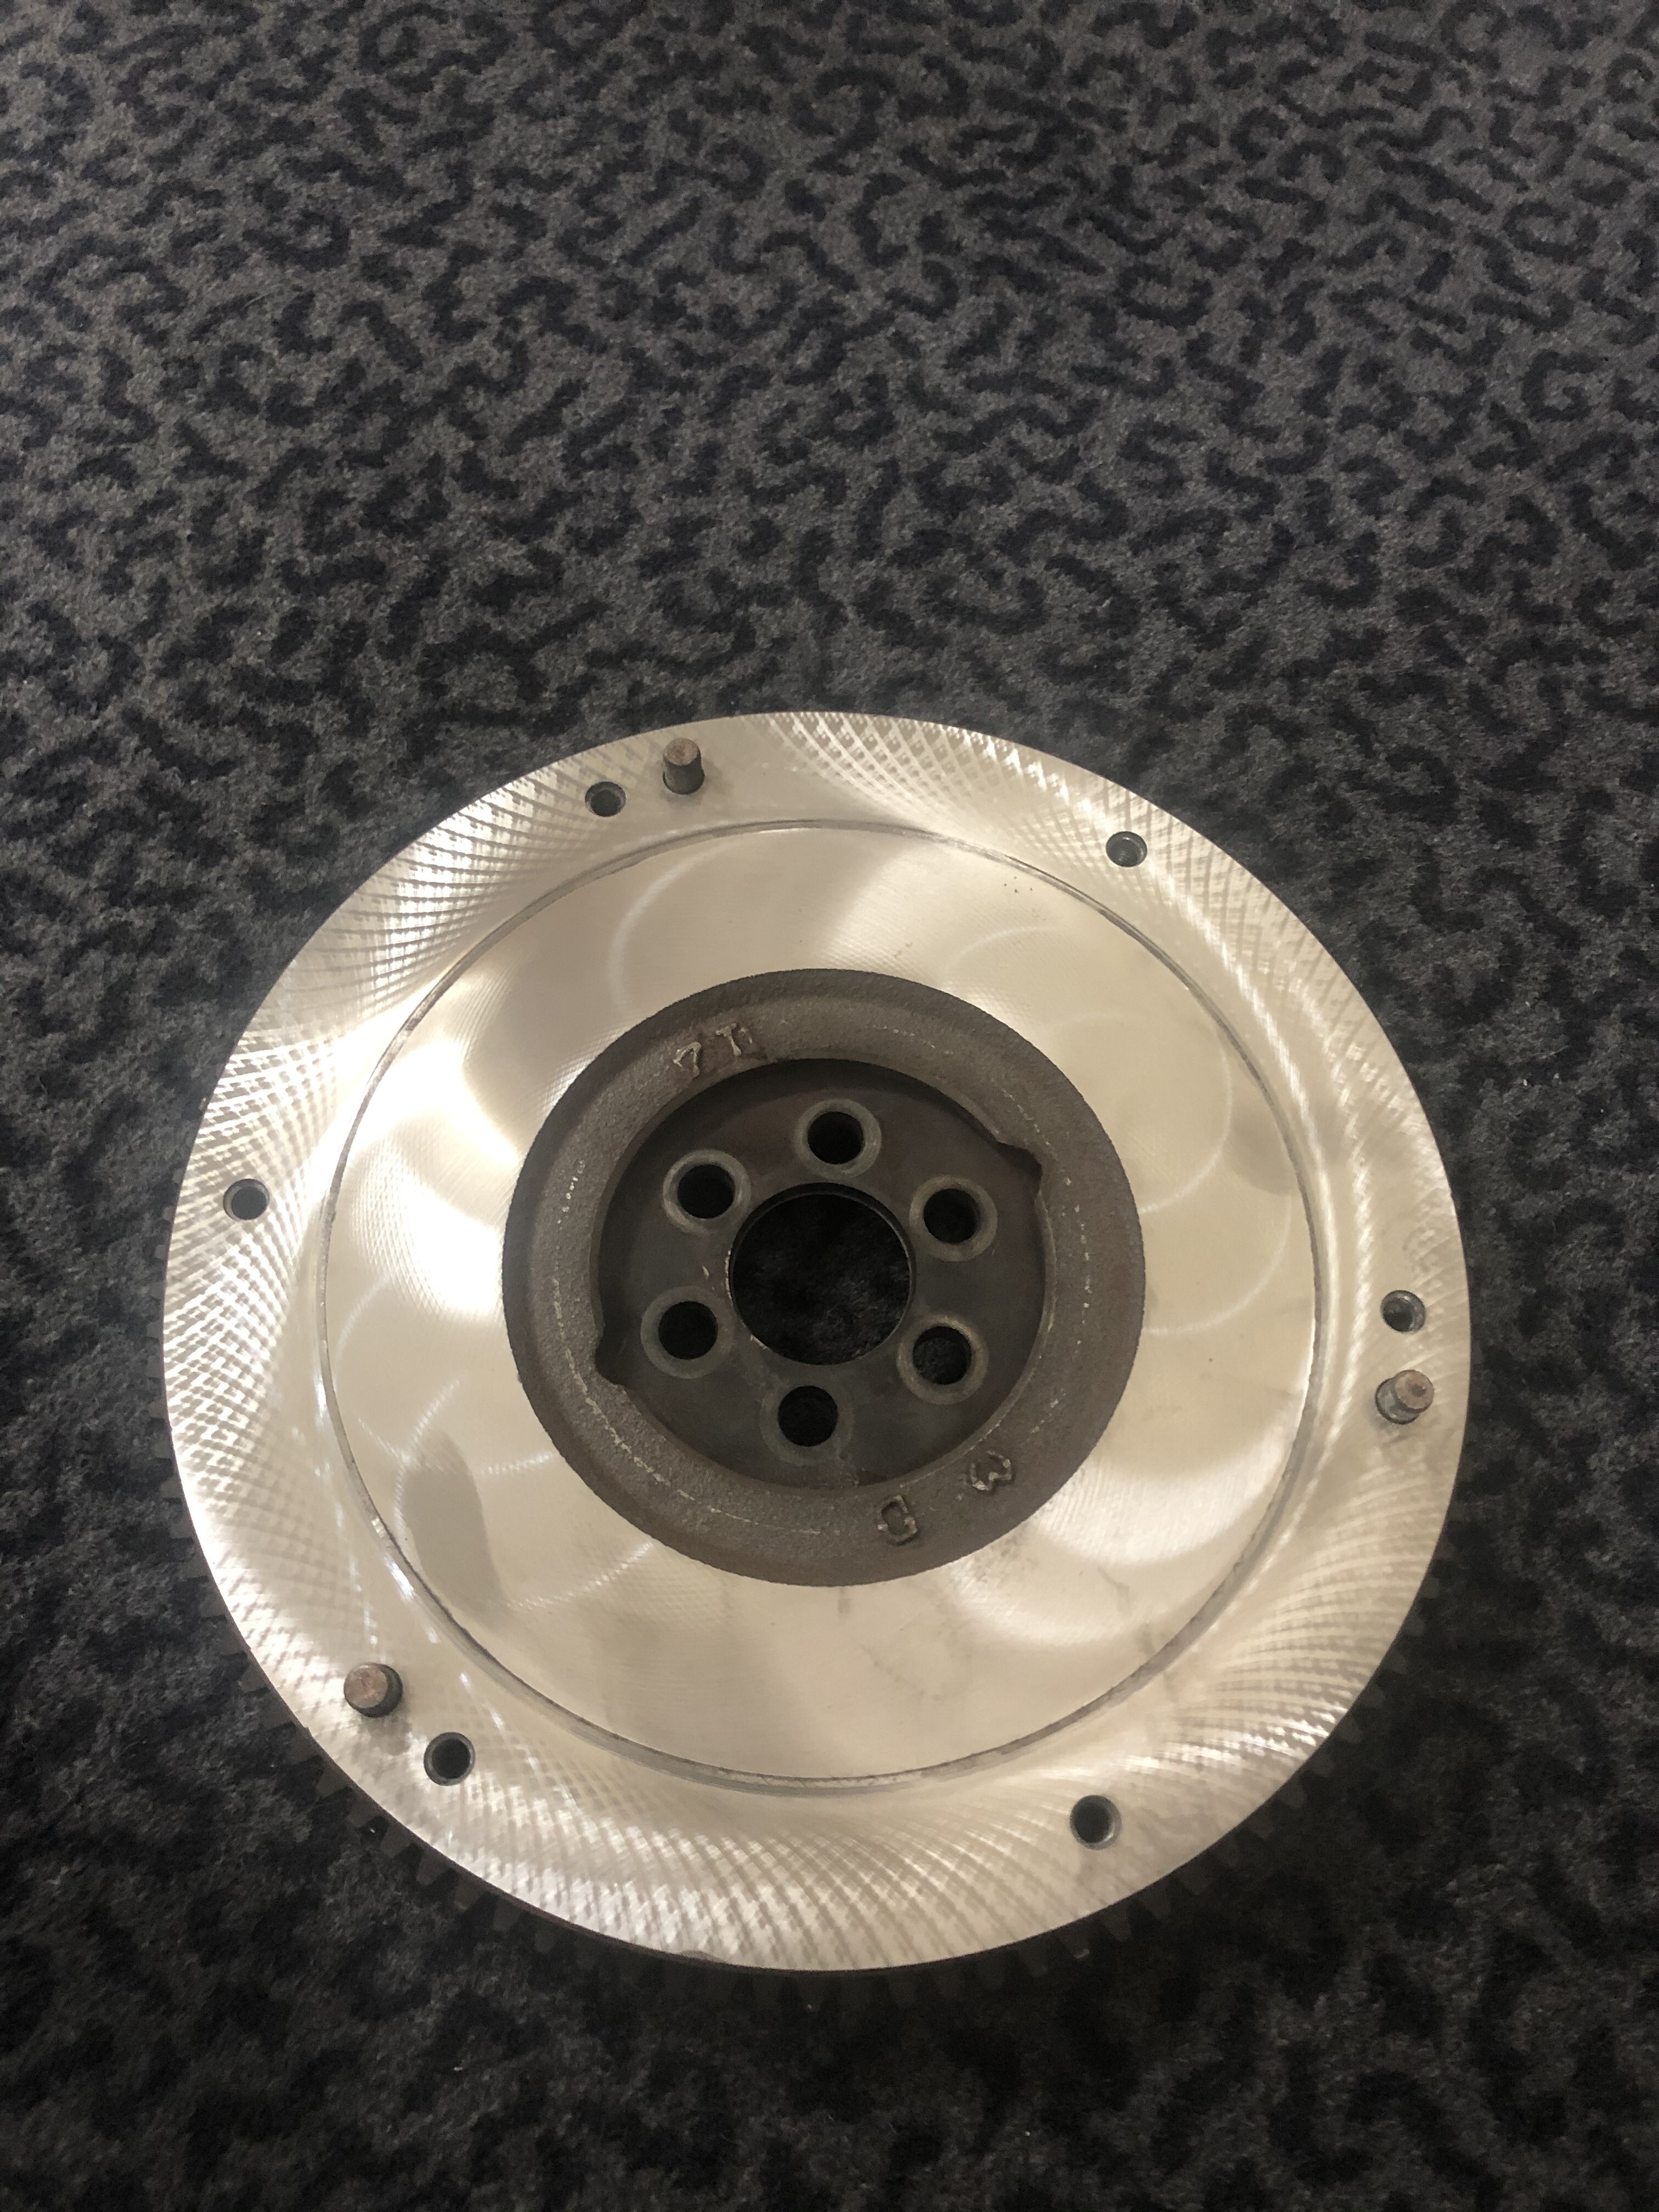
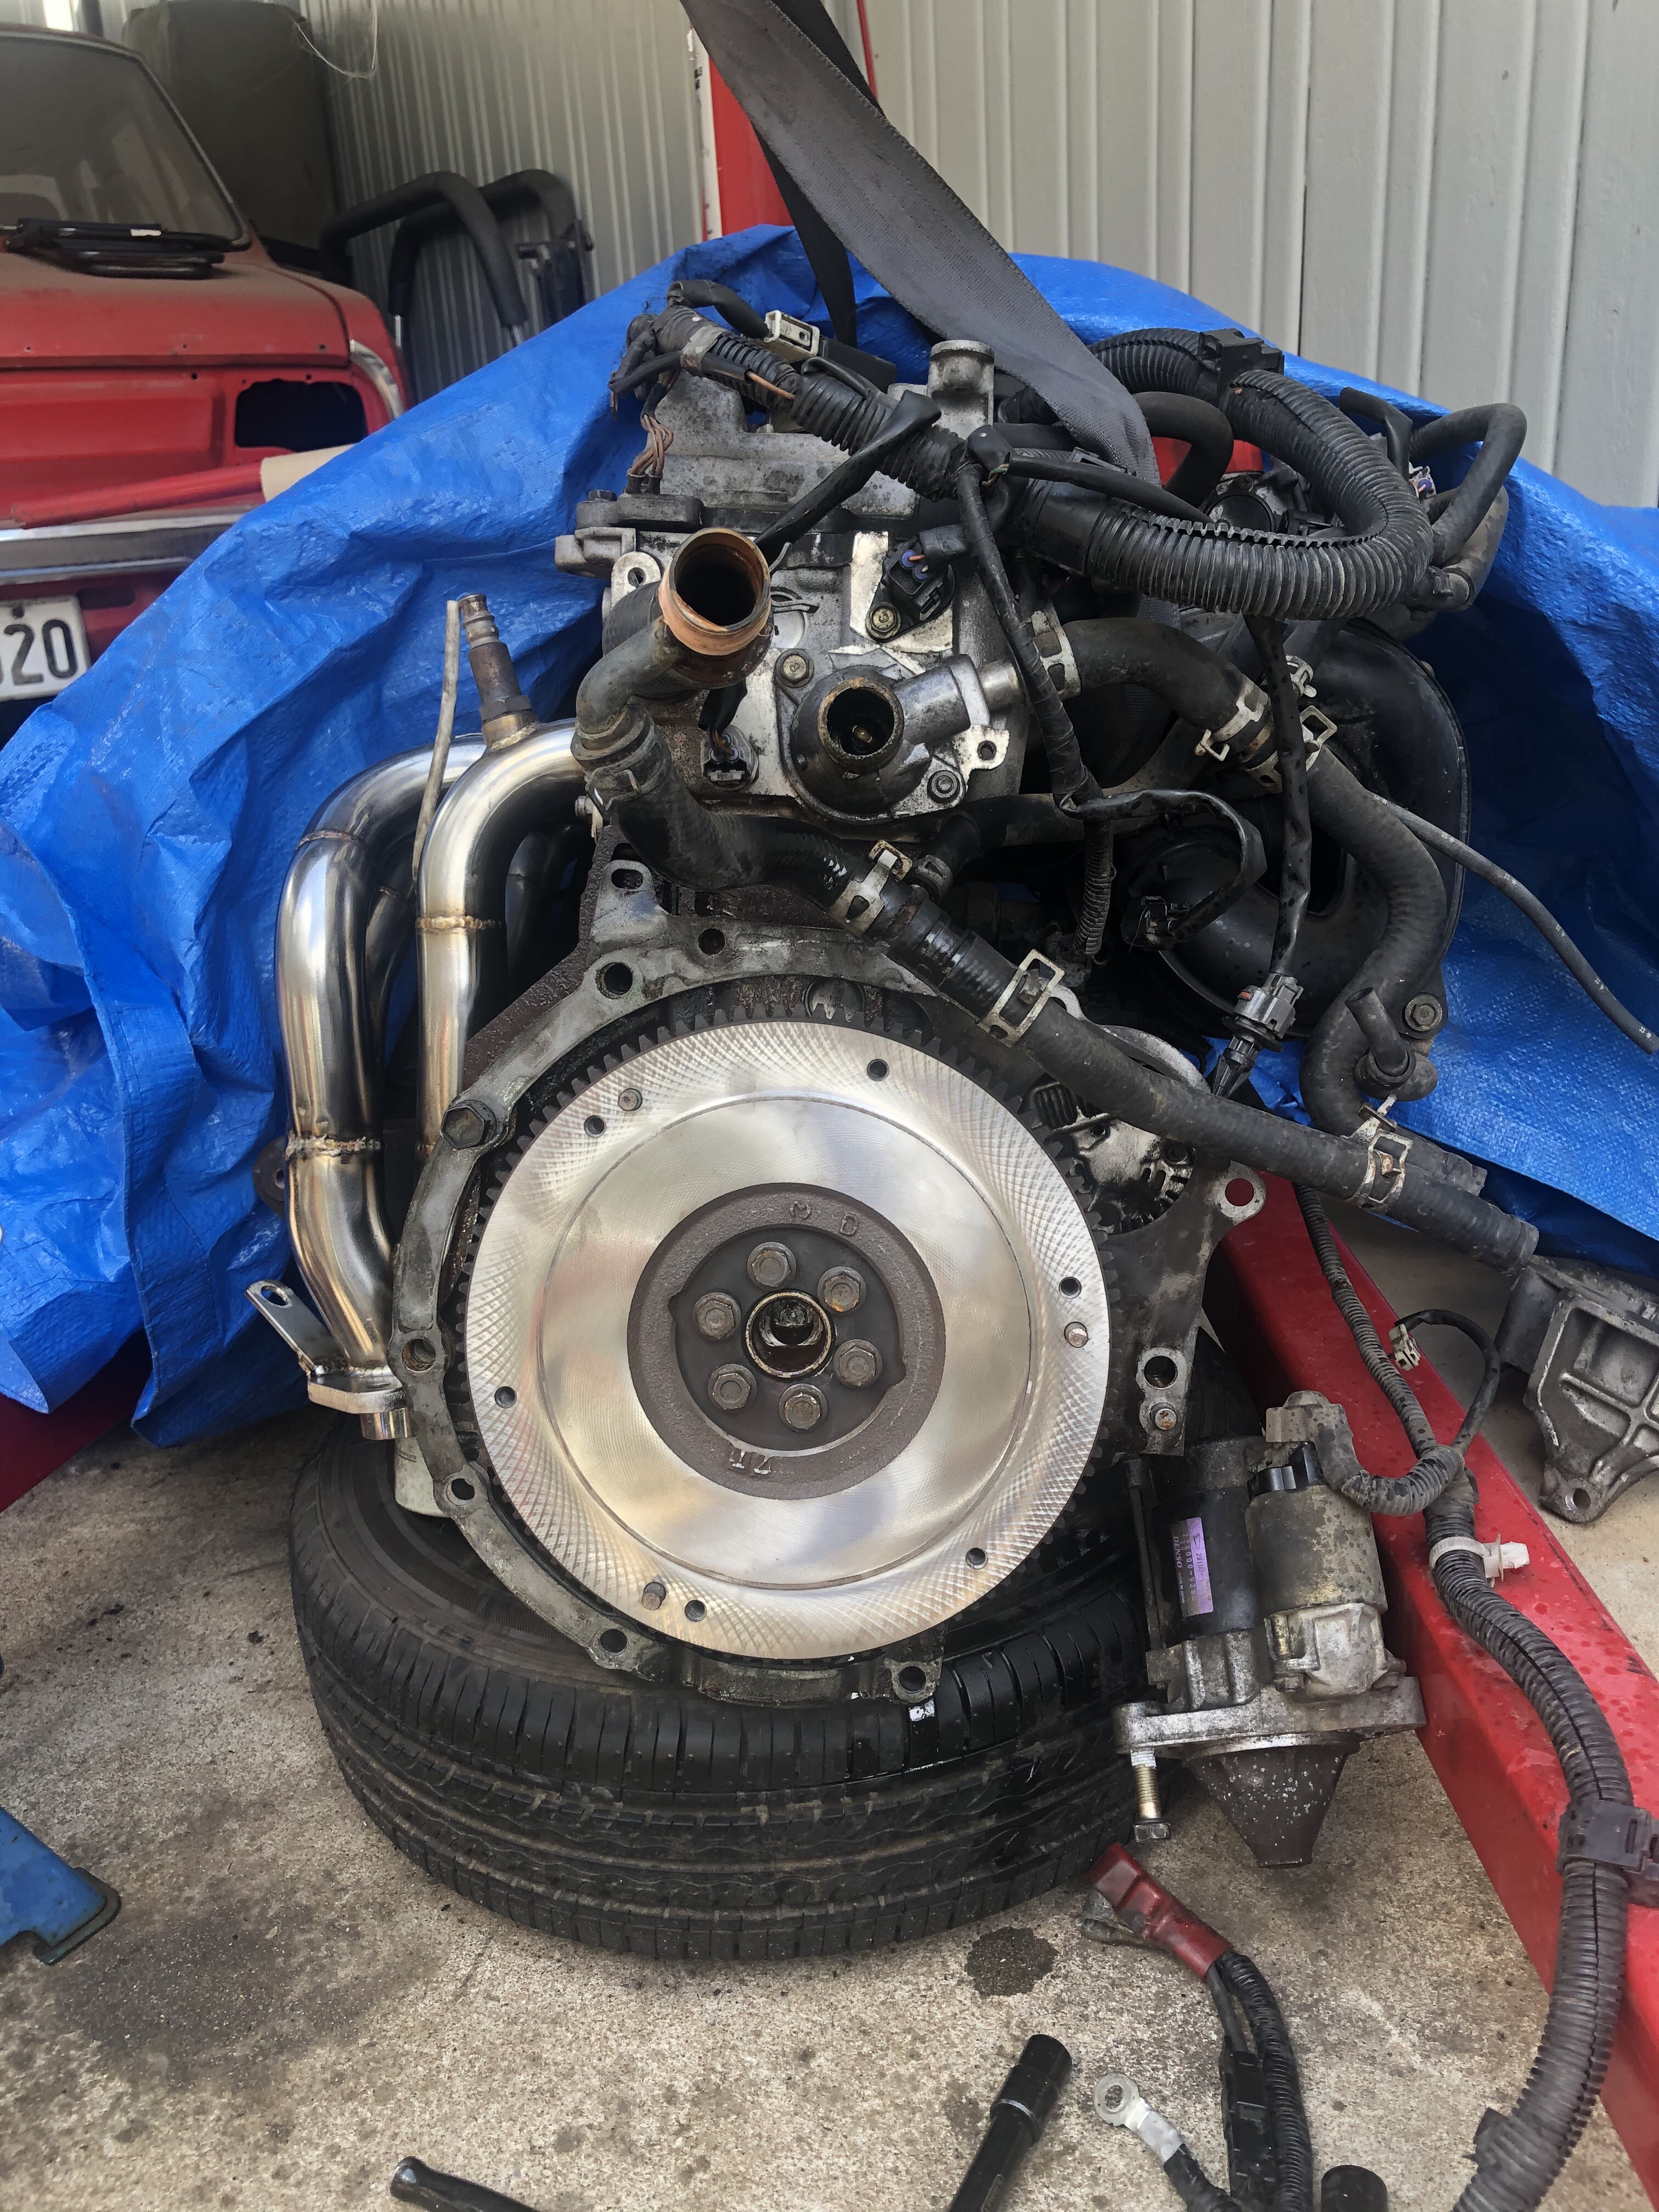
I previously in this thread had installed a heavy duty clutch without properly machining the flywheel. Since that ive always had a small annoying shudder in to gear. I figured it would slowy bed in with time.
Well i was wrong and it didnt bed in.
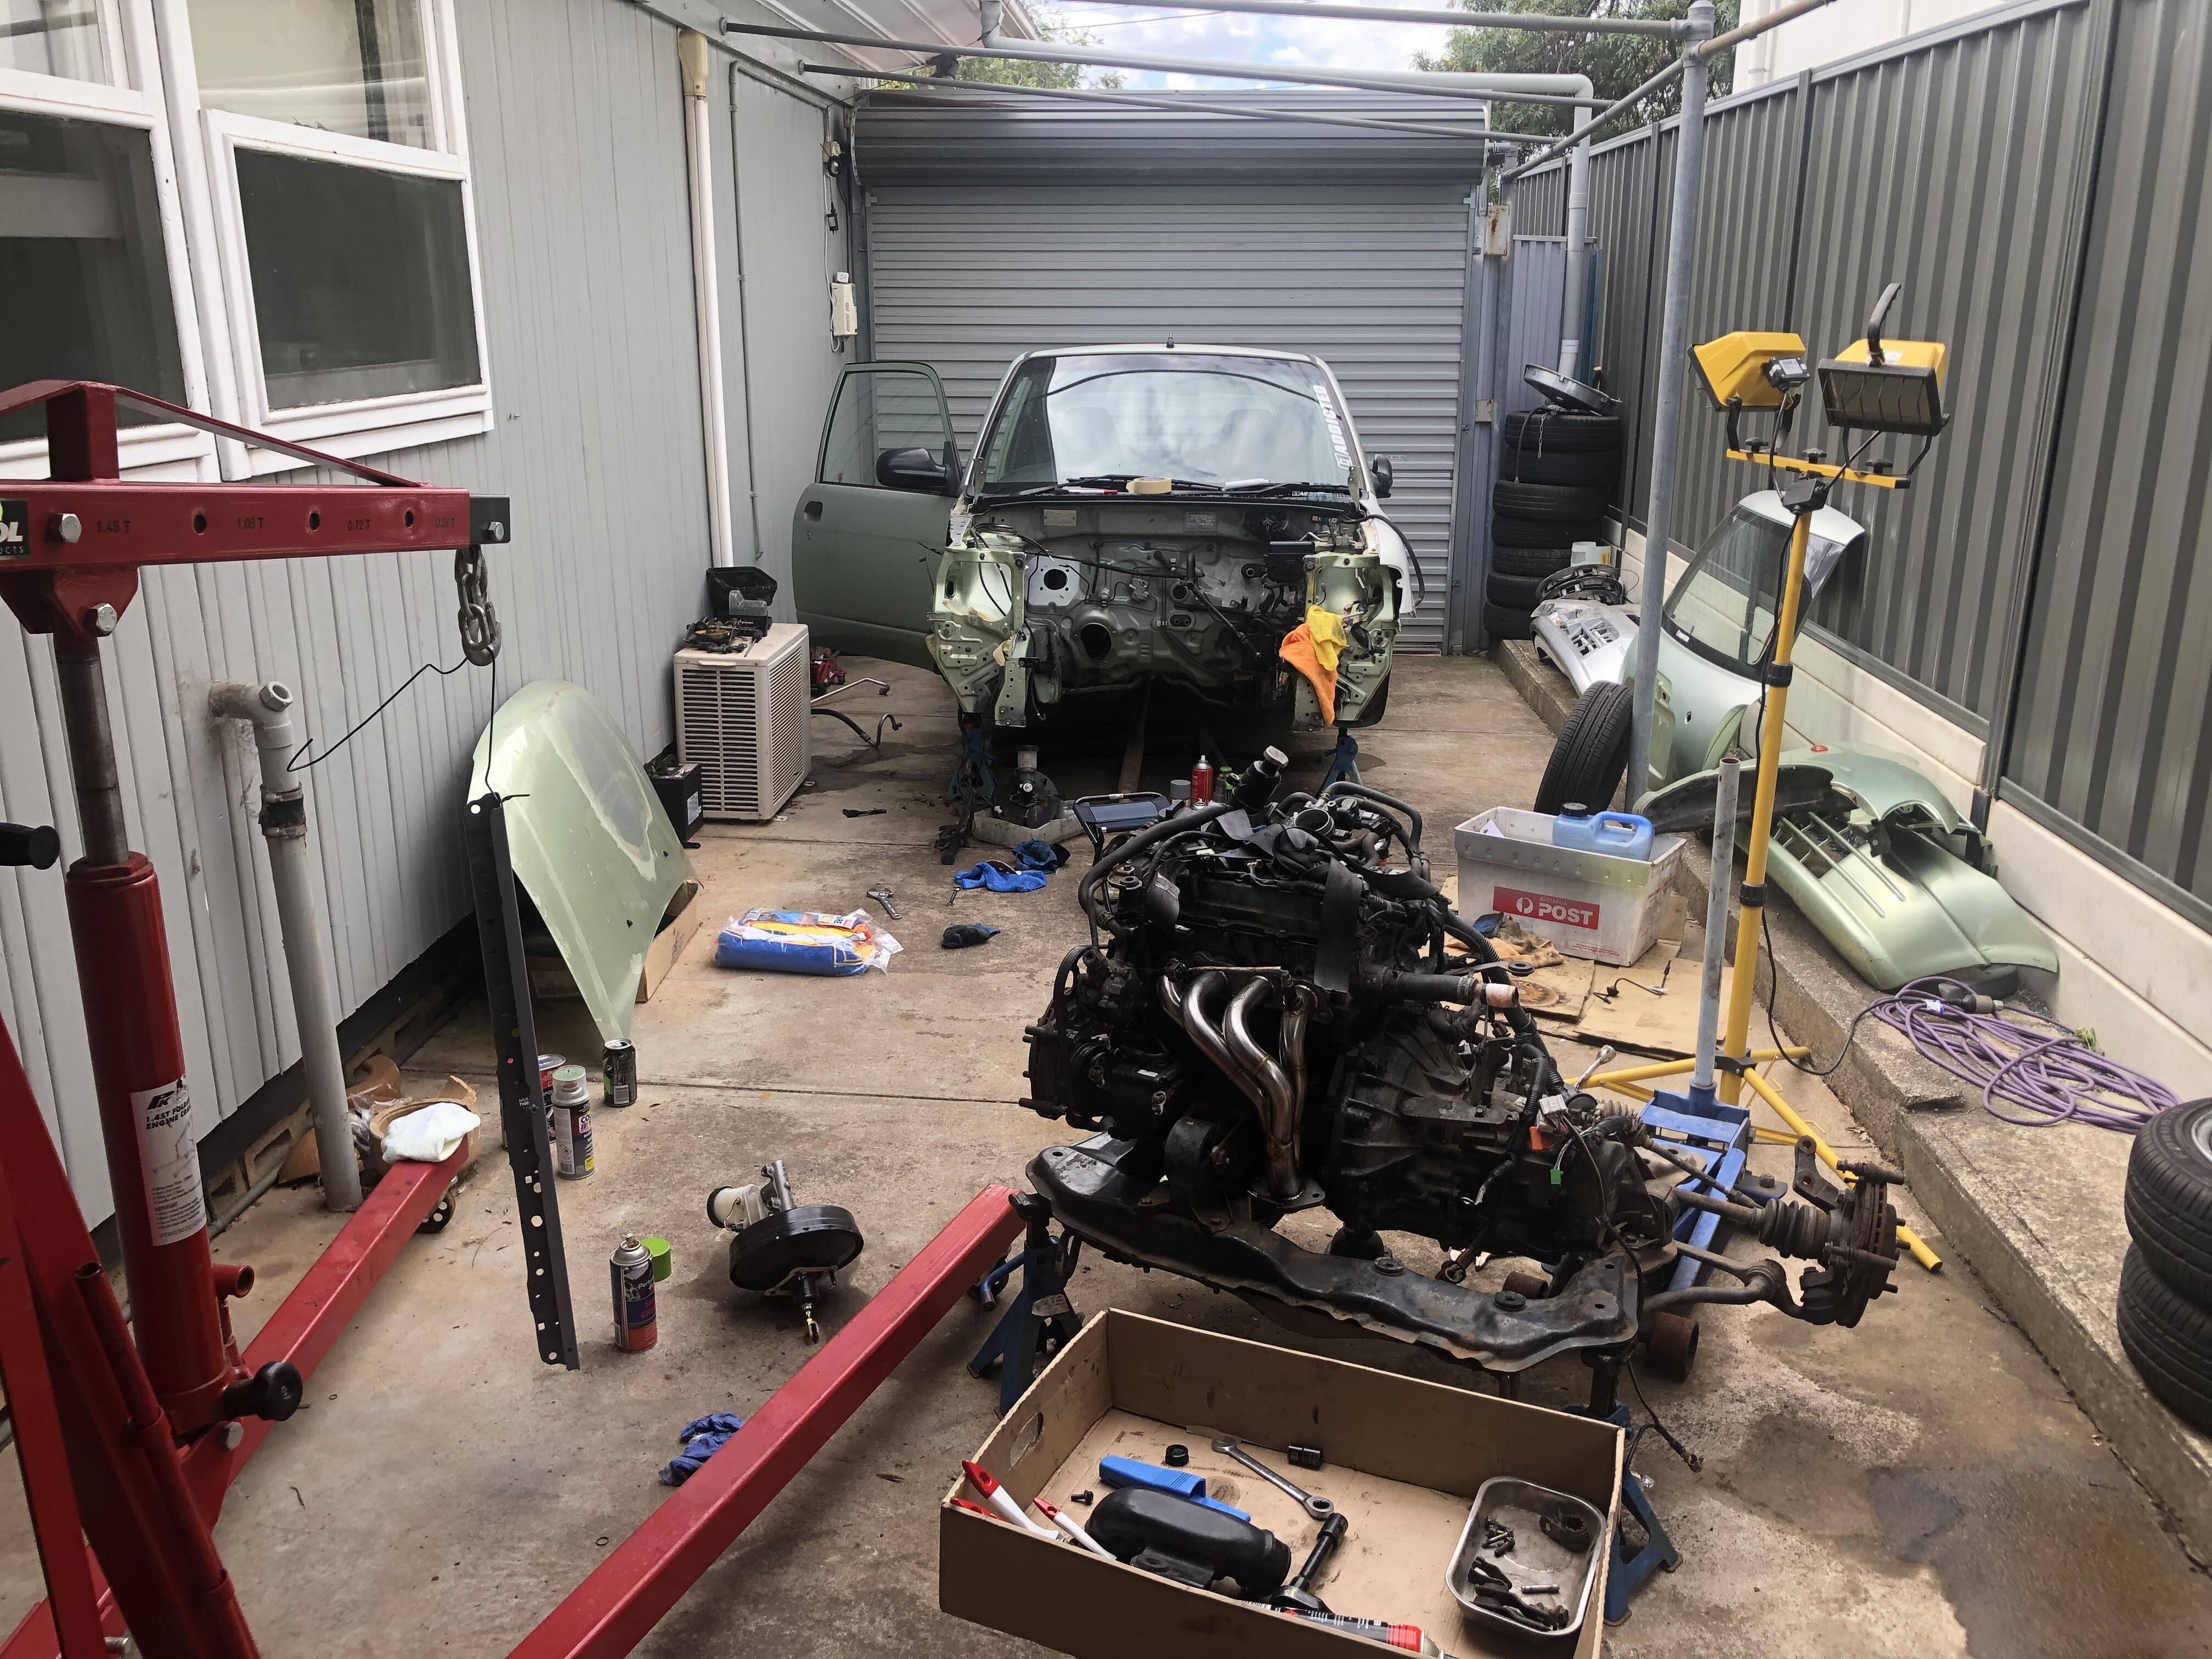
Furious frustration had led to swift action. pull the little green car apart. again.
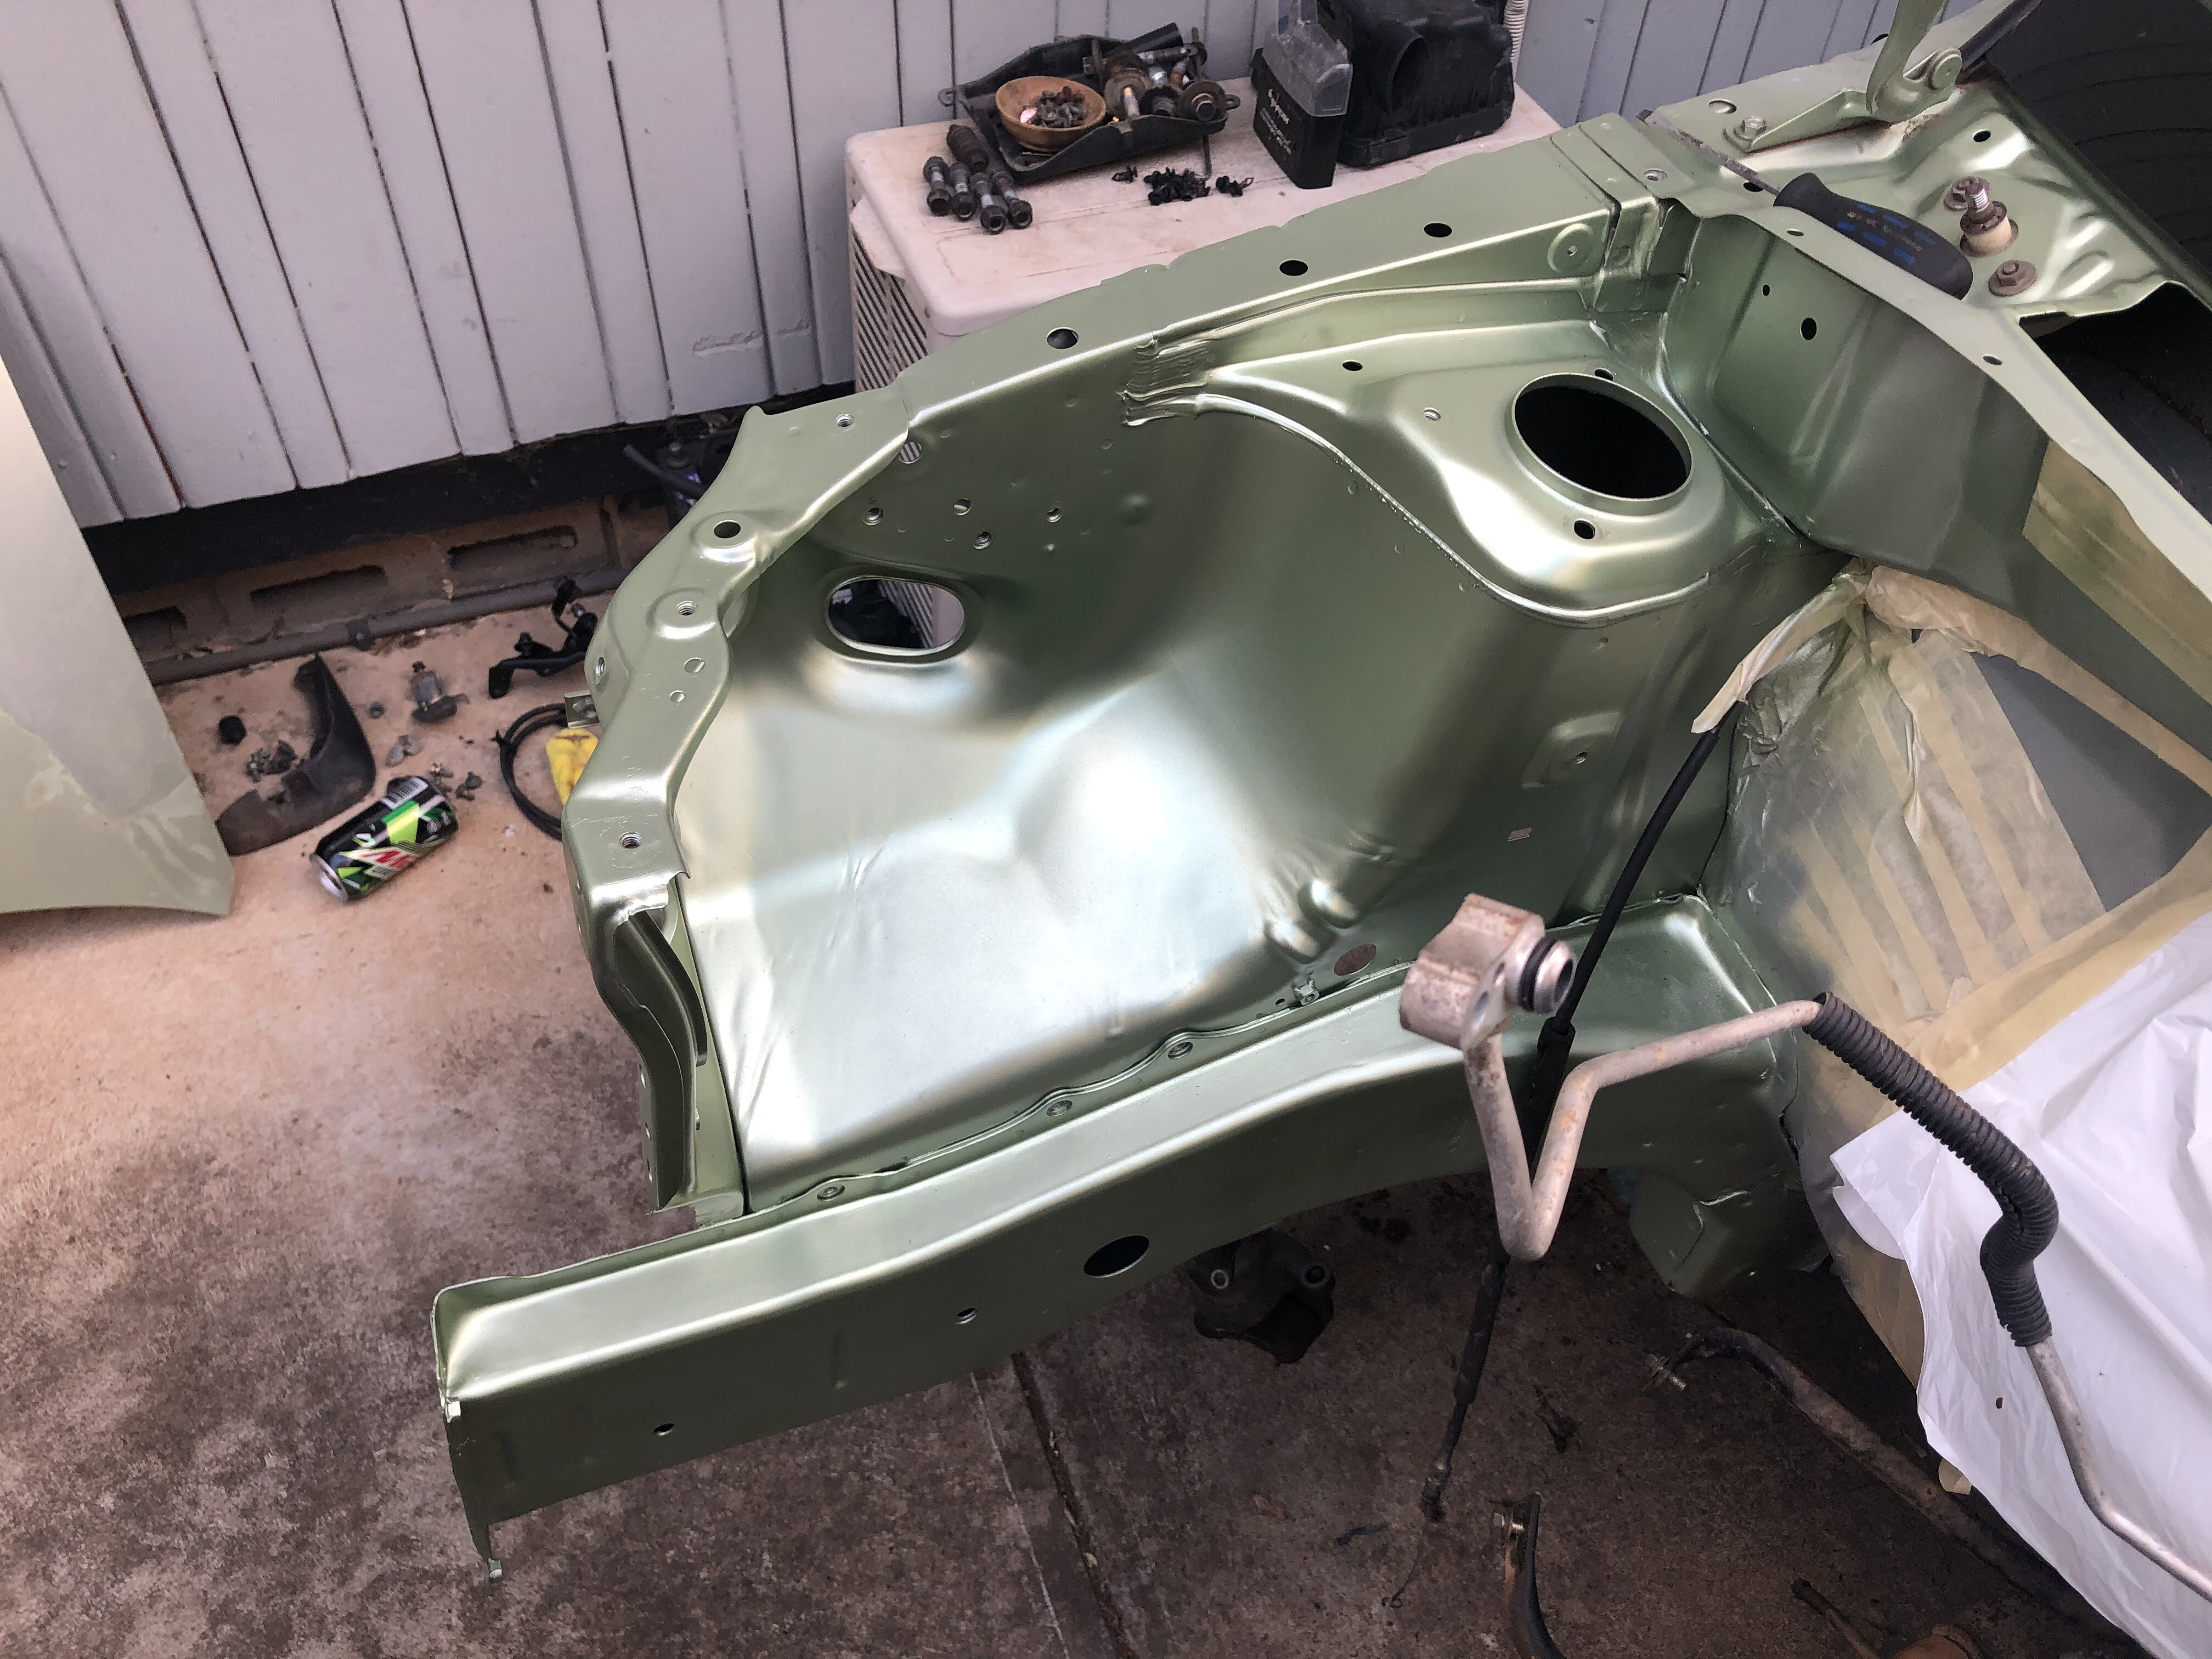
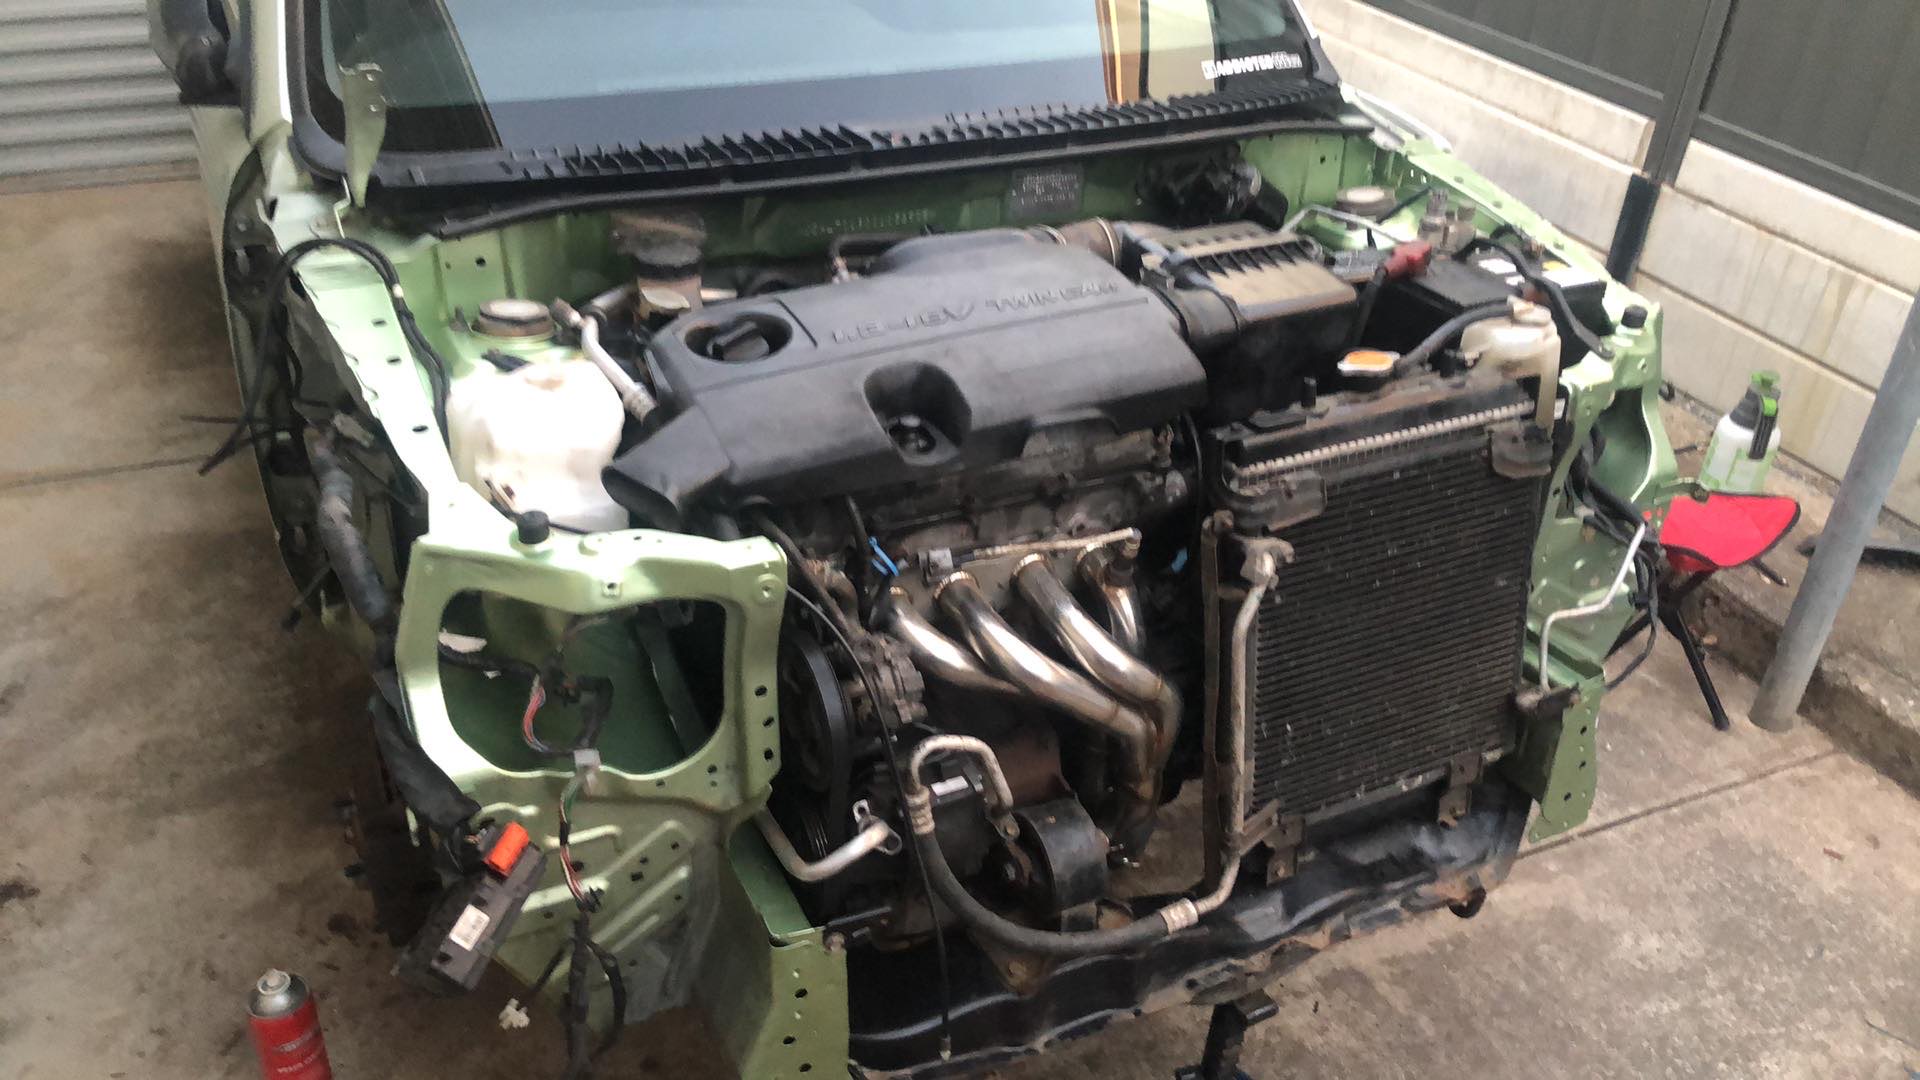
while things are apart for the millionth time i decided i should pay some attention to the engine bay.
im 100% newb when it comes to automotive paint and i do not own a compressor big enough to even paint a shoe box so i opted to a colour match paint can from supercheap auto, 3 cans infact.
used a primer and rattle can top coat x1000. no clear coat.
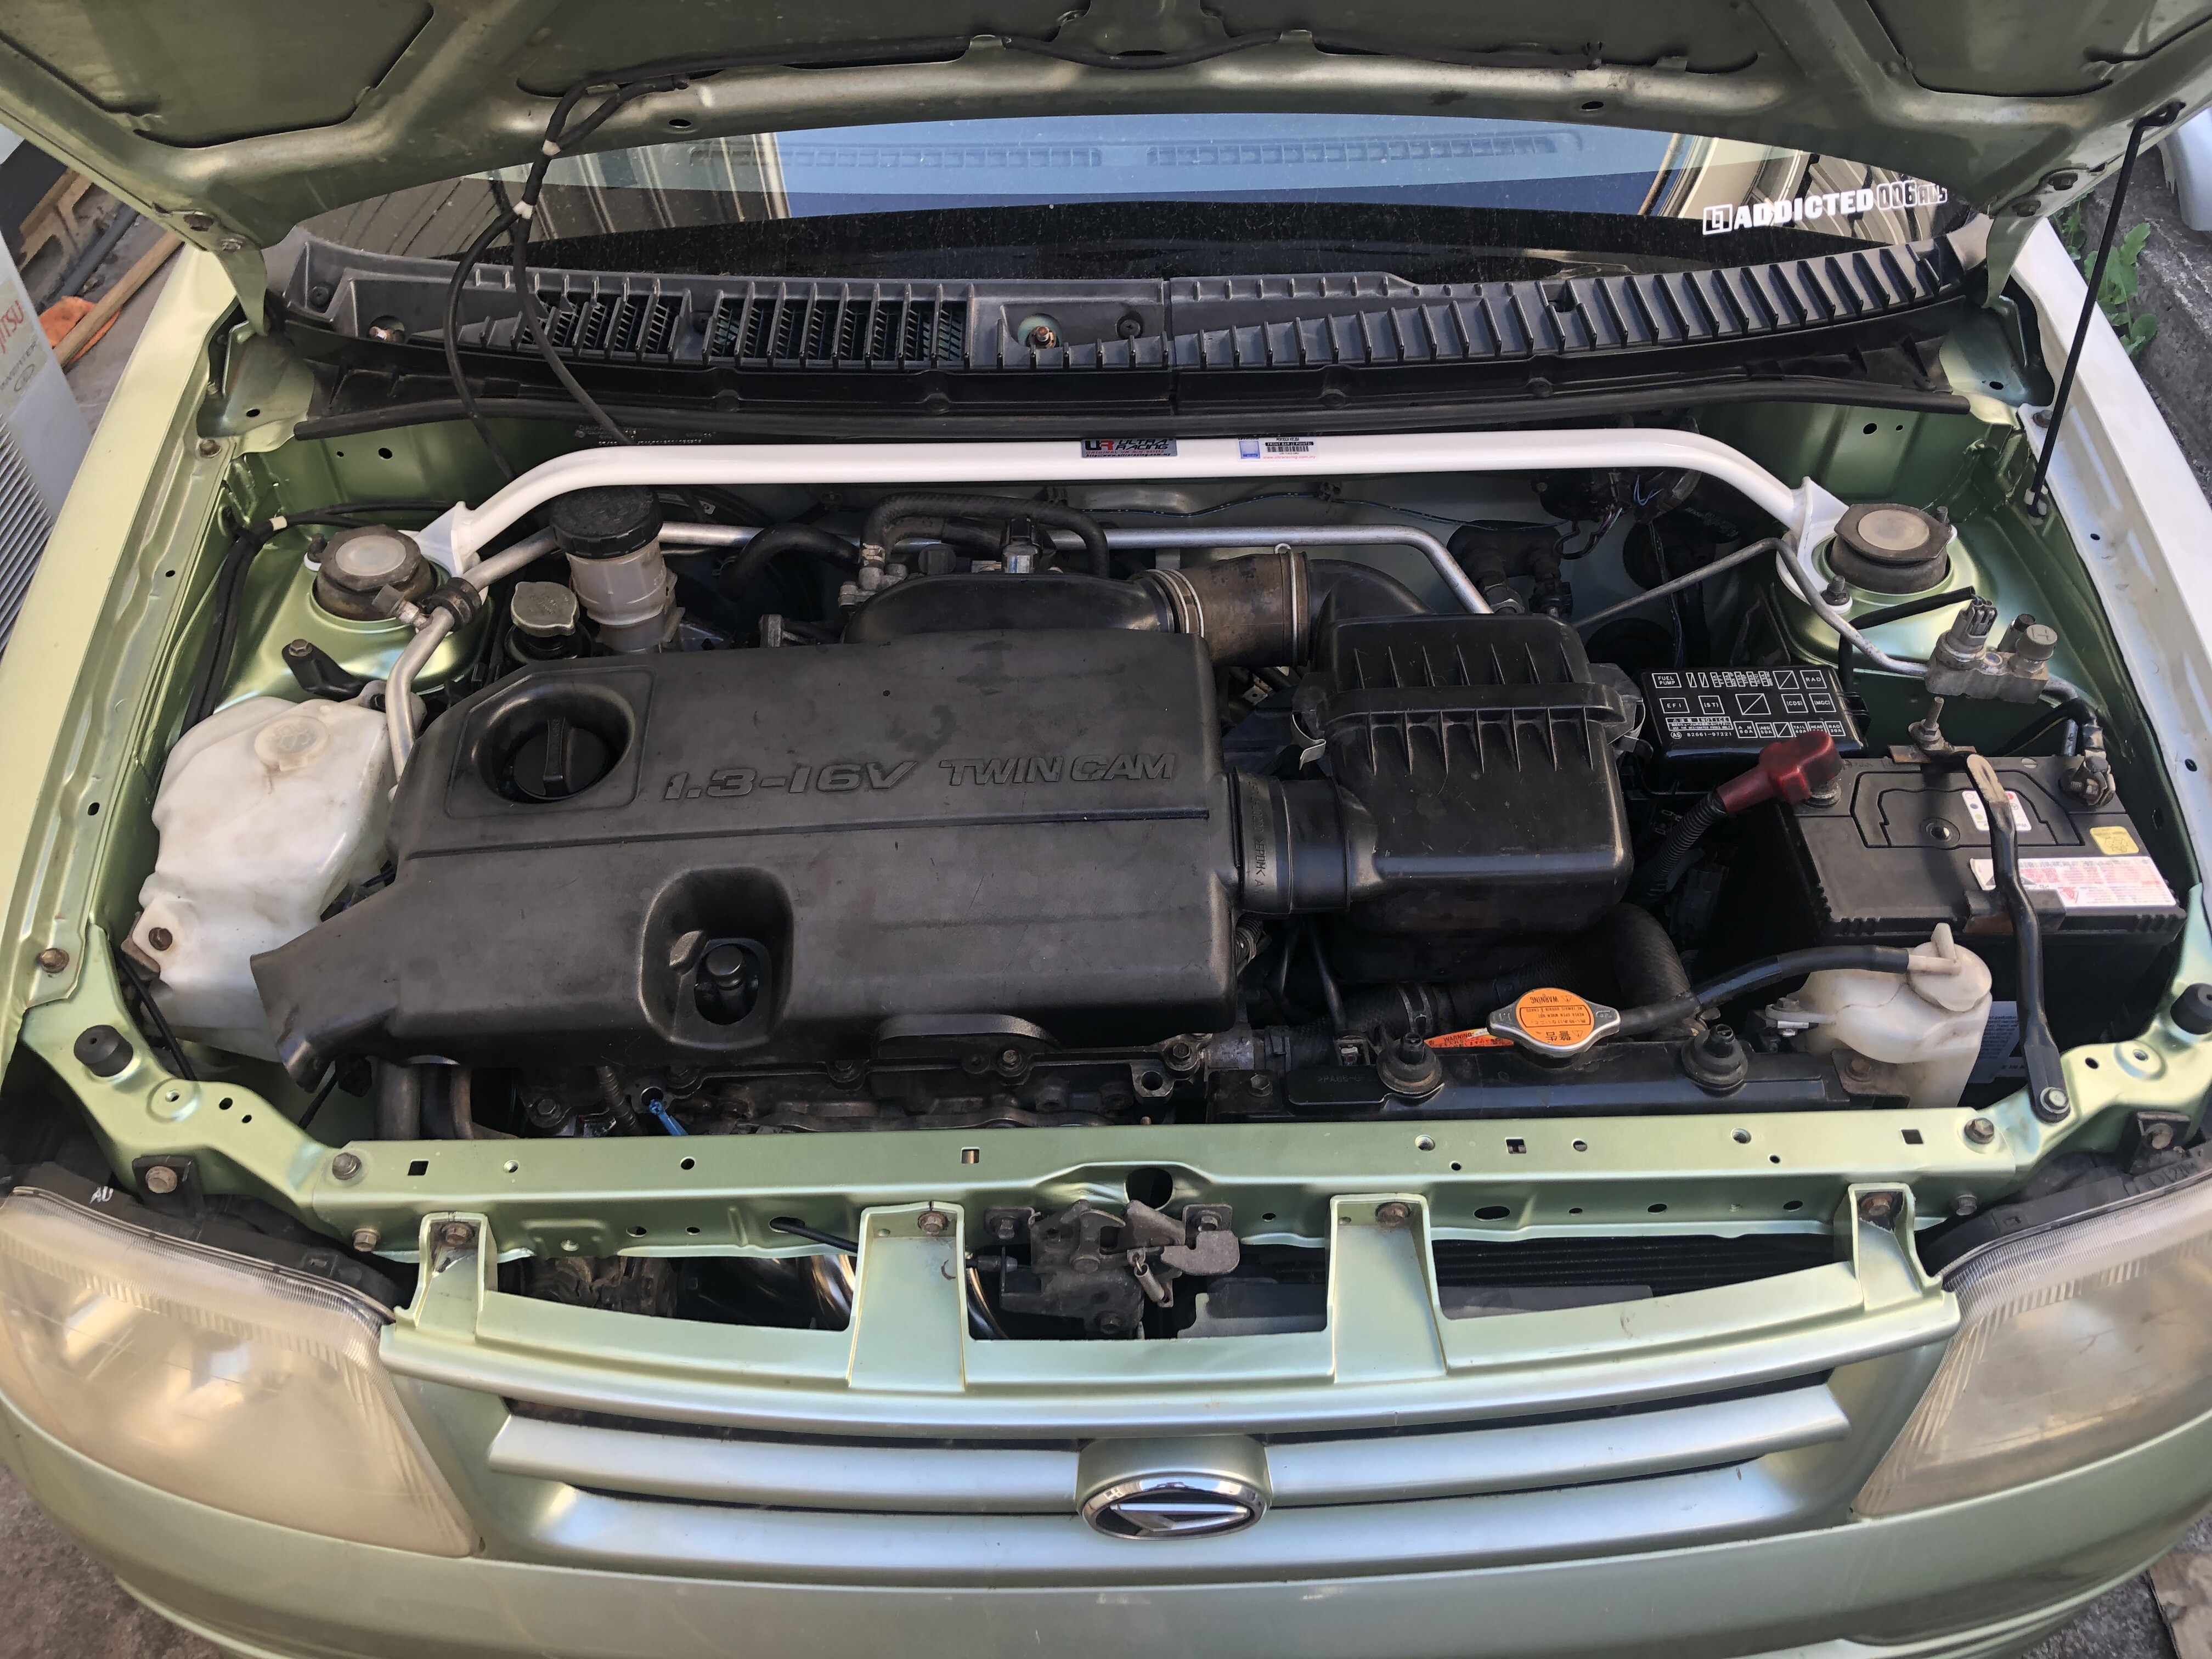
im really happy with the results.
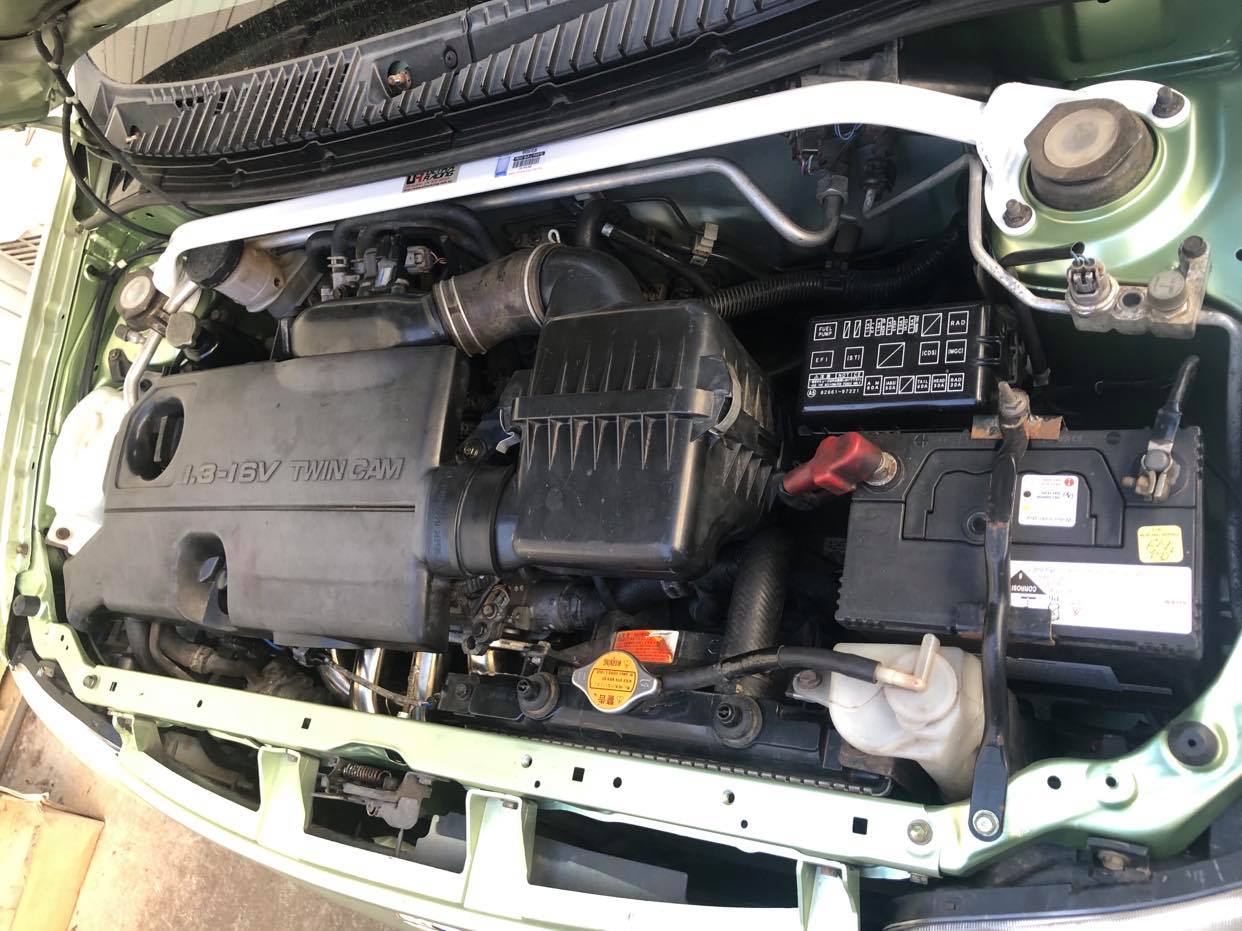
see how poo the paint was.
Uploading: IMG_2781.JPG…
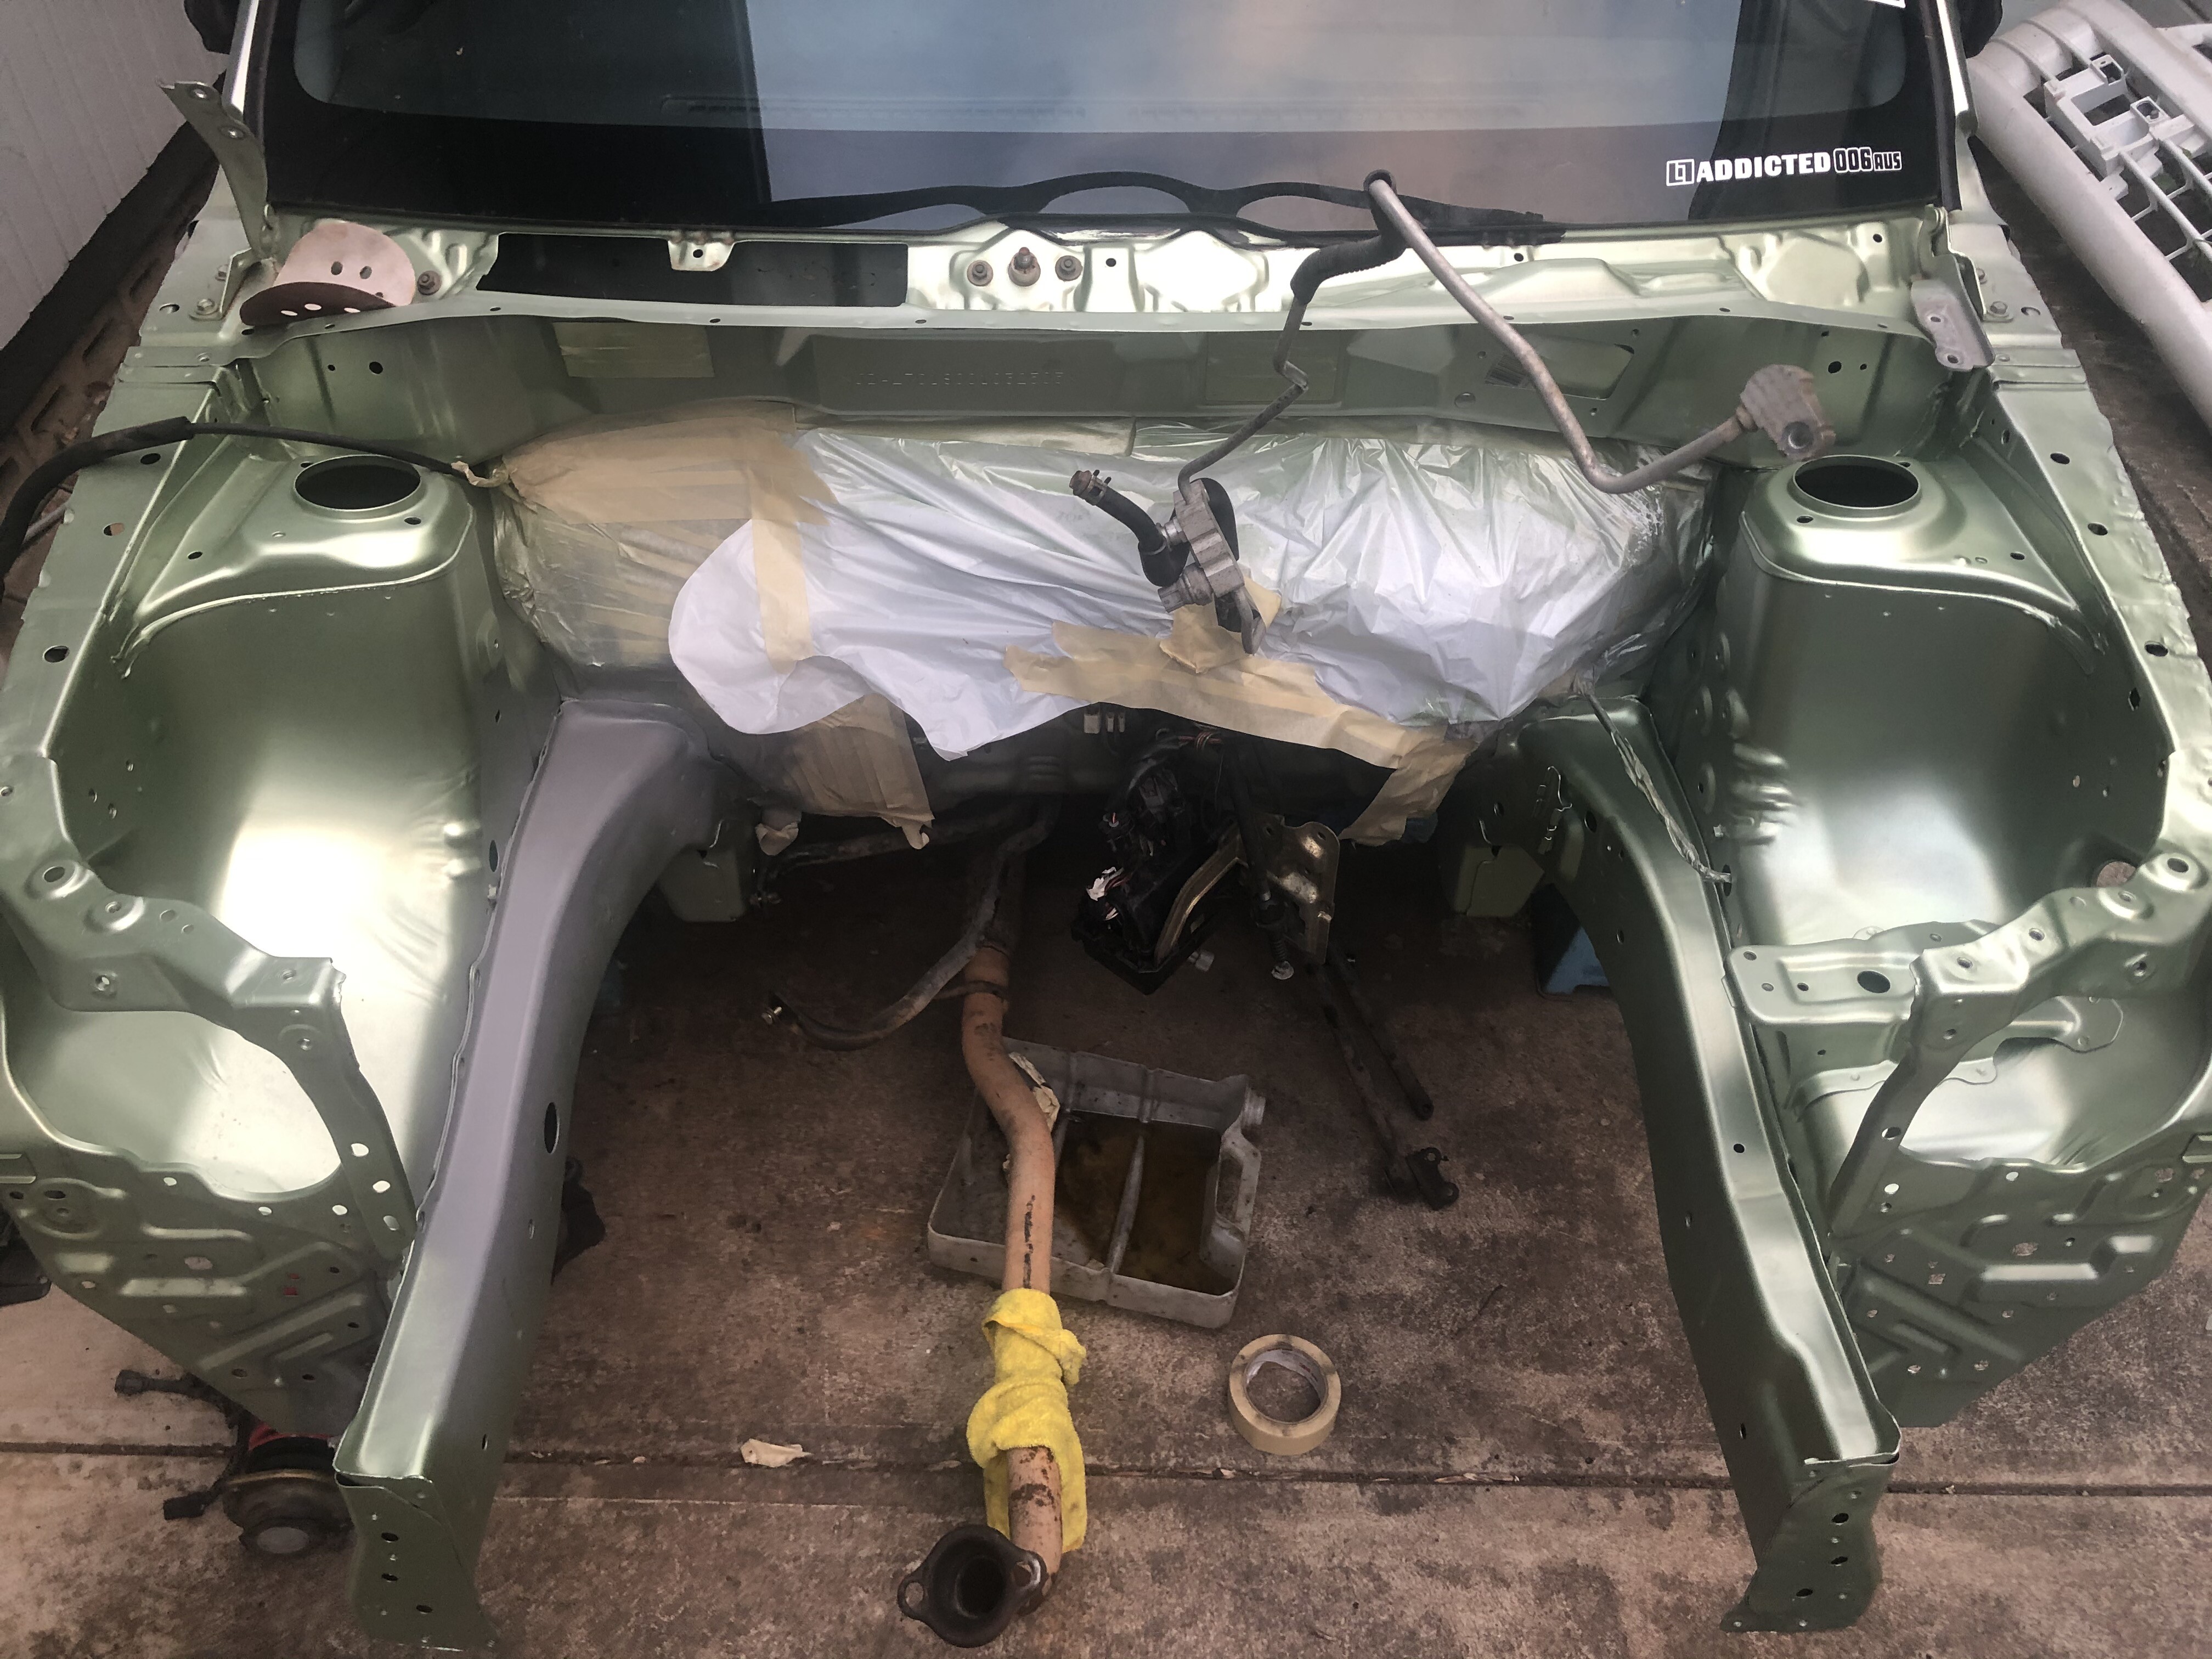
bit of prime, bit of paint.
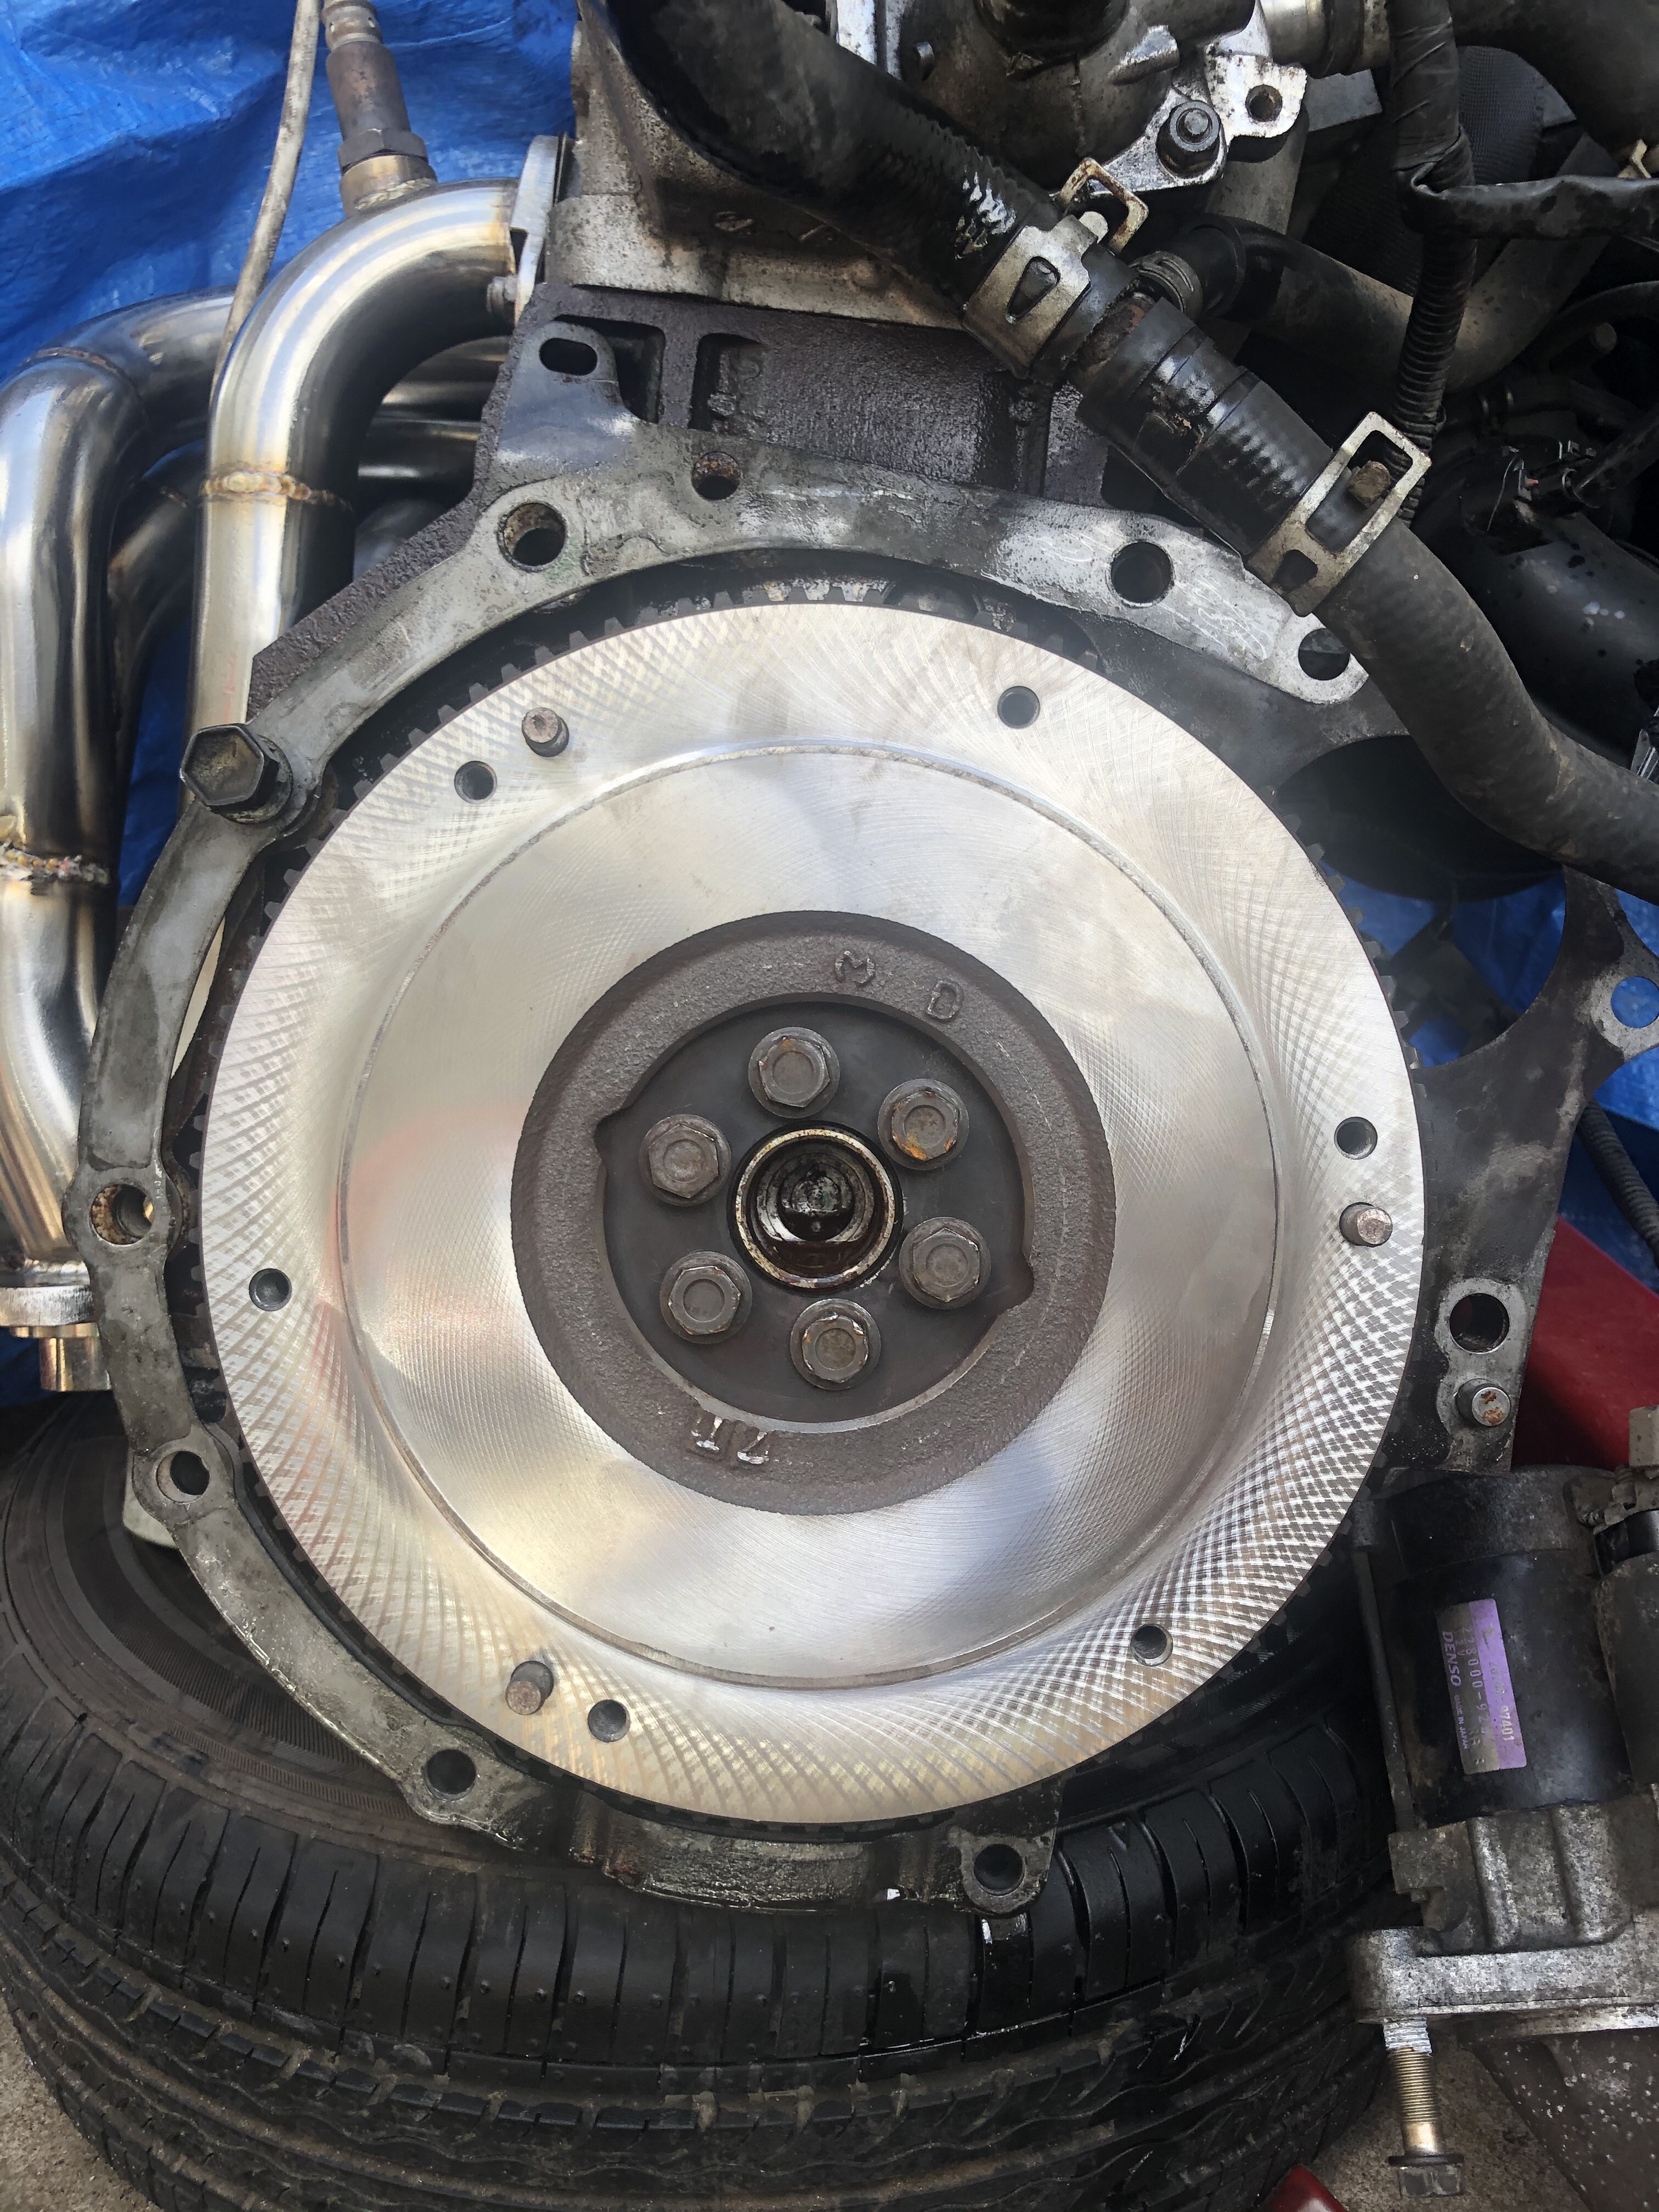
machine the fly wheel all sexy like.
and bam! Pretty as ya like. so much nicer without rusted rad support beams.
4 Likes
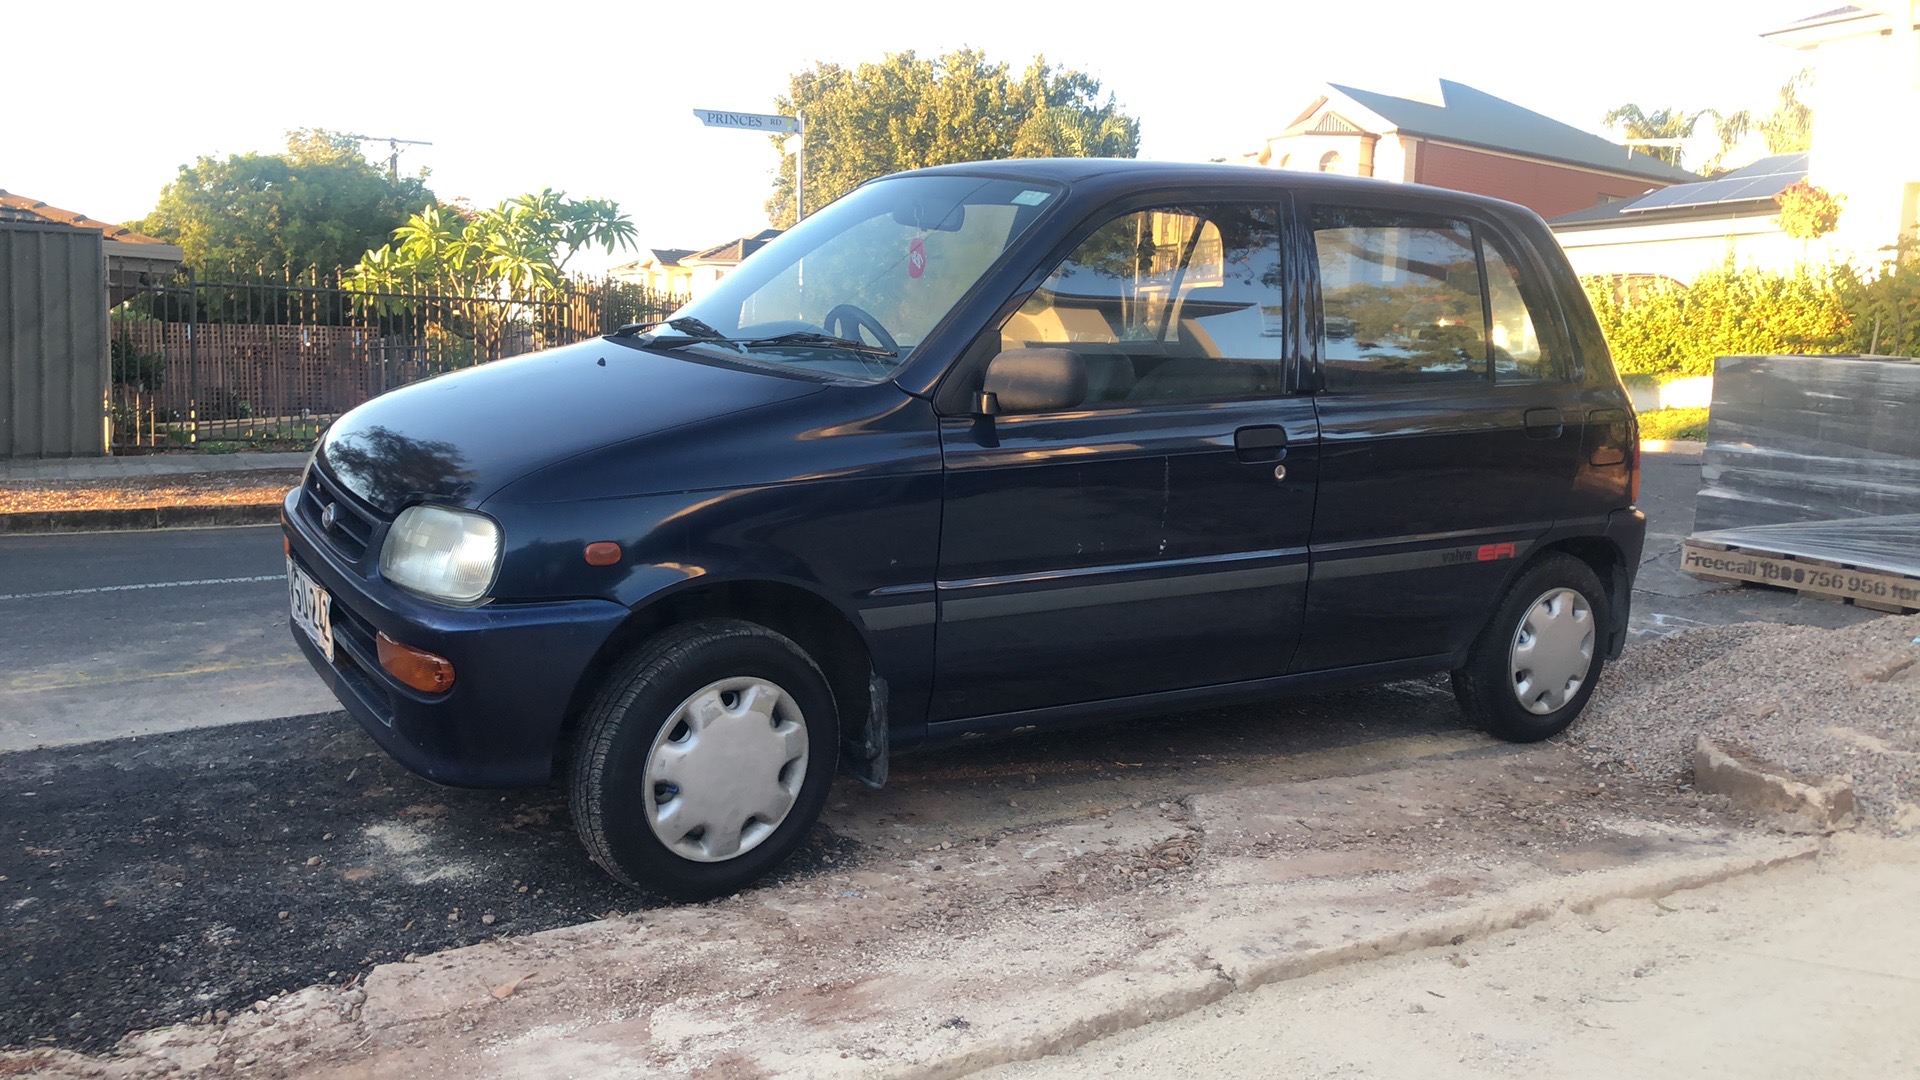
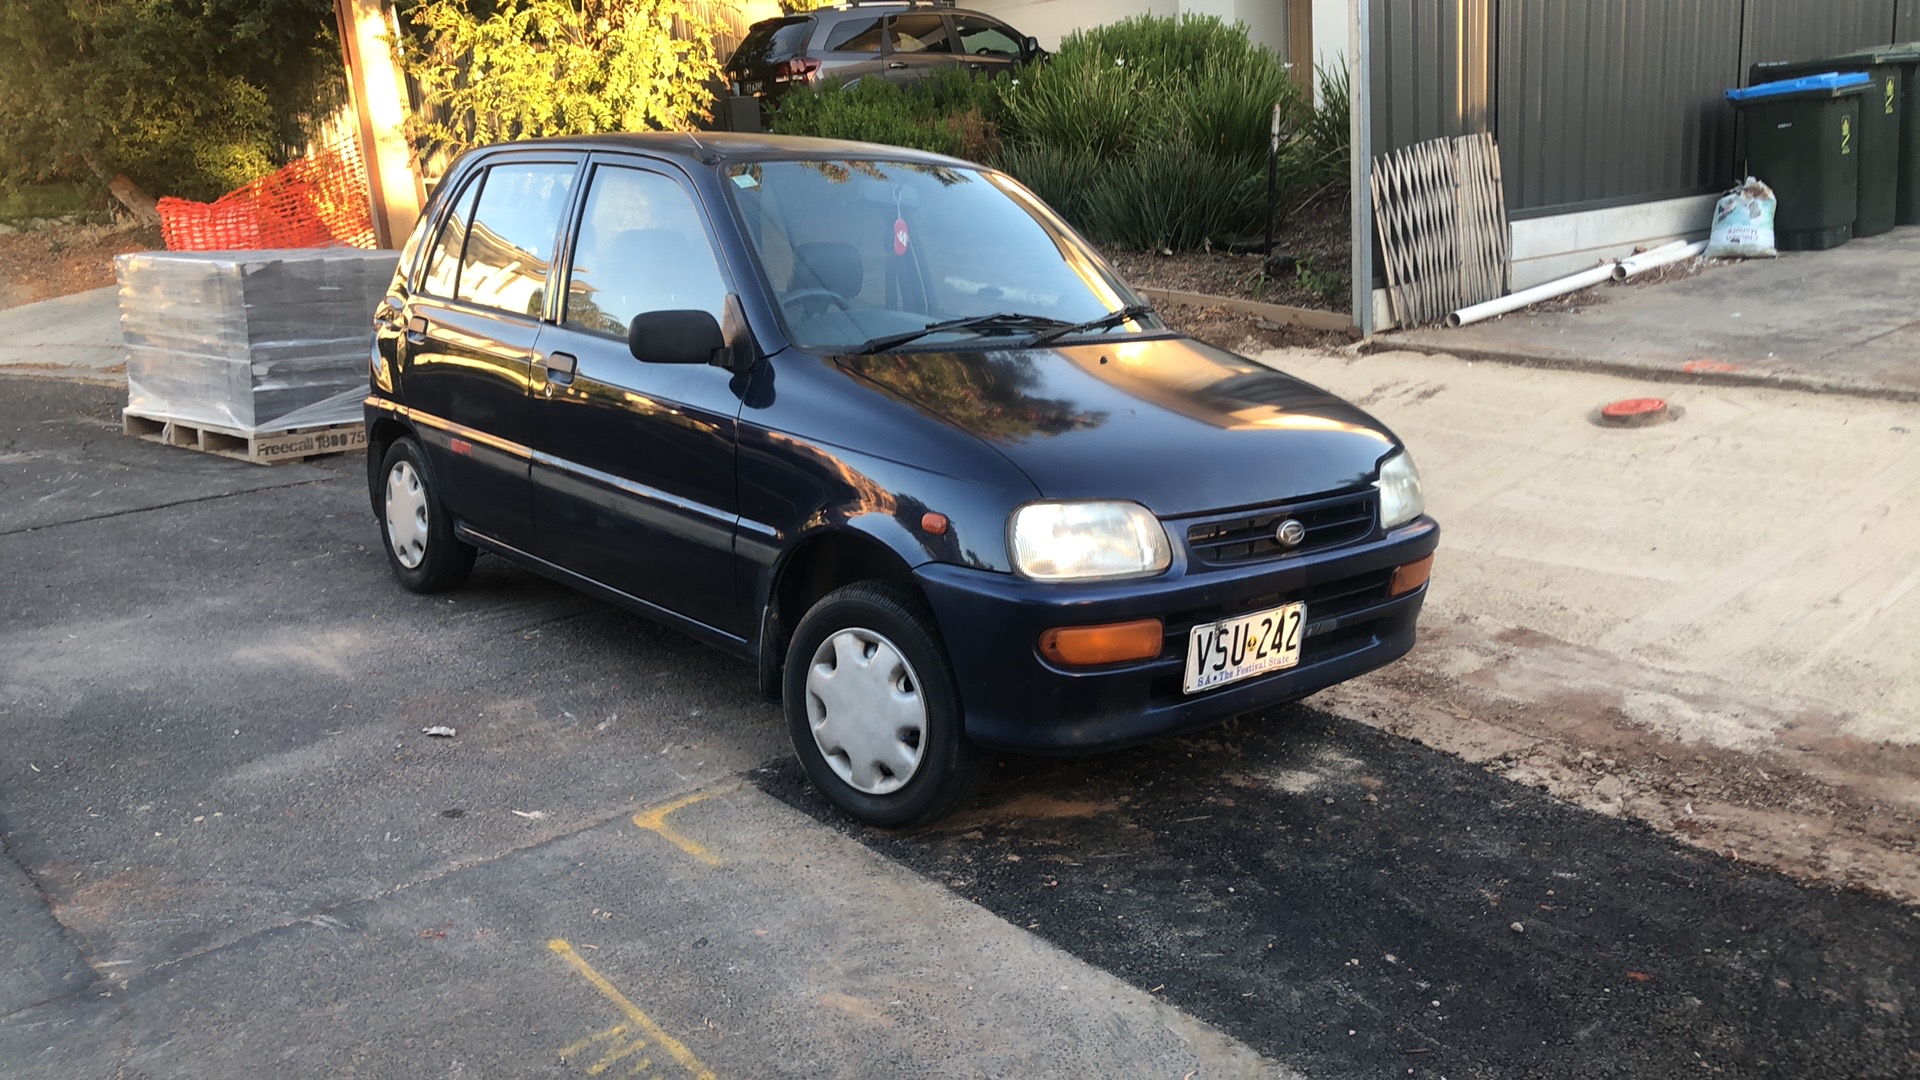
hahah bam, free l500.
well not completely she has a few gremlins and i had to pay for the rego and tank of fuel in her but the actual car is free and i love it so much. l500 are easily my favorite tiny car to drive. prefect size vehicle and fun as hell to drive around foot flat to the floor. its the honda grom of the car world.
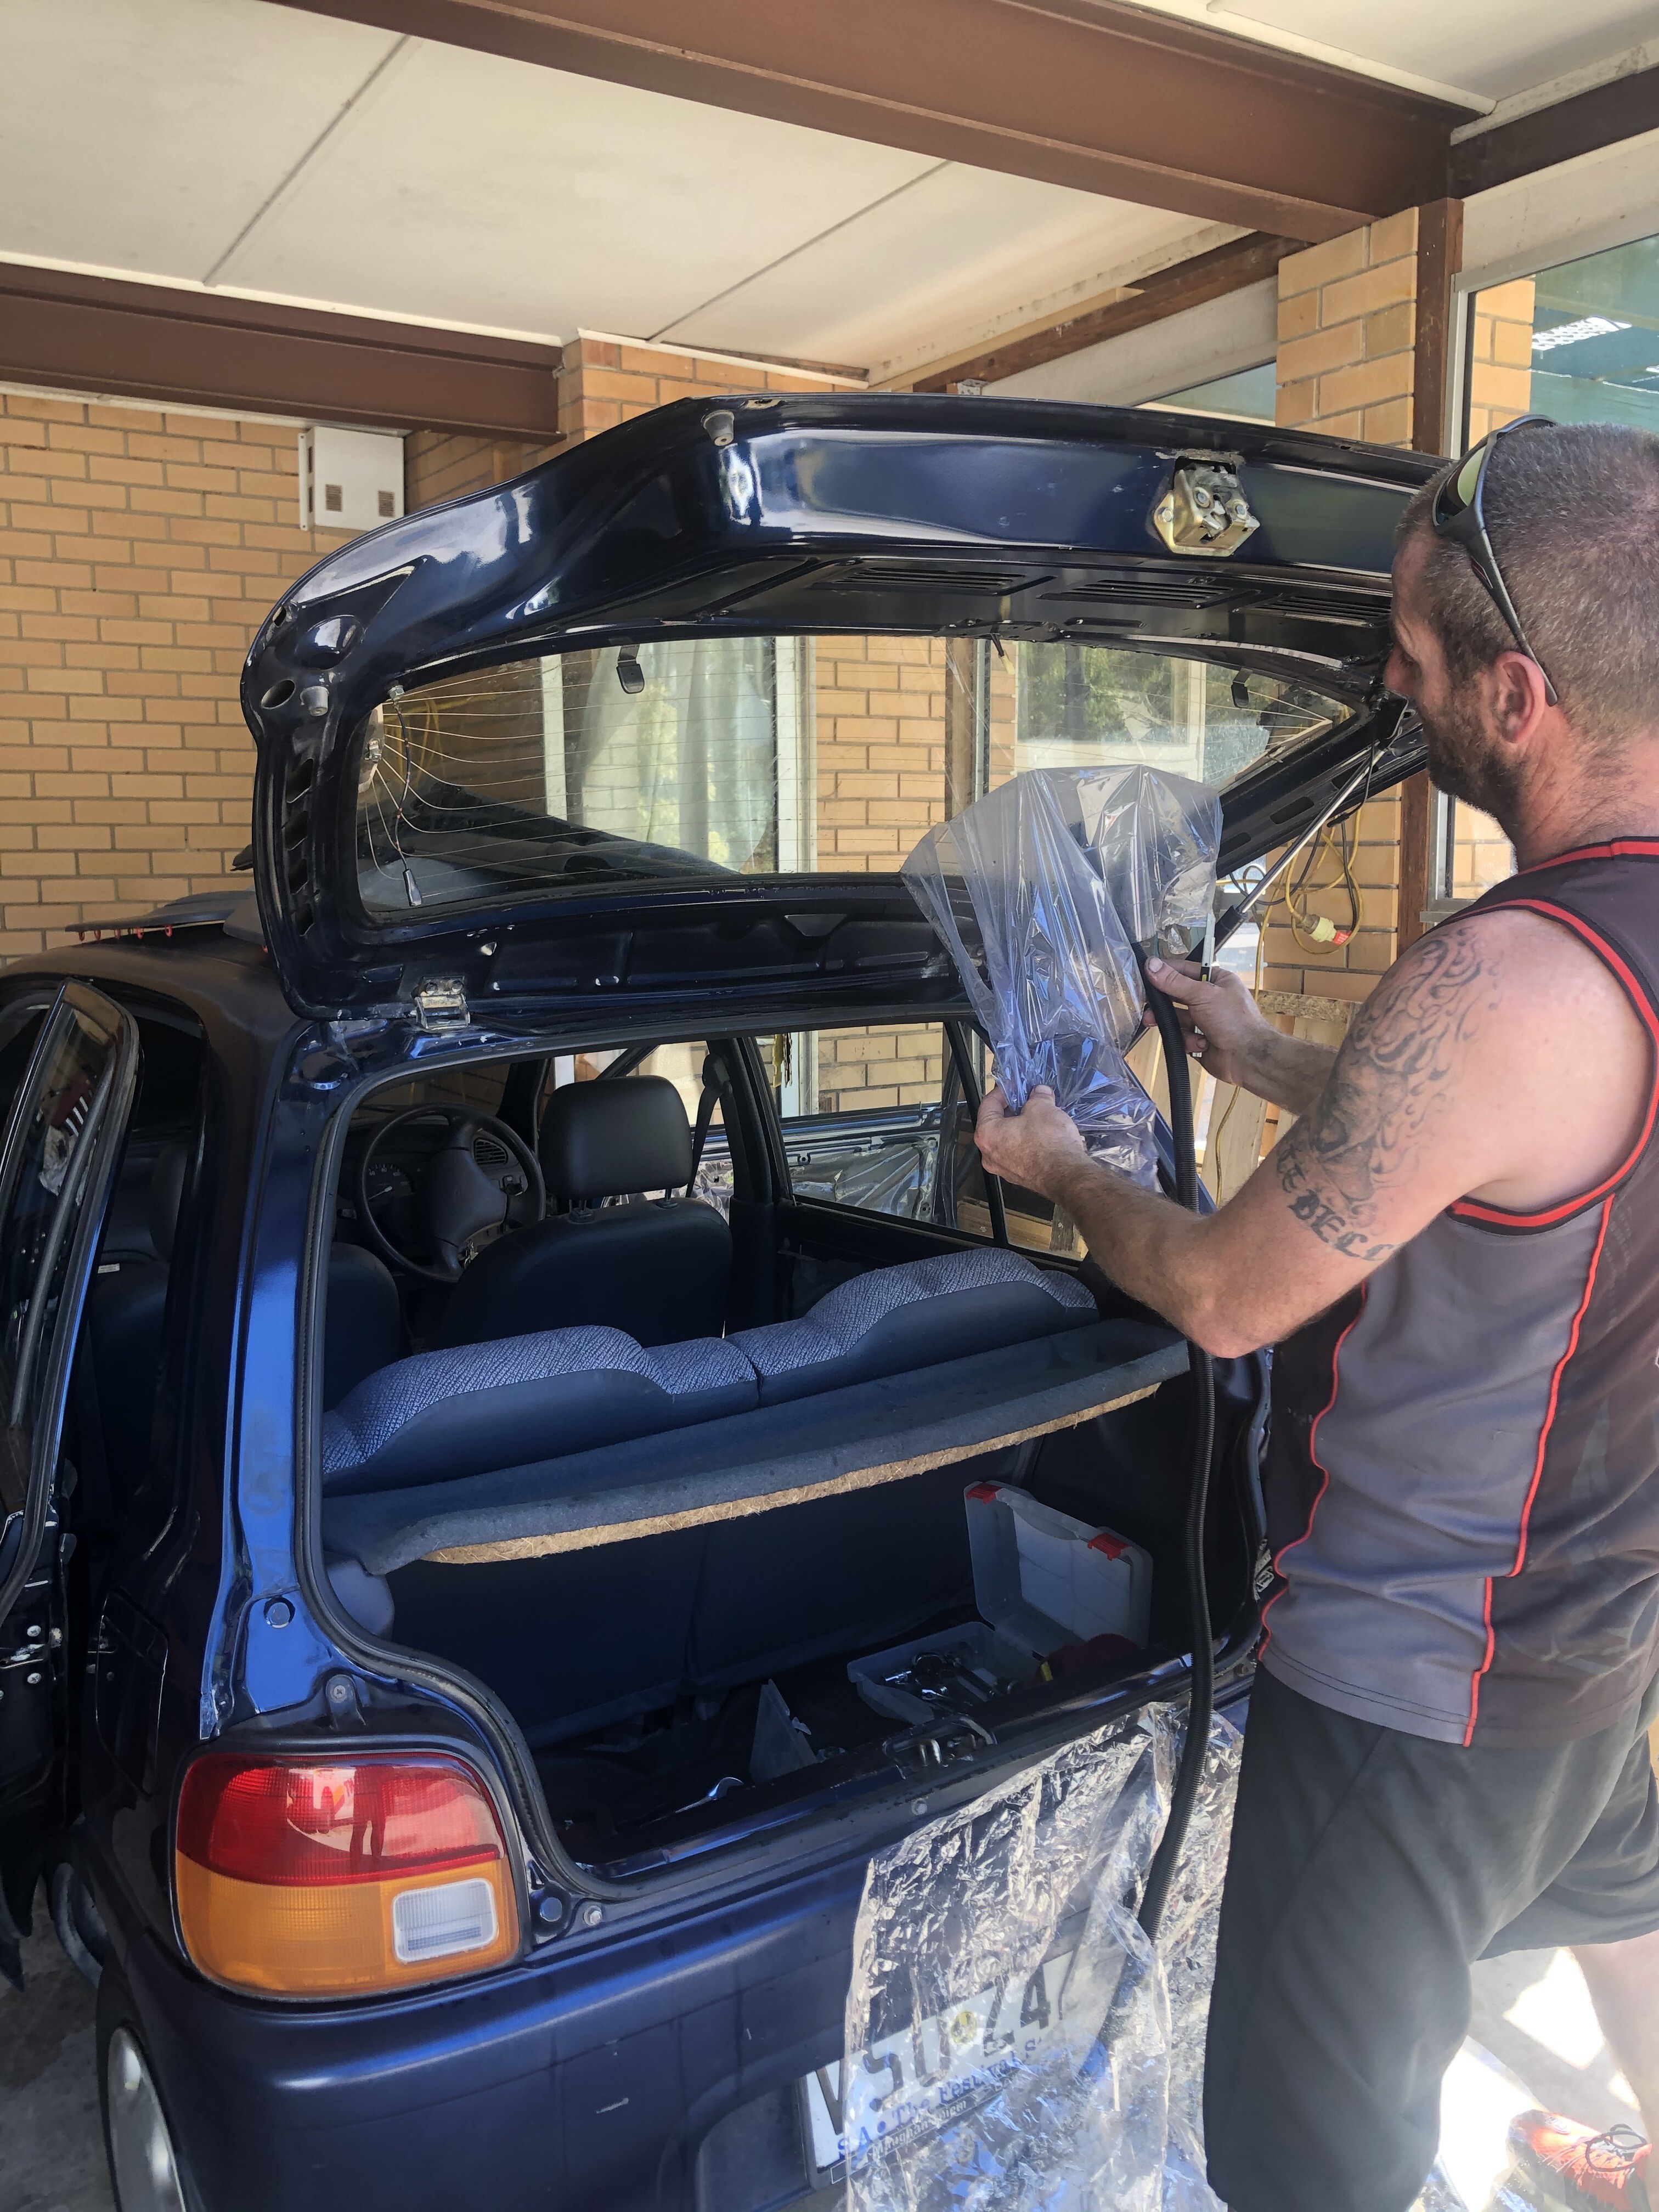
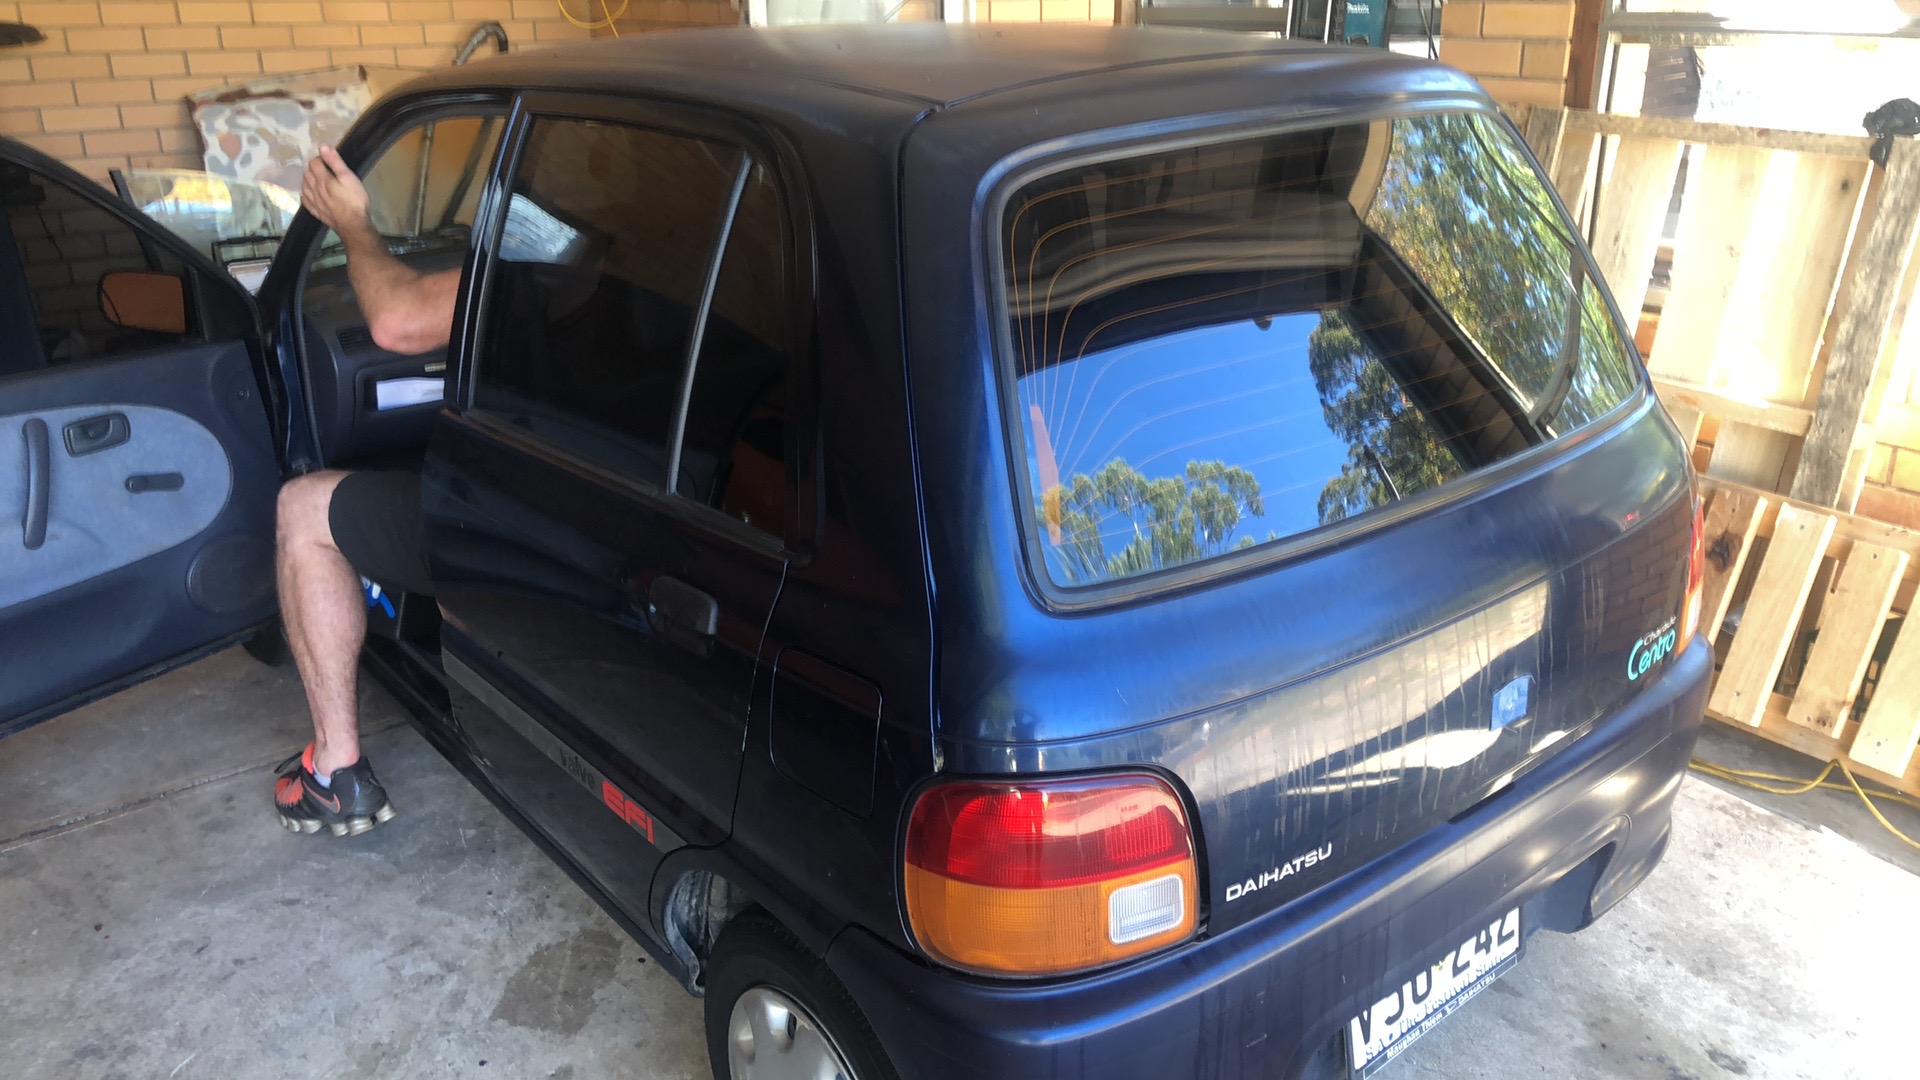
Following on from my previous post…
TINT!!!
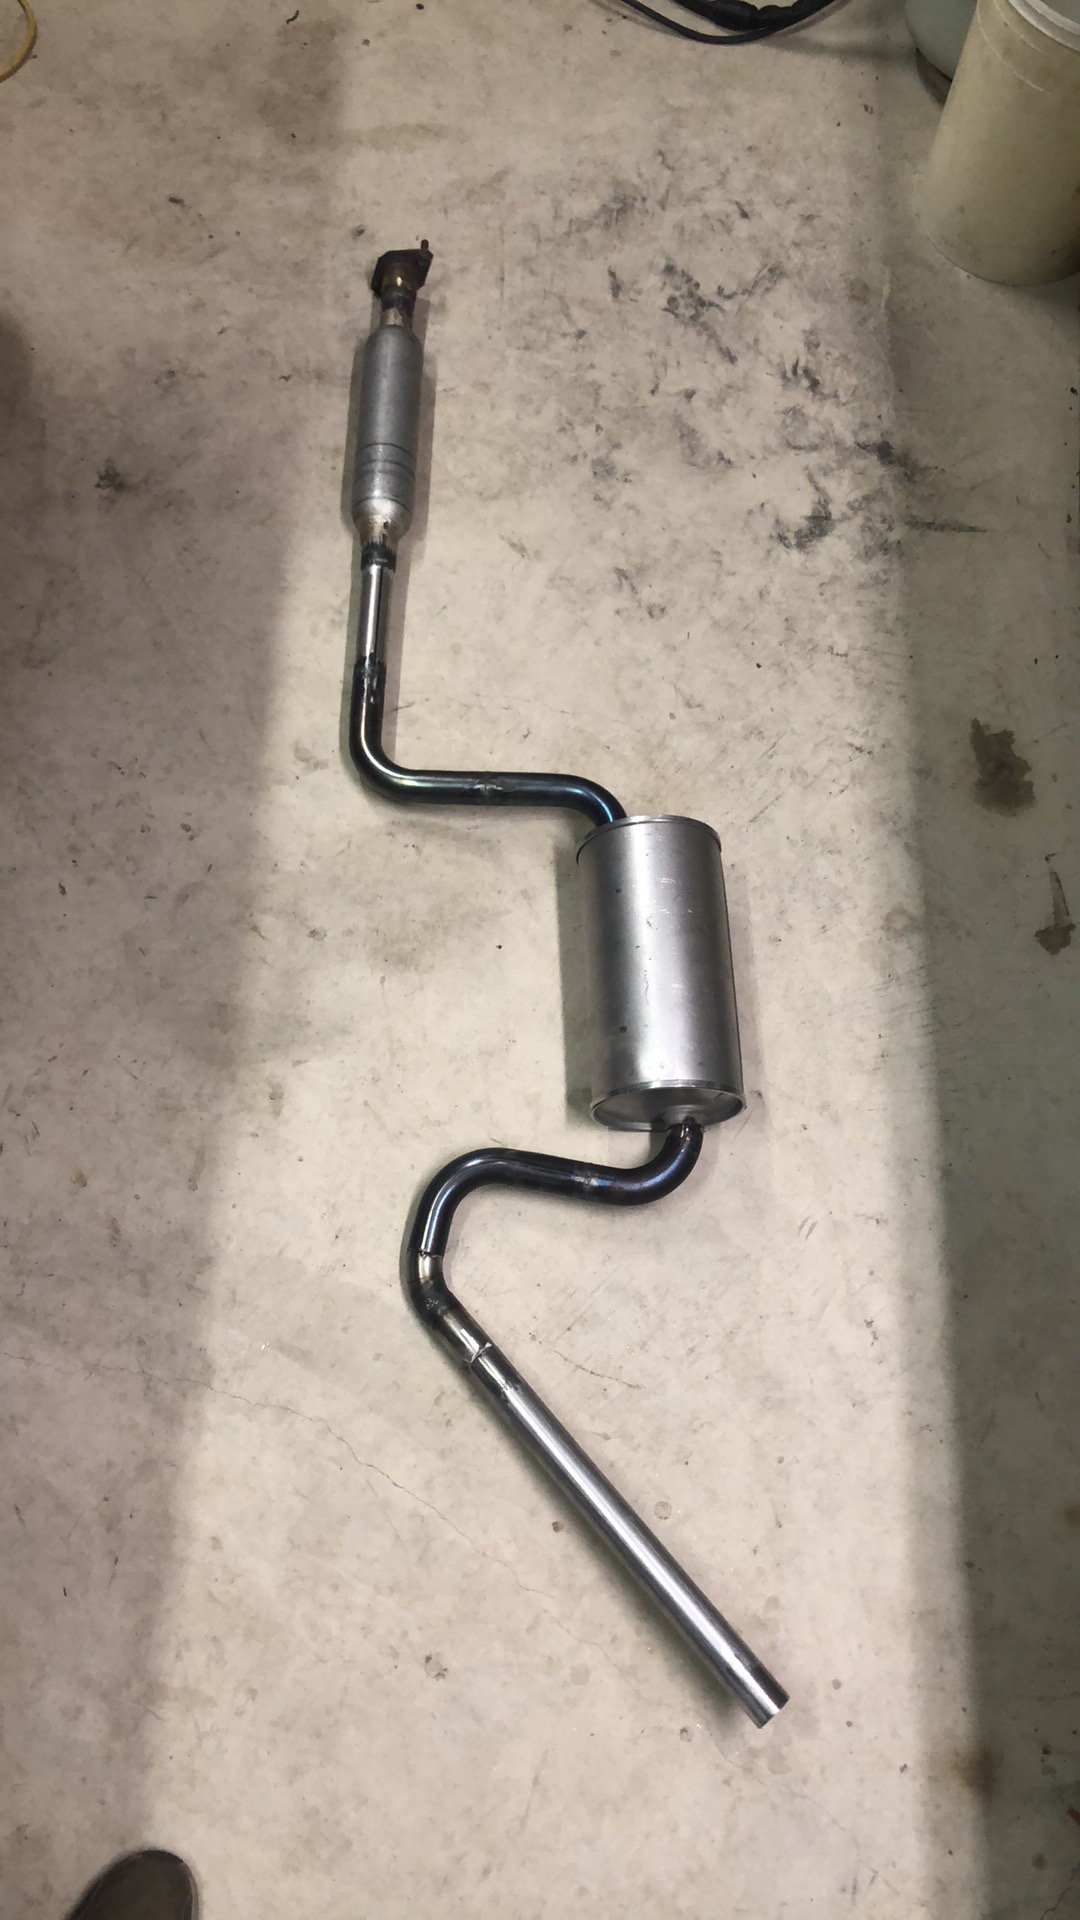
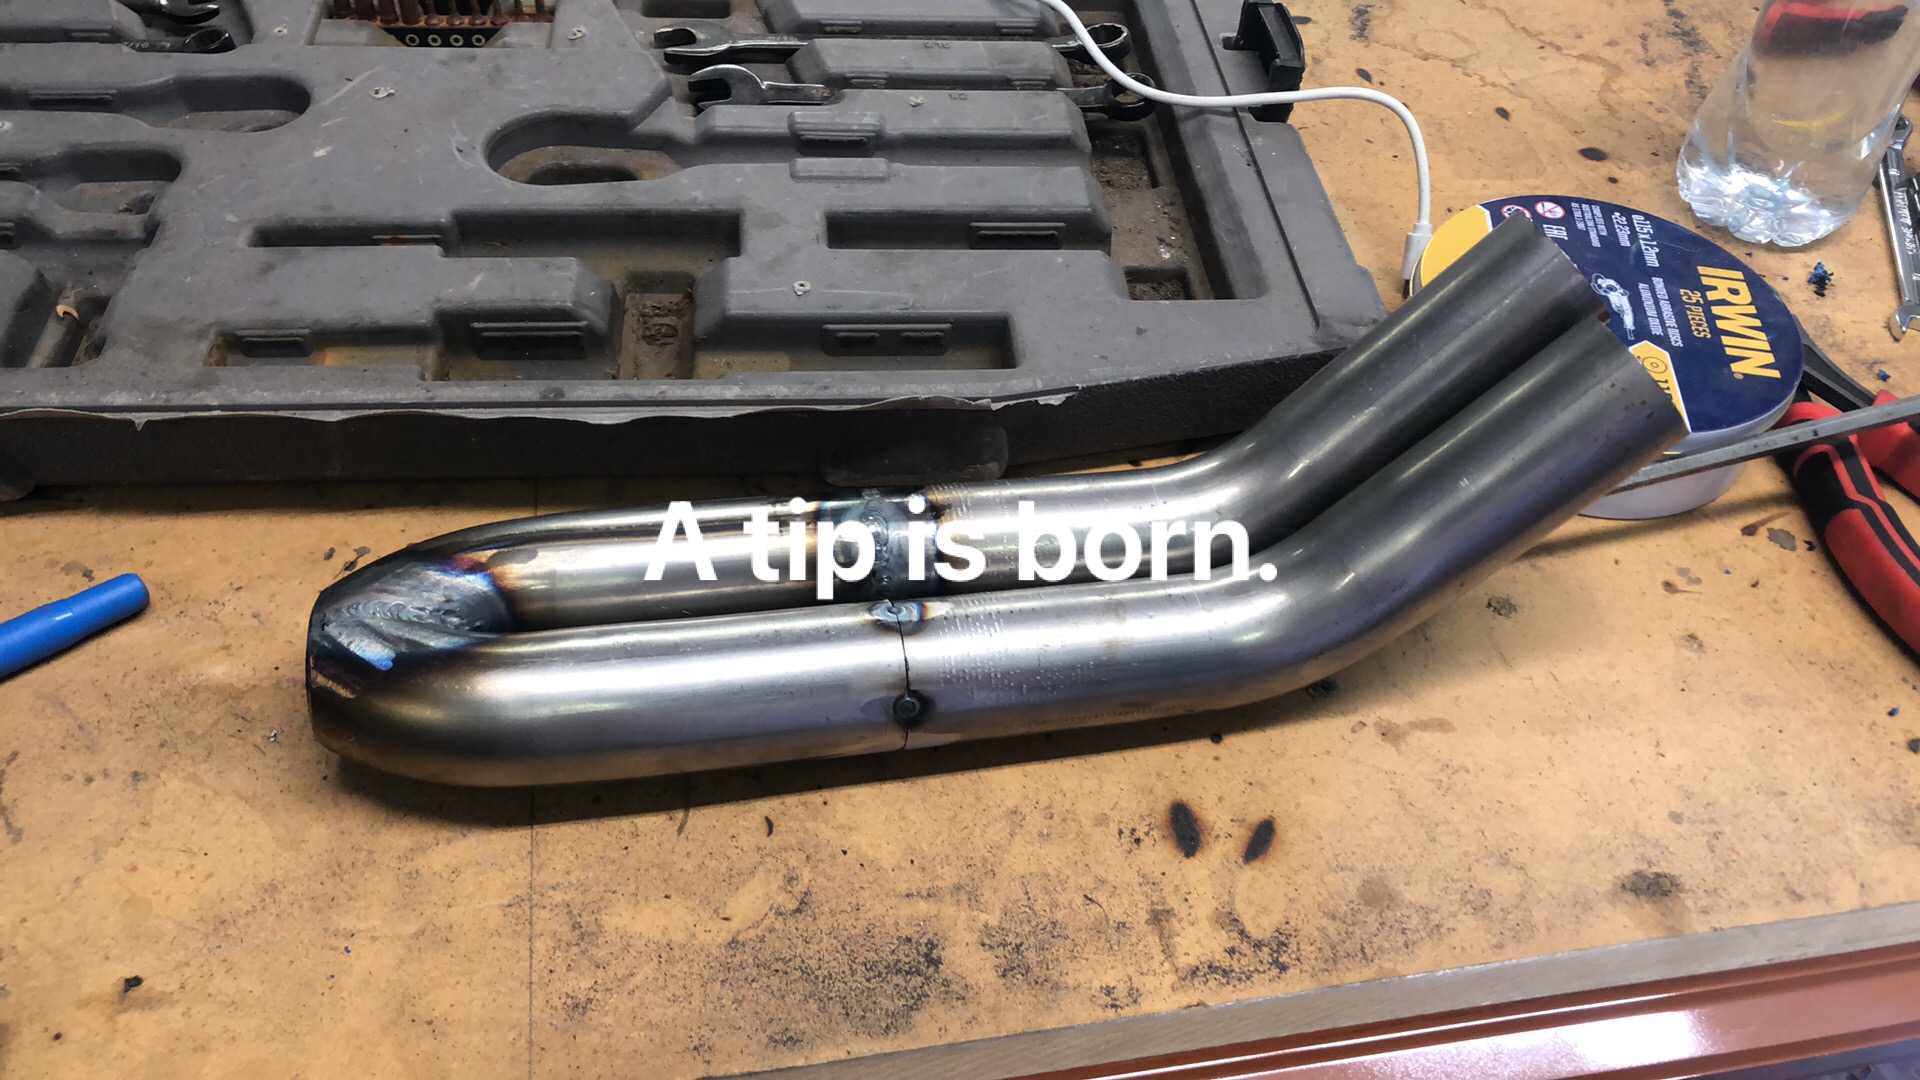
the little 1" exhaust was also more holey than the pope so a new tail section and heccin exhaust tip is born.
Also I’m teaching myself to tig weld with zero previous welding experience in mig or stick so please don’t be to harsh.
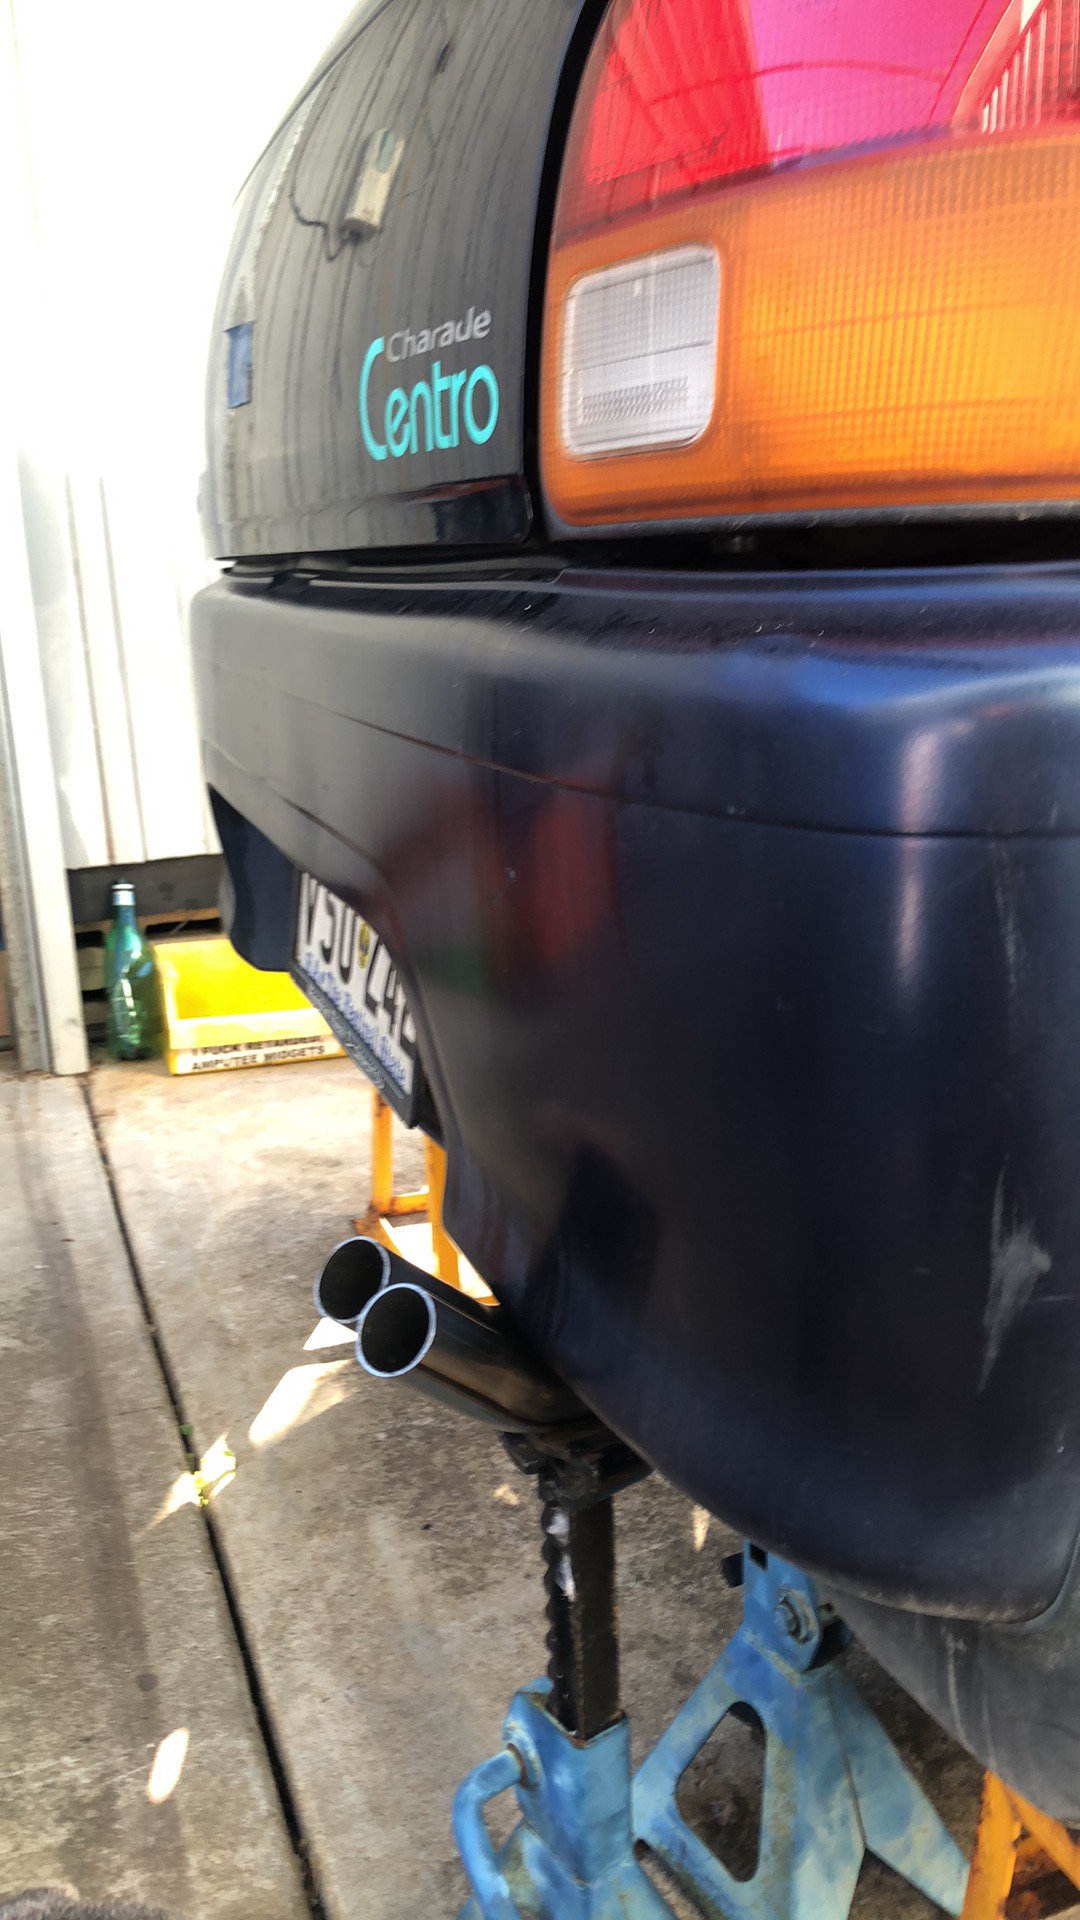
im super happy with the outcome.
sounds cool and look JDM as ya like haha.
4 Likes
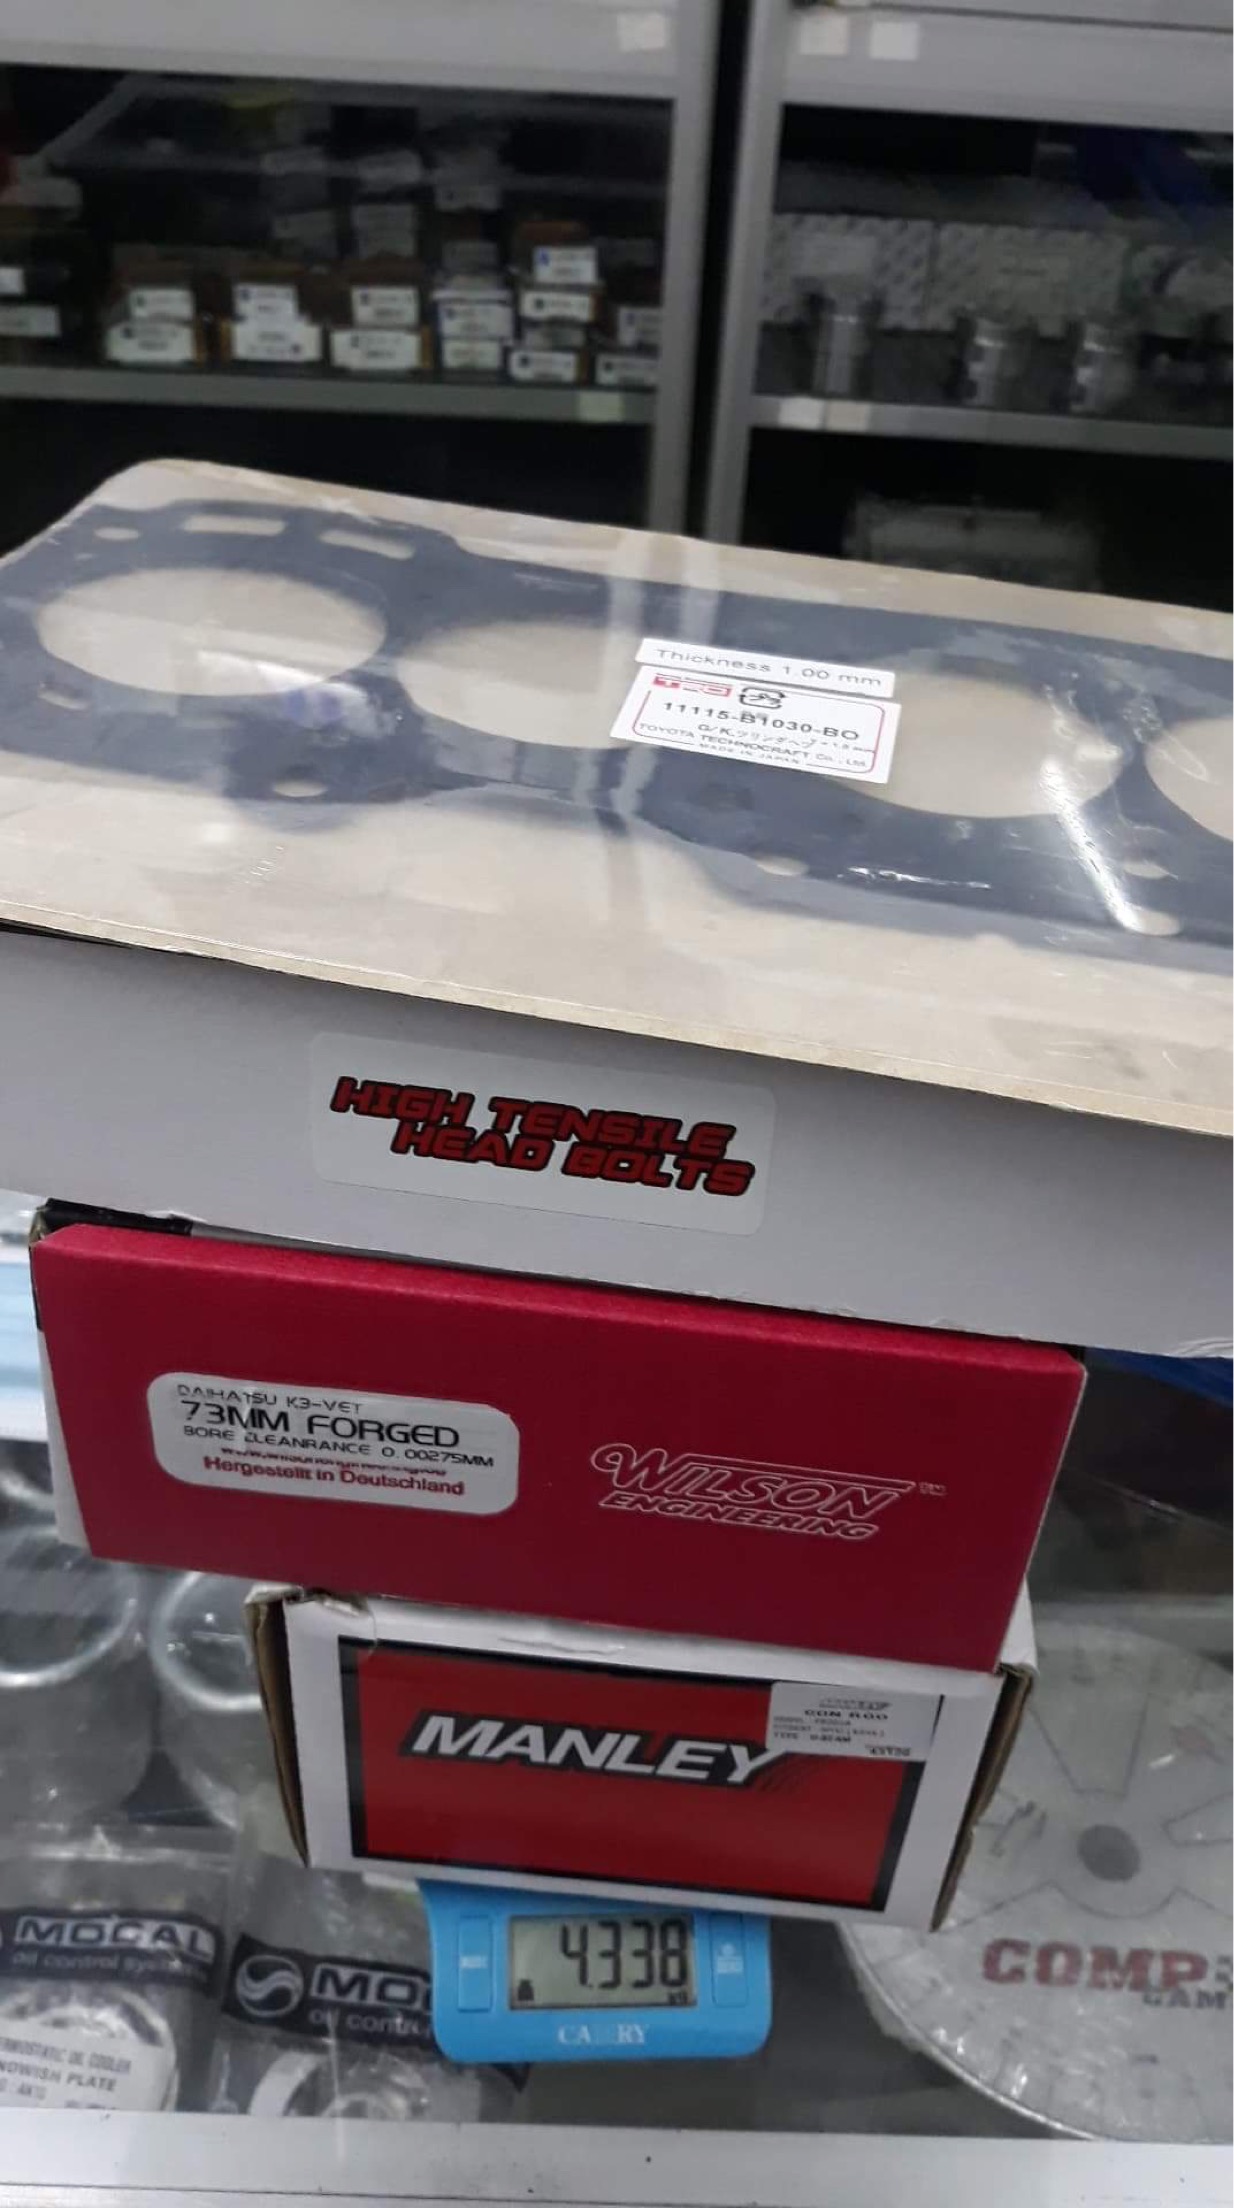
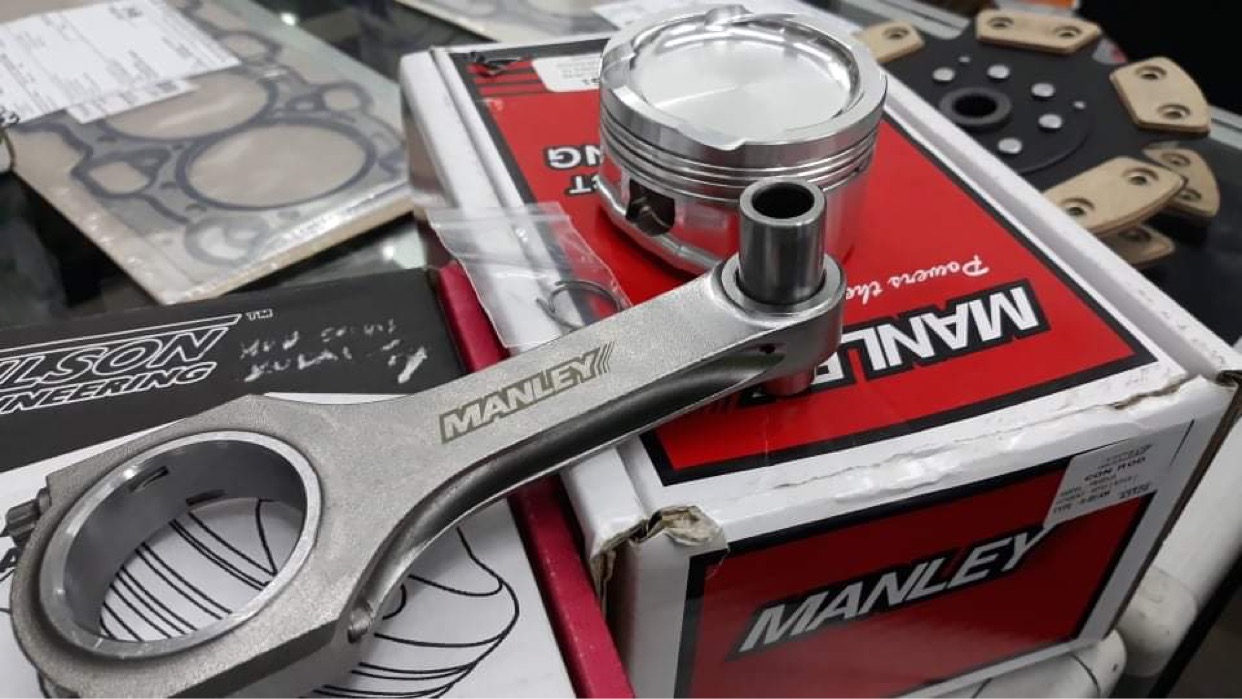
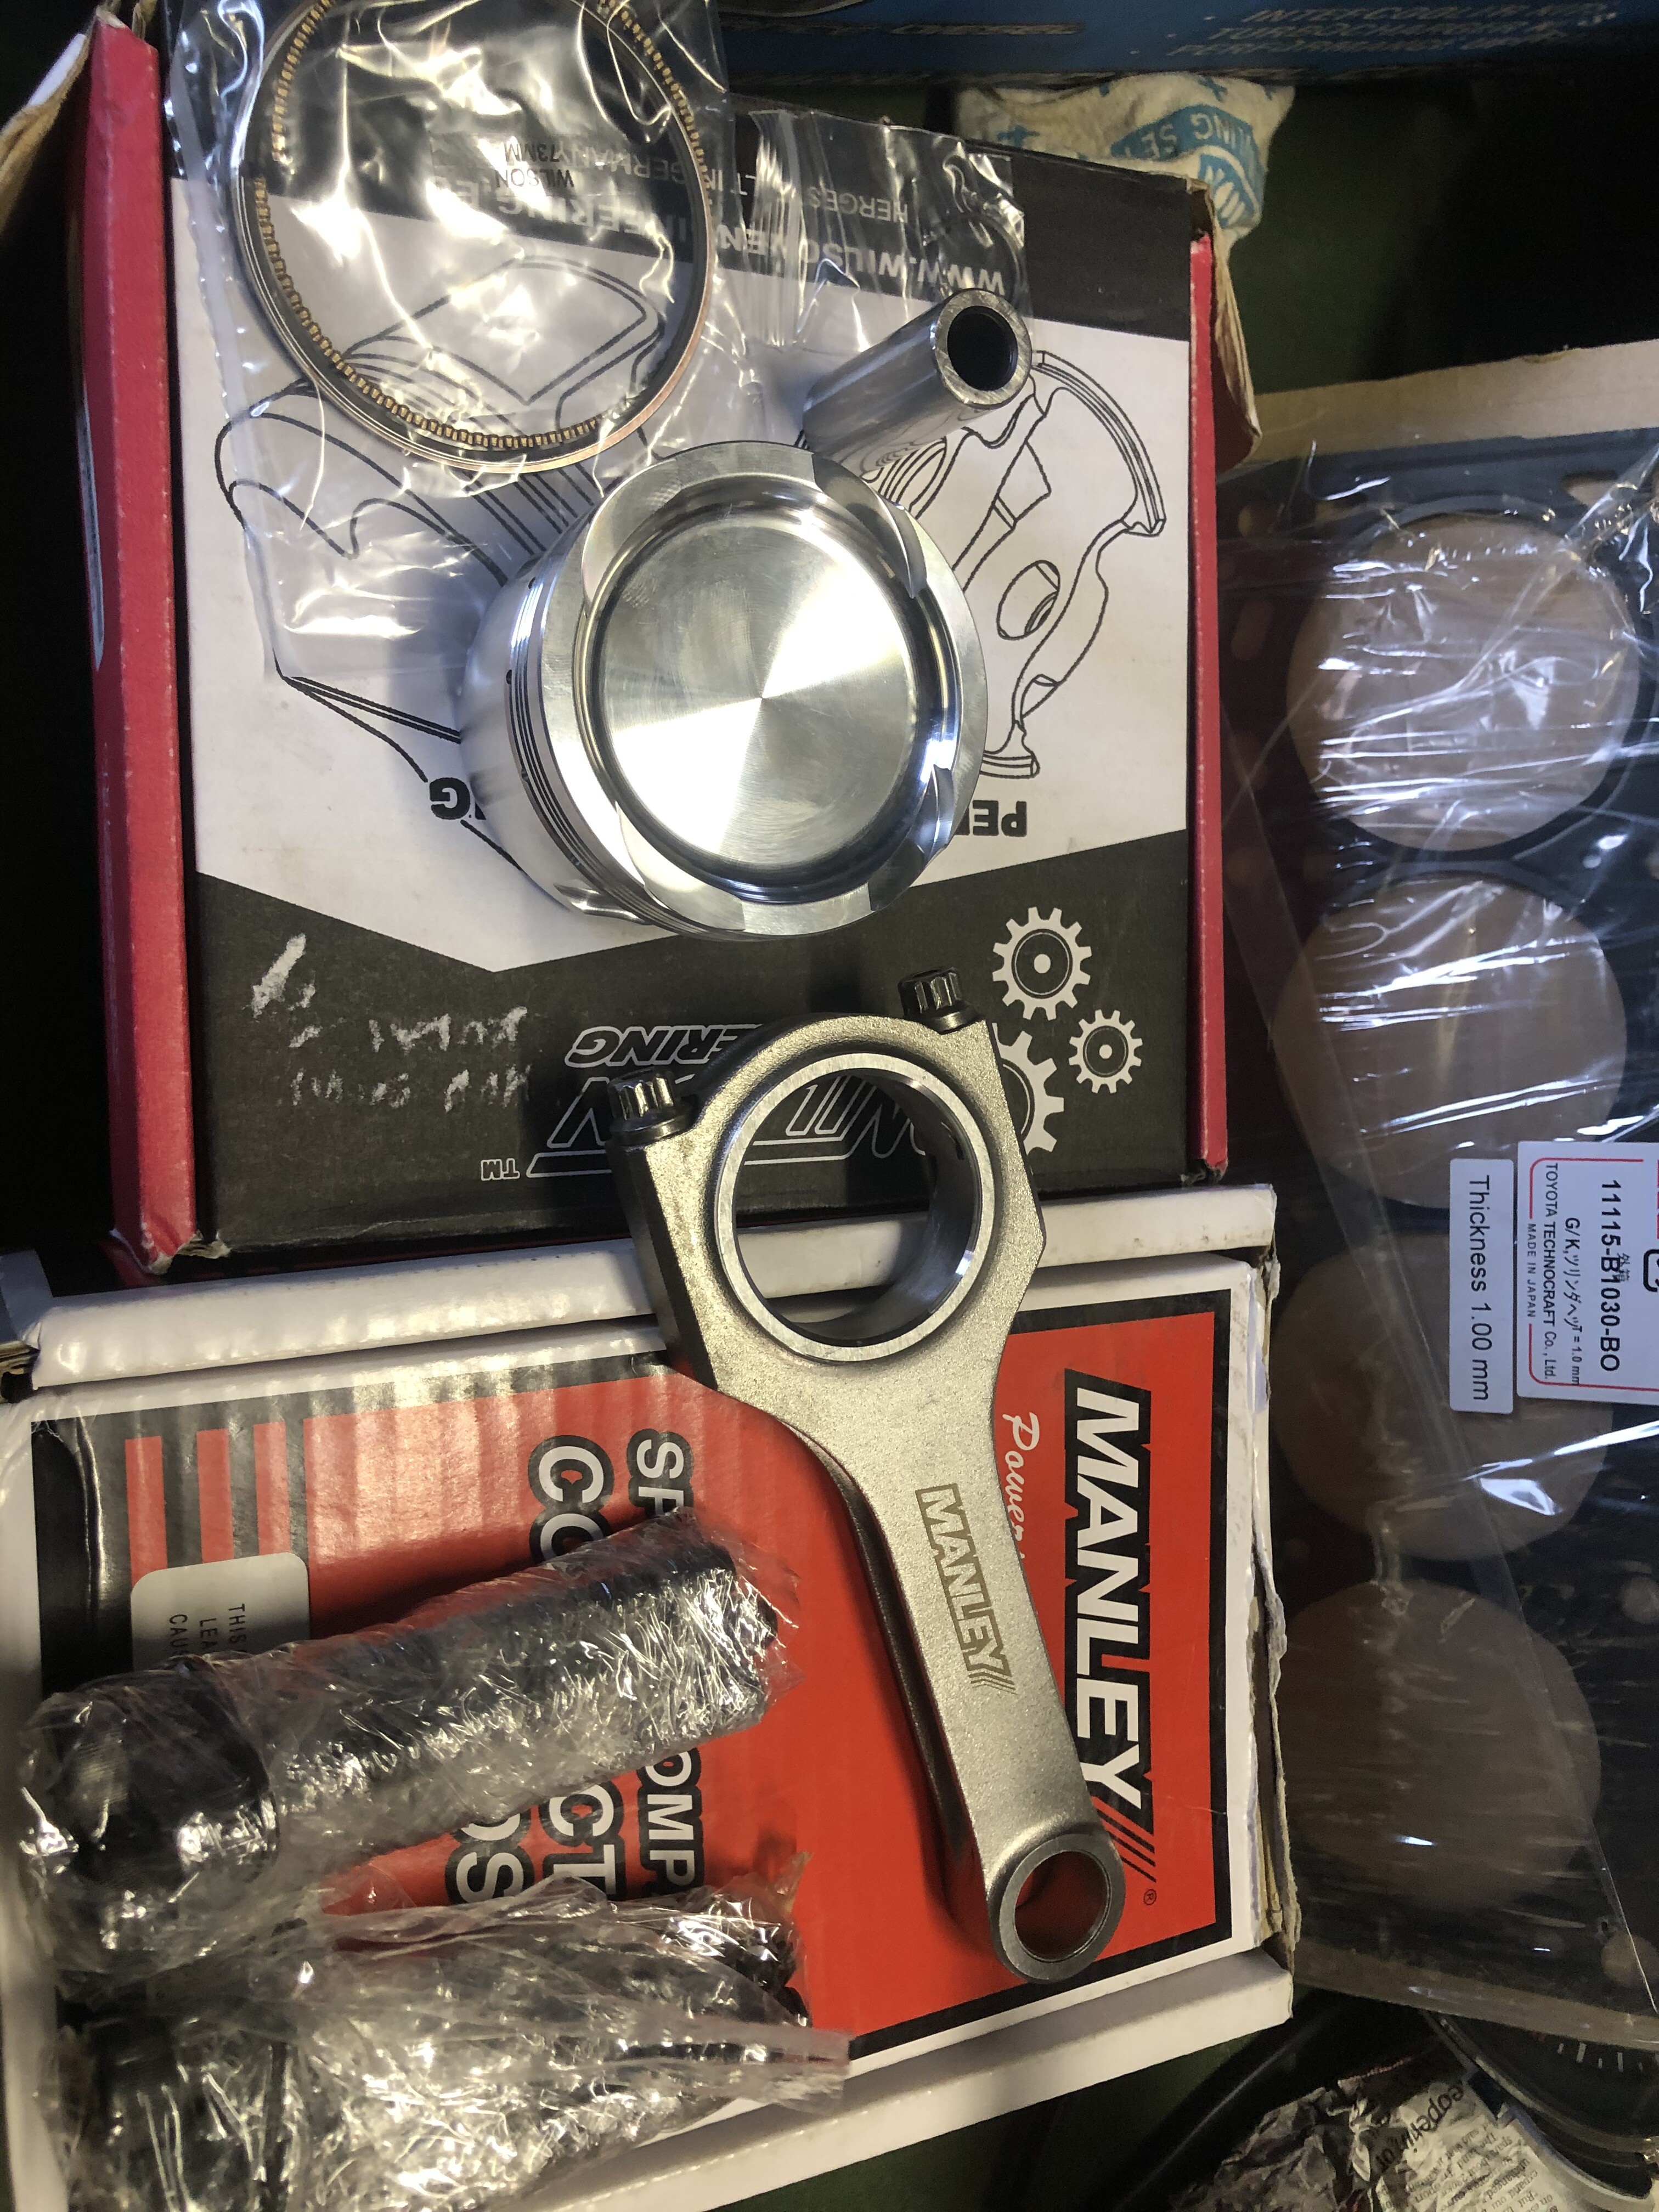
so i spent a little green with the boys in Malaysia.
Big shout out to fazlee piston. A few aussies have had a bad experience with this supplier but ive had nothing but good experience. he is polite and quick to reply to me. so heres to hoping that this engine build goes smooth.
Im getting 73mm pistons machined in and this will leave me with a 1.33ltr motor. Standard stroke with forged hbeam rods.
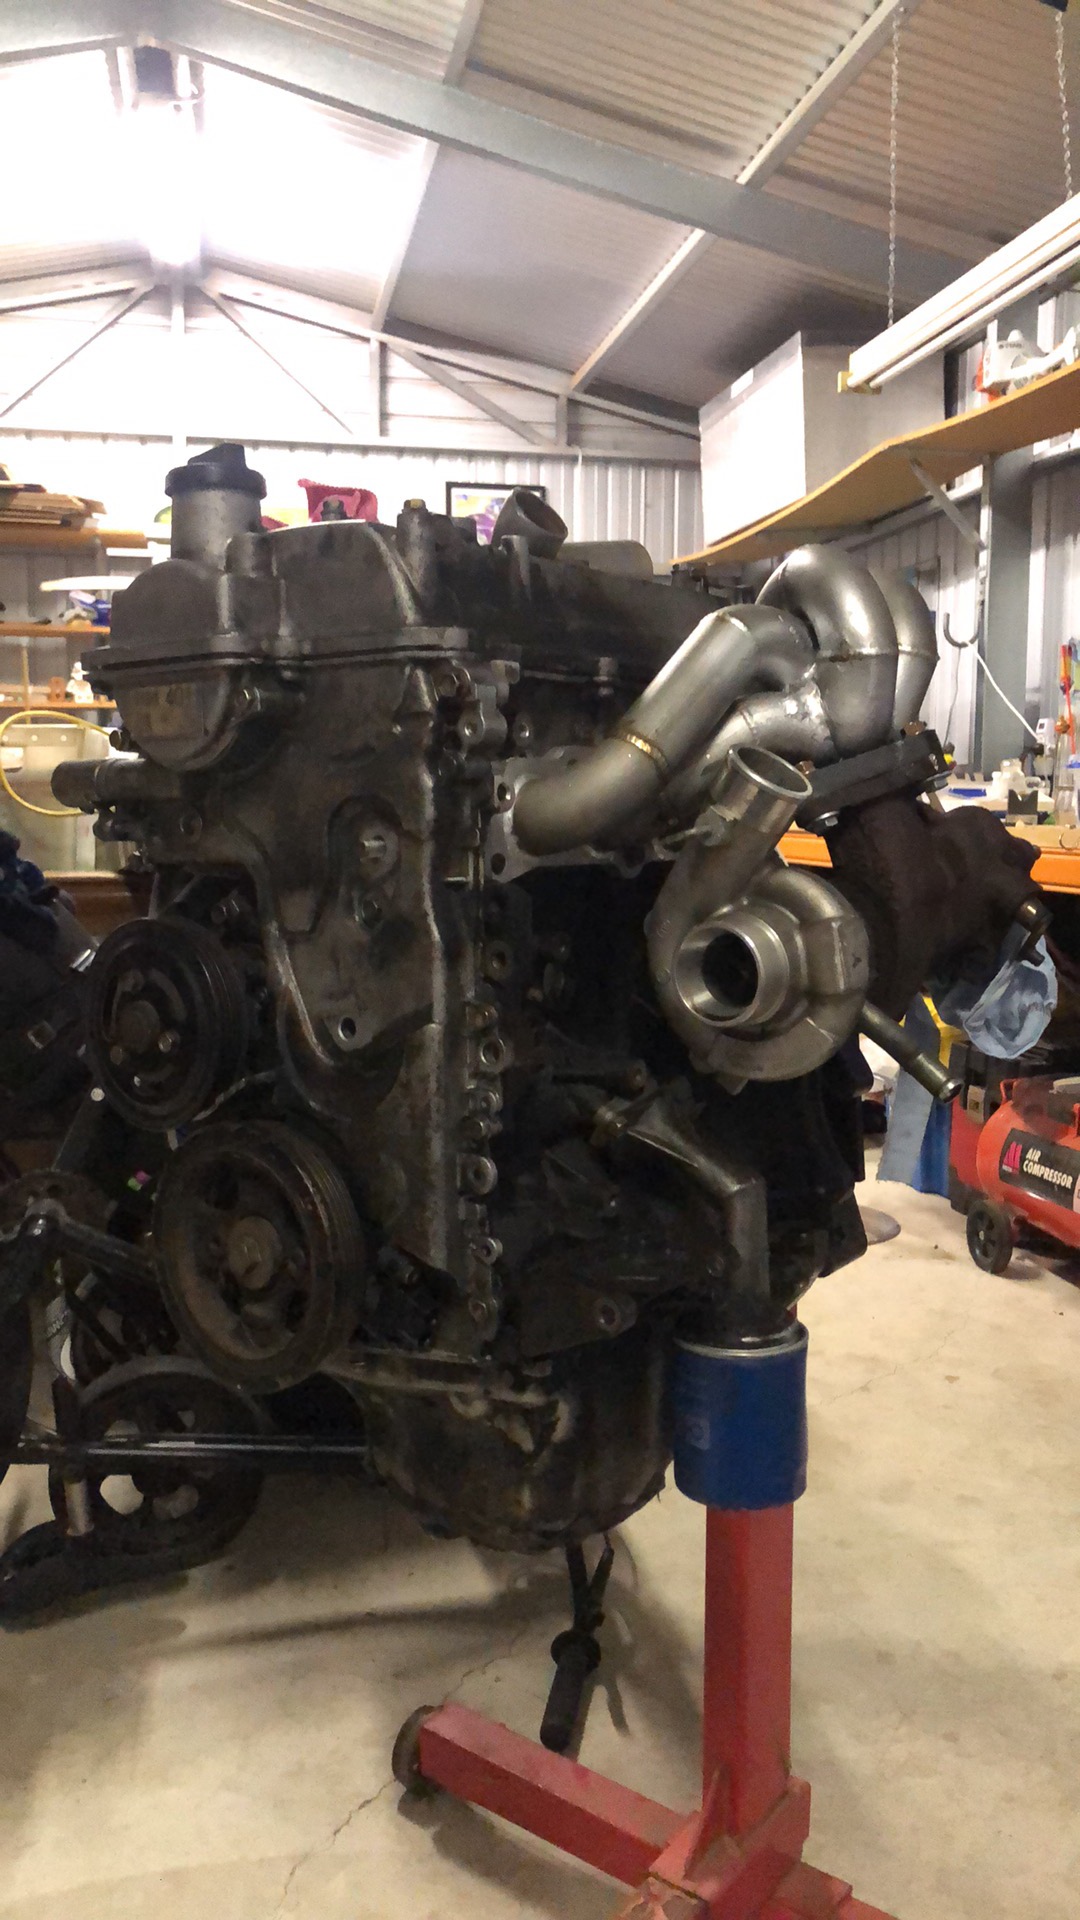
im running a tf035 in all the pics here but will be running a TD04l in the final build up.
Im aiming to run 25psi boost and aiming for anything up to 200kw.
rigt now i only have a few standard boxes and all manual so not sure what ill be doing about the gearbox, the ultimate future plan for this vehicle is now to end up 200kw, awd half cage.
how i achieve this is still yet to be decided. But for now i just want it boosted and running well then ill put this project on hold for a few more years while i build my mazda Fa3ts.
5 Likes
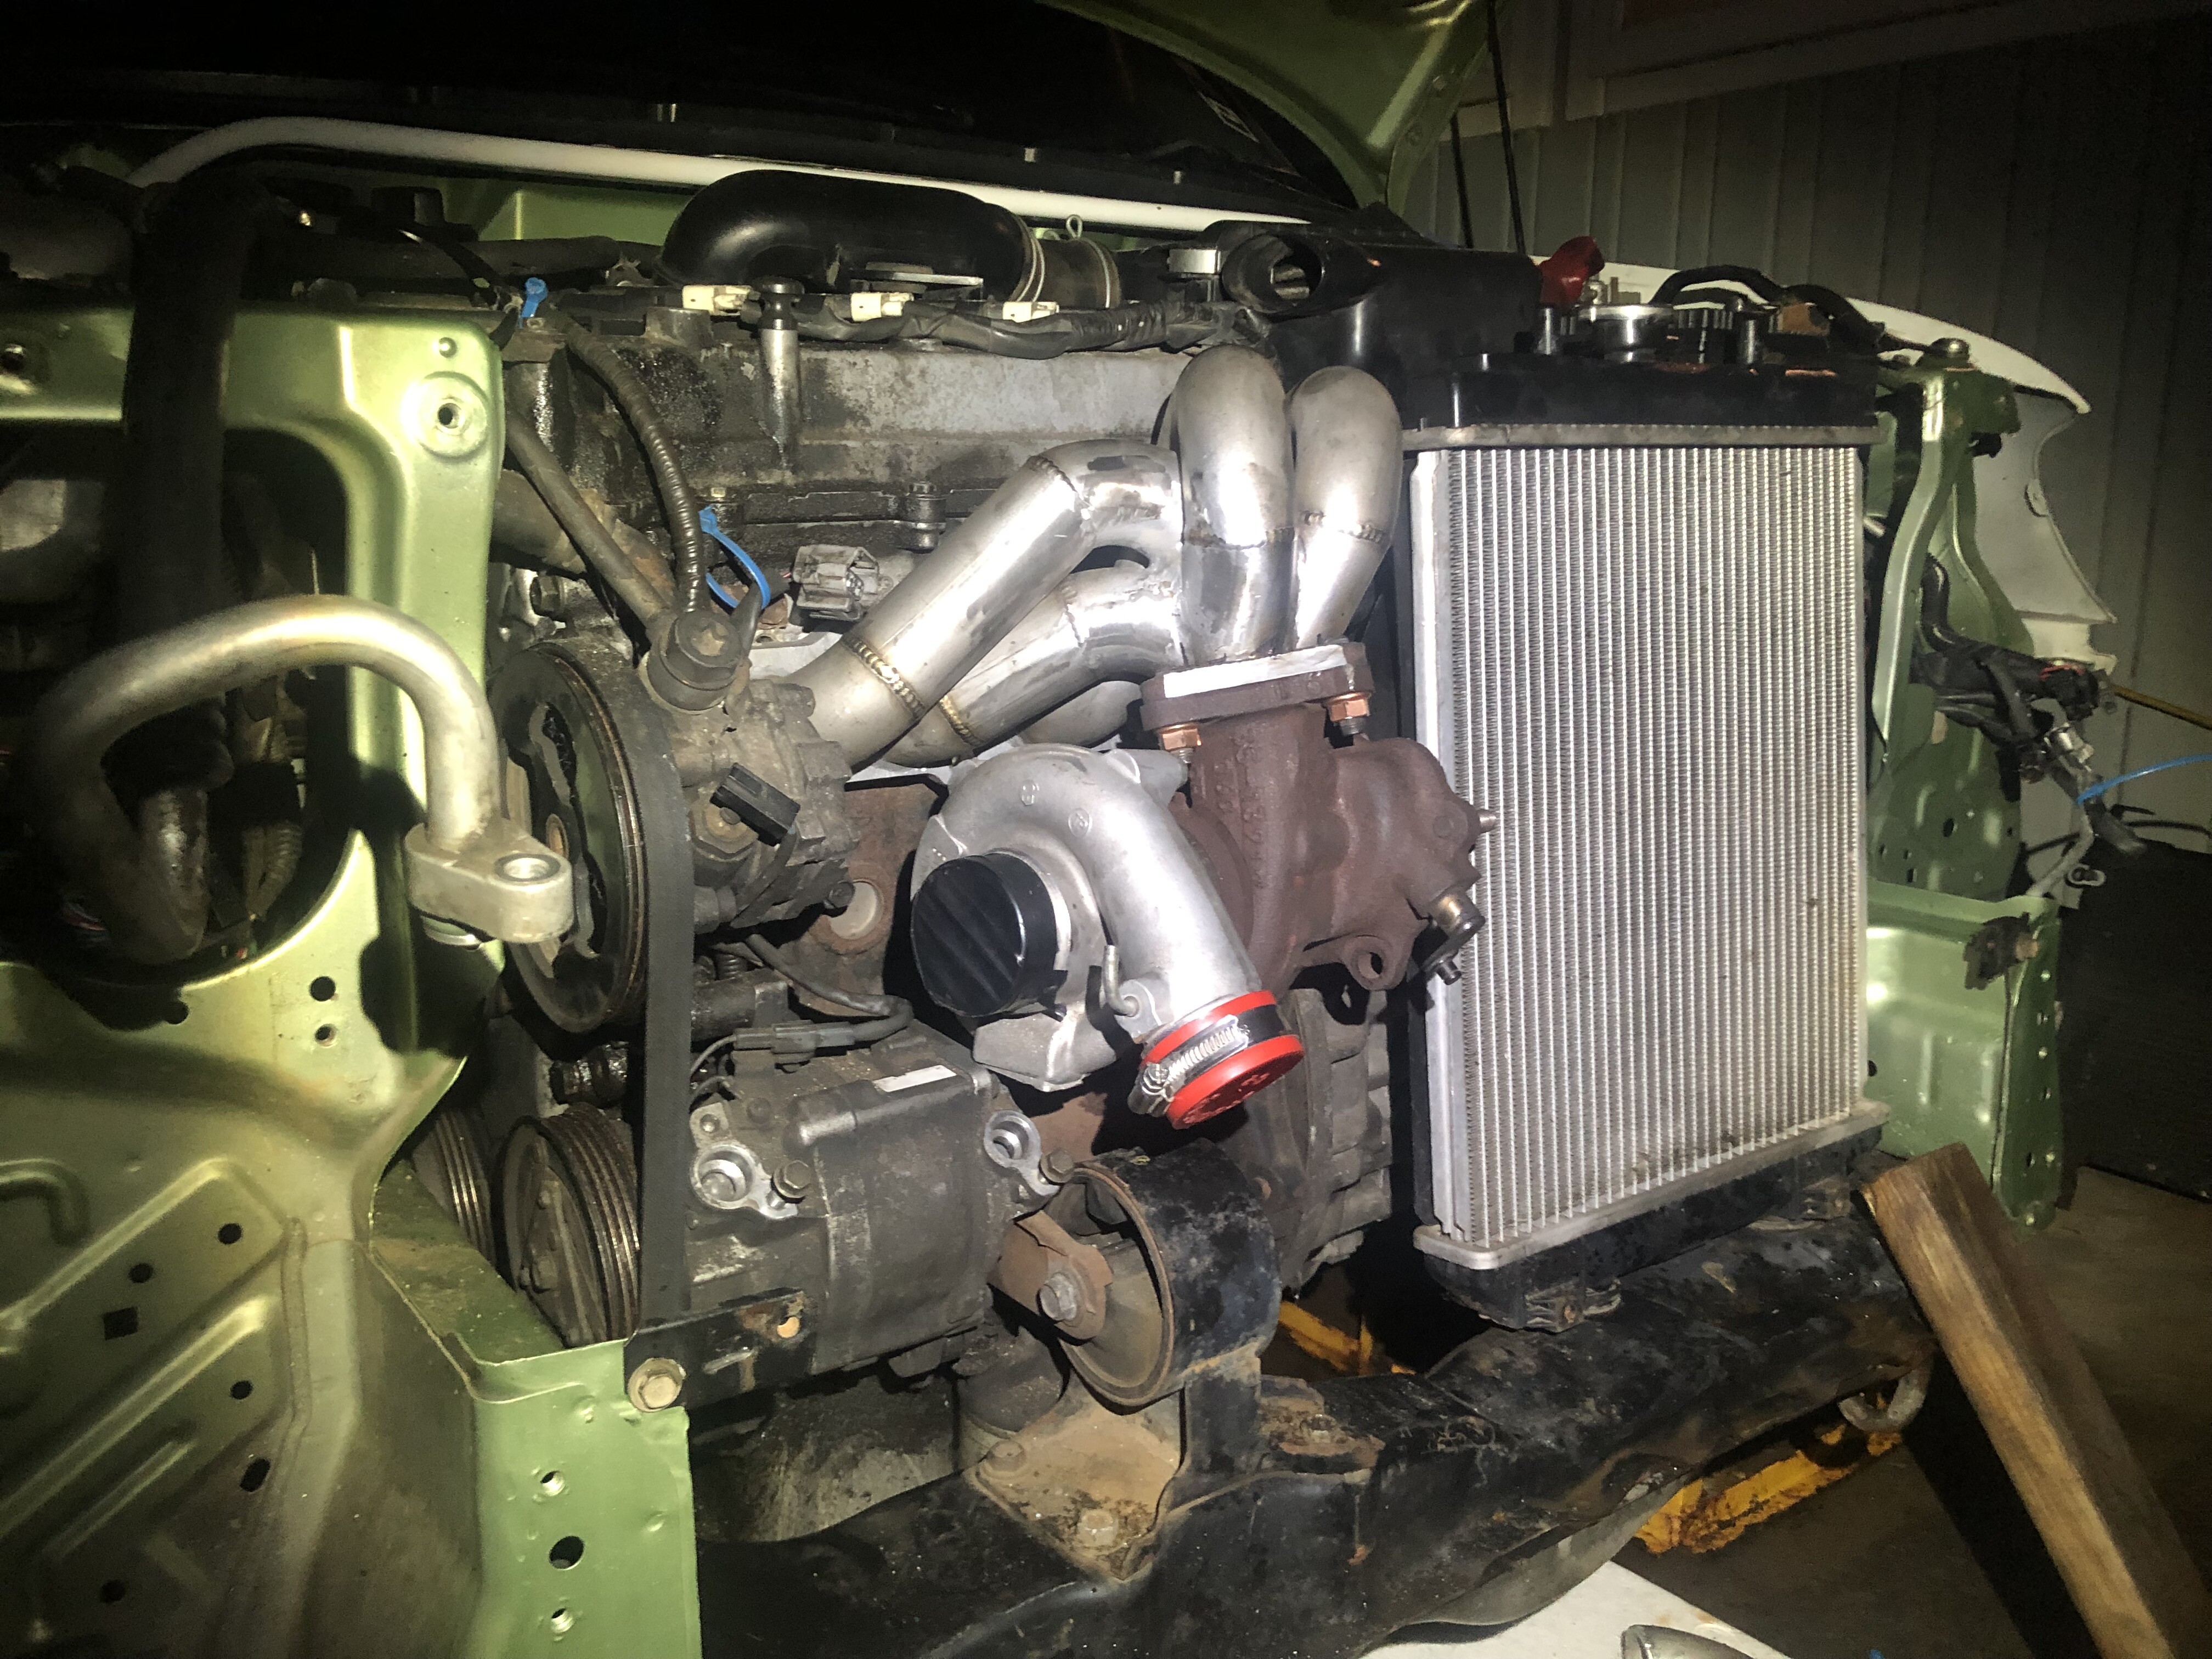
Today the mock up starts, the exhaust manifold i got needed some loving as there was a lot of weird marks on there from the initial fab work done and from what i can only assume were some hard to reach welds.
but an hour with the die grinder and a little tig love has her in about the right place.
the base flange had to be cut off and tacked on in the correct place and the runners had to be leveled off.
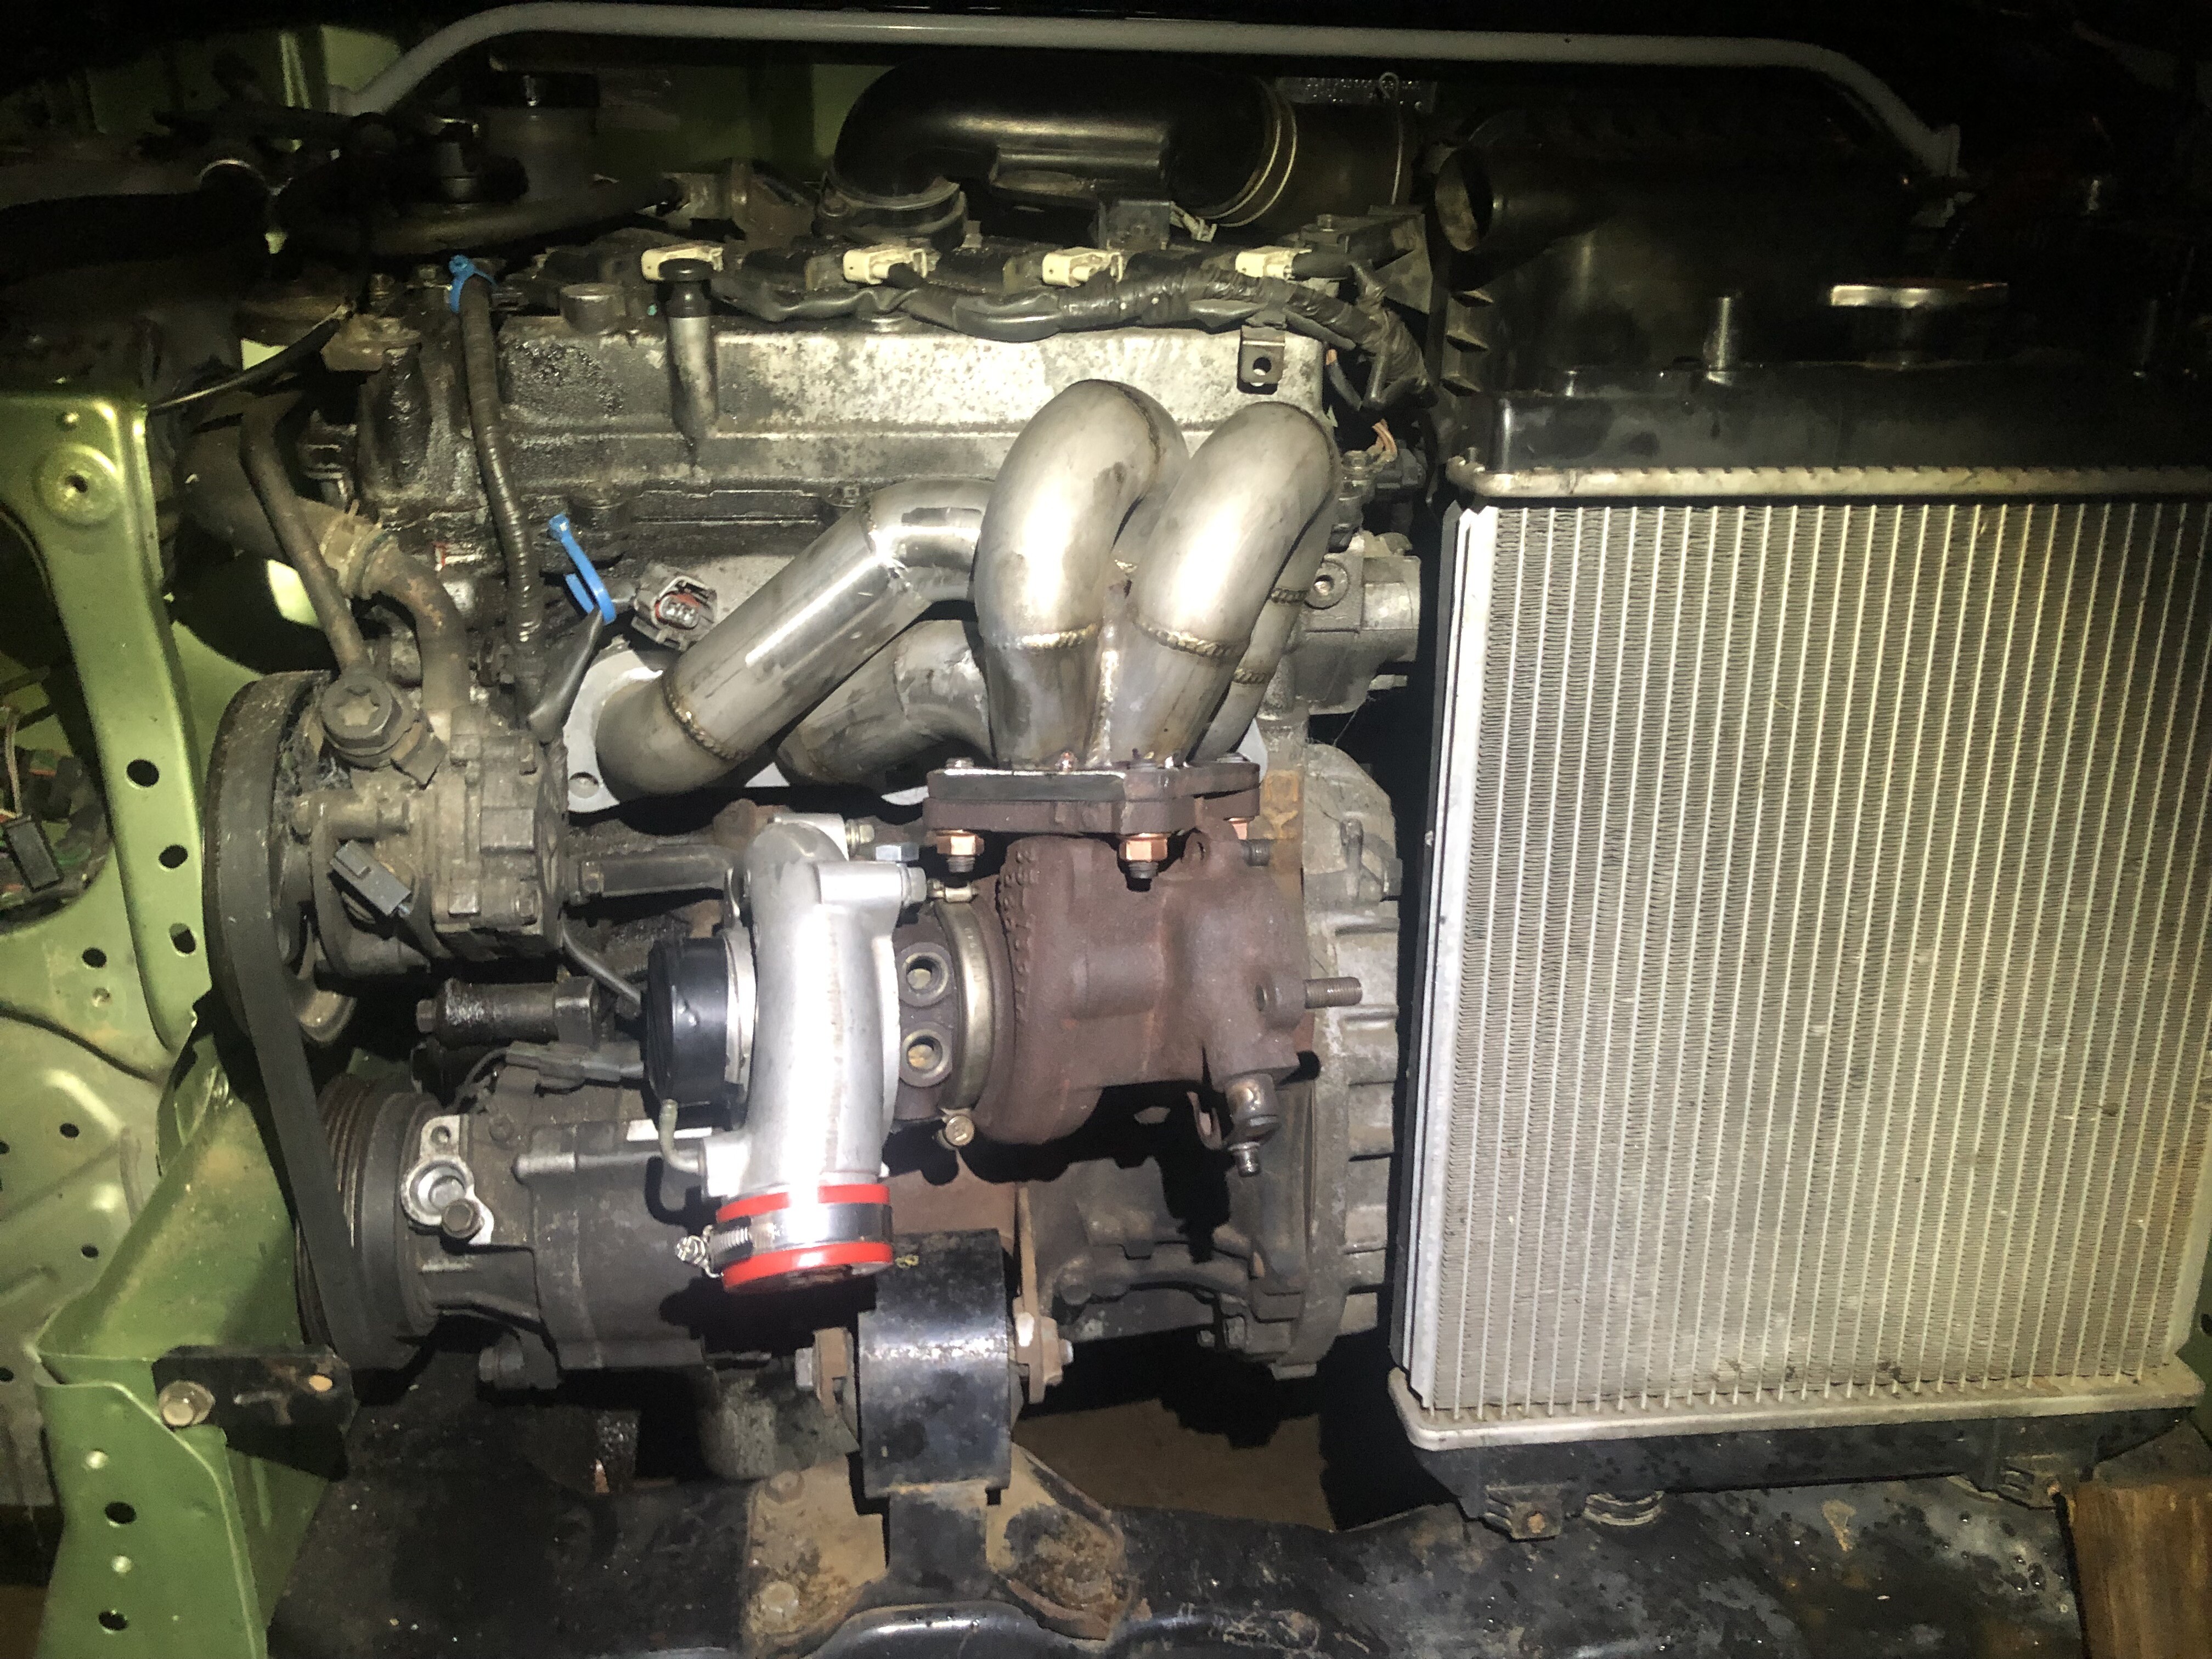
but the result…
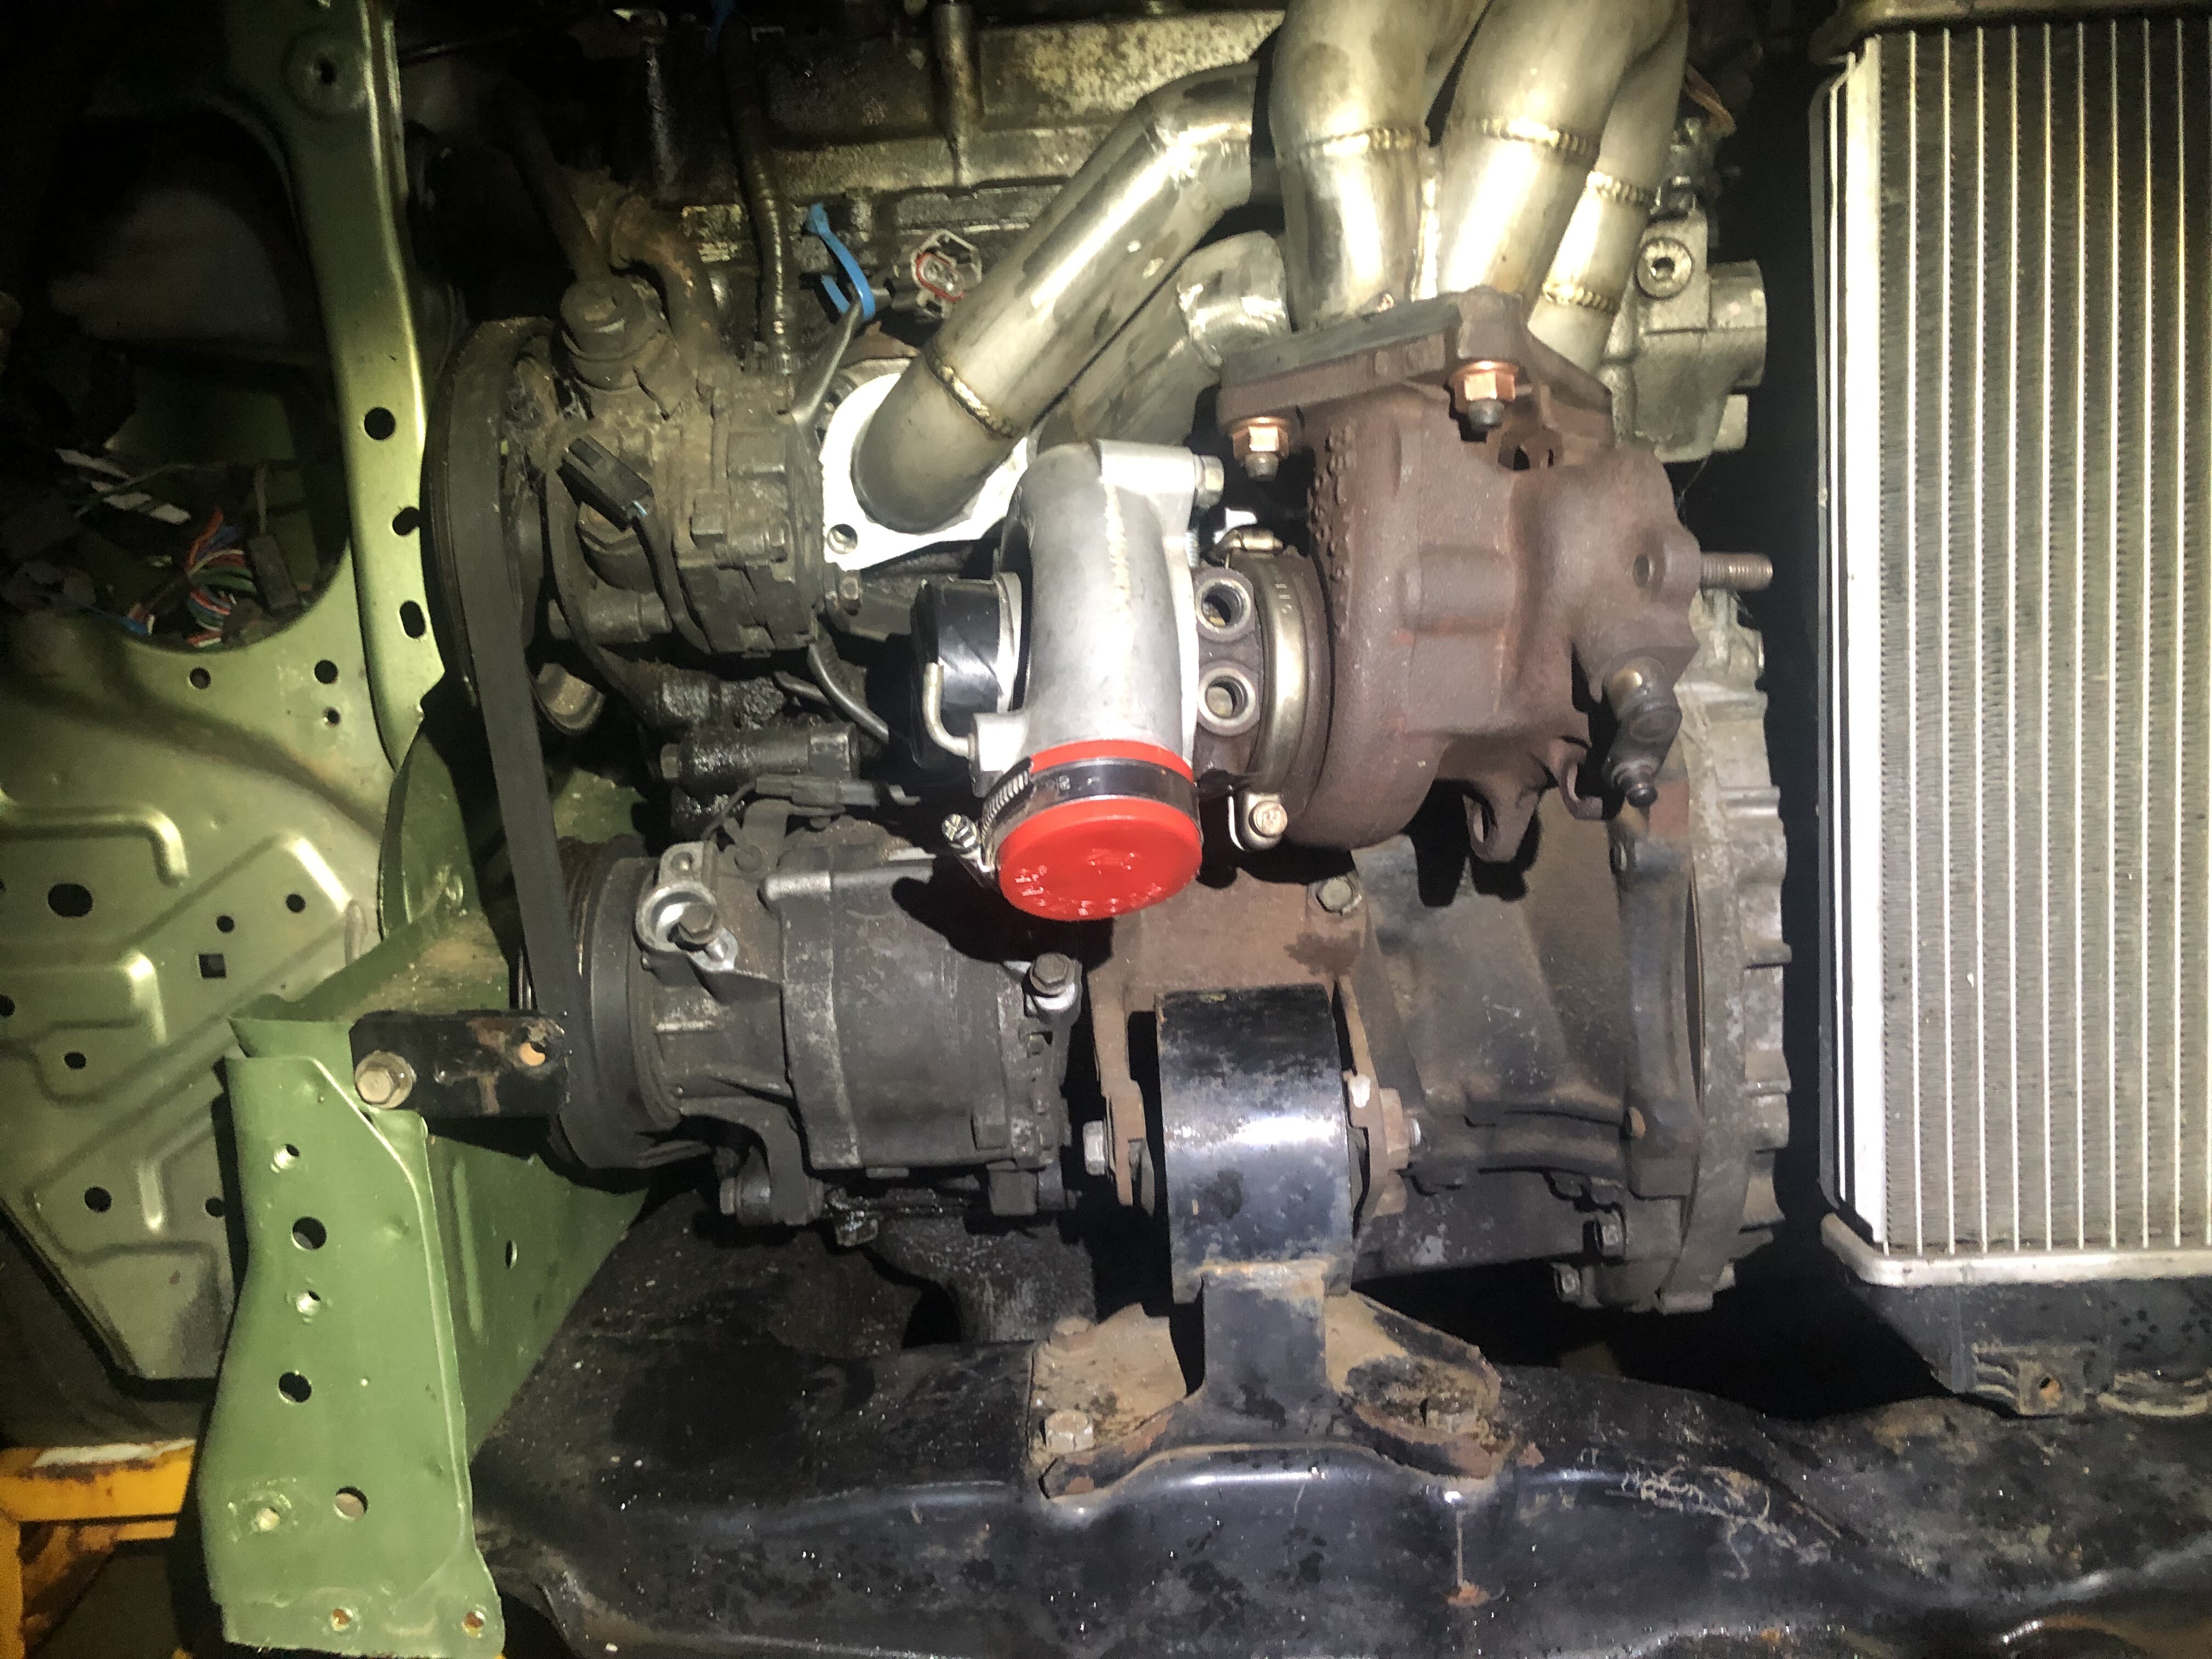
a turbo squeezed in with the air con retained and the bumper able to fit… JUST!
this was no easy task, i have 5mm of clearance on the AC compressor and and the dump will need to be HPC coated and then heat wrapped if i want my a/c receiver dryer to ever work again haha.
but for now I’m happy. Its raining cats and dogs right now so i cannot get to the fab work now but next is a ss 2.5" exhaust. then i can finish the dump and get the exhaust manifold HPC coated as well.
4 Likes
My motor is in the shop and I’m waiting on the call any day now for the machine work to be complete.
My head has been xray checked, pressure tested, faced, new valves, new valve guides, new valve shim buckets, port polished and ready for some boost.
the bottom end has gotten the pistons and rods, crank grind and full rotating assembly balanced.
have had the fly ground but not lightened at this point.
hanging to get the call so i can start the rebuild and get the motor in the car so we can start on the loom and fuel system.
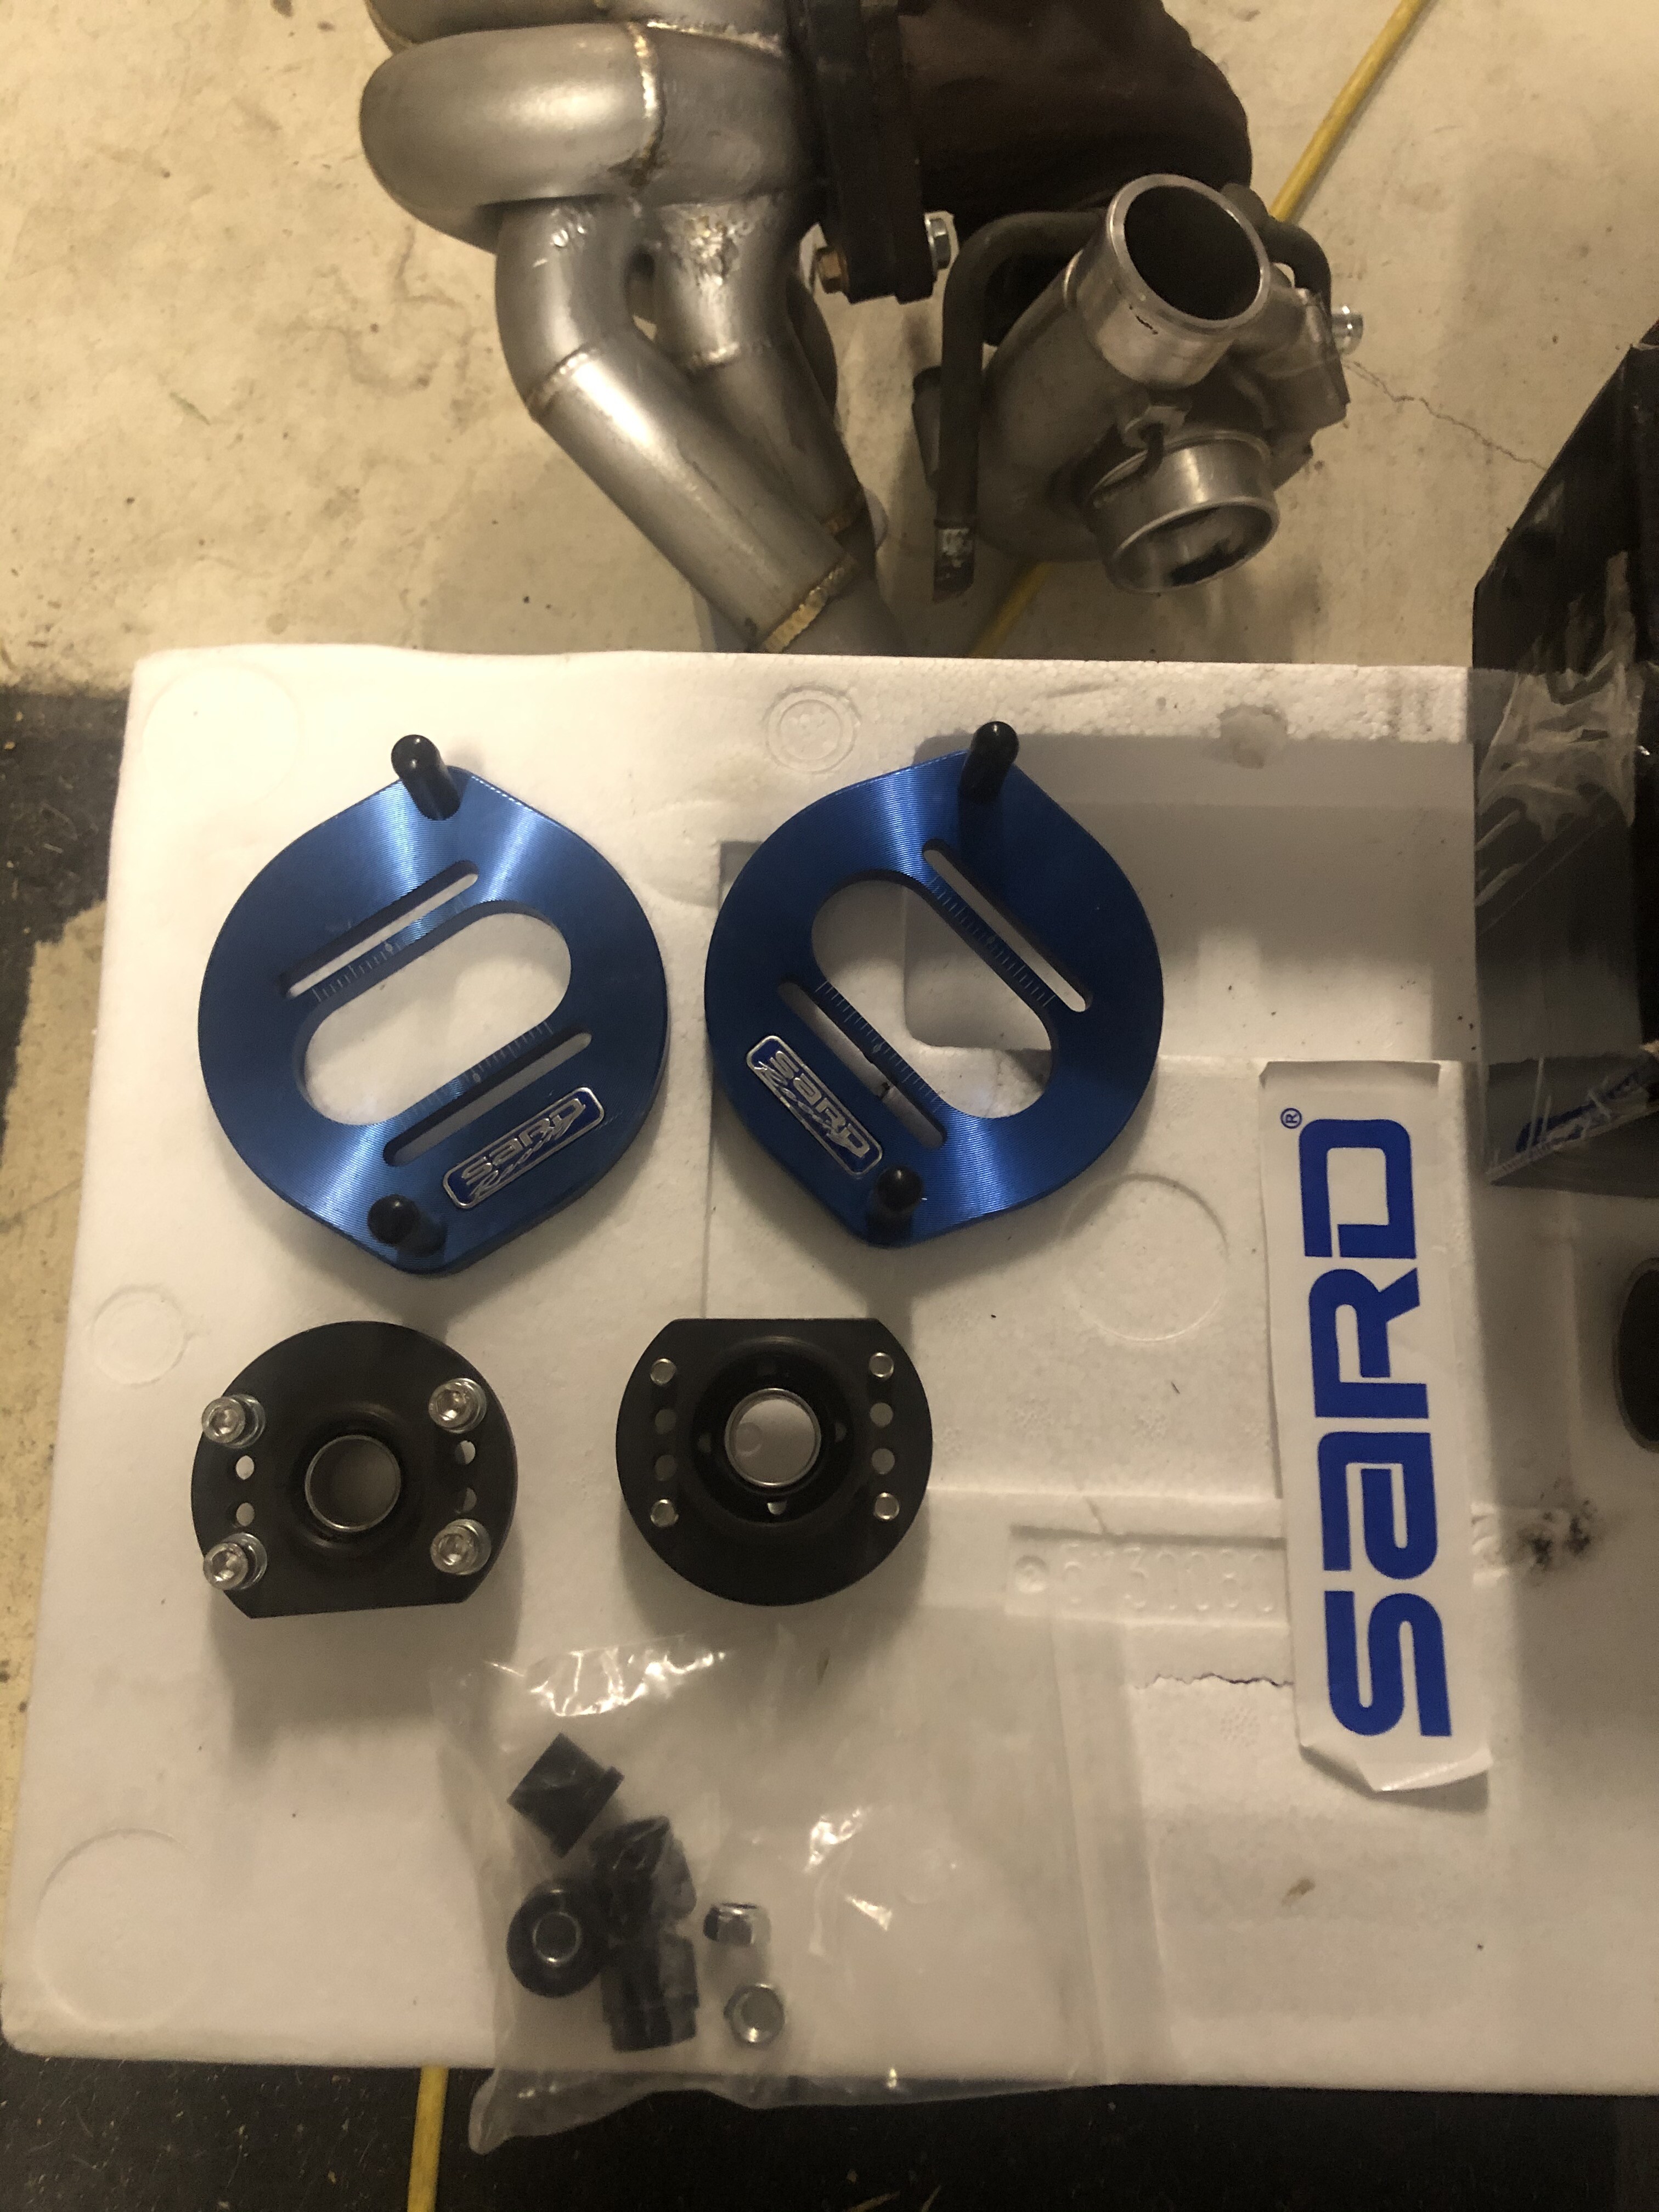
also scooped one of these wheels.
i am chasing the grey plastic infill piece for the drivers side, although if i can use those buttons to adjust tunes or boost on the fly ill keep them and just re sticker them to something cool.
this is where im currently up to. ill try keep this thread a little more up to date as i do things. But with the rain and the covid crap atm its all slow going.
Also I’m taking recommendations on ecu management systems atm. I was going haltec but a few Dai forum members have twisted my arm towards the maxx ecu brand.
what do you recommend?
5 Likes
This thread is crazy man, love the effort you’ve been putting into this build!
1 Like
Thank you very much mate, we have only just begun. 
1 Like
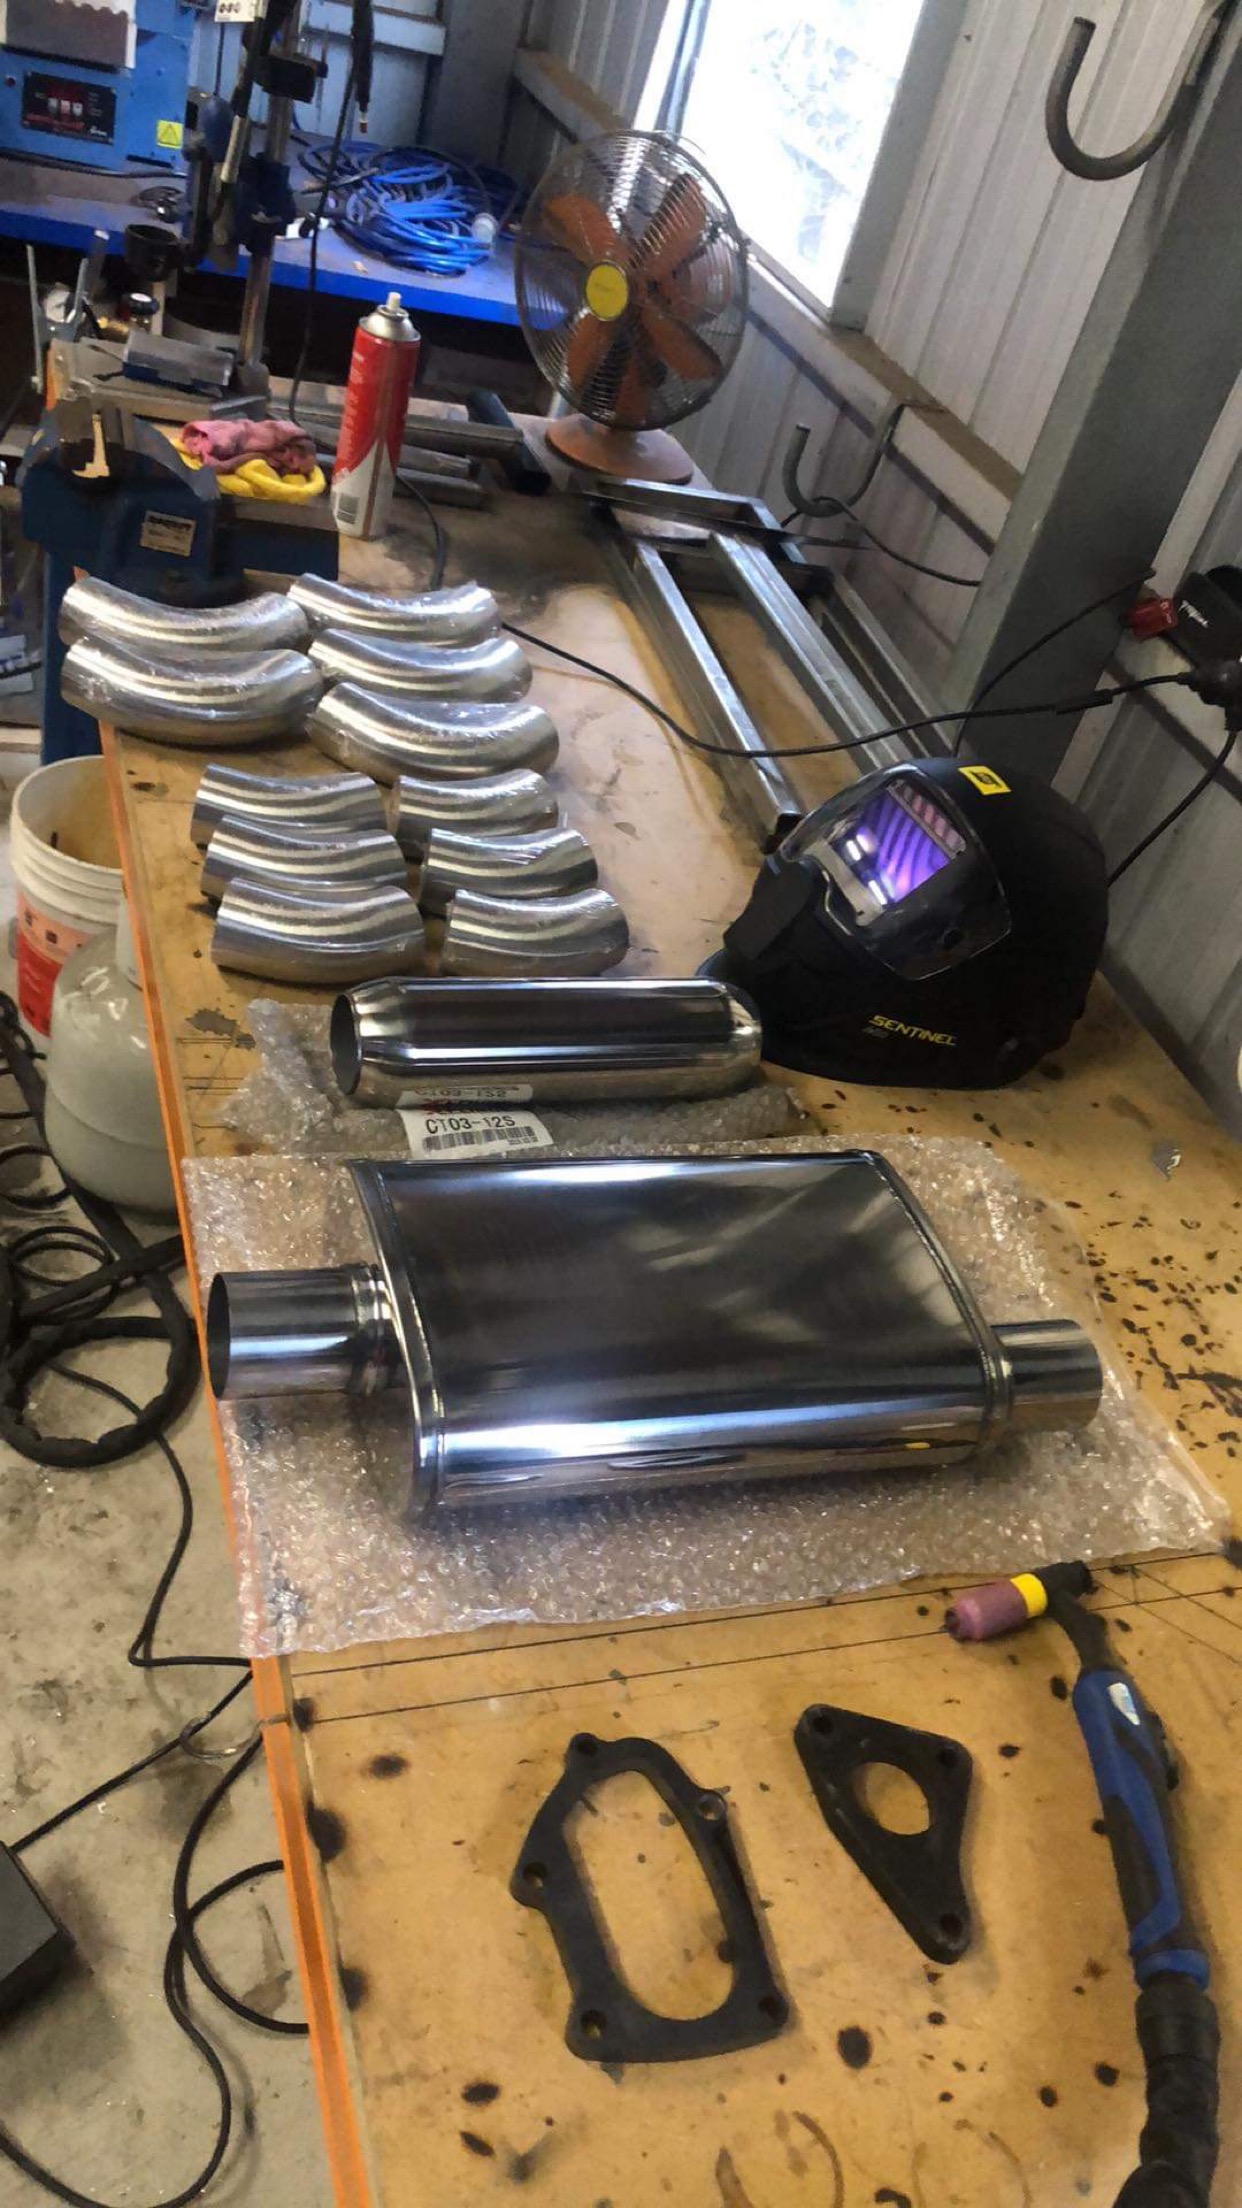
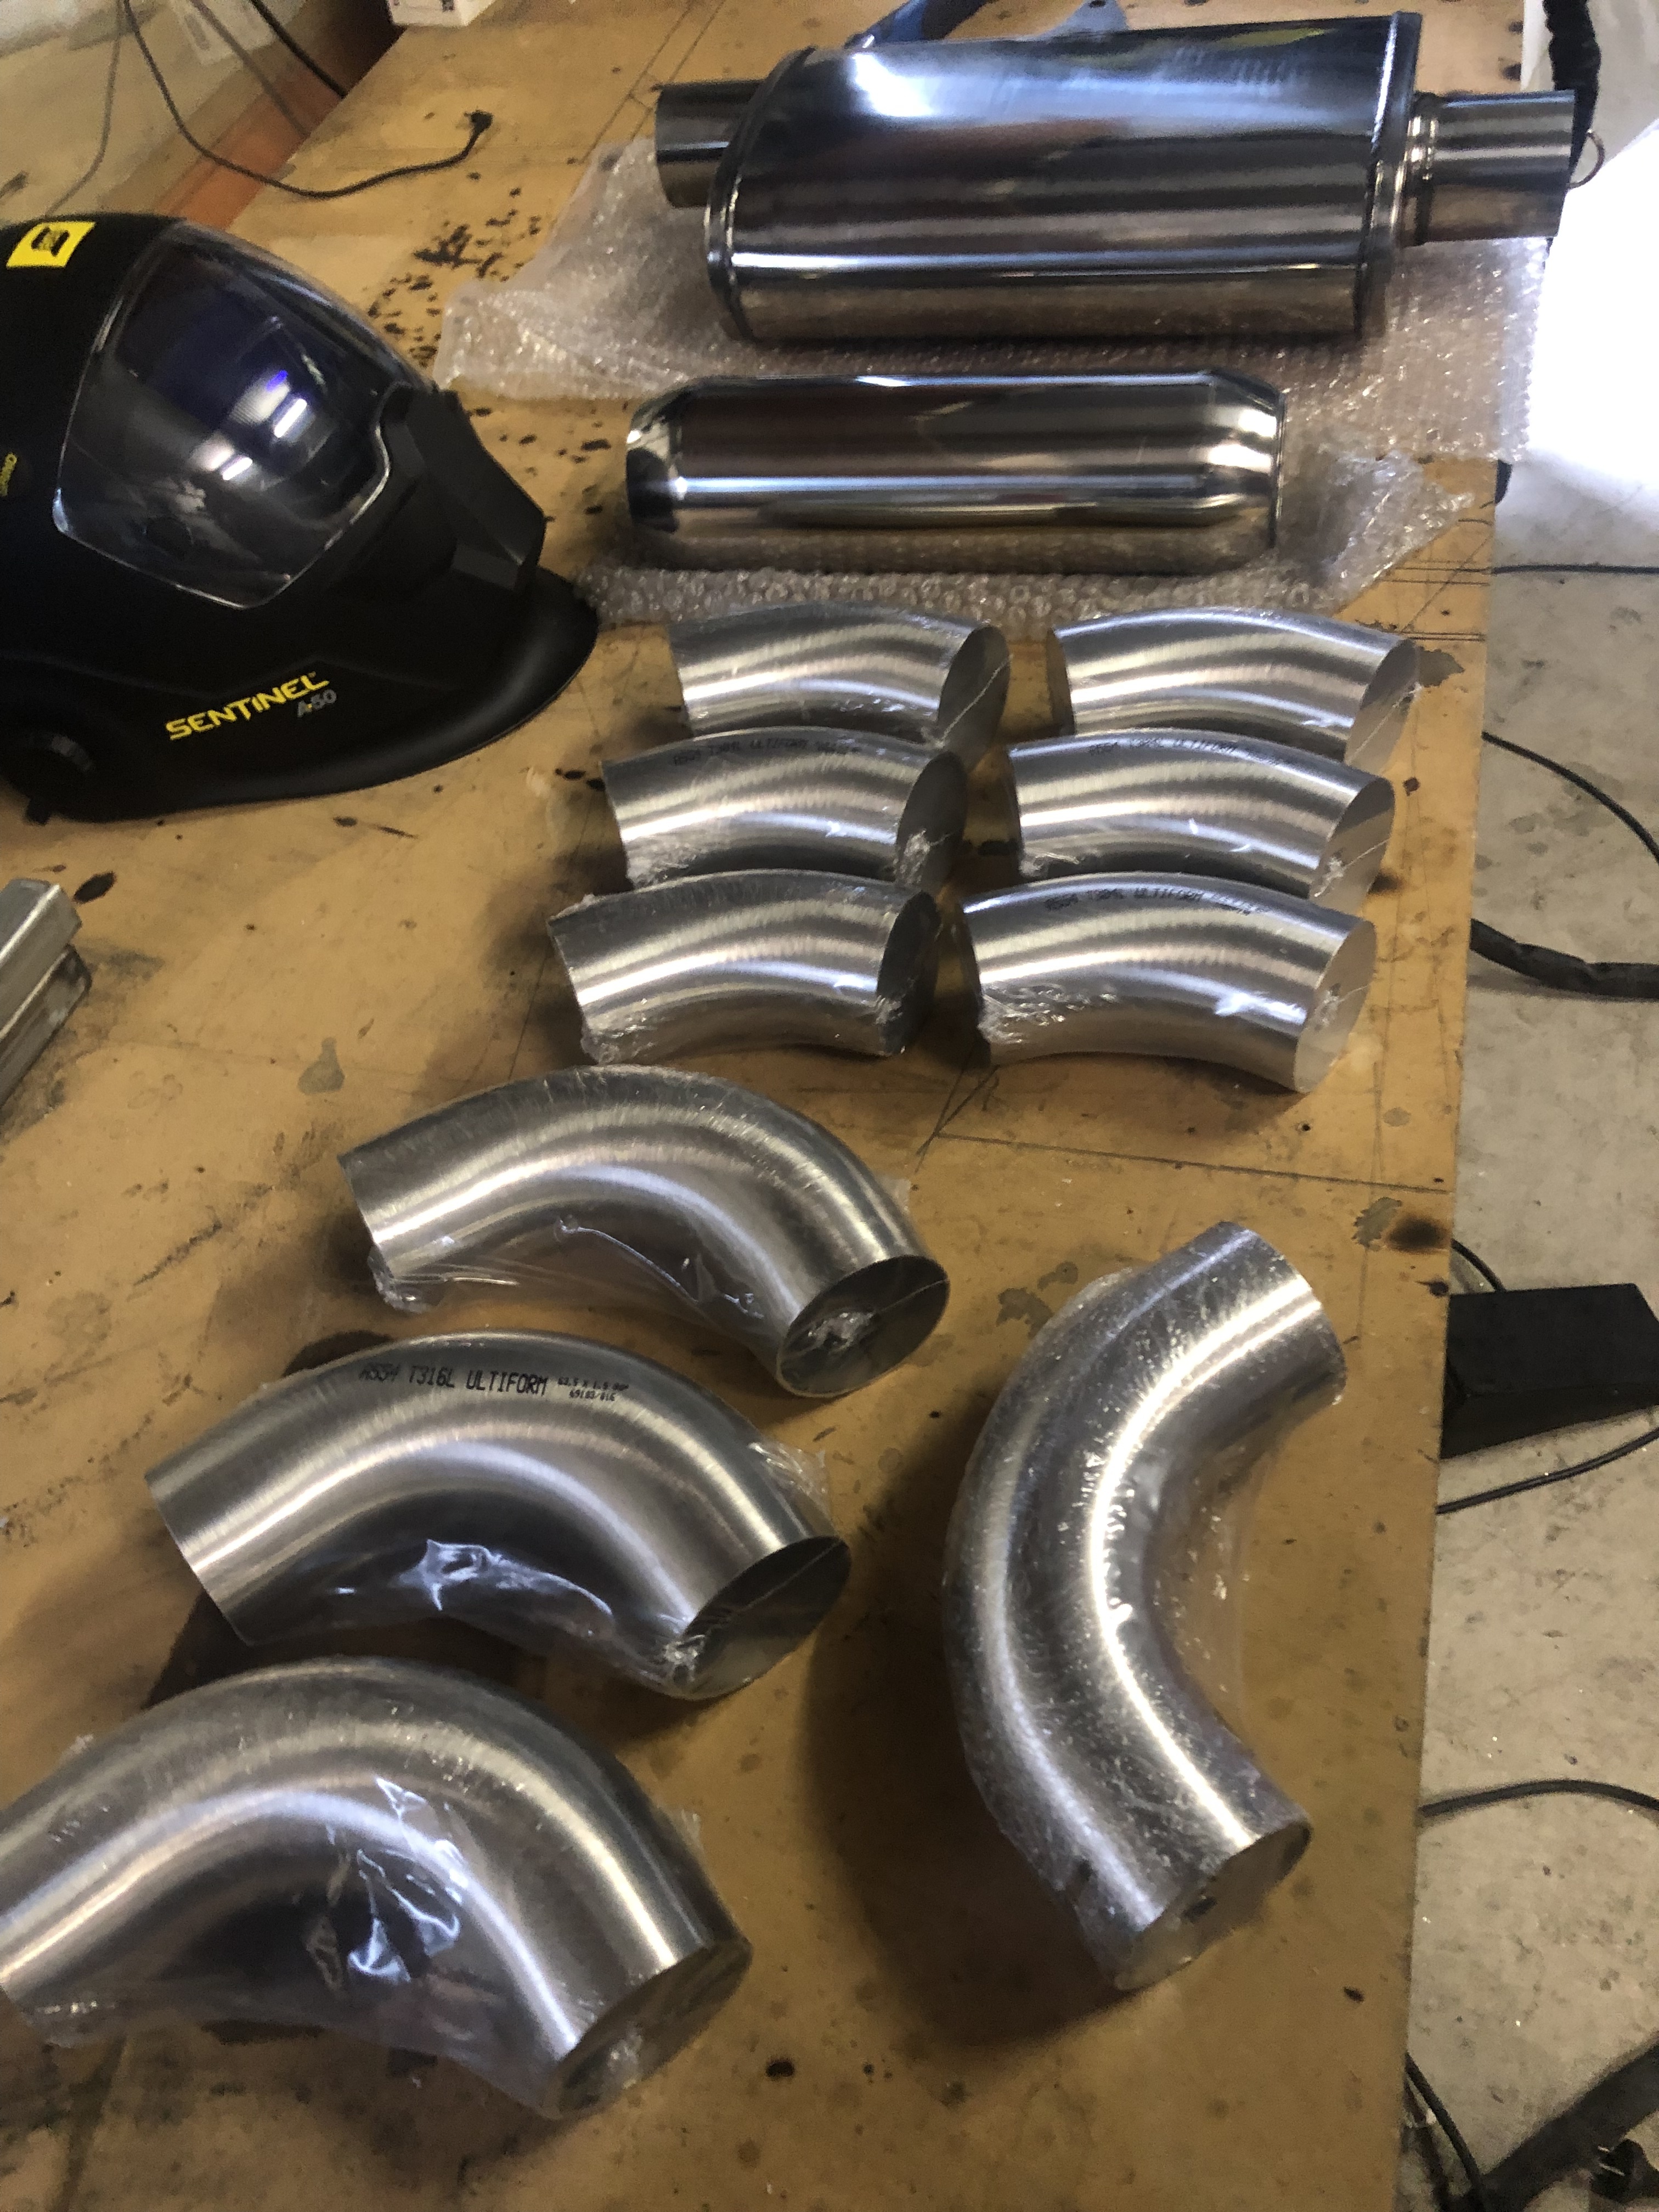
So I got the bits to start the dump pipe and exhaust over the covid lock down but it won’t stop raining.
I did however get a pretty layout picture.
2.5” formed bends. Very nice bends aswell
Resonator
And a Centre to offset 2.5” muffler.
Not sure if I need a flex for the front sections and still waiting on my v ban rings. First time really welding stainless so wish me luck.
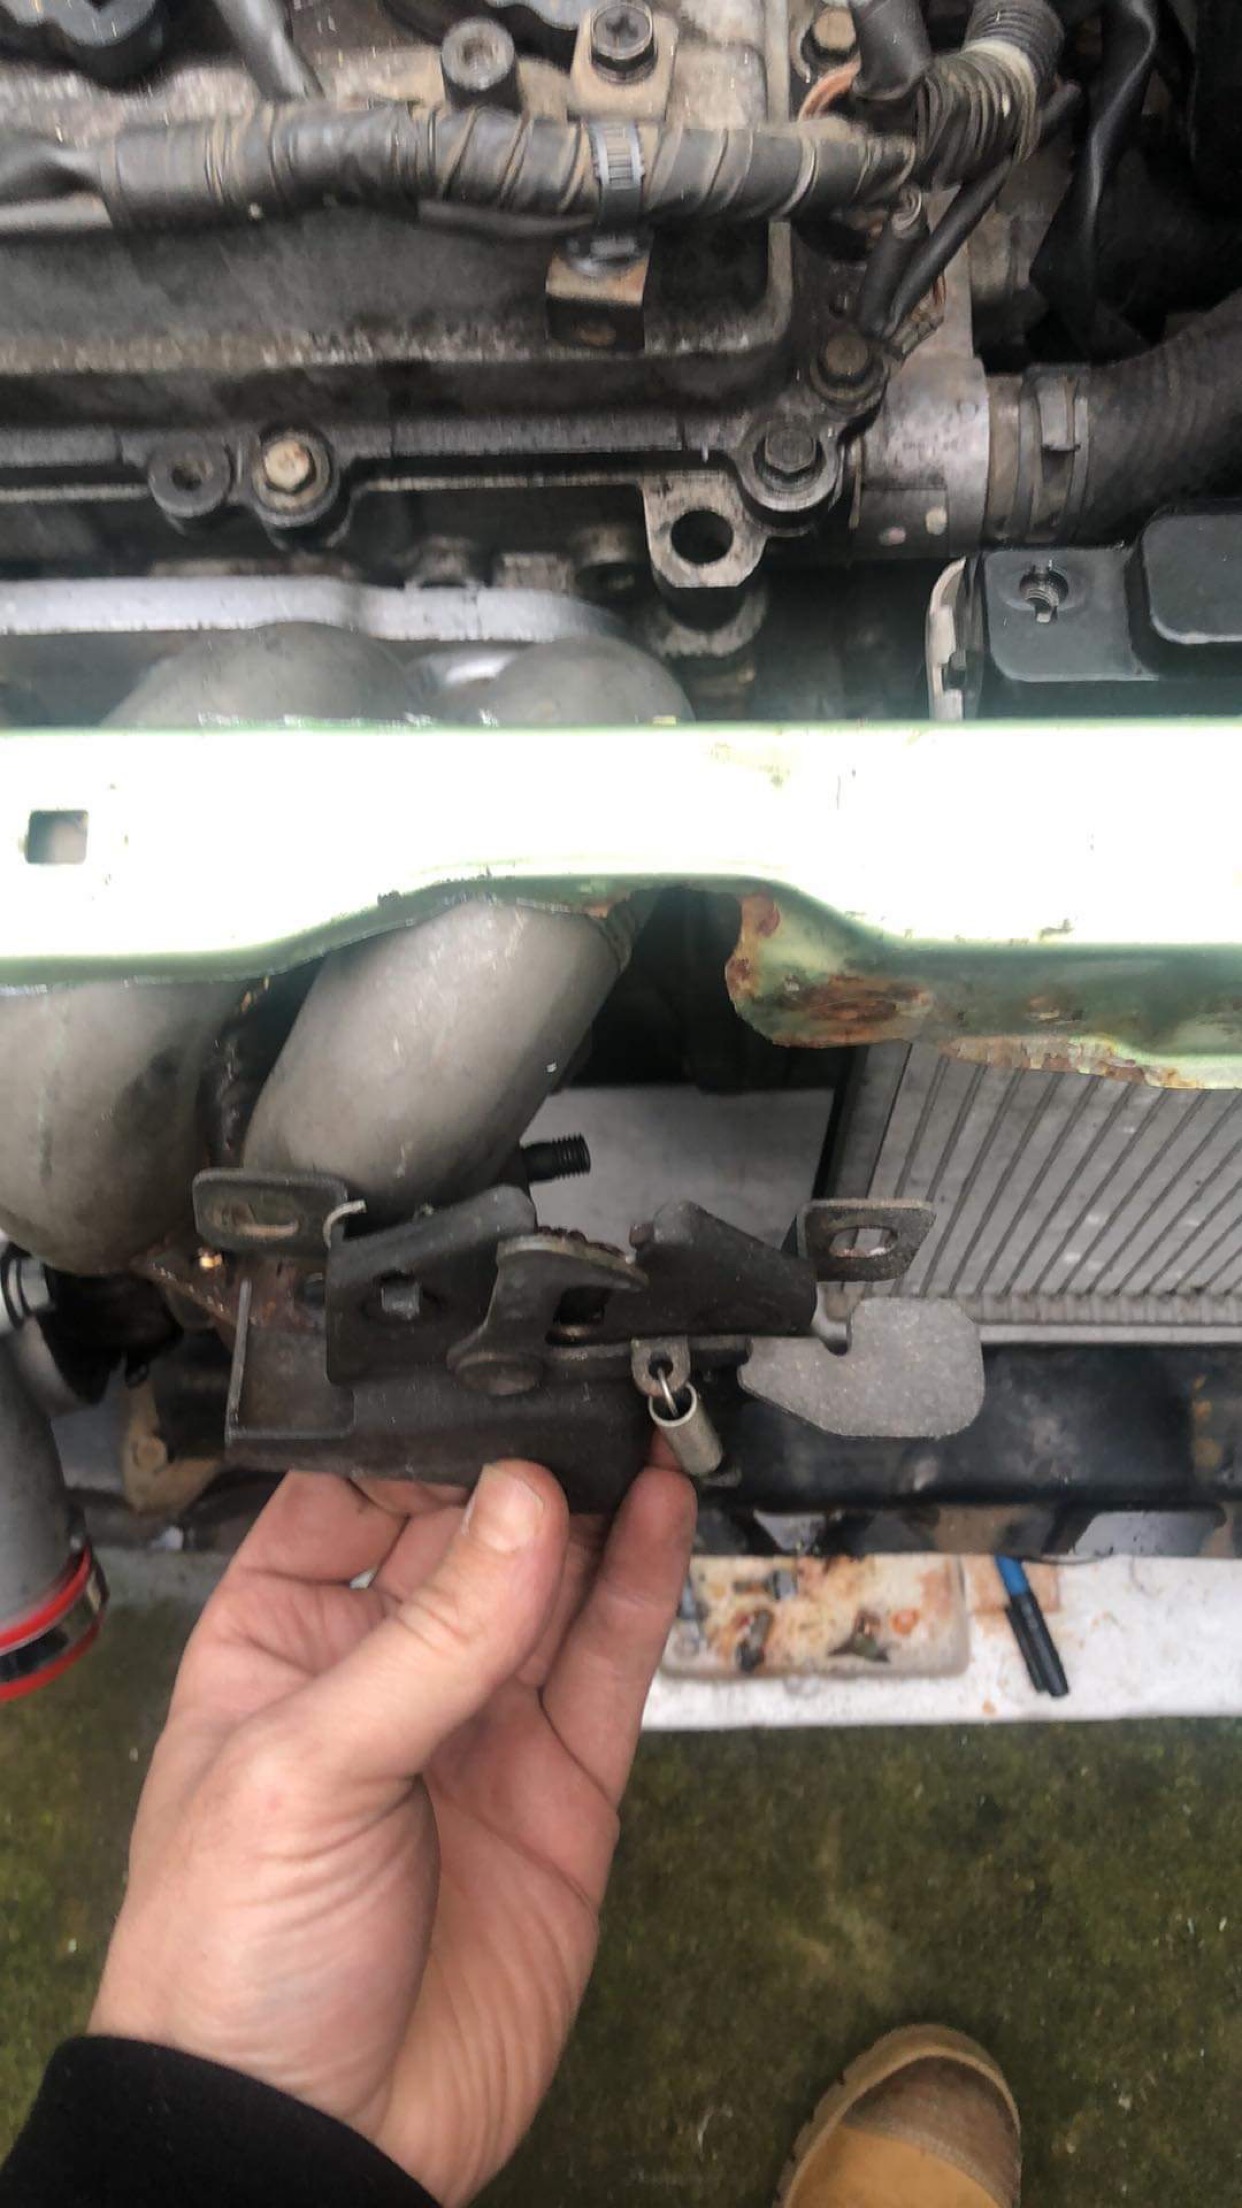
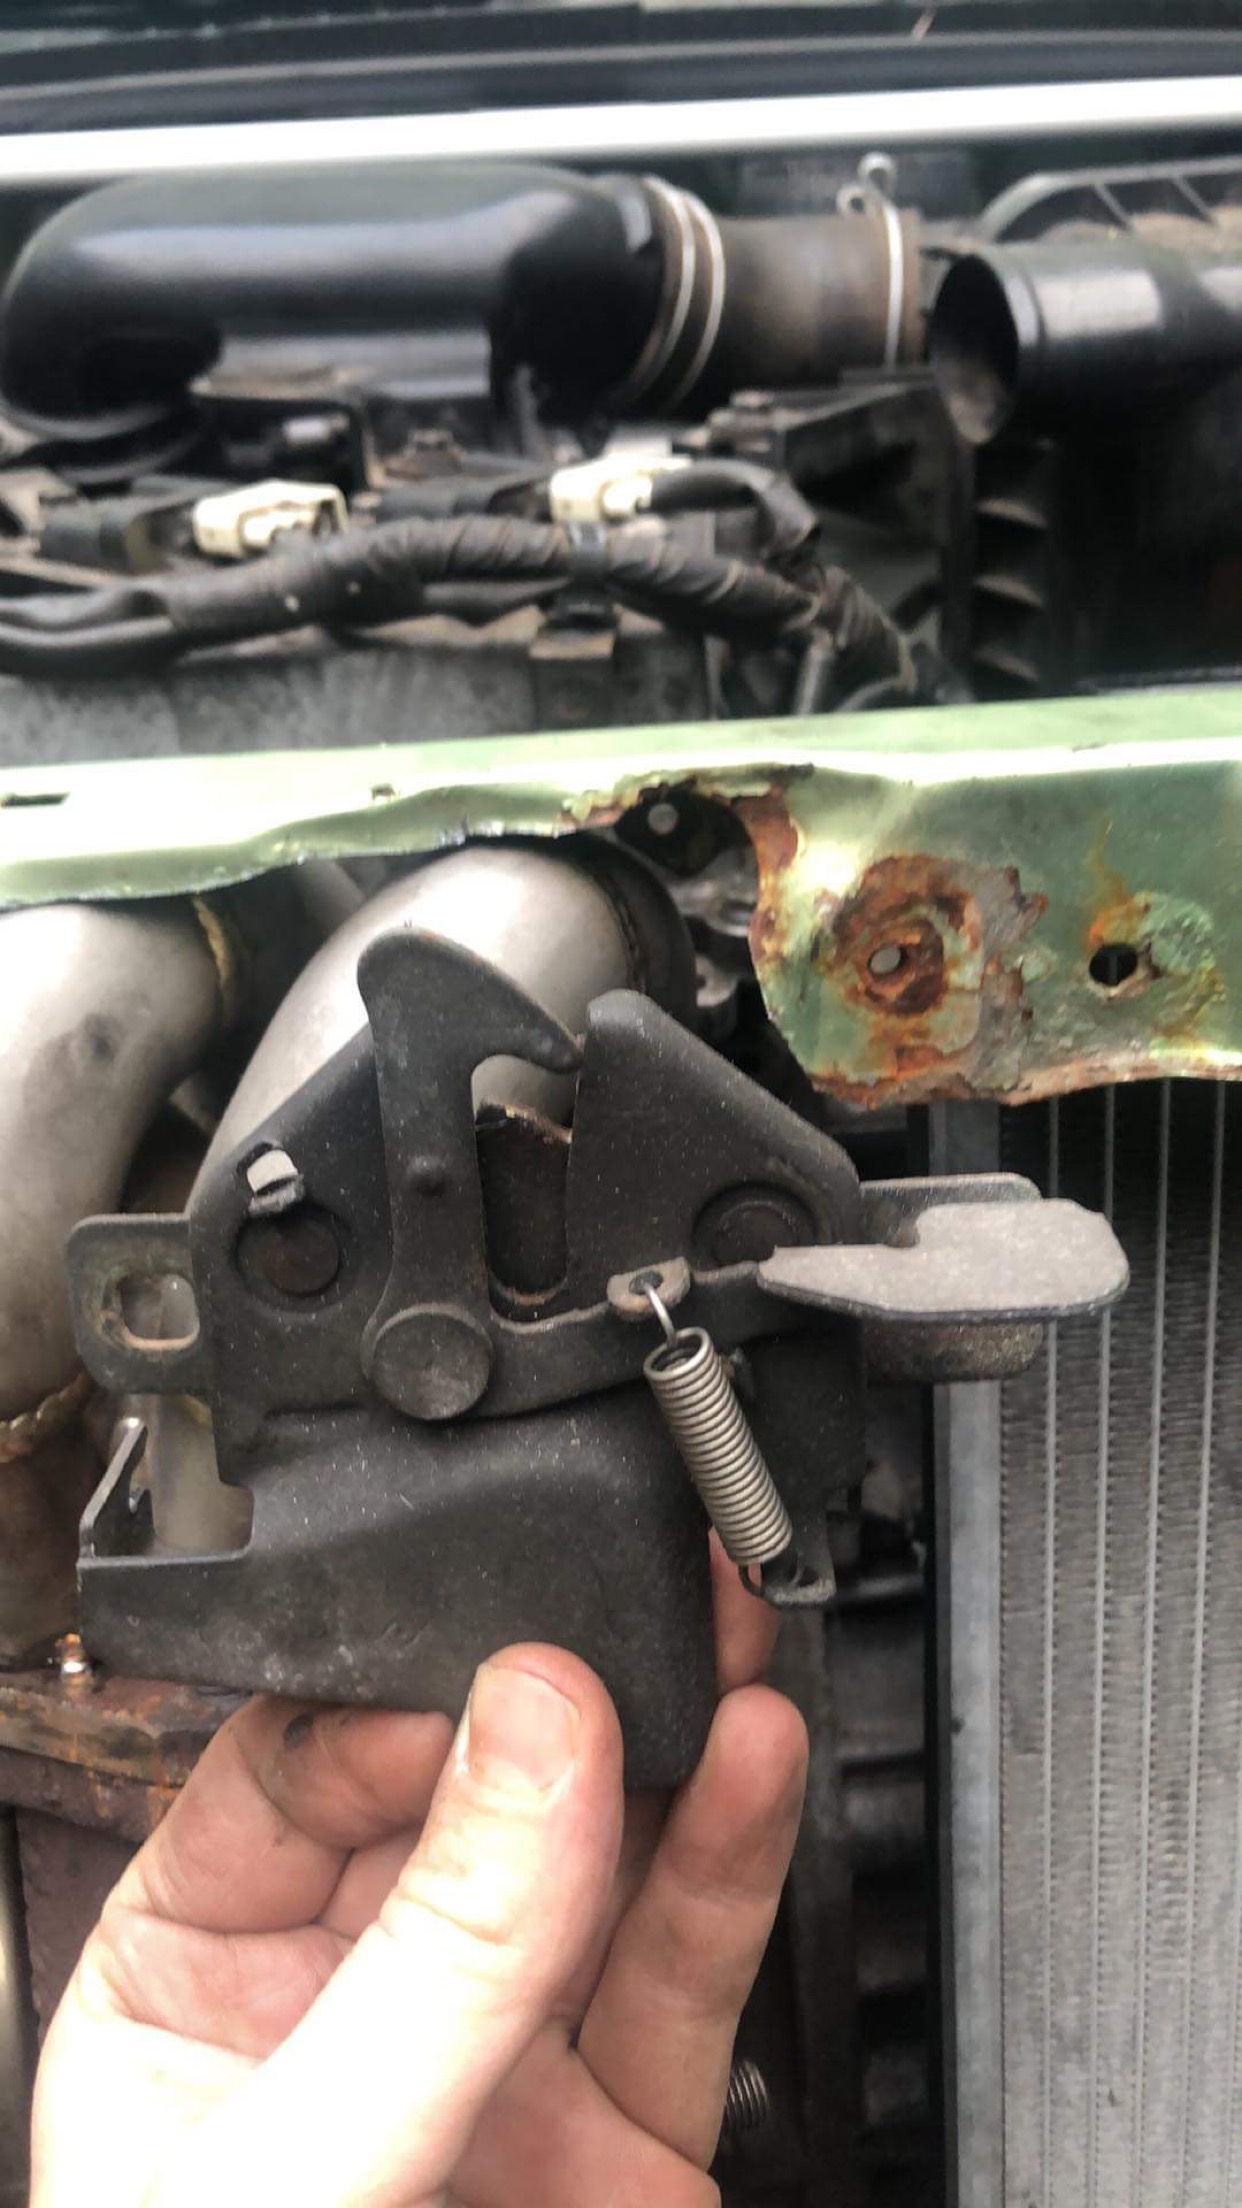
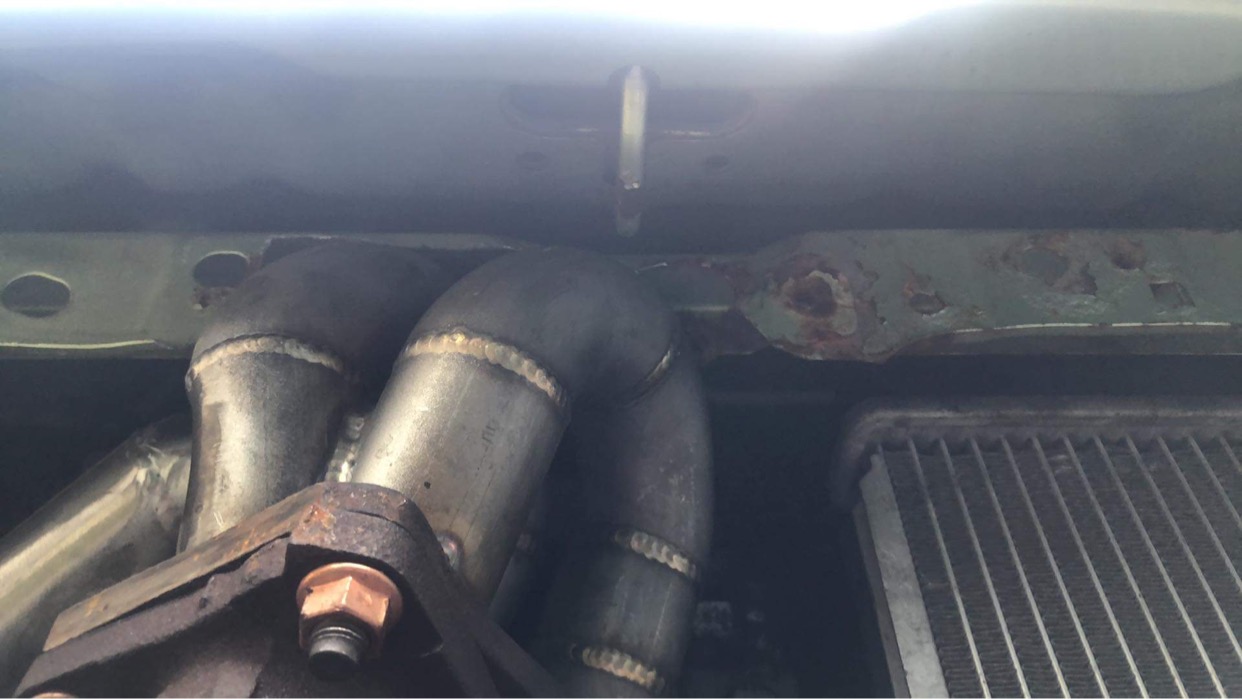
I have run in to a few issues in the front end when I was mocking up the rad support with some old parts. There is next to no rad support left meaning I cannot run the bonnet latch or the vertical radiator support.
I’m trying not to run bonnet pins if possible as id like to keep this car registered and they will get me pulled over.
I guess will have to think of a way to make a custom rad support section,
6 Likes
i would use a bit of flex on the exhaust, saves the rubber hangers a bit when limi bashing
2 Likes
What’s hatching dai fam…
Wanna see what I been up to?
Well I had to move house, which was a massive pain in the ass. When you settle in to a huge shed then have to move to a new space a huge purge has to happen. I’m a massive fucking hoarder so this was hugely stressful for me.
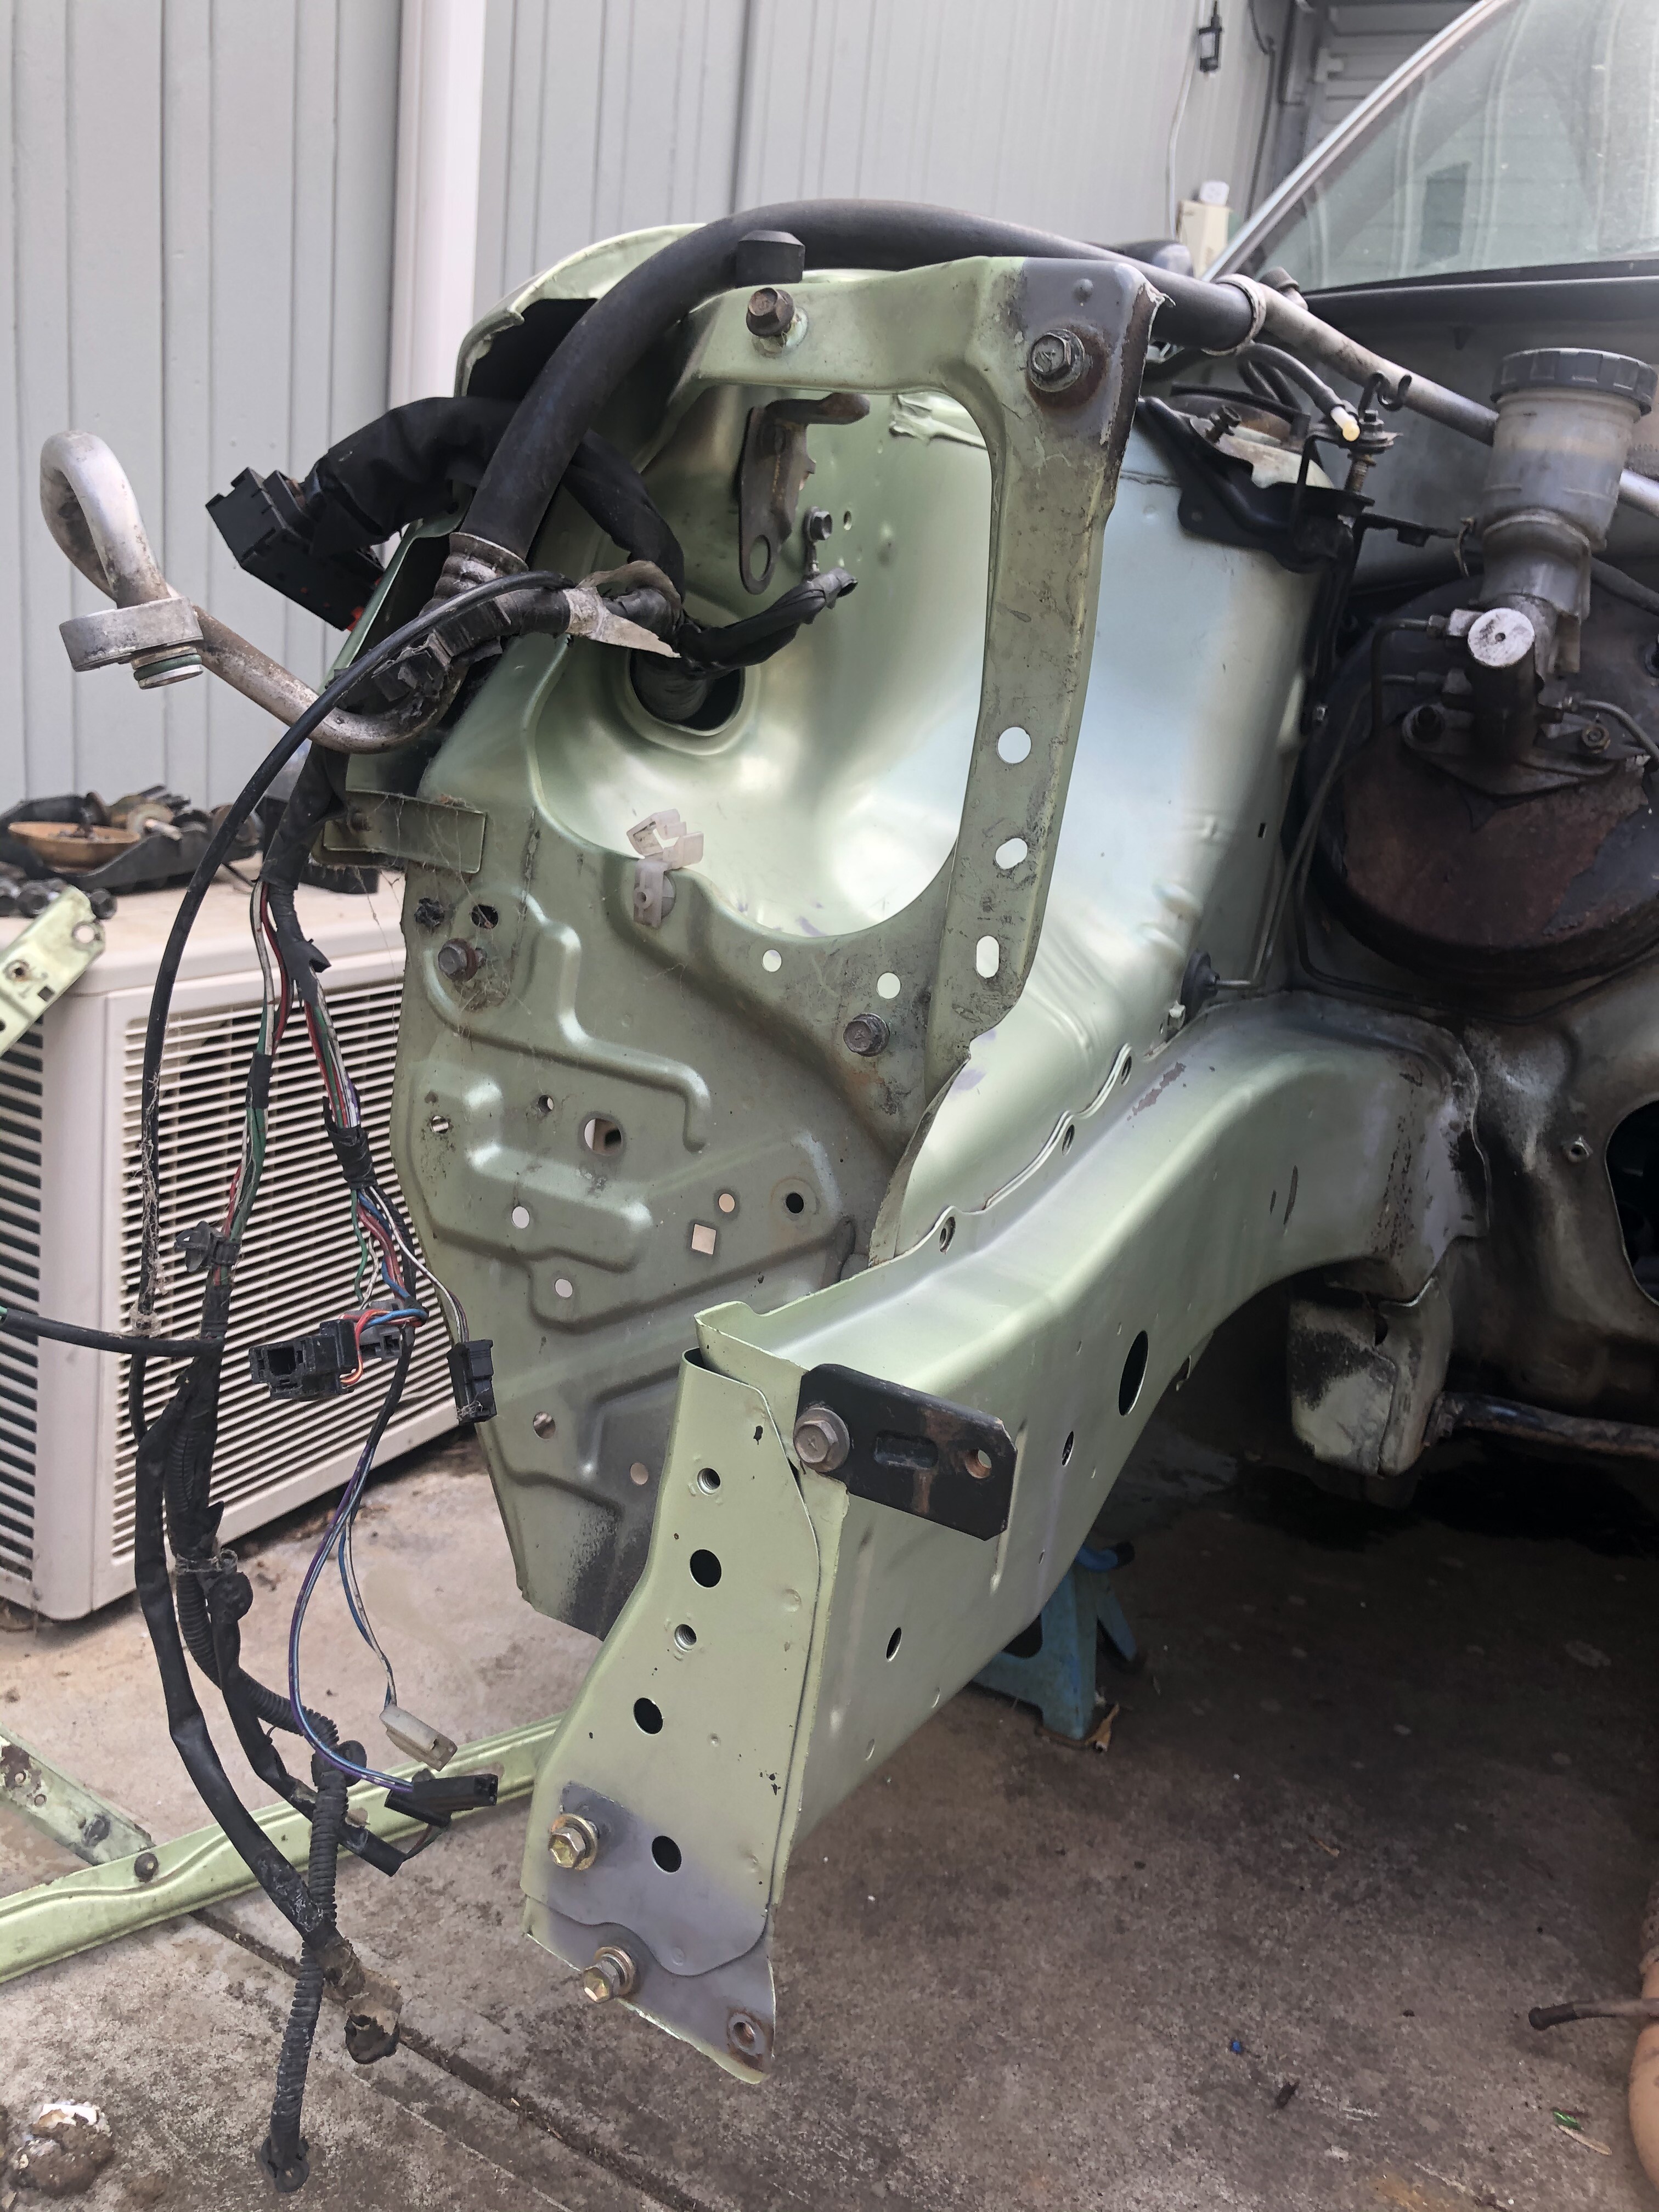
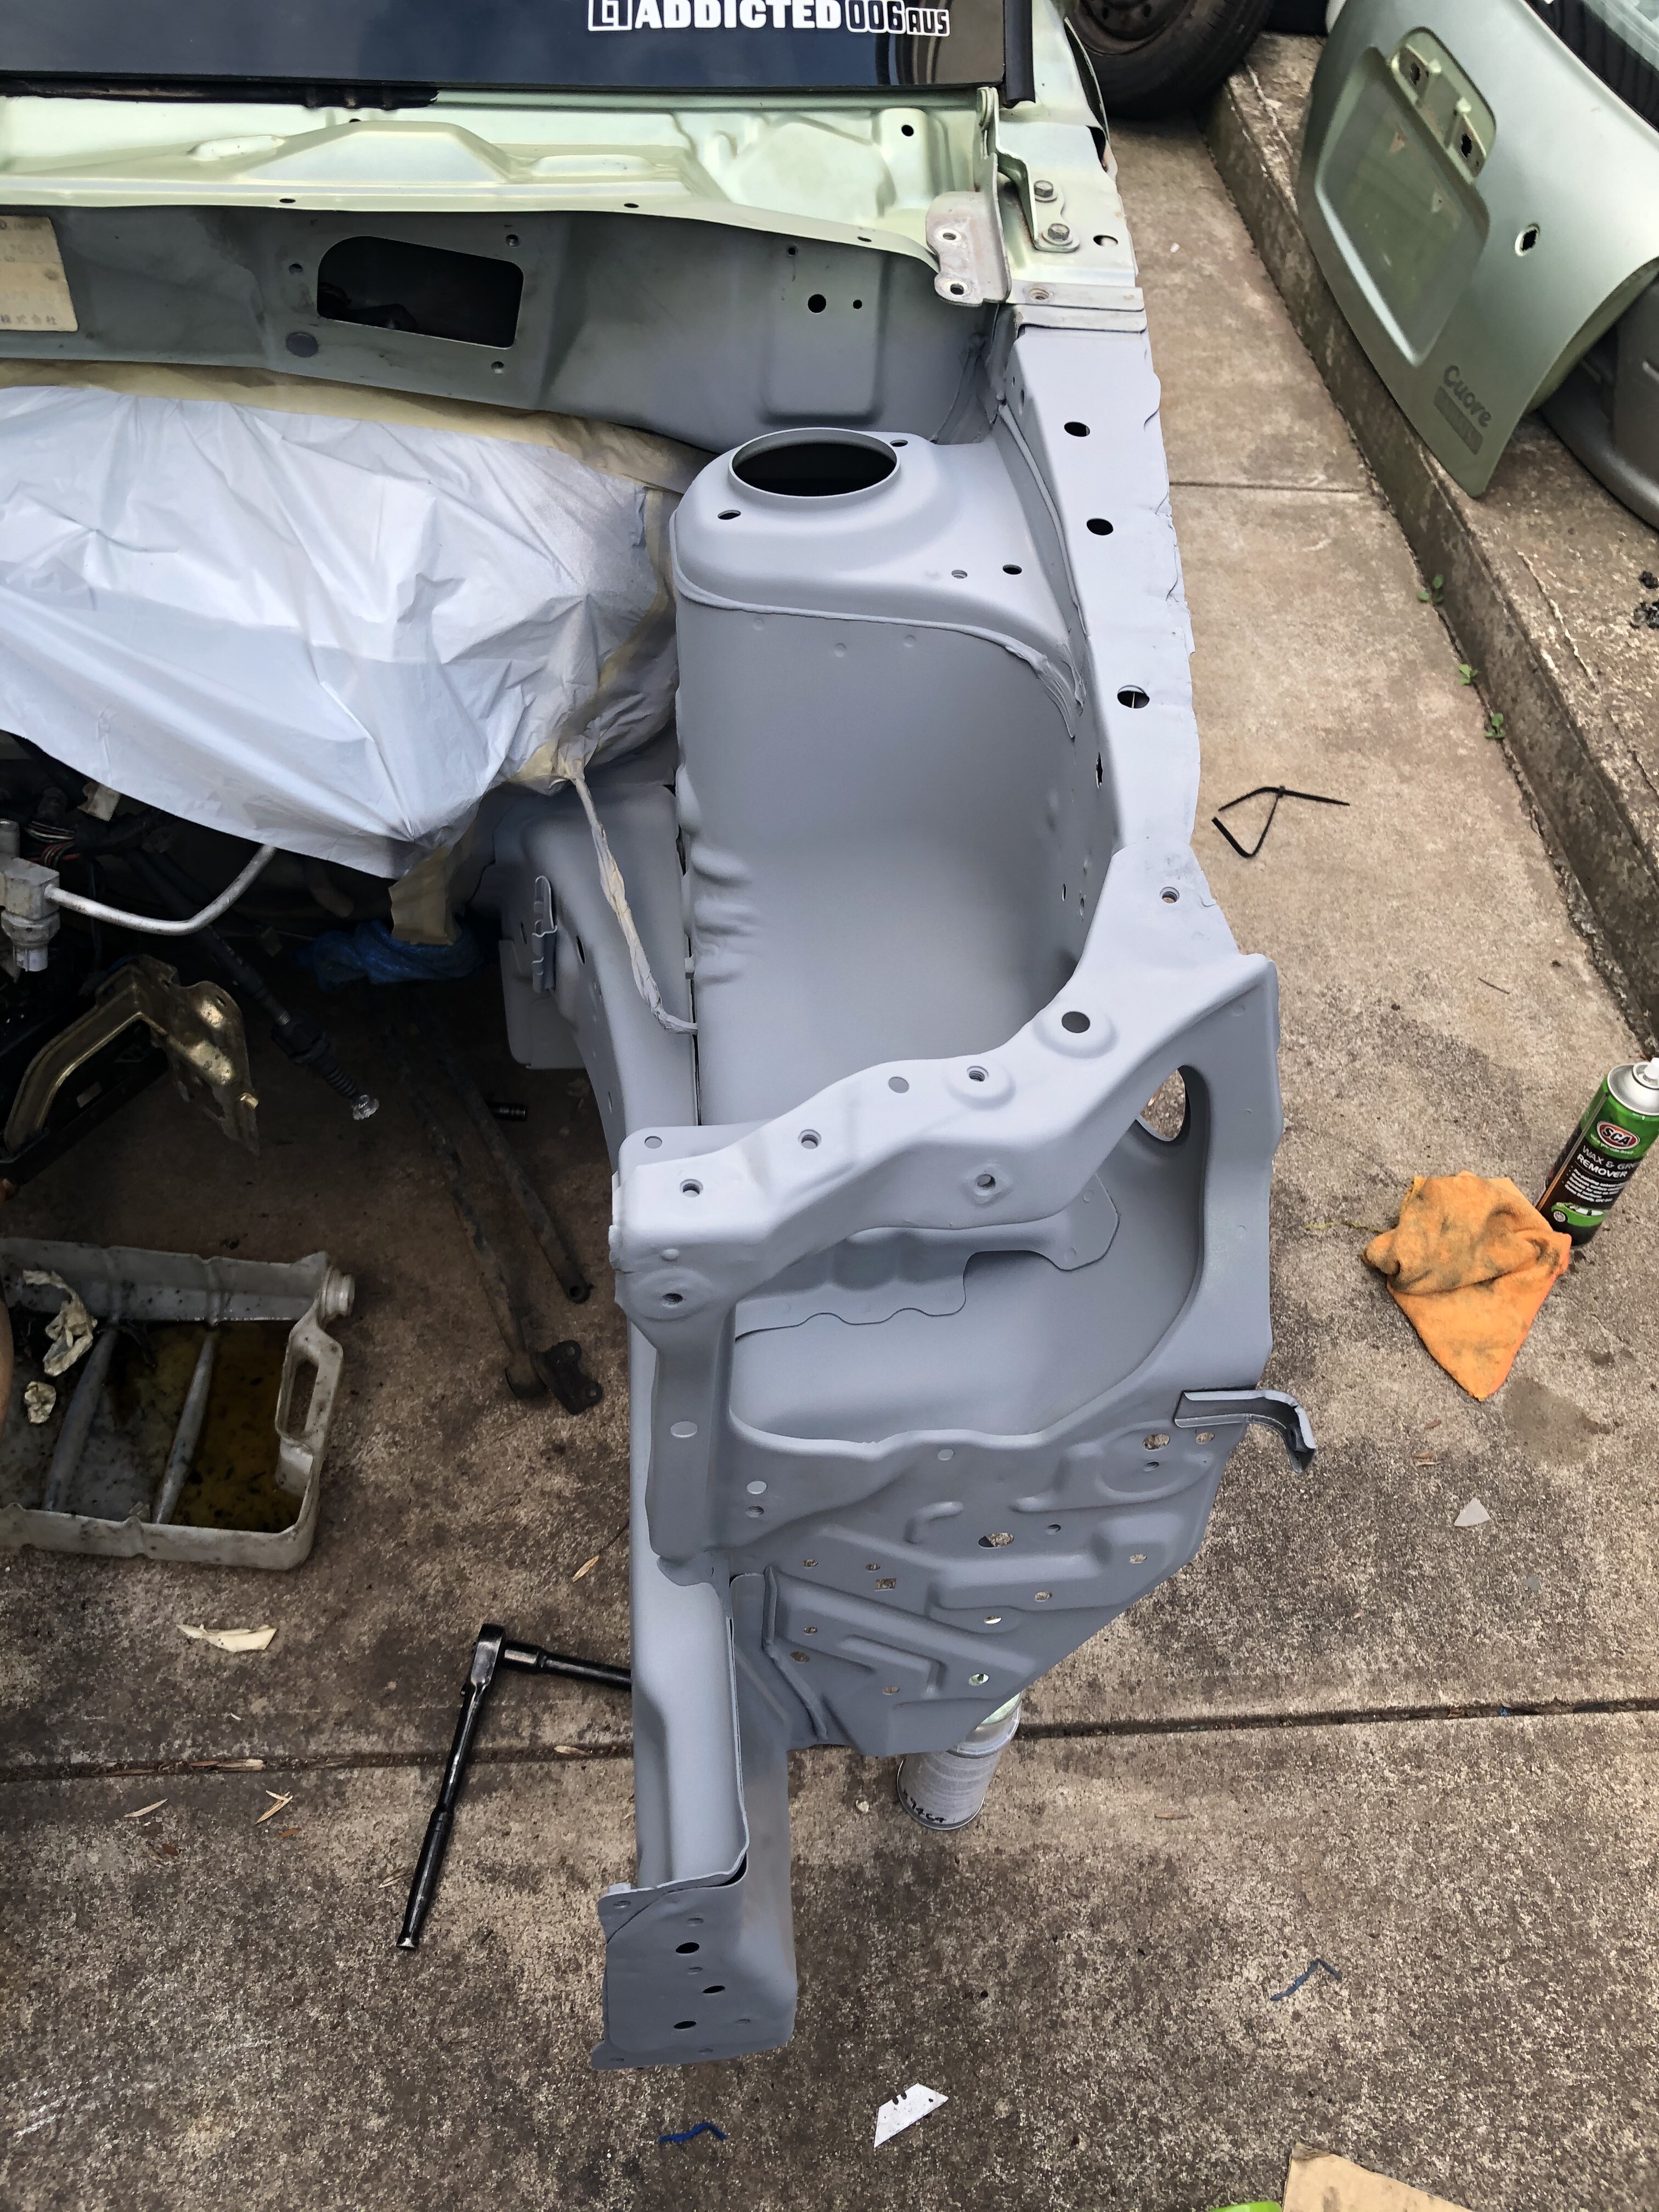
But I got a new work space that I managed to squeeze my projects in and what better way to break in the new space than to strip down the front end.
Again!
But this time I’m painting and fixing a few things as we go.
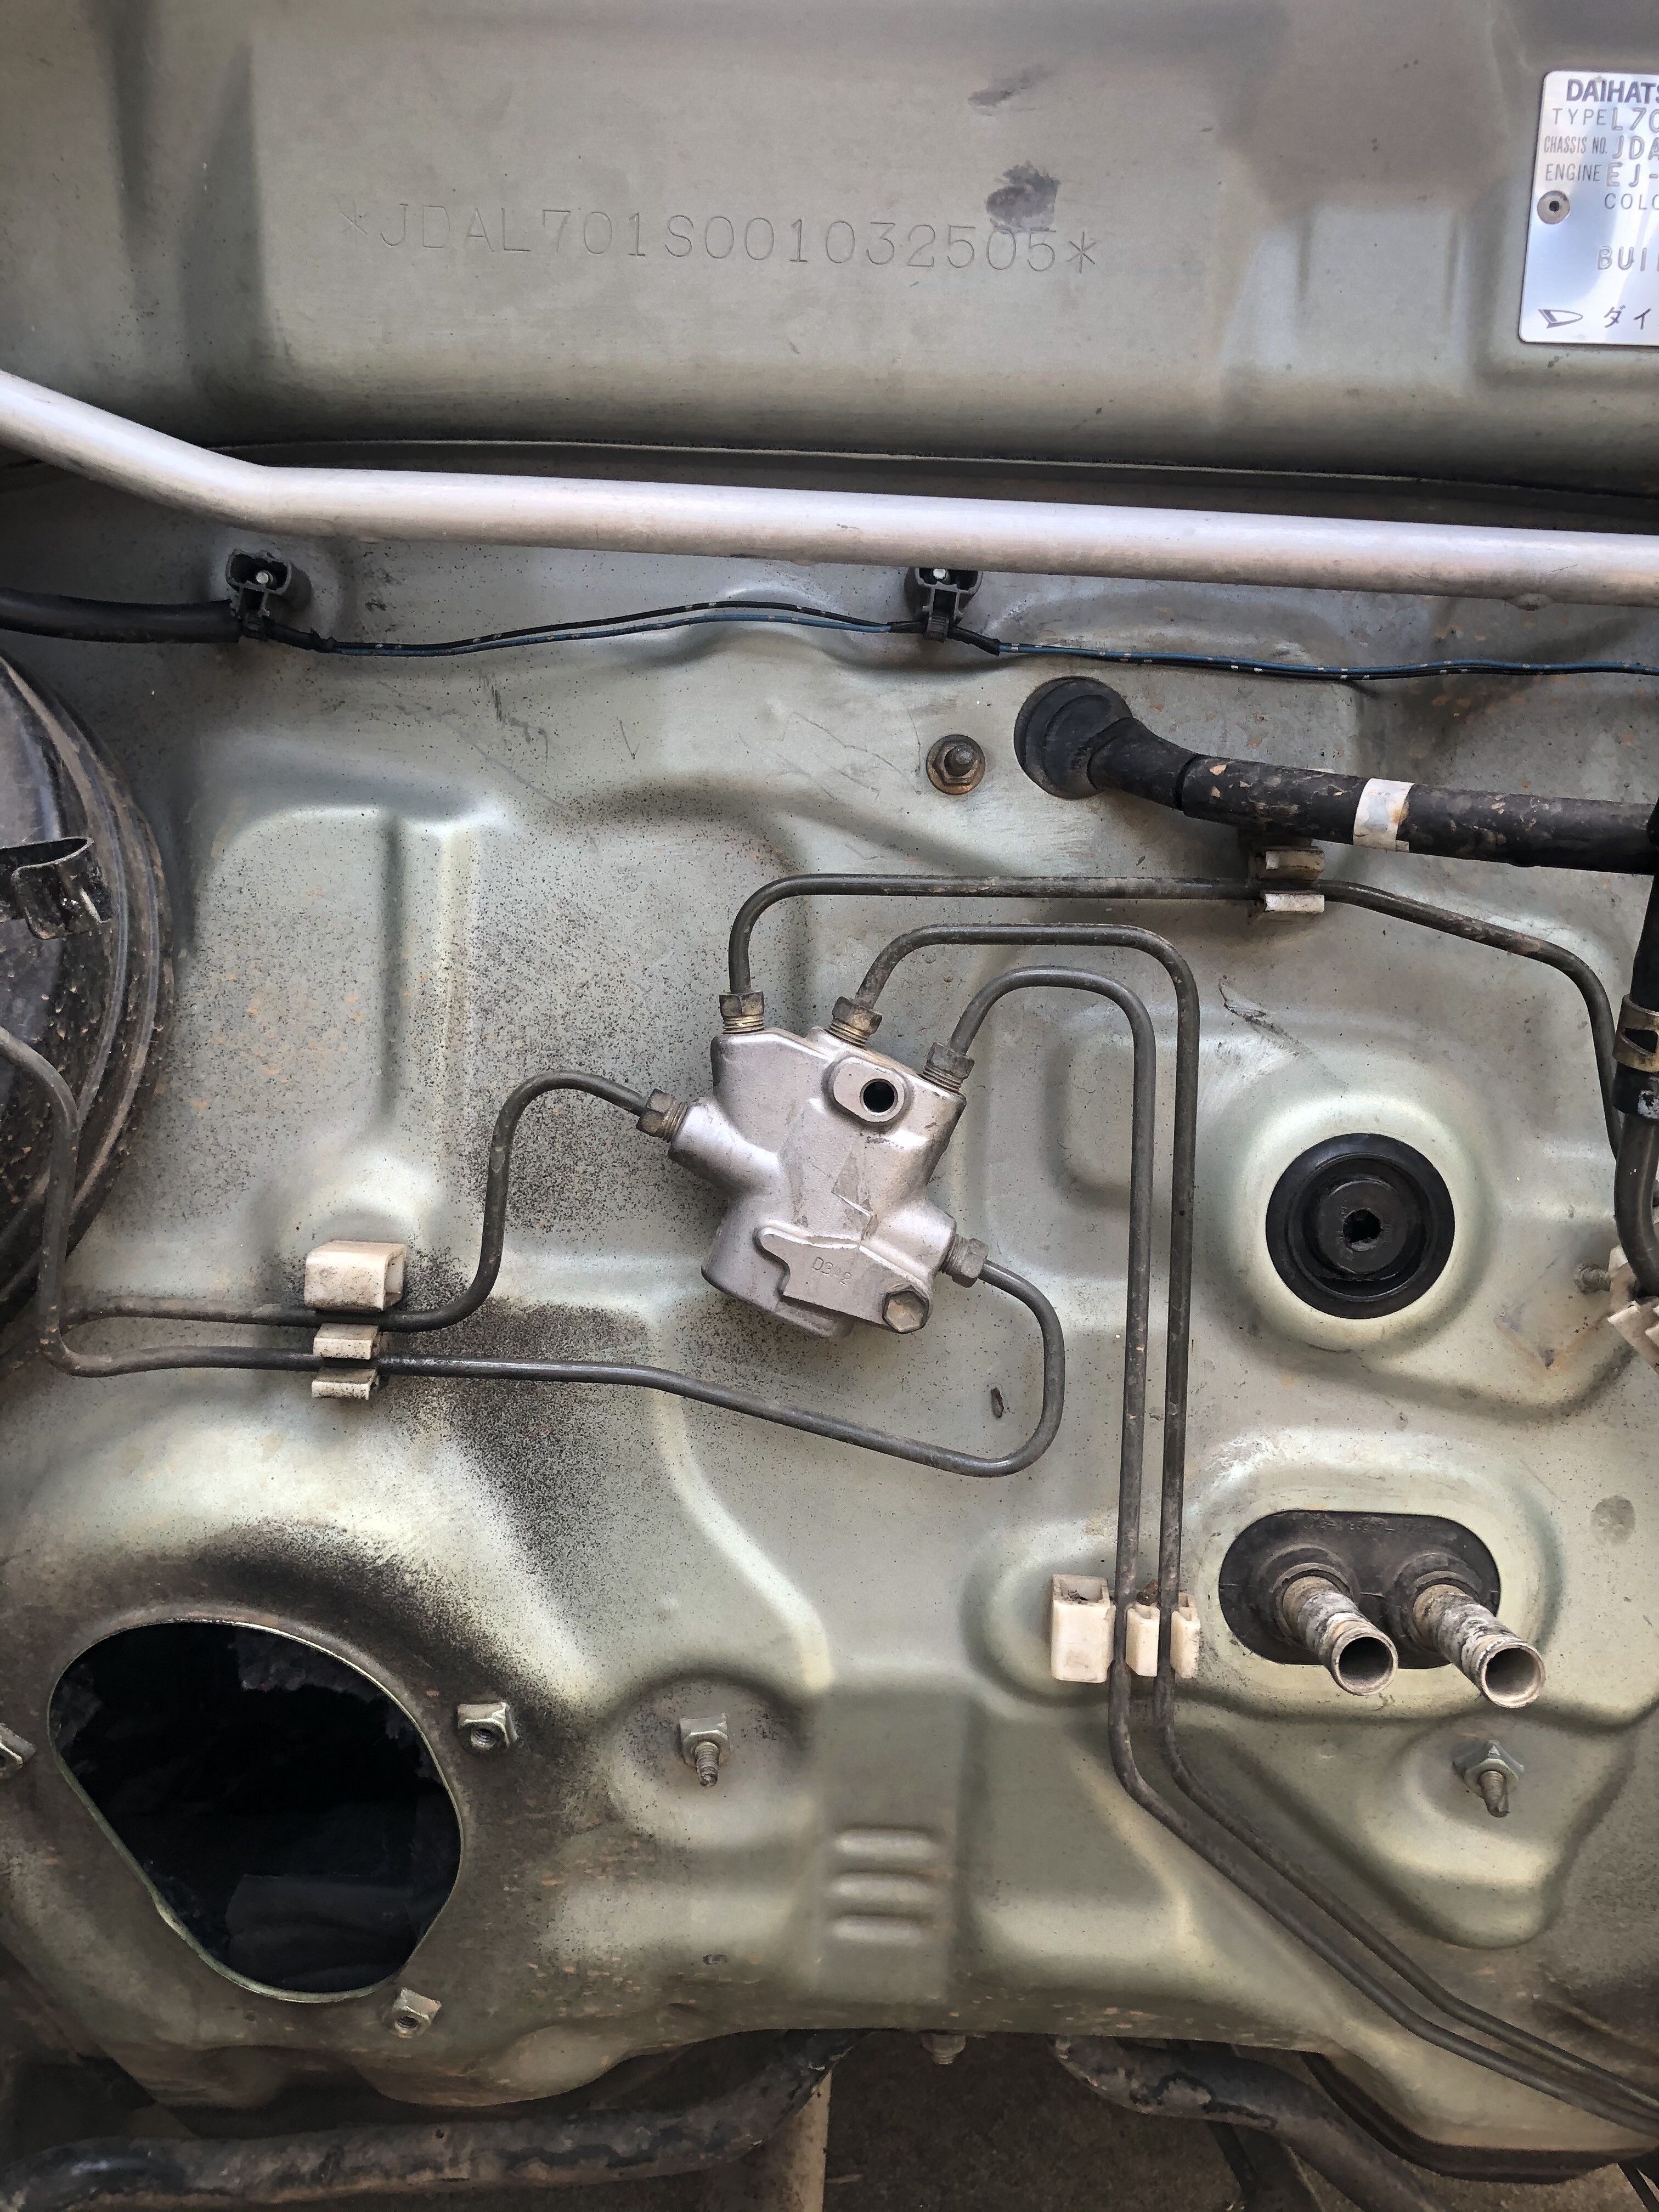
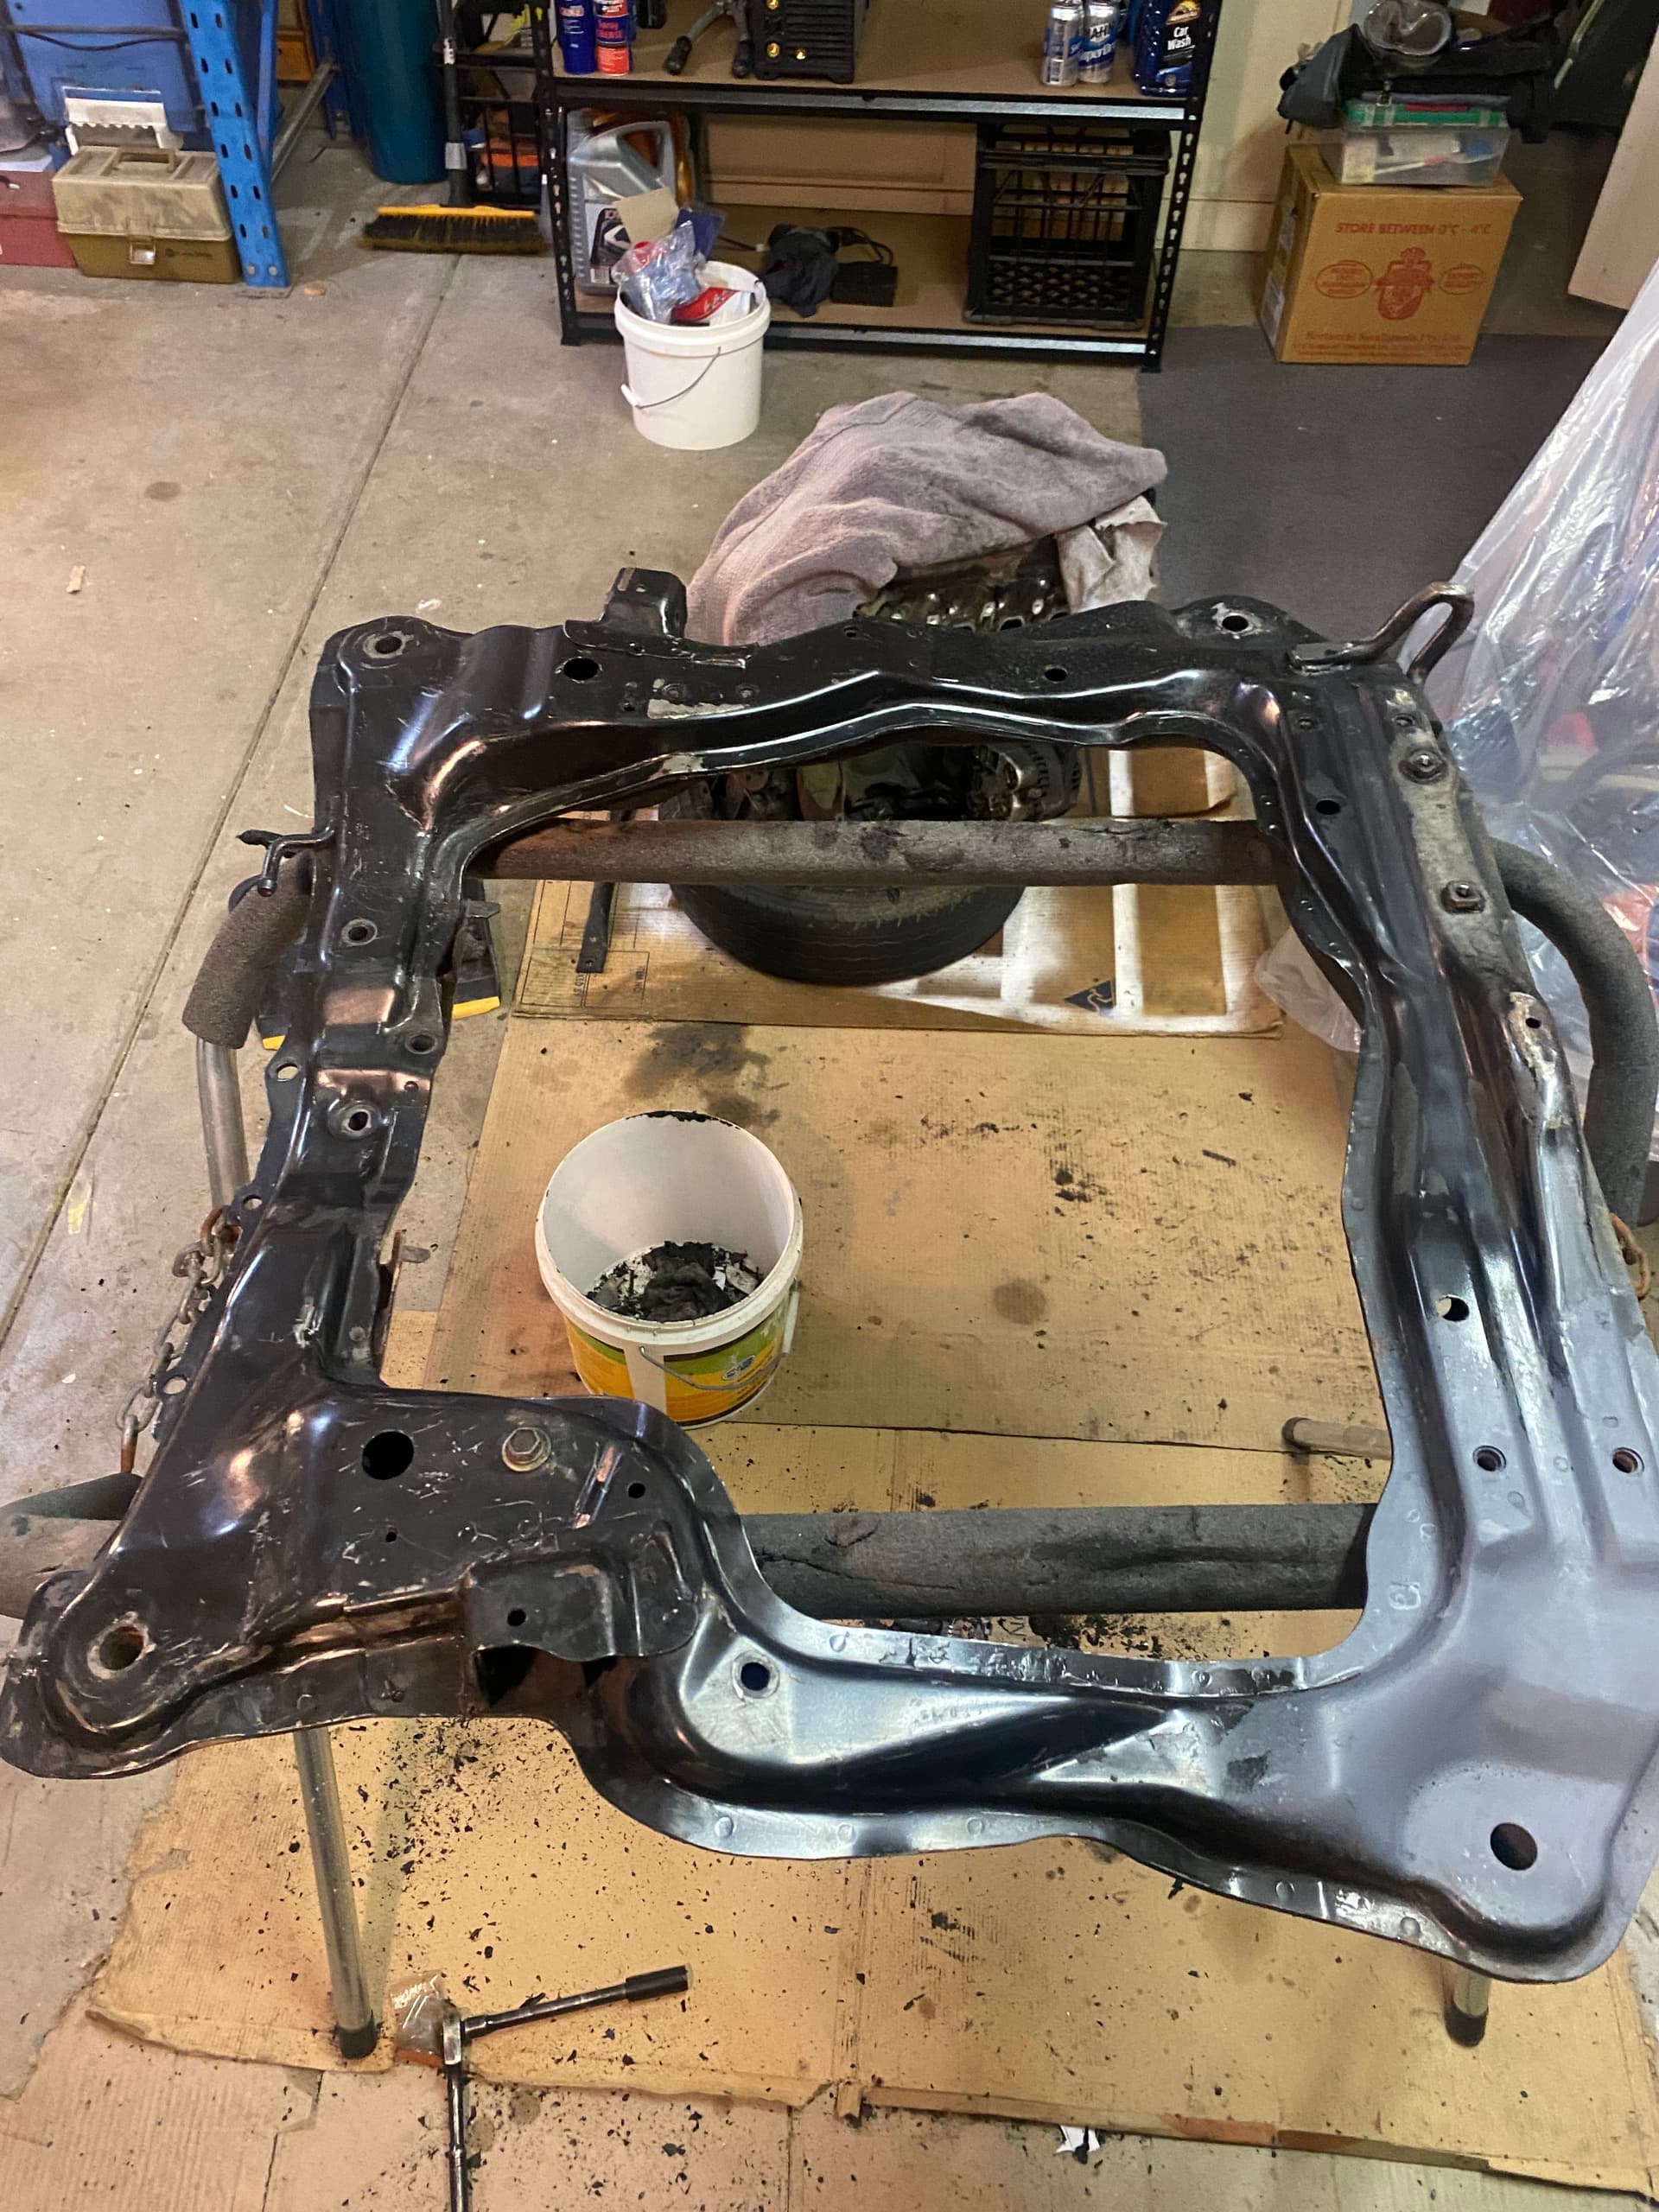
The reason that I started the strip down again is for the new motor but once I pulled out the sub frame it become clear I needed to fix the damage to it.
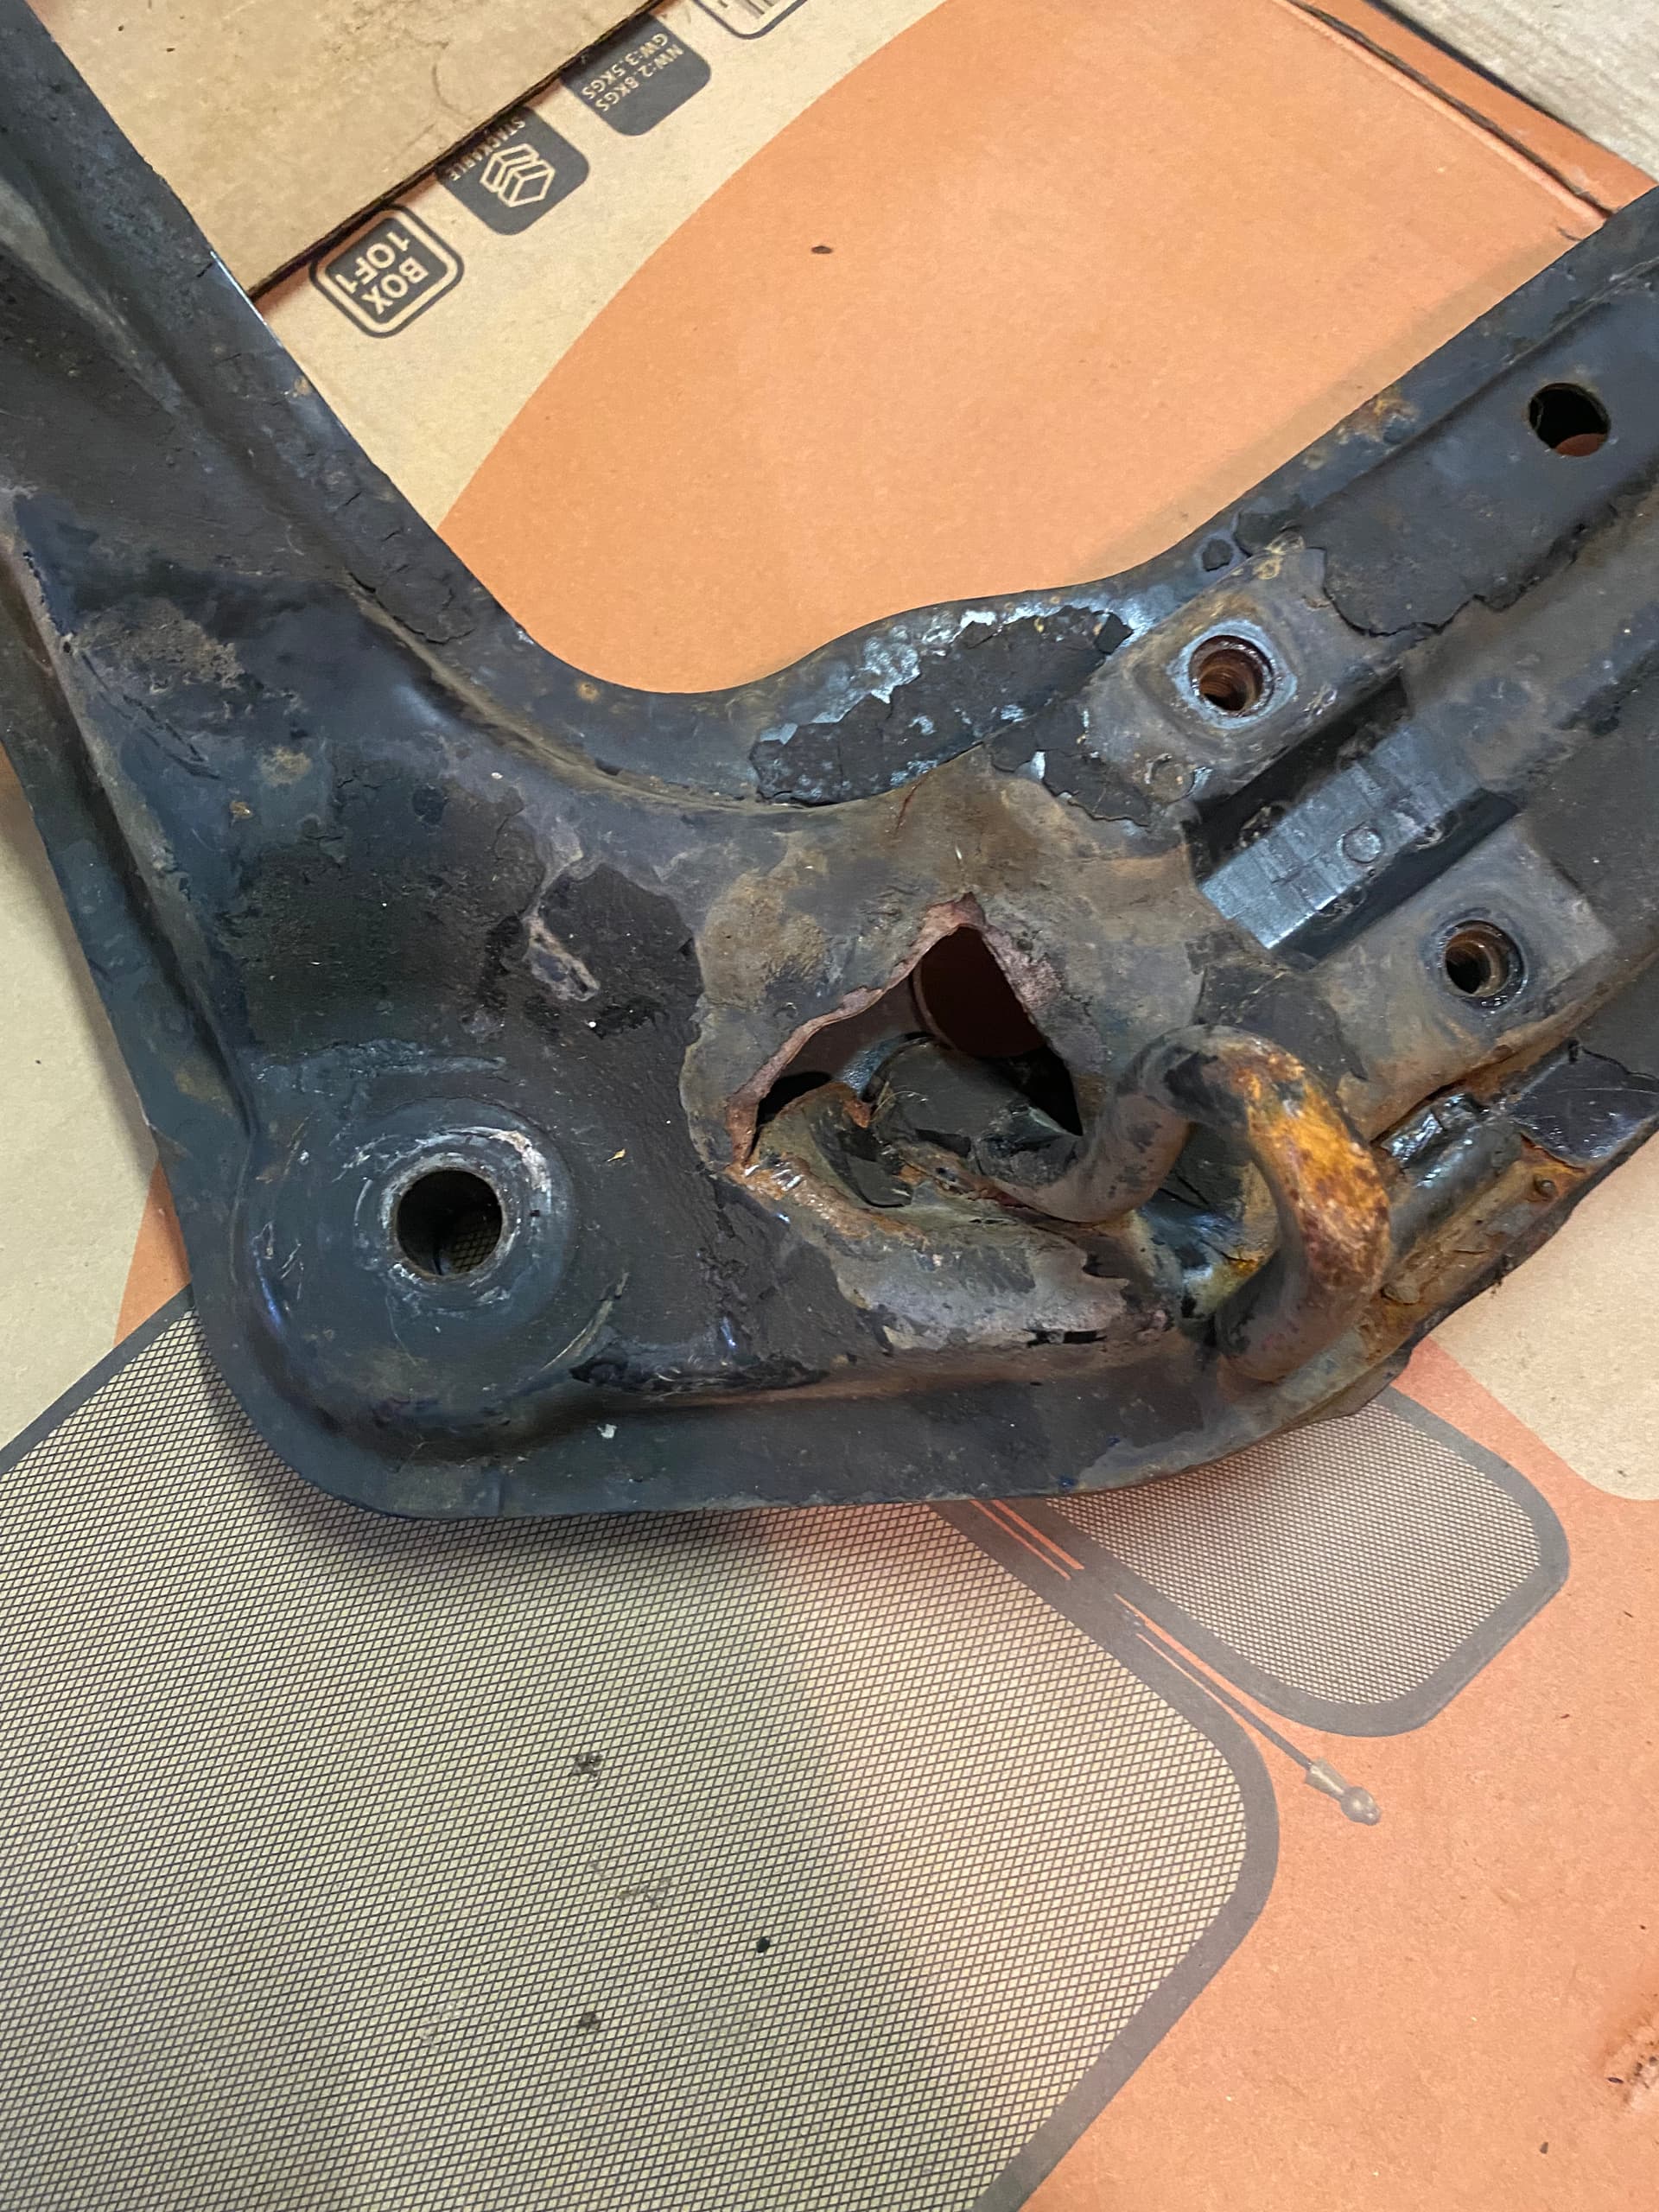
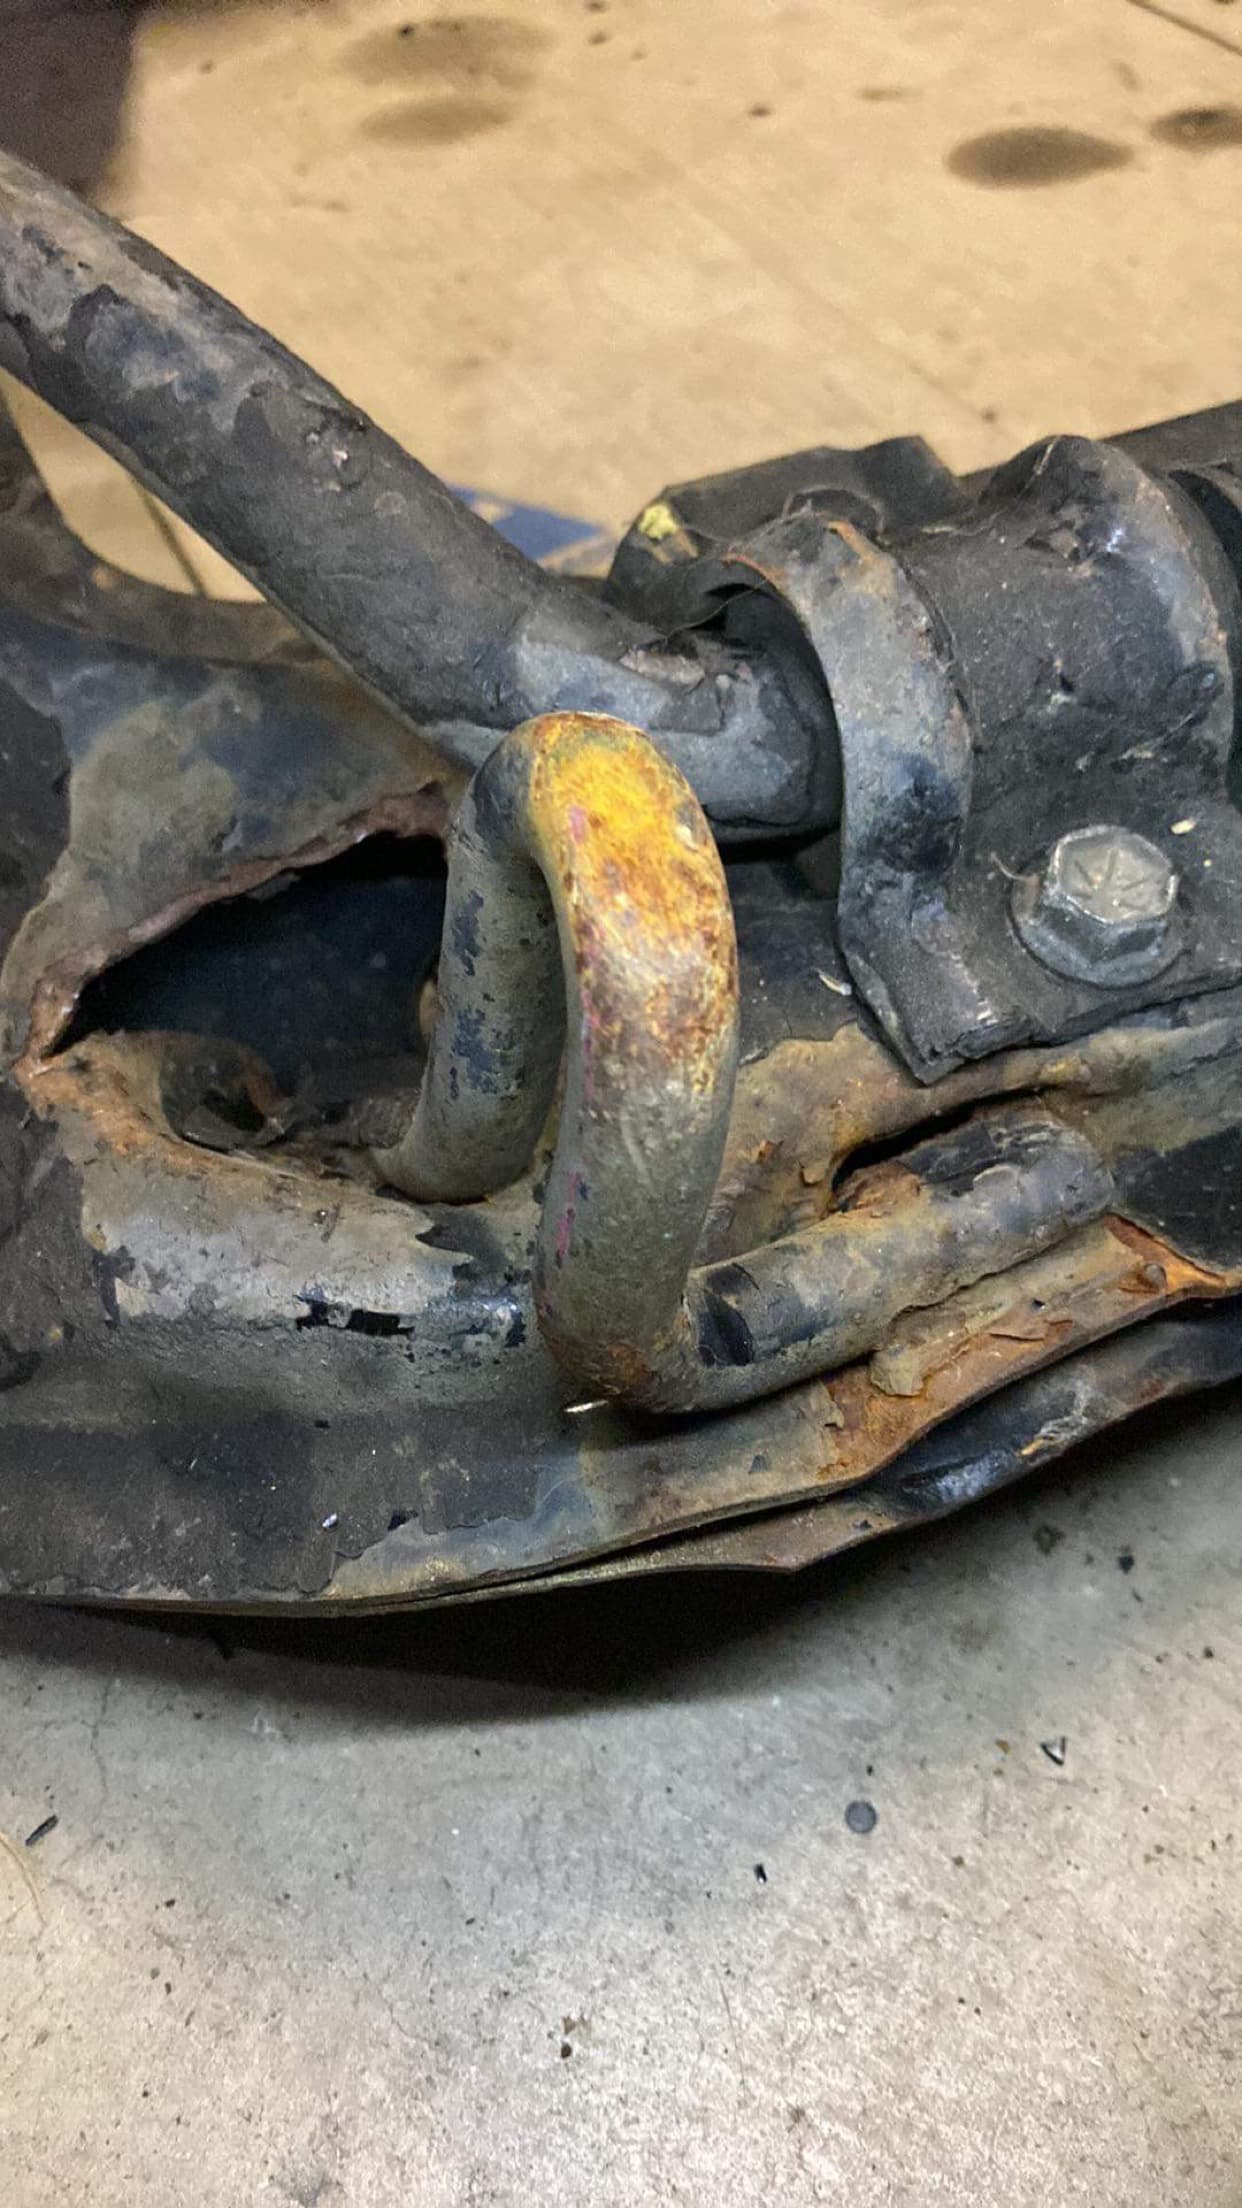
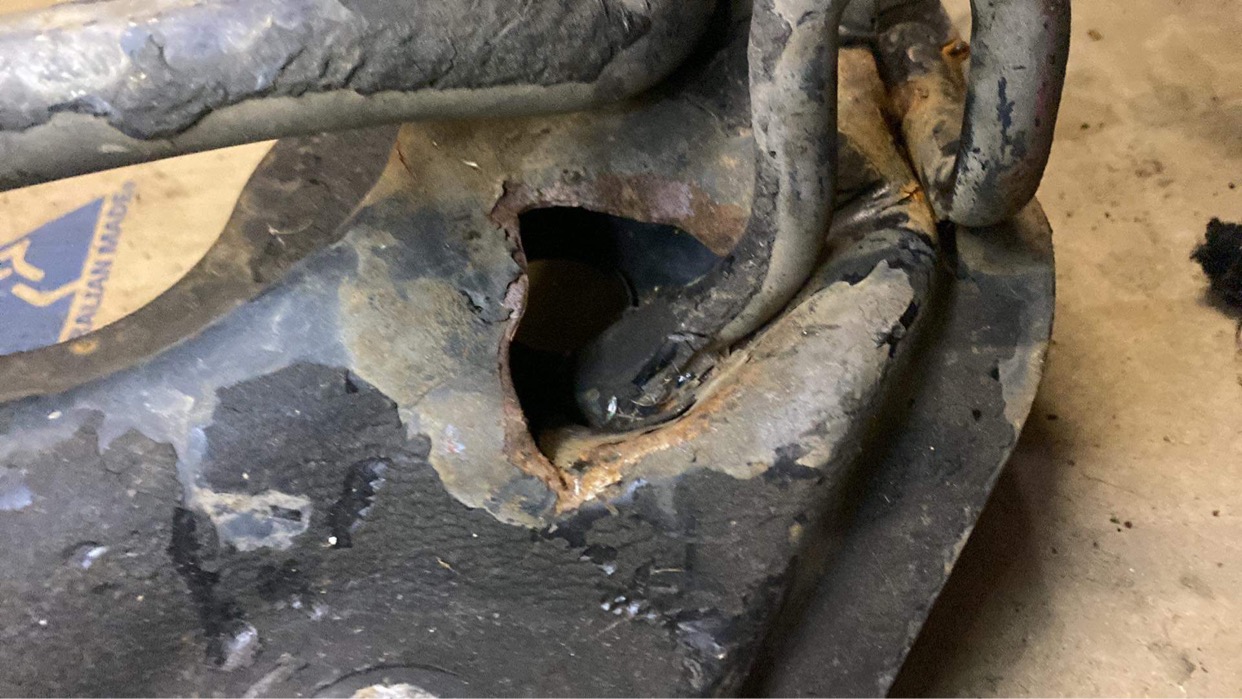
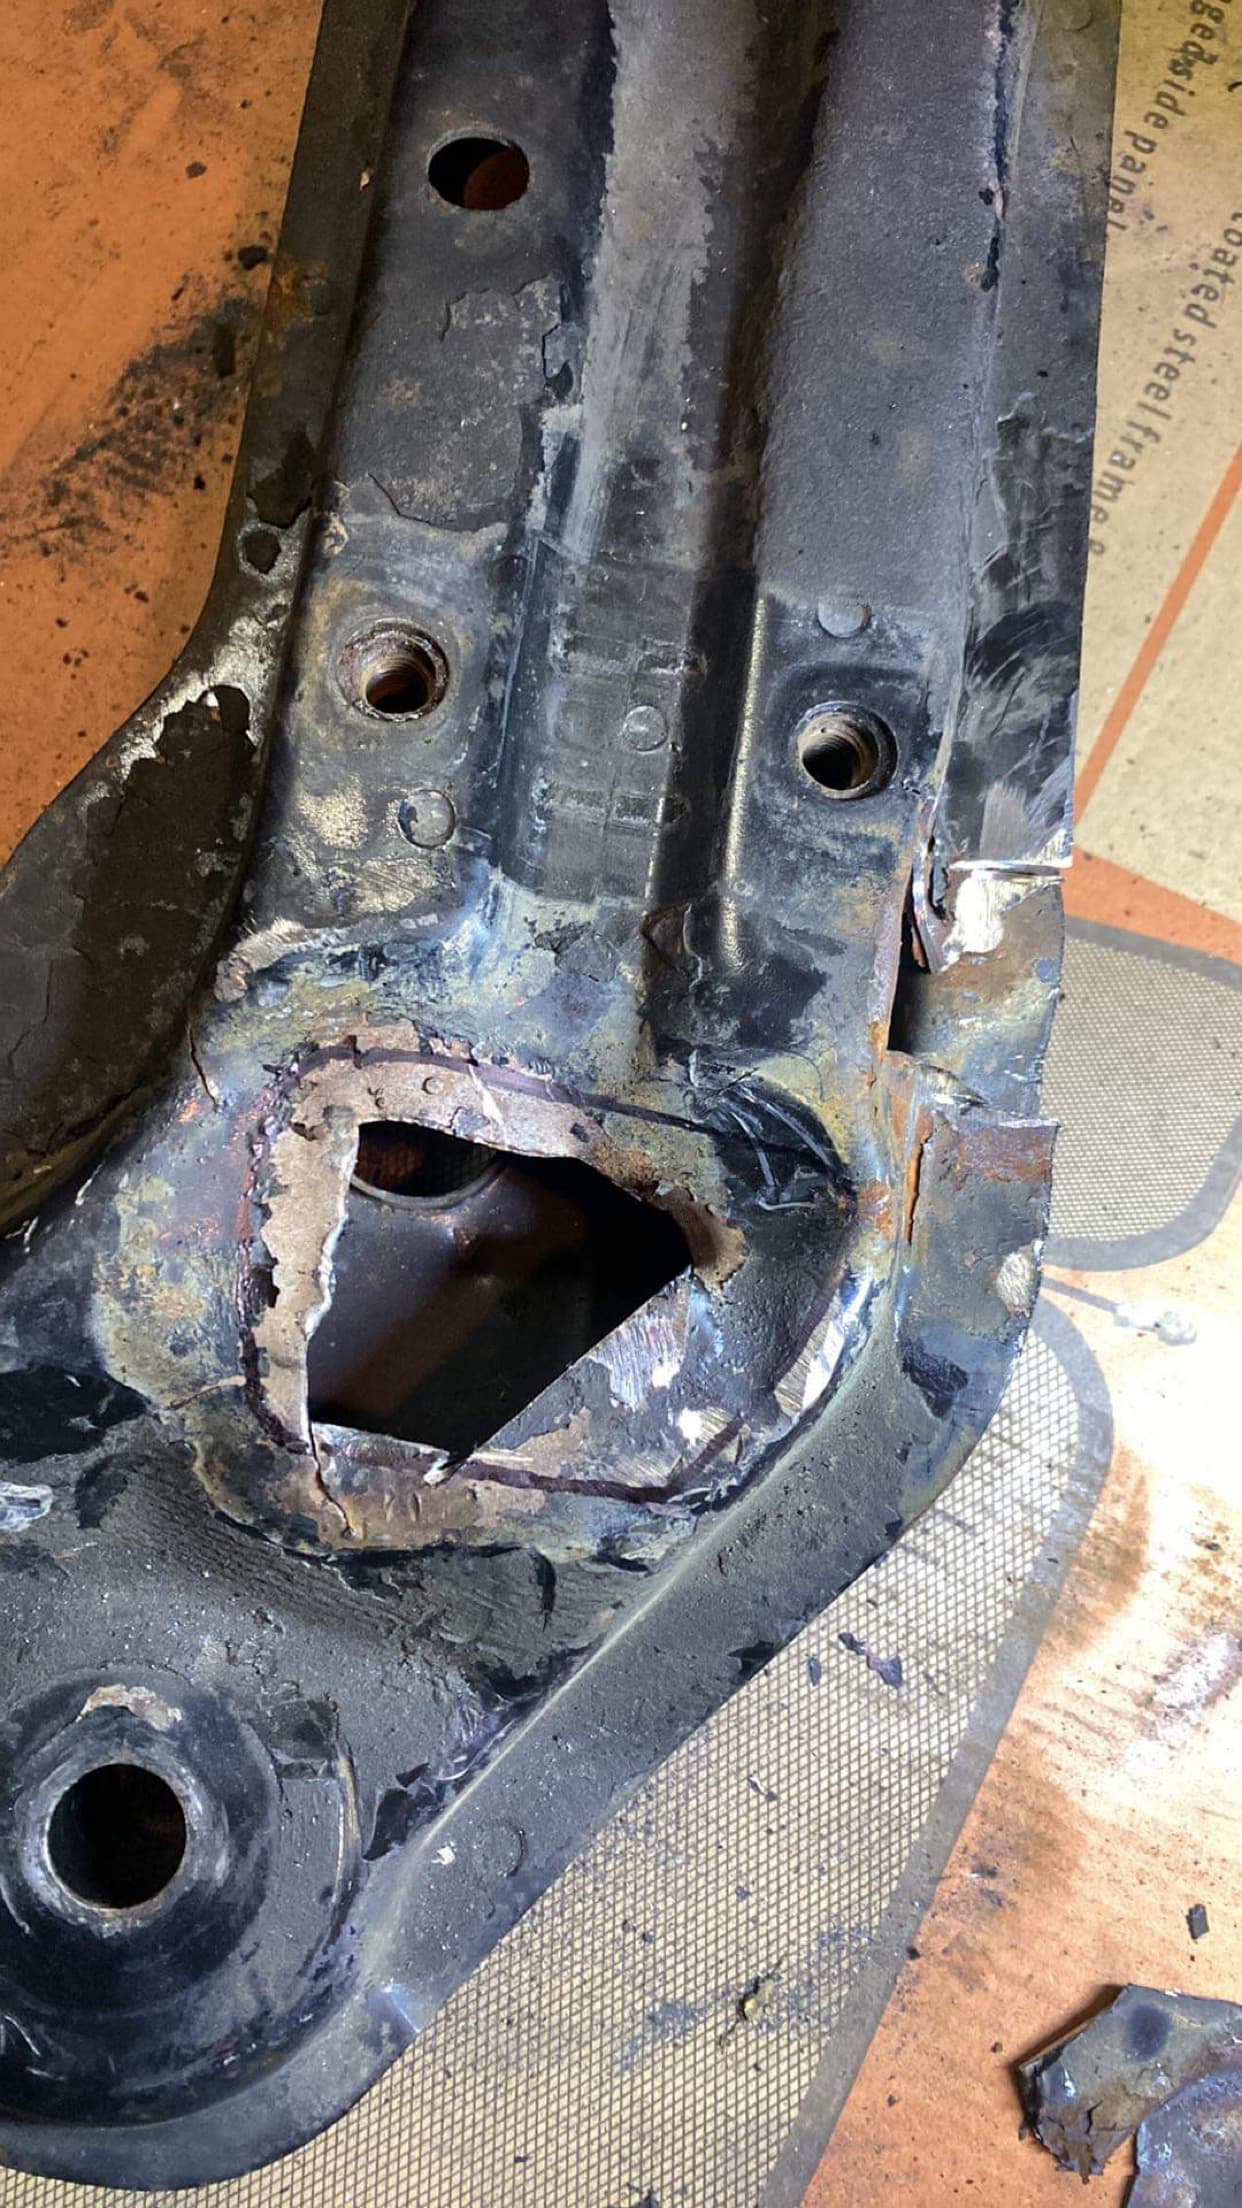
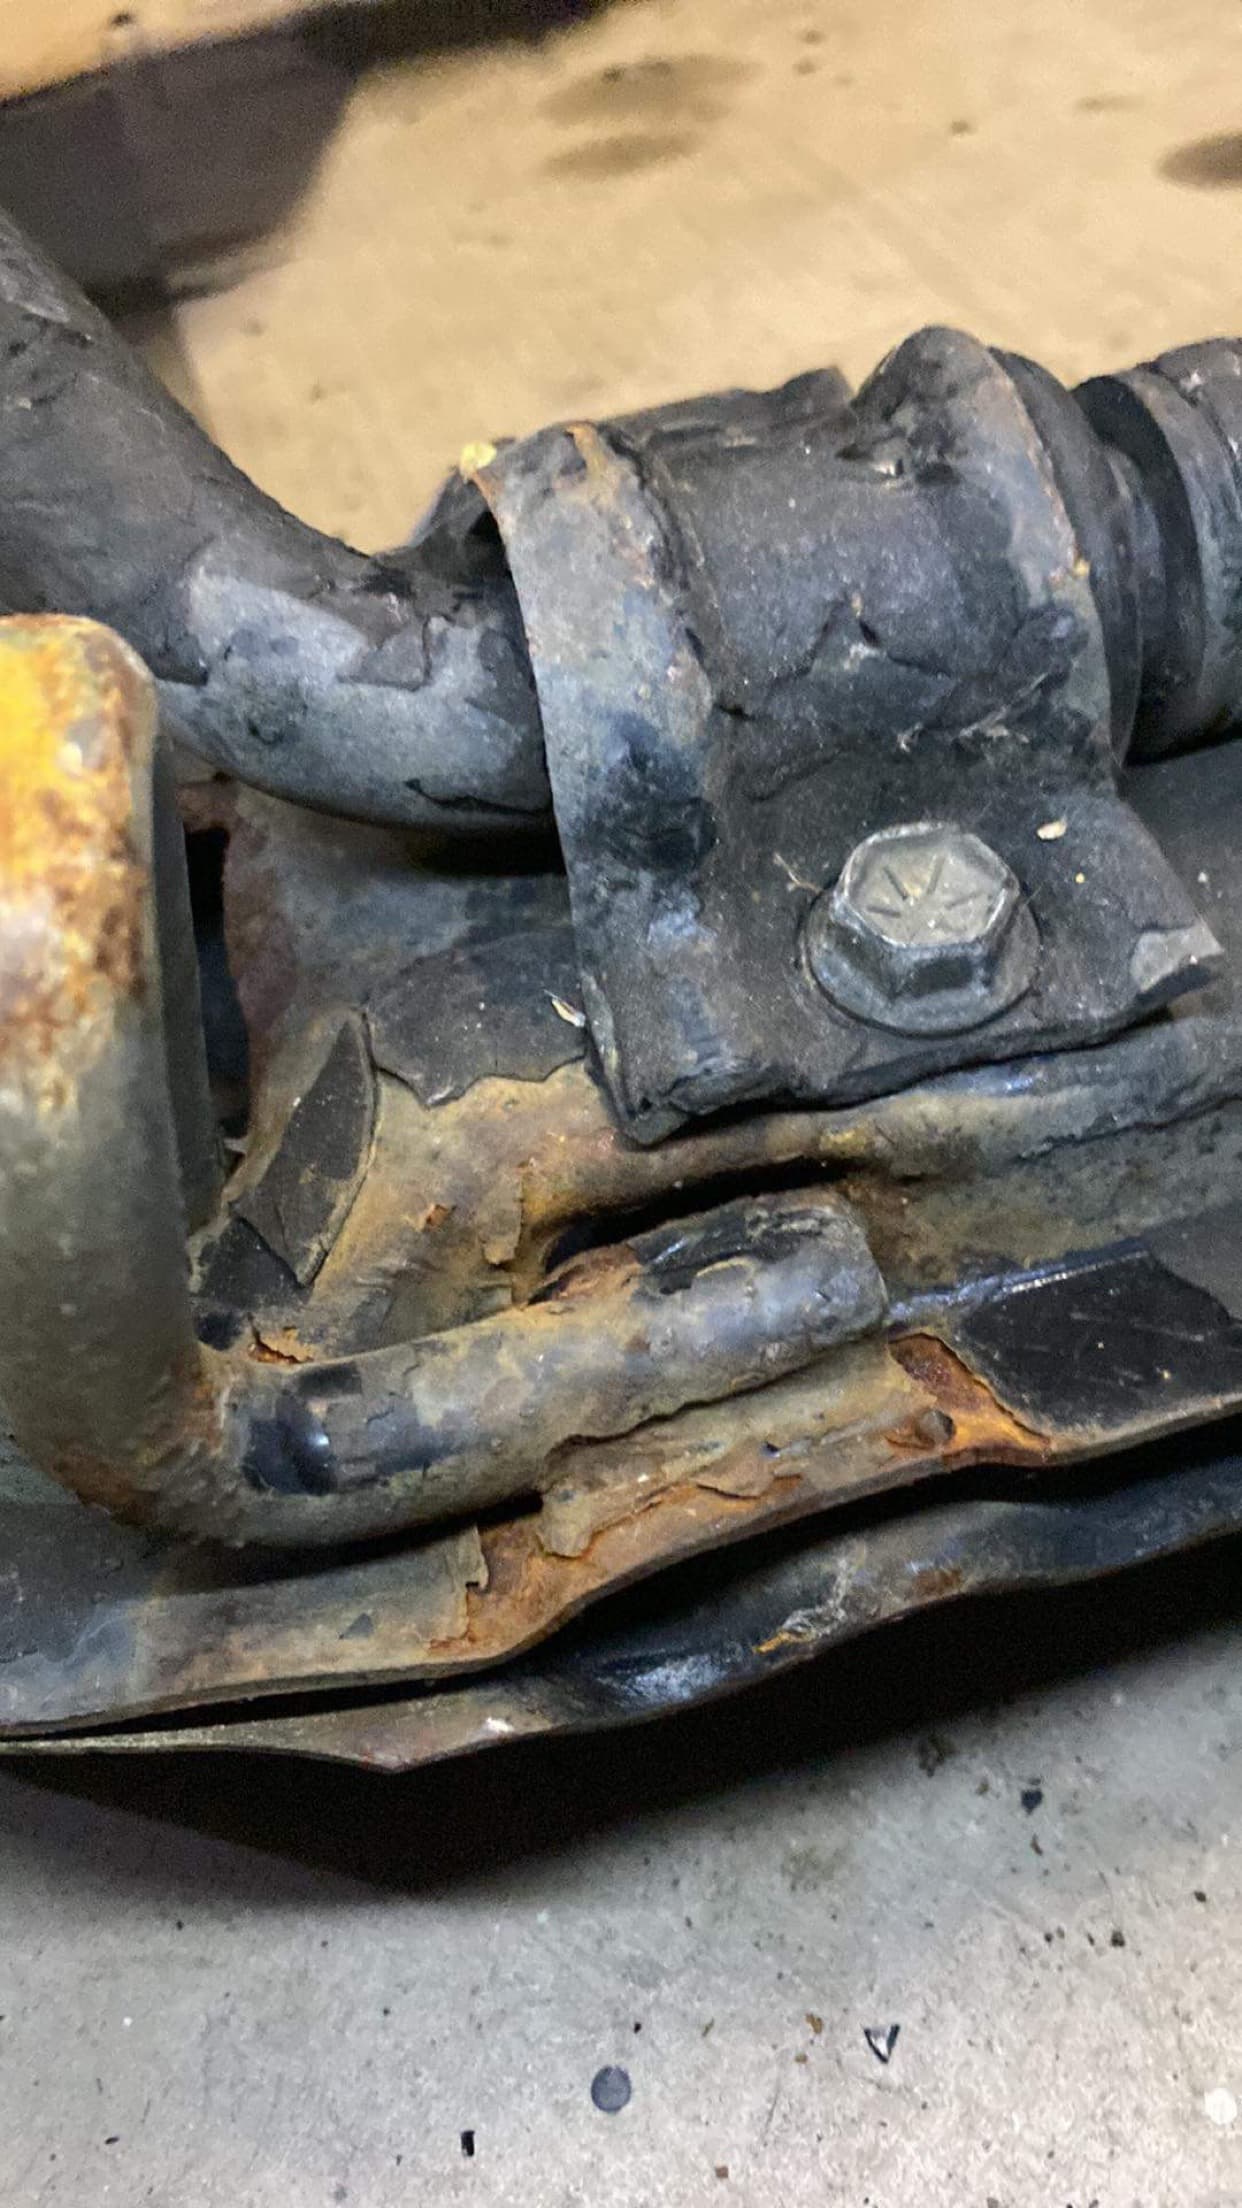
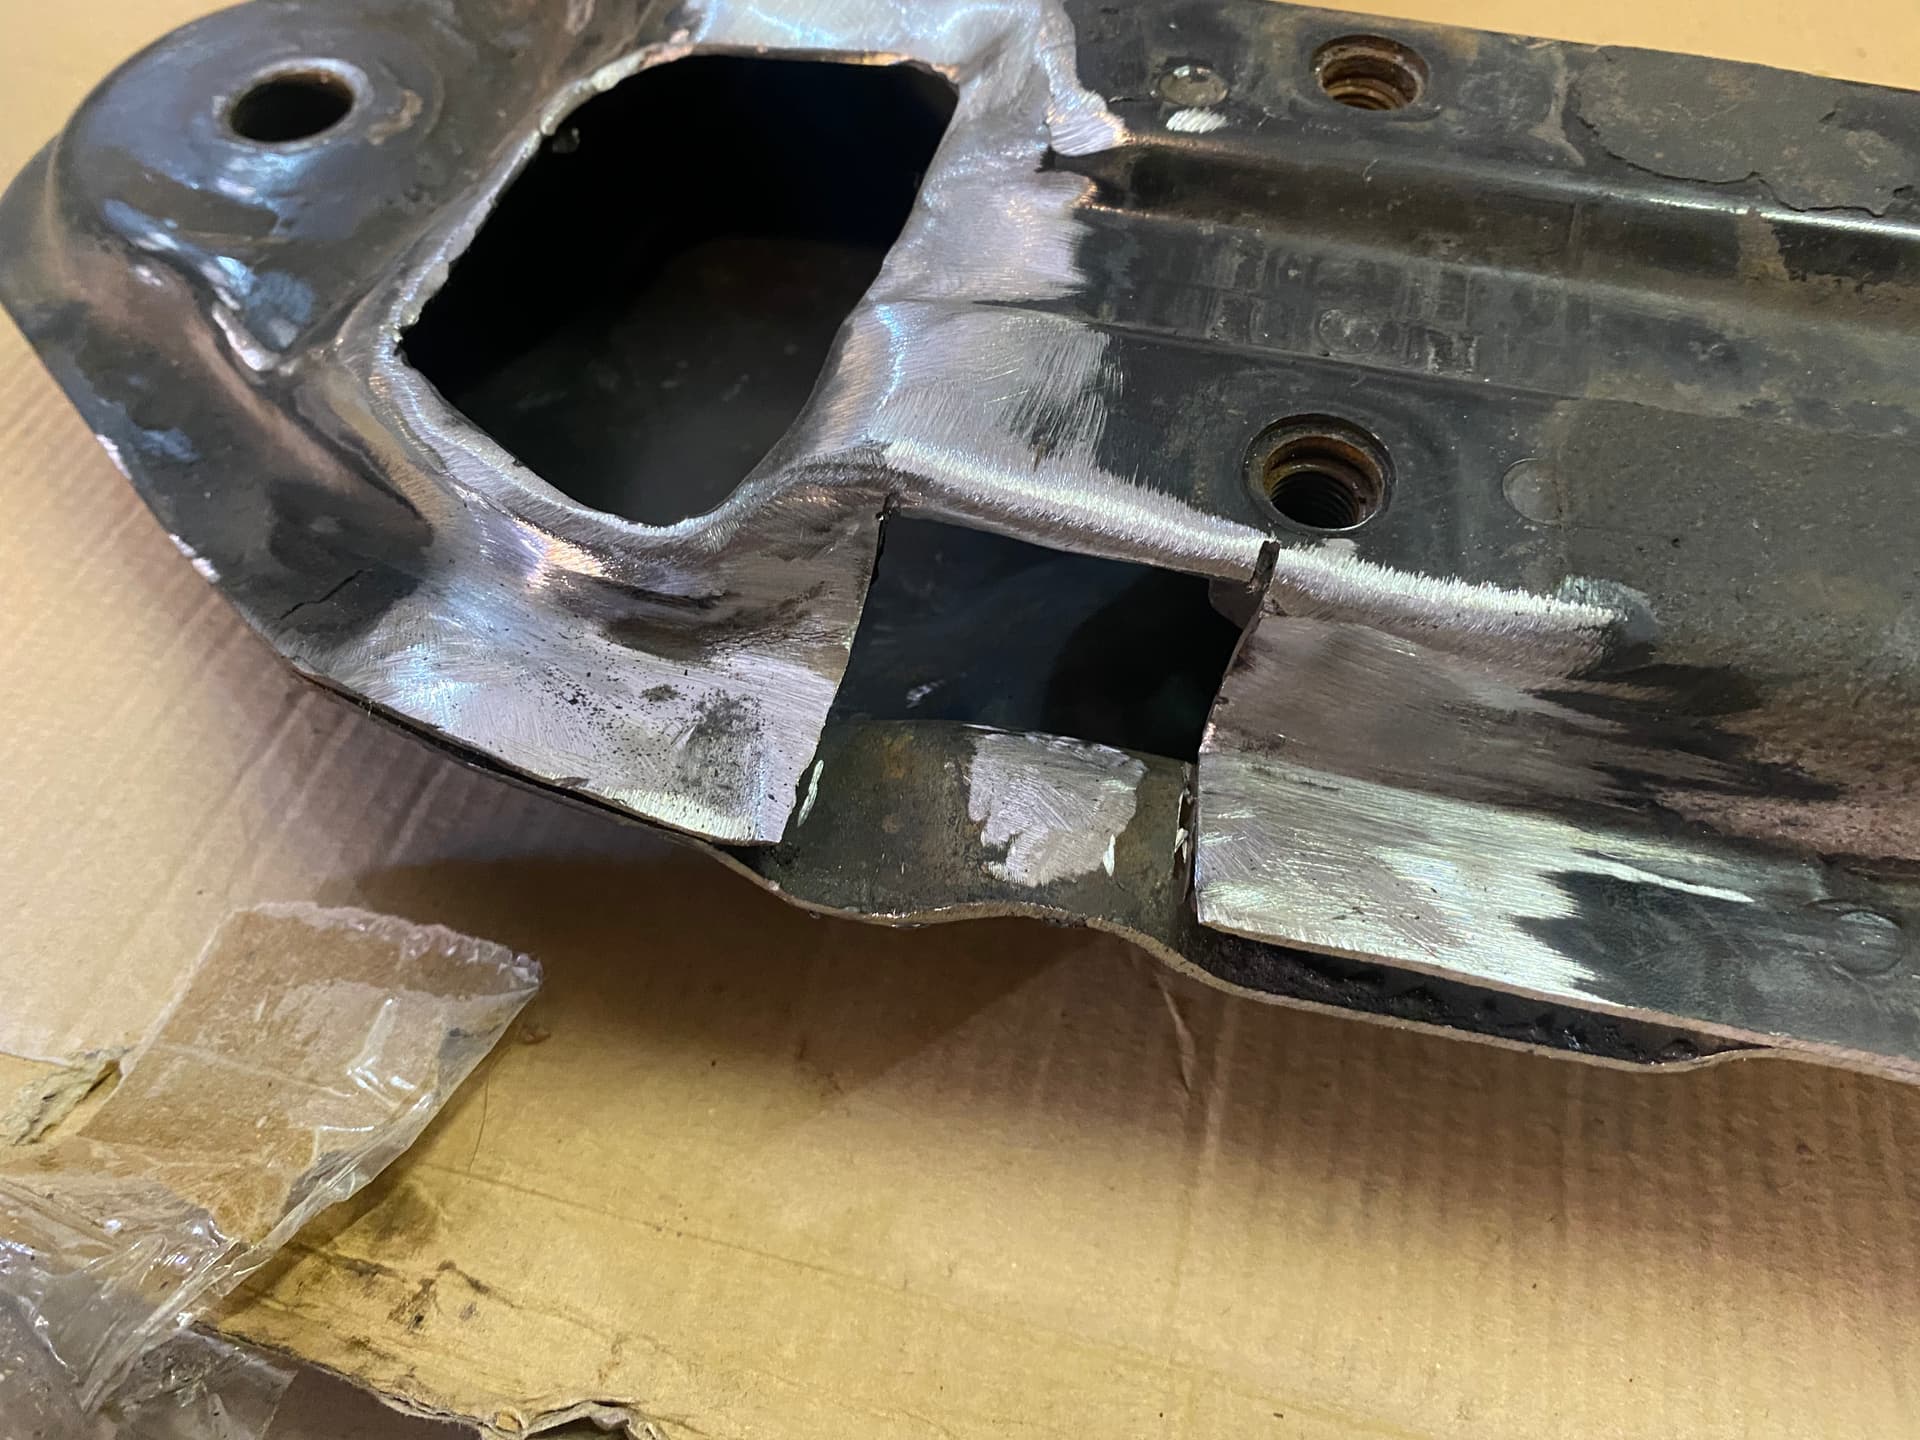
This is the hole in the k-frame. The tow loop in the k frame has been punched through all the way. This happened before I did the gtvi conversion but since the coil overs it’s got worse due to me hitting every spoon drain and gutter in town.
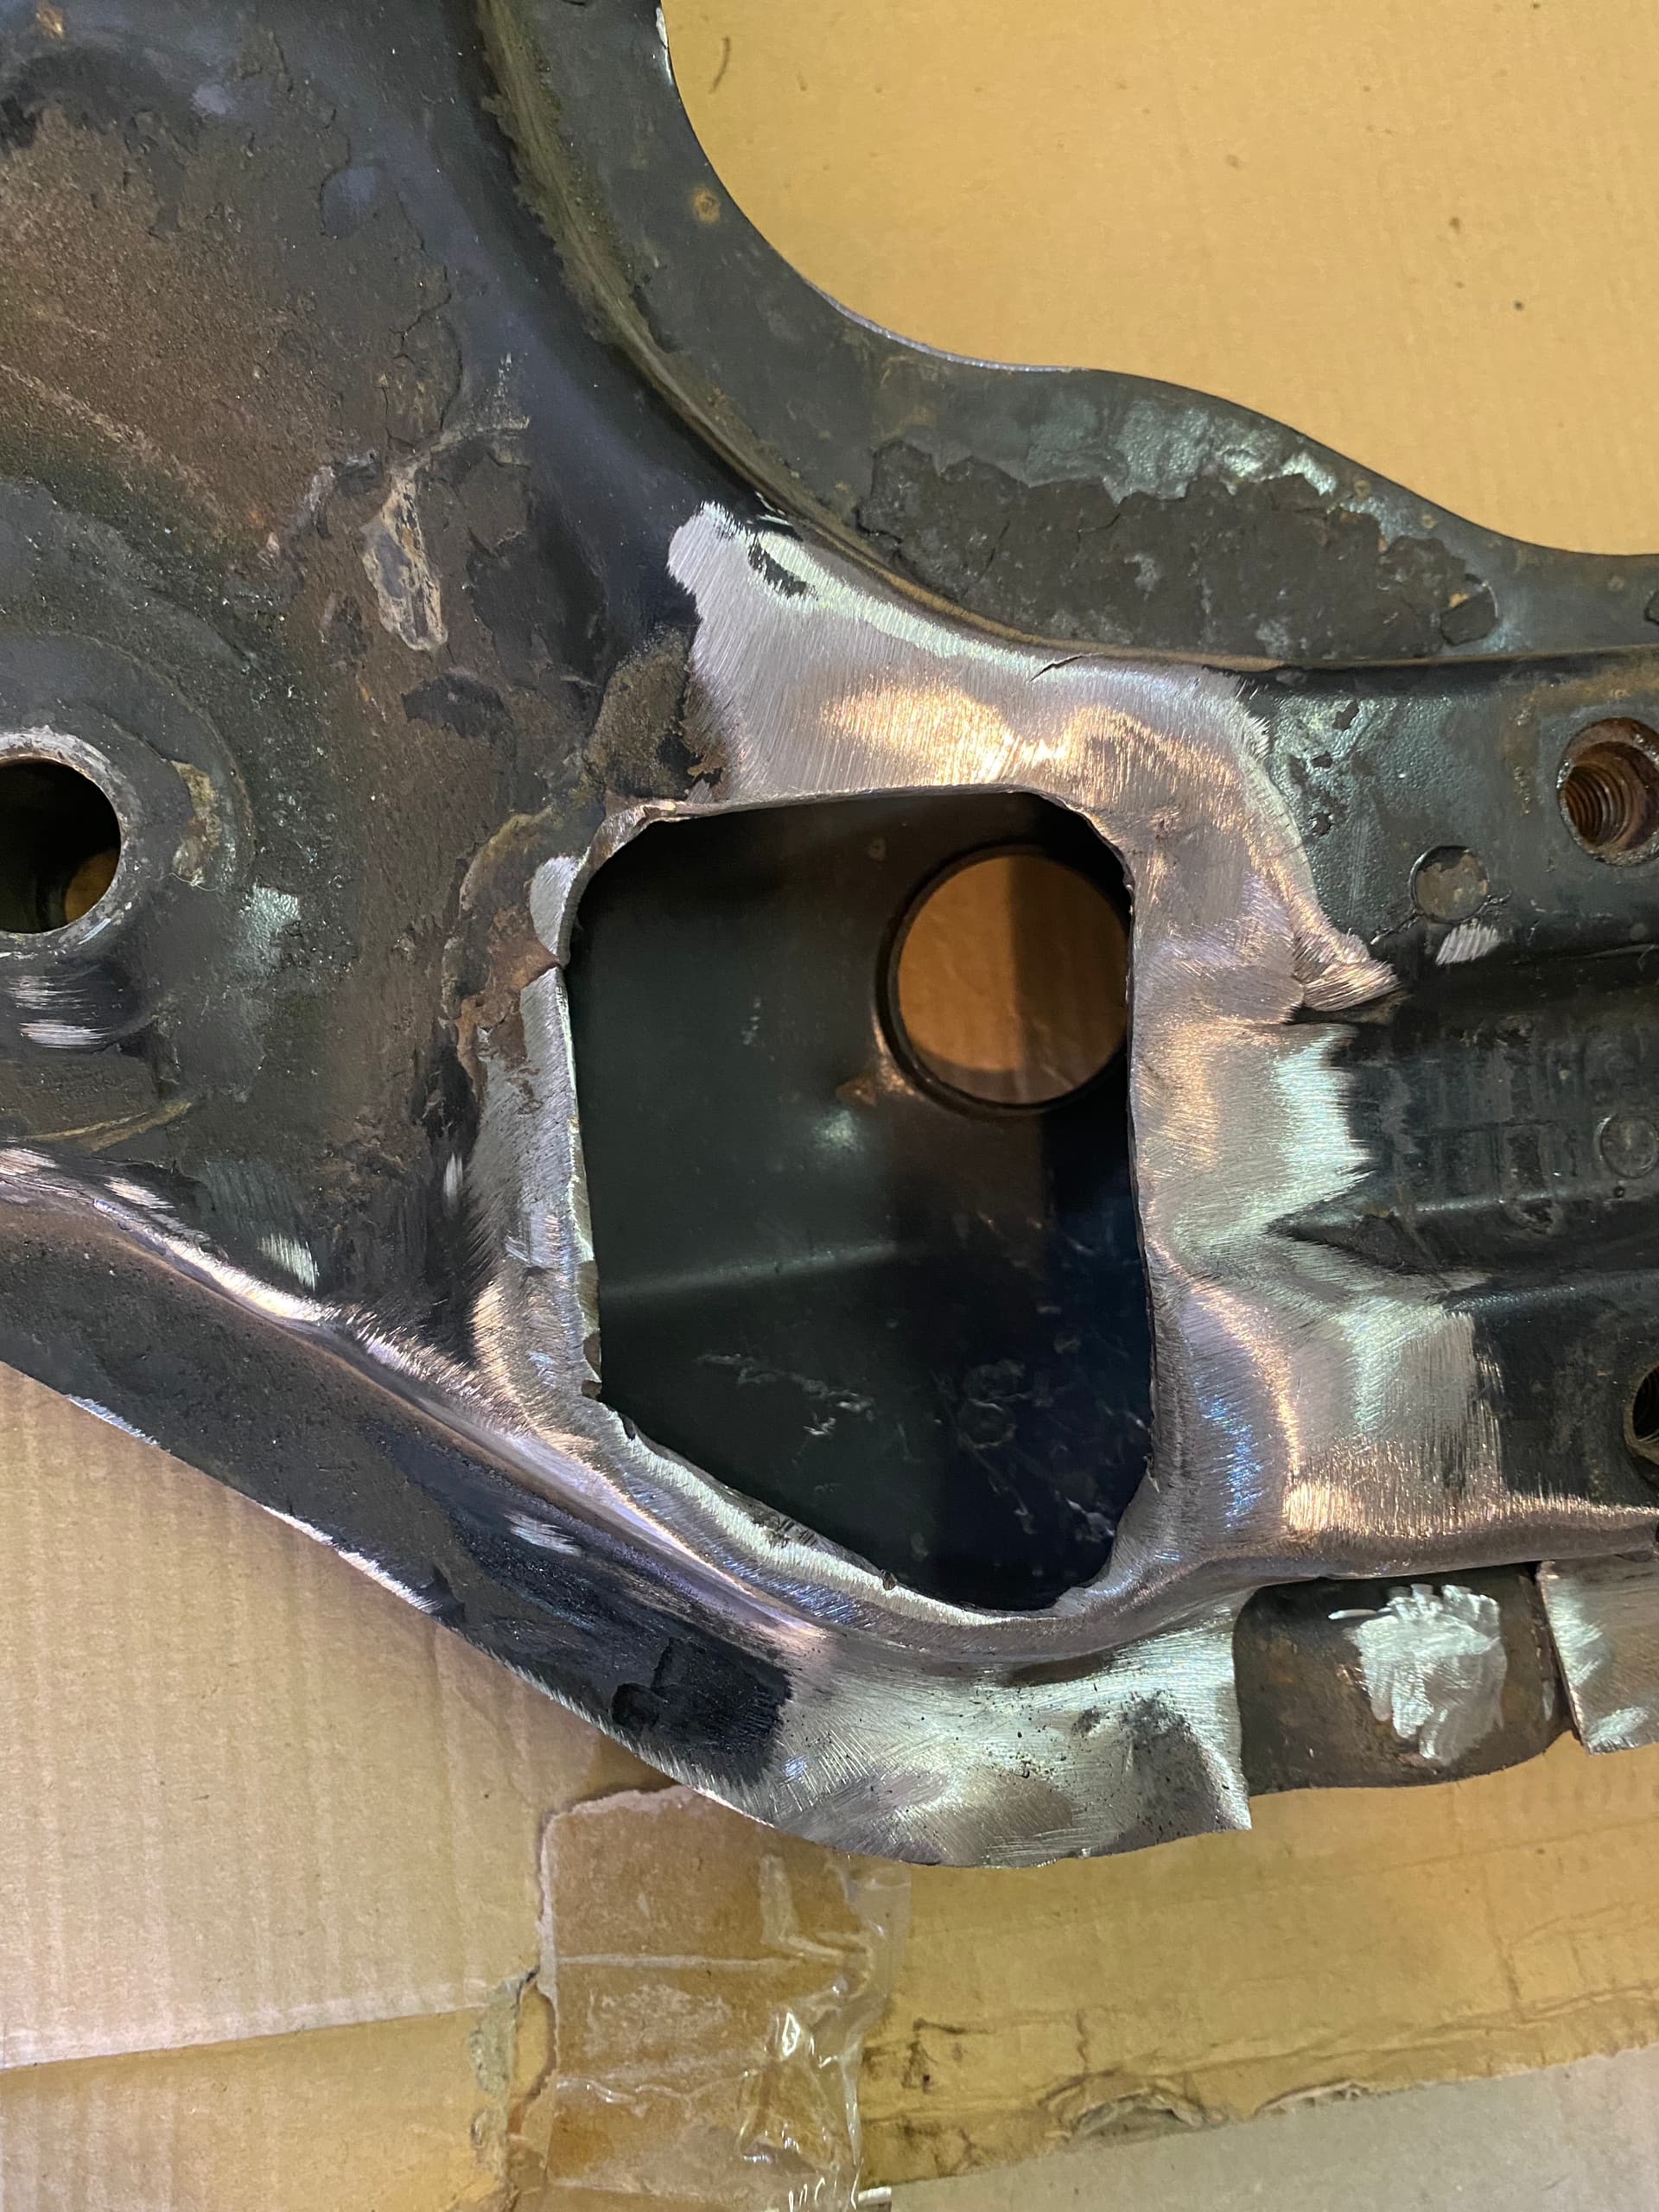
This will need cutting out big enough to remove the rust and the seam will need repairing,
This is my first time doing more than joining pipes with my tig. The welds weren’t pretty but were solid. After some stuffing around I was pretty happy with it,
3 Likes
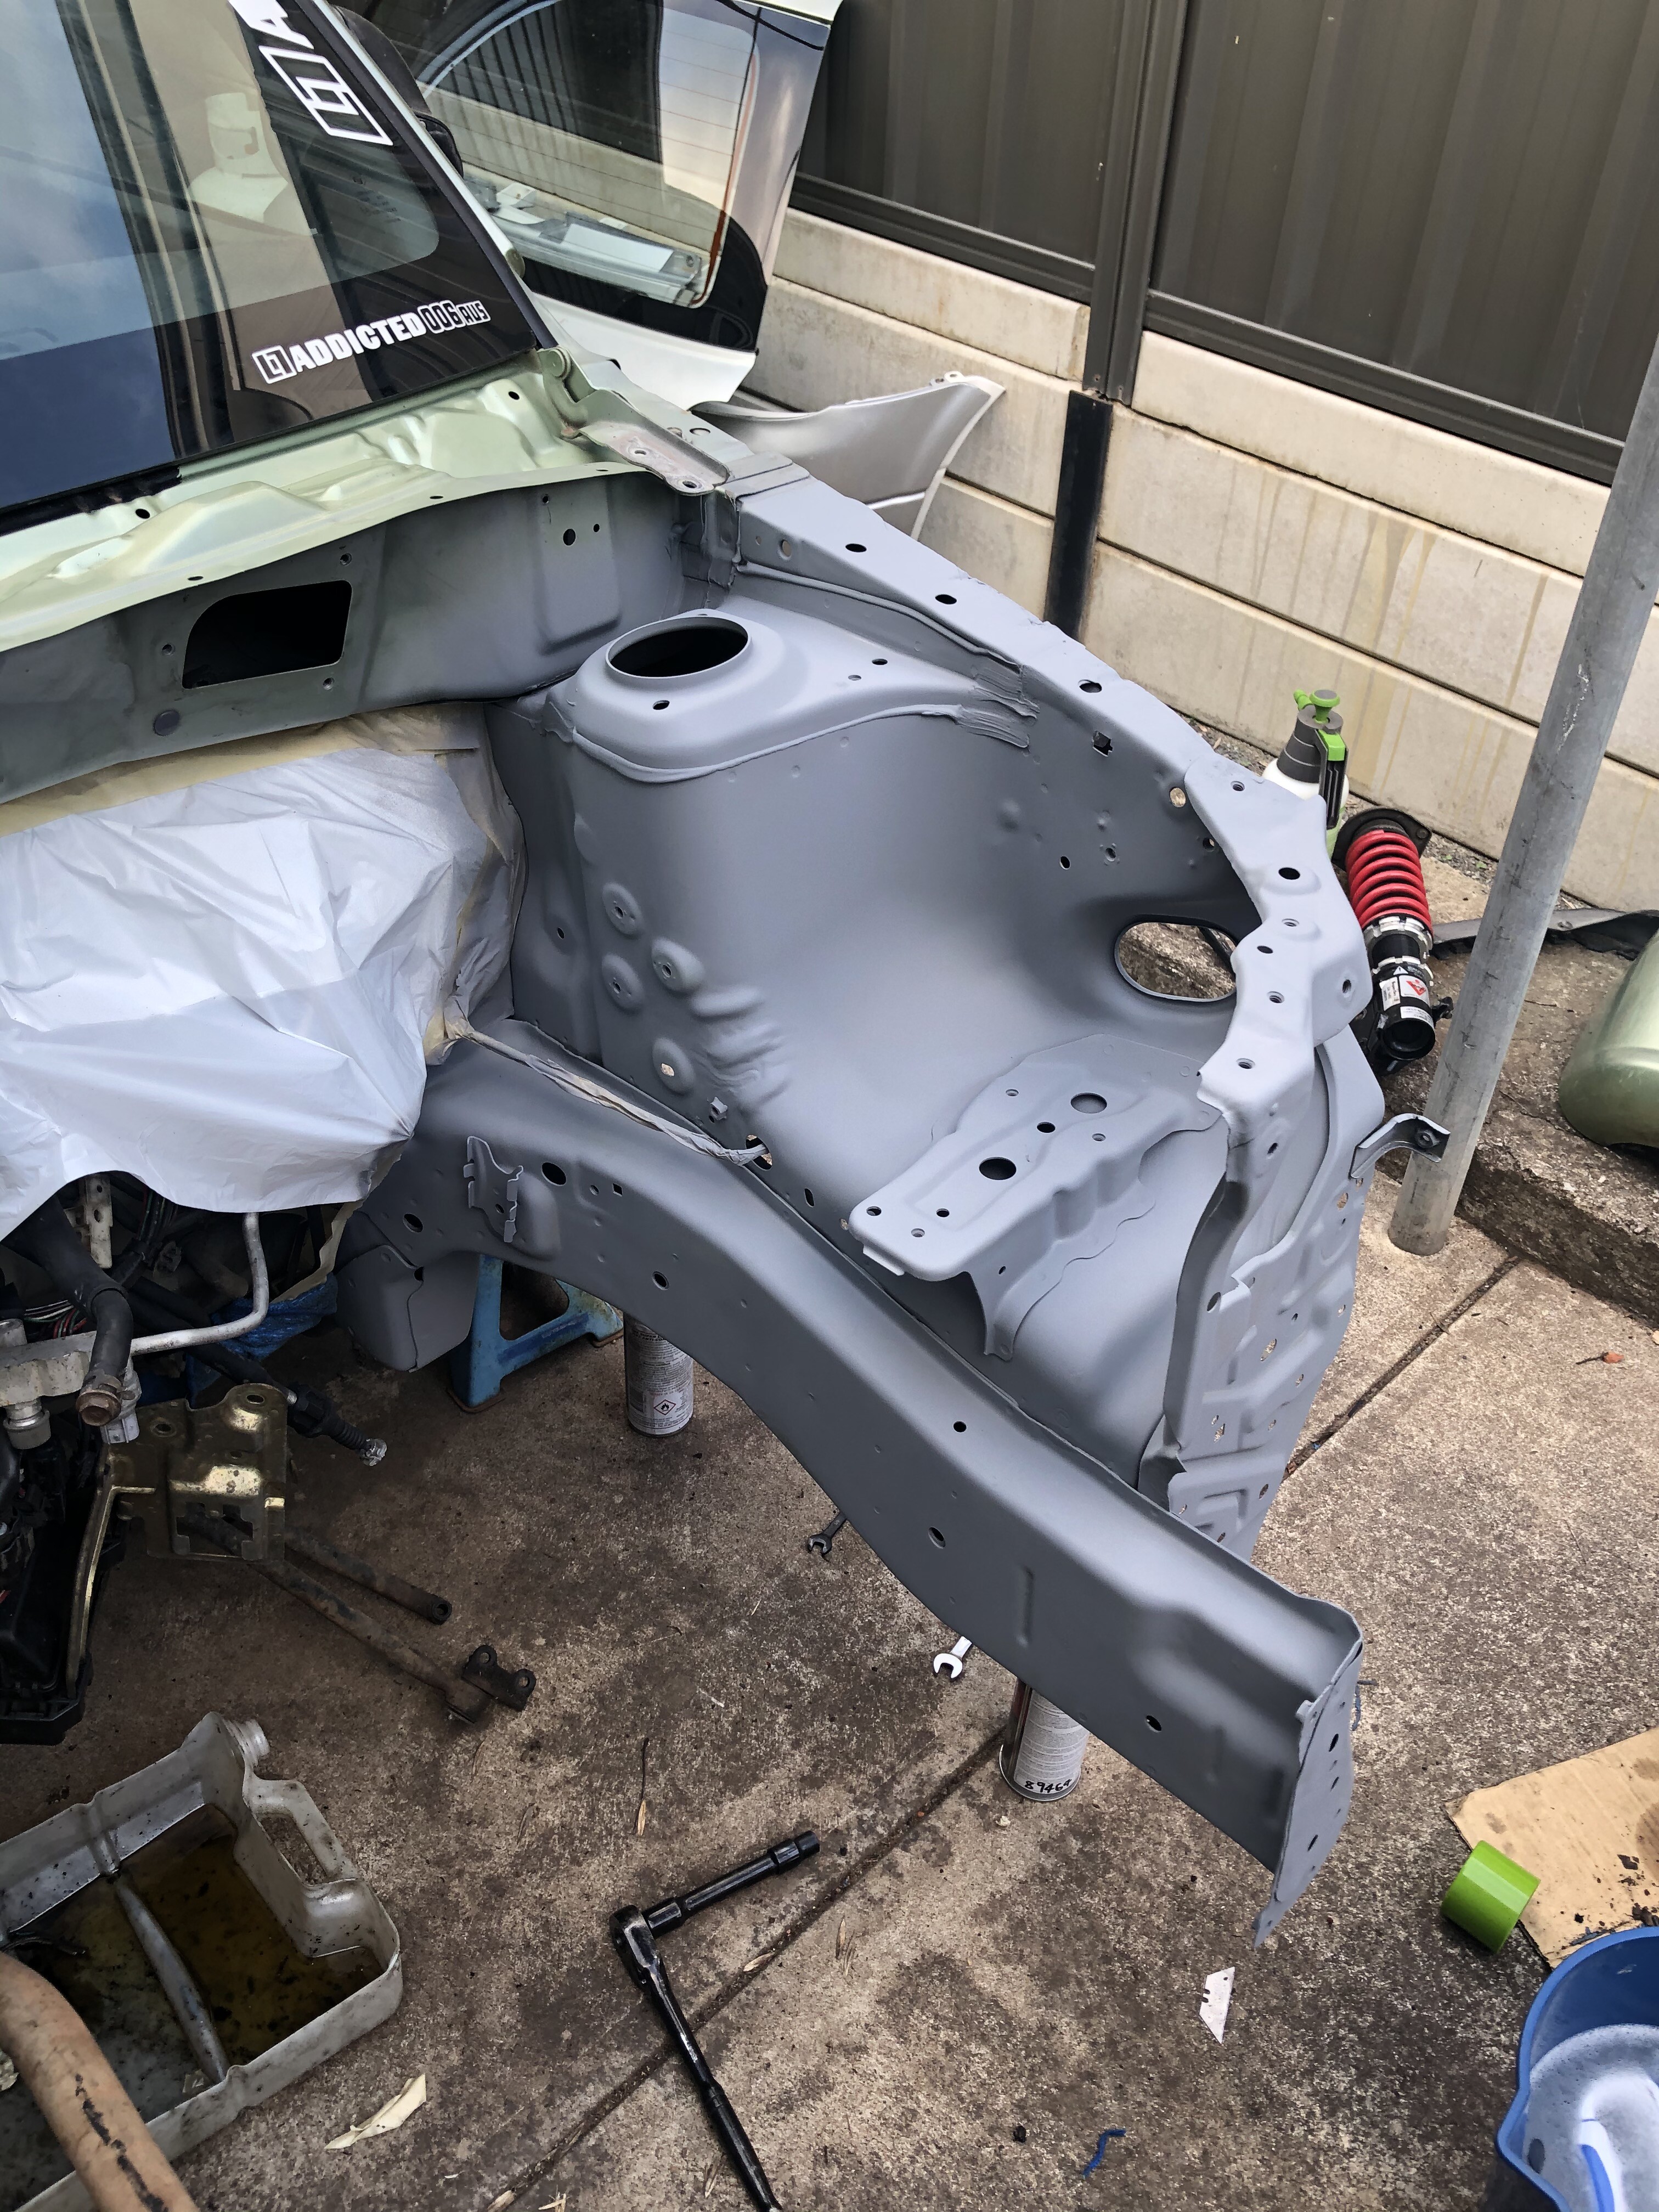
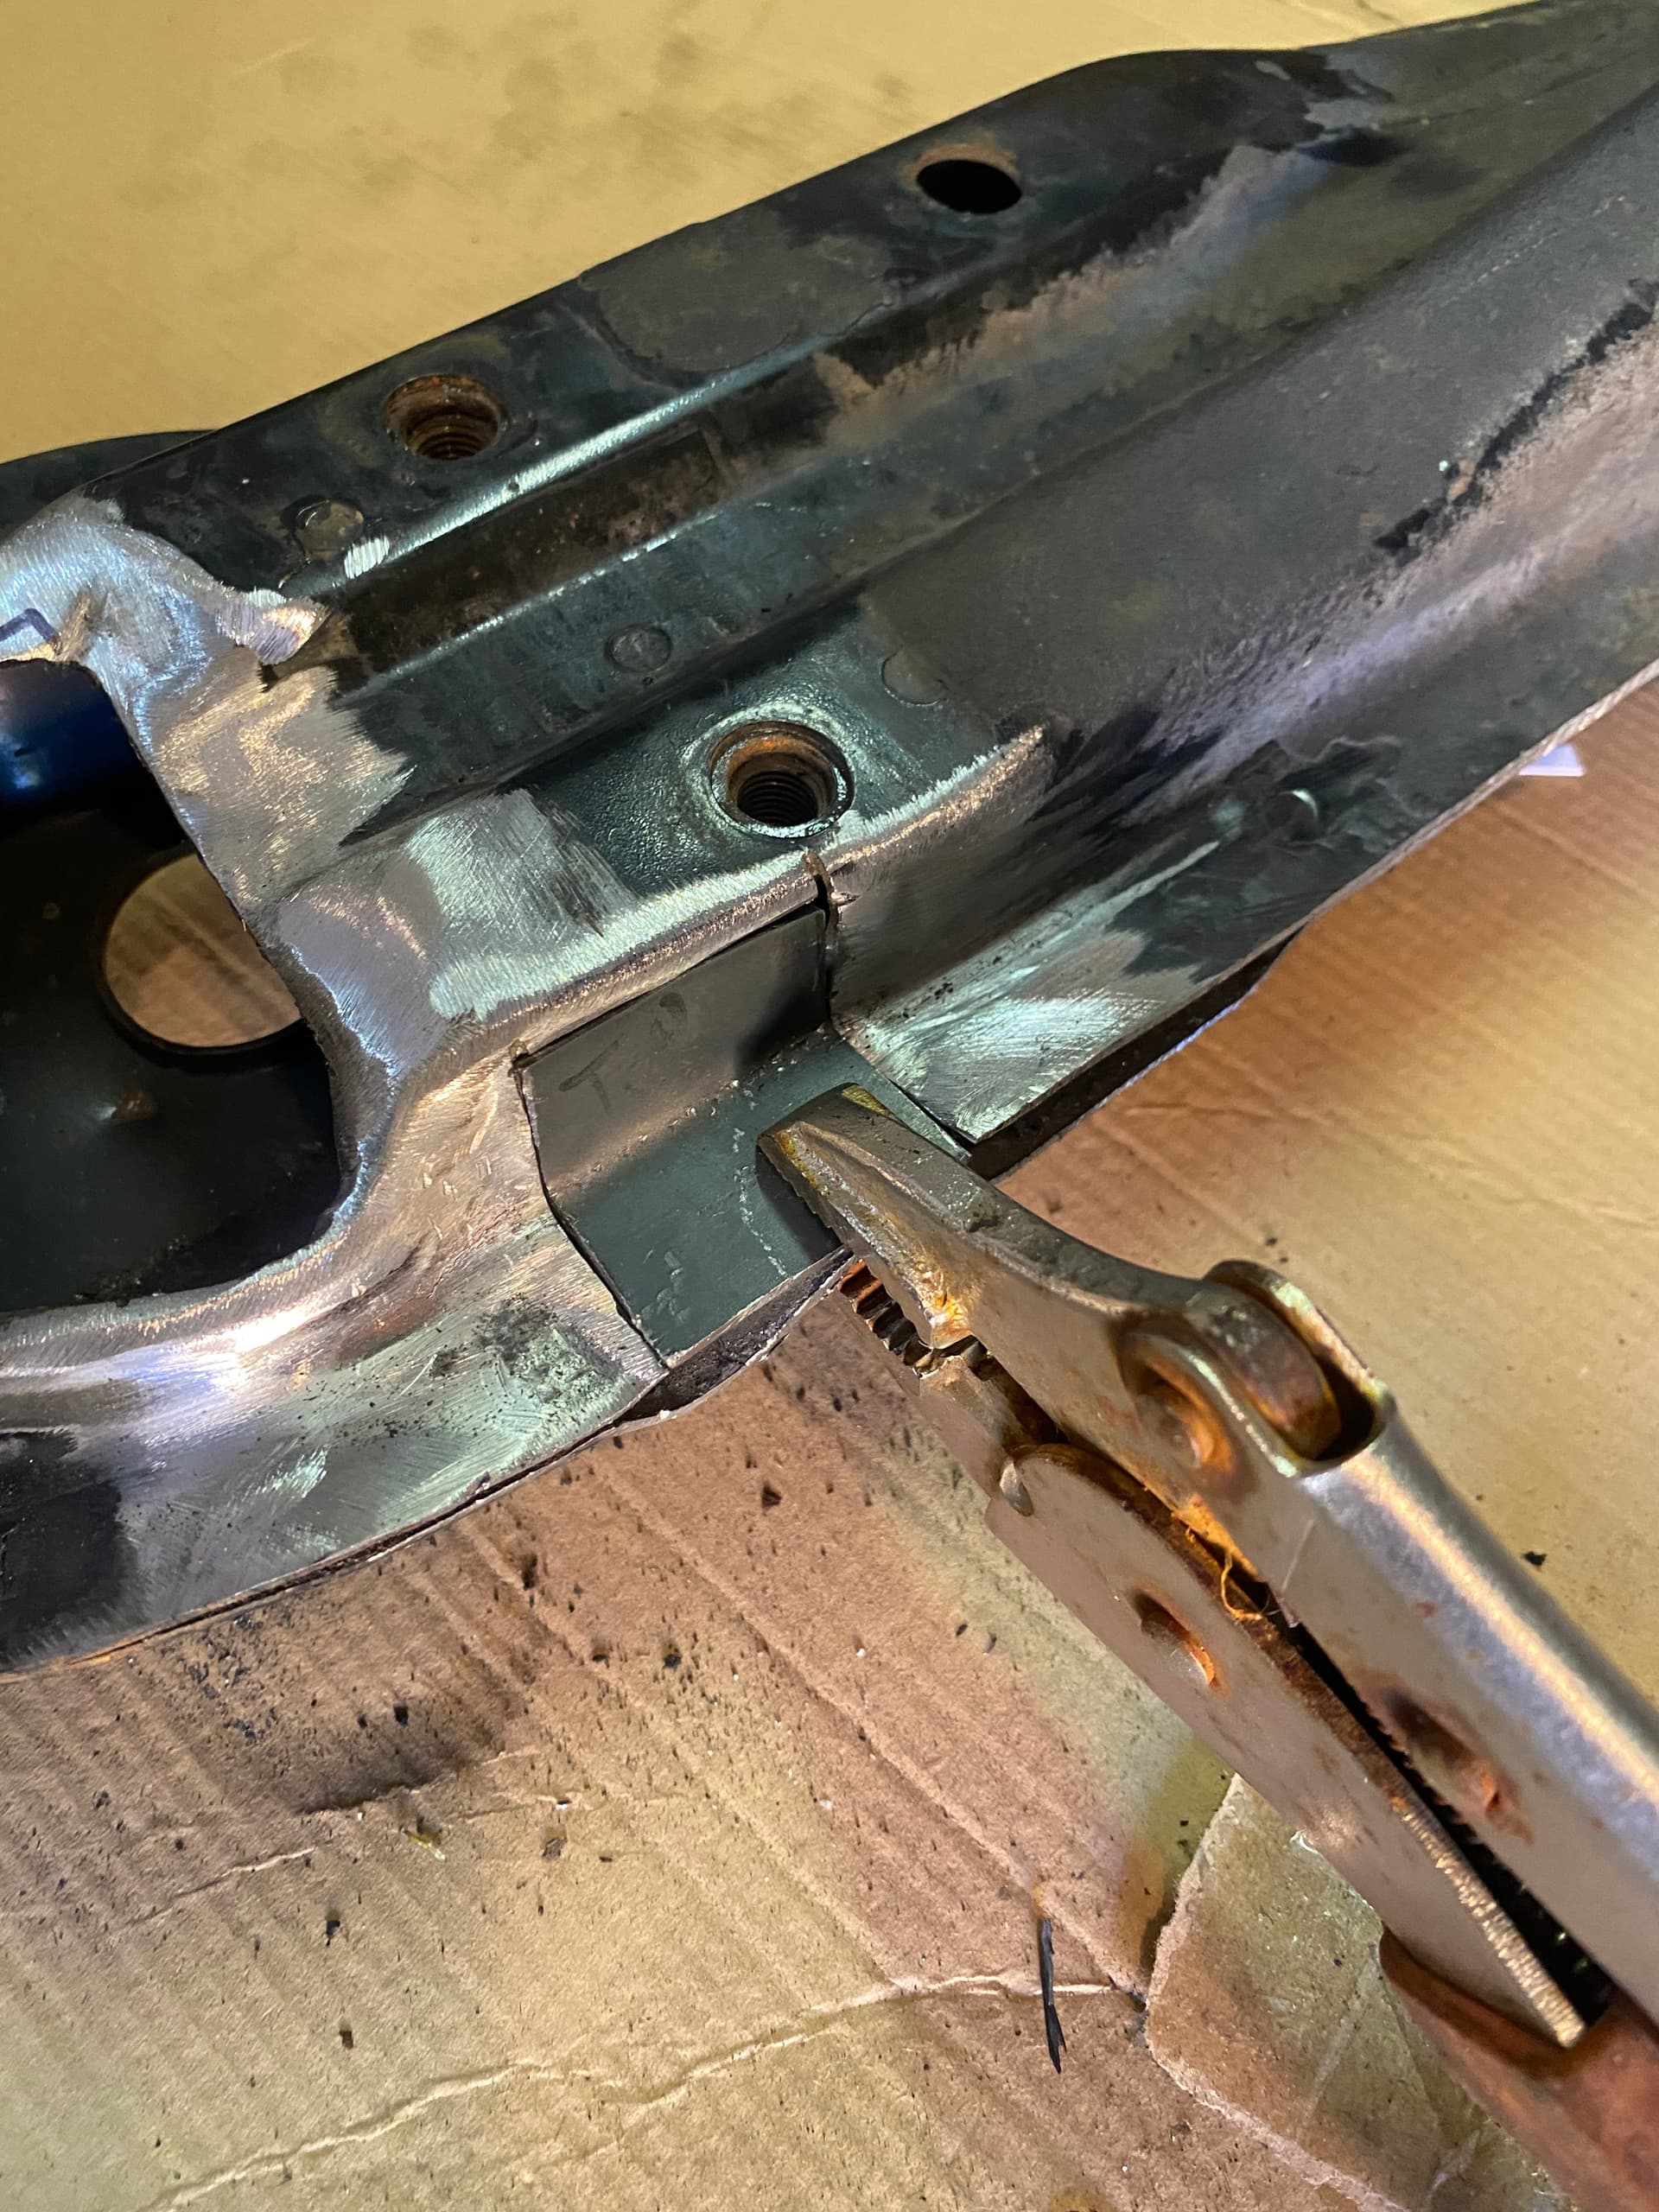
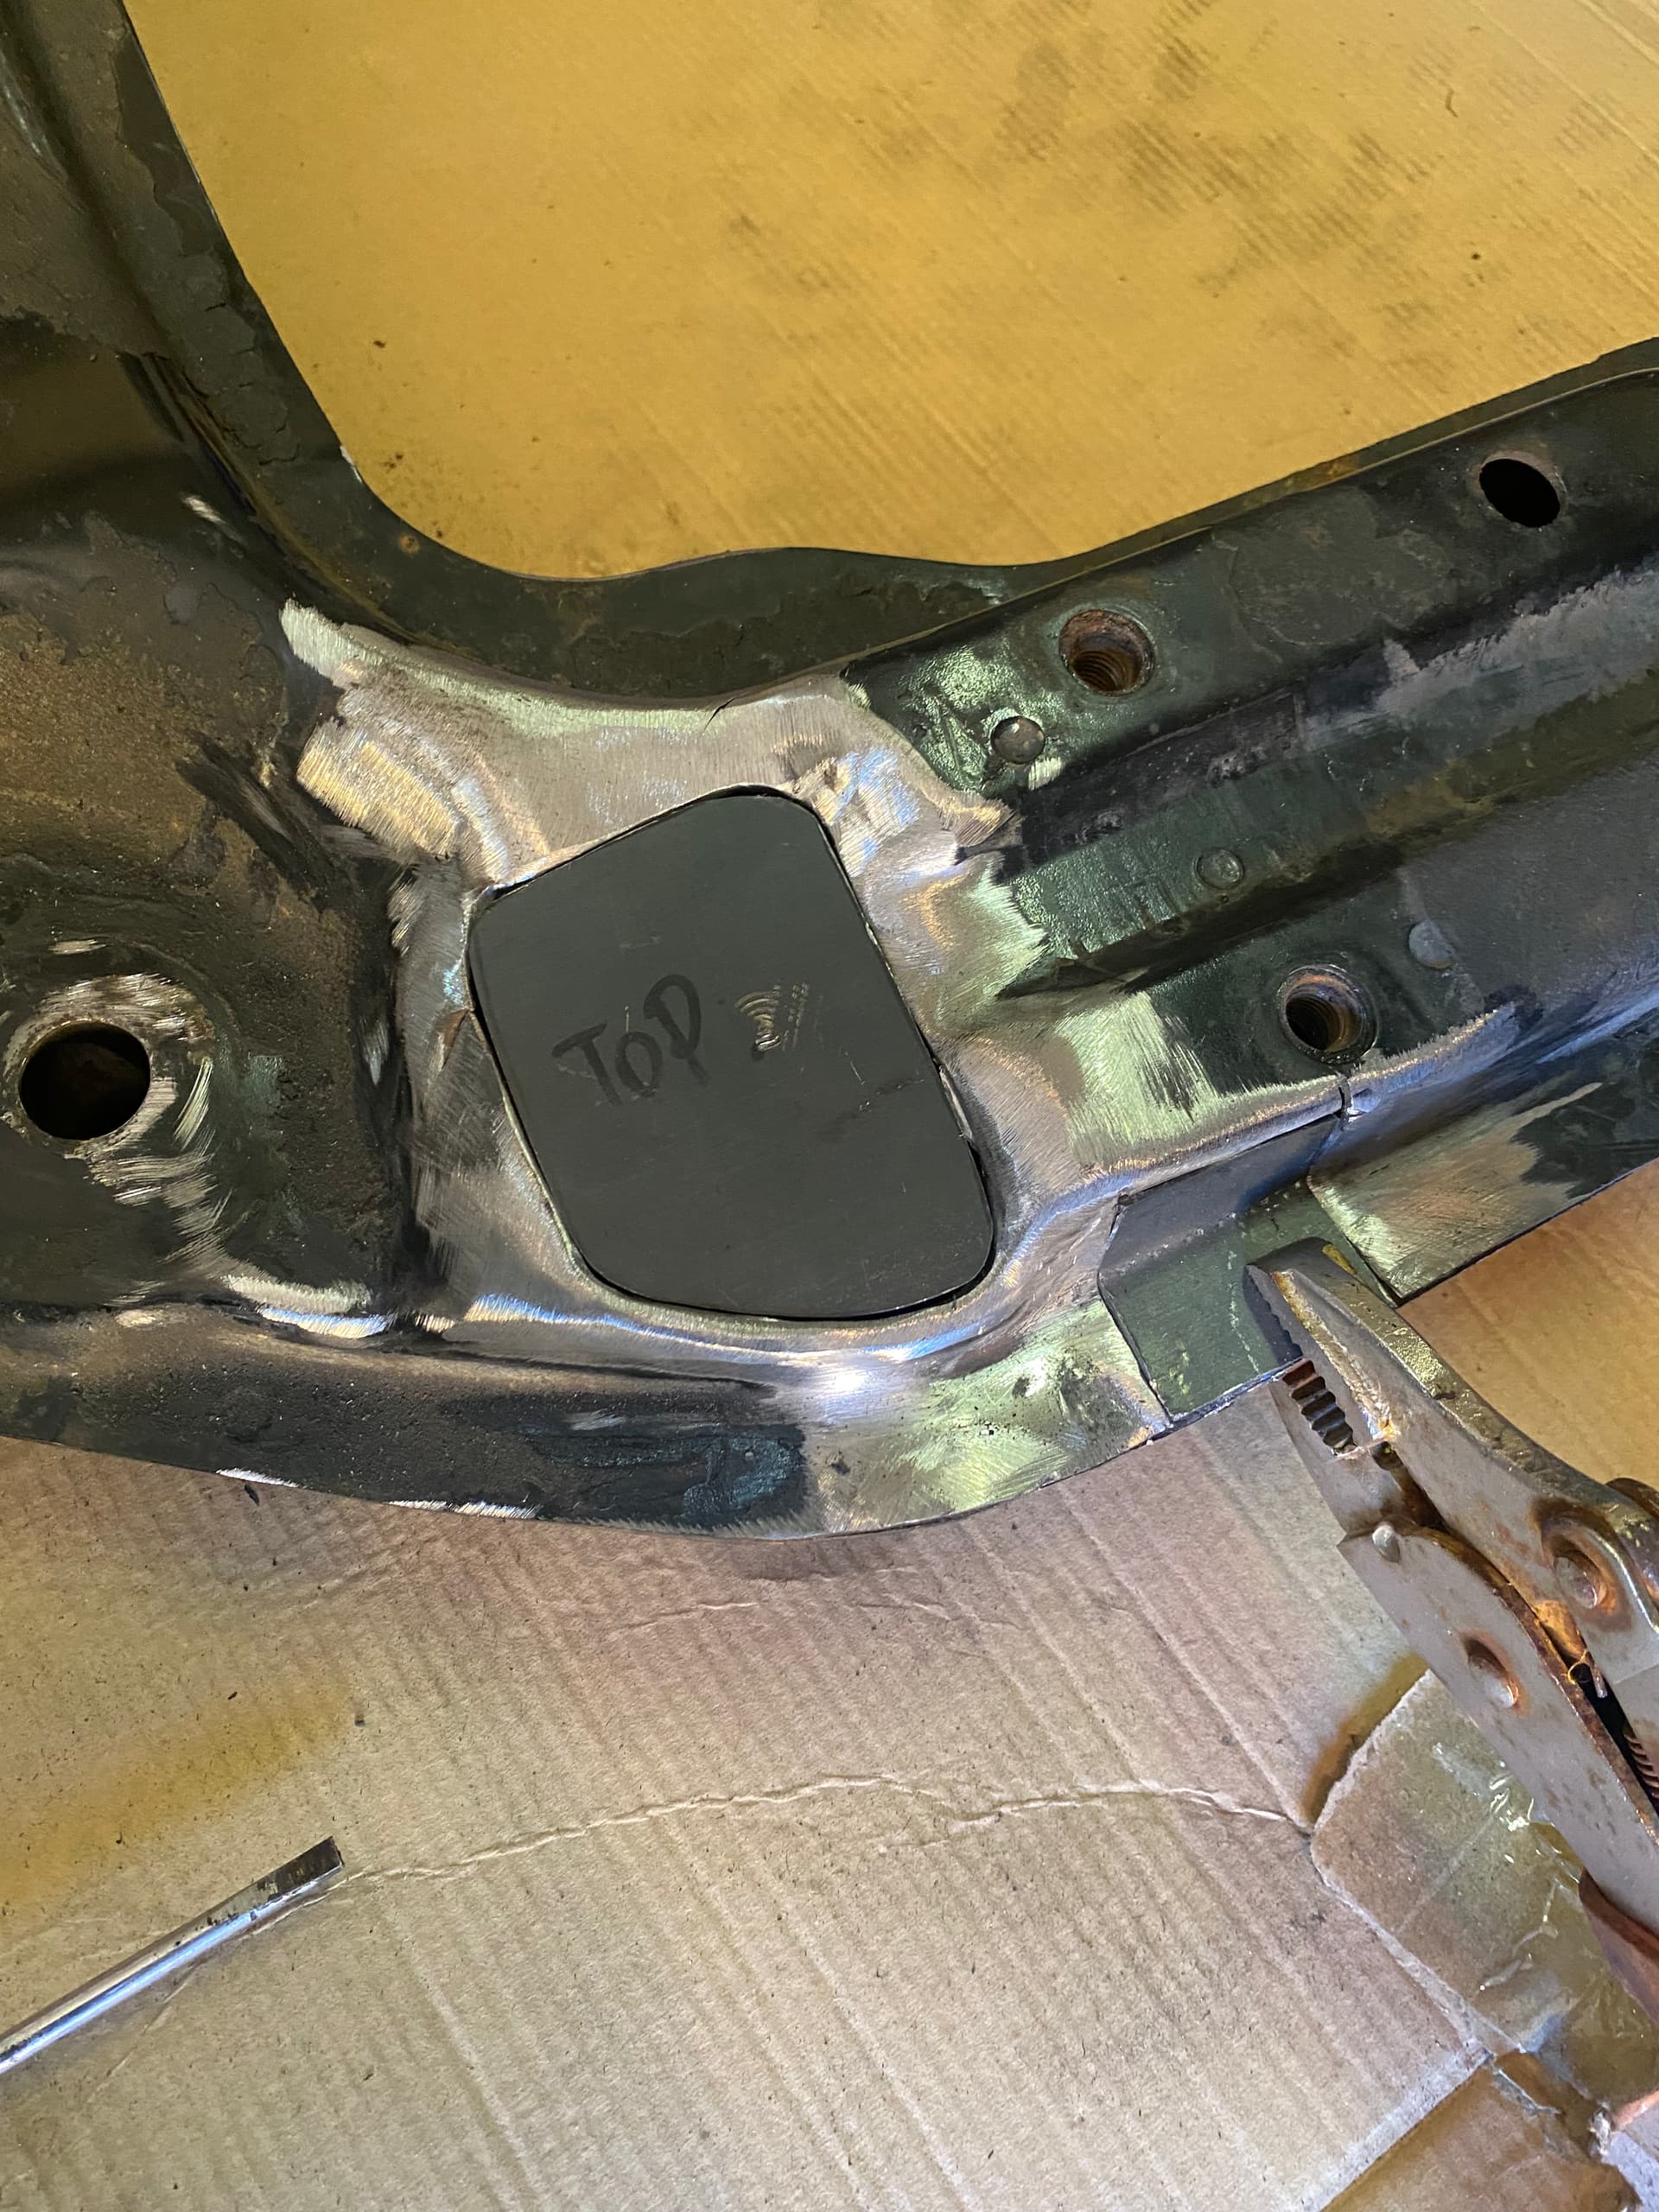
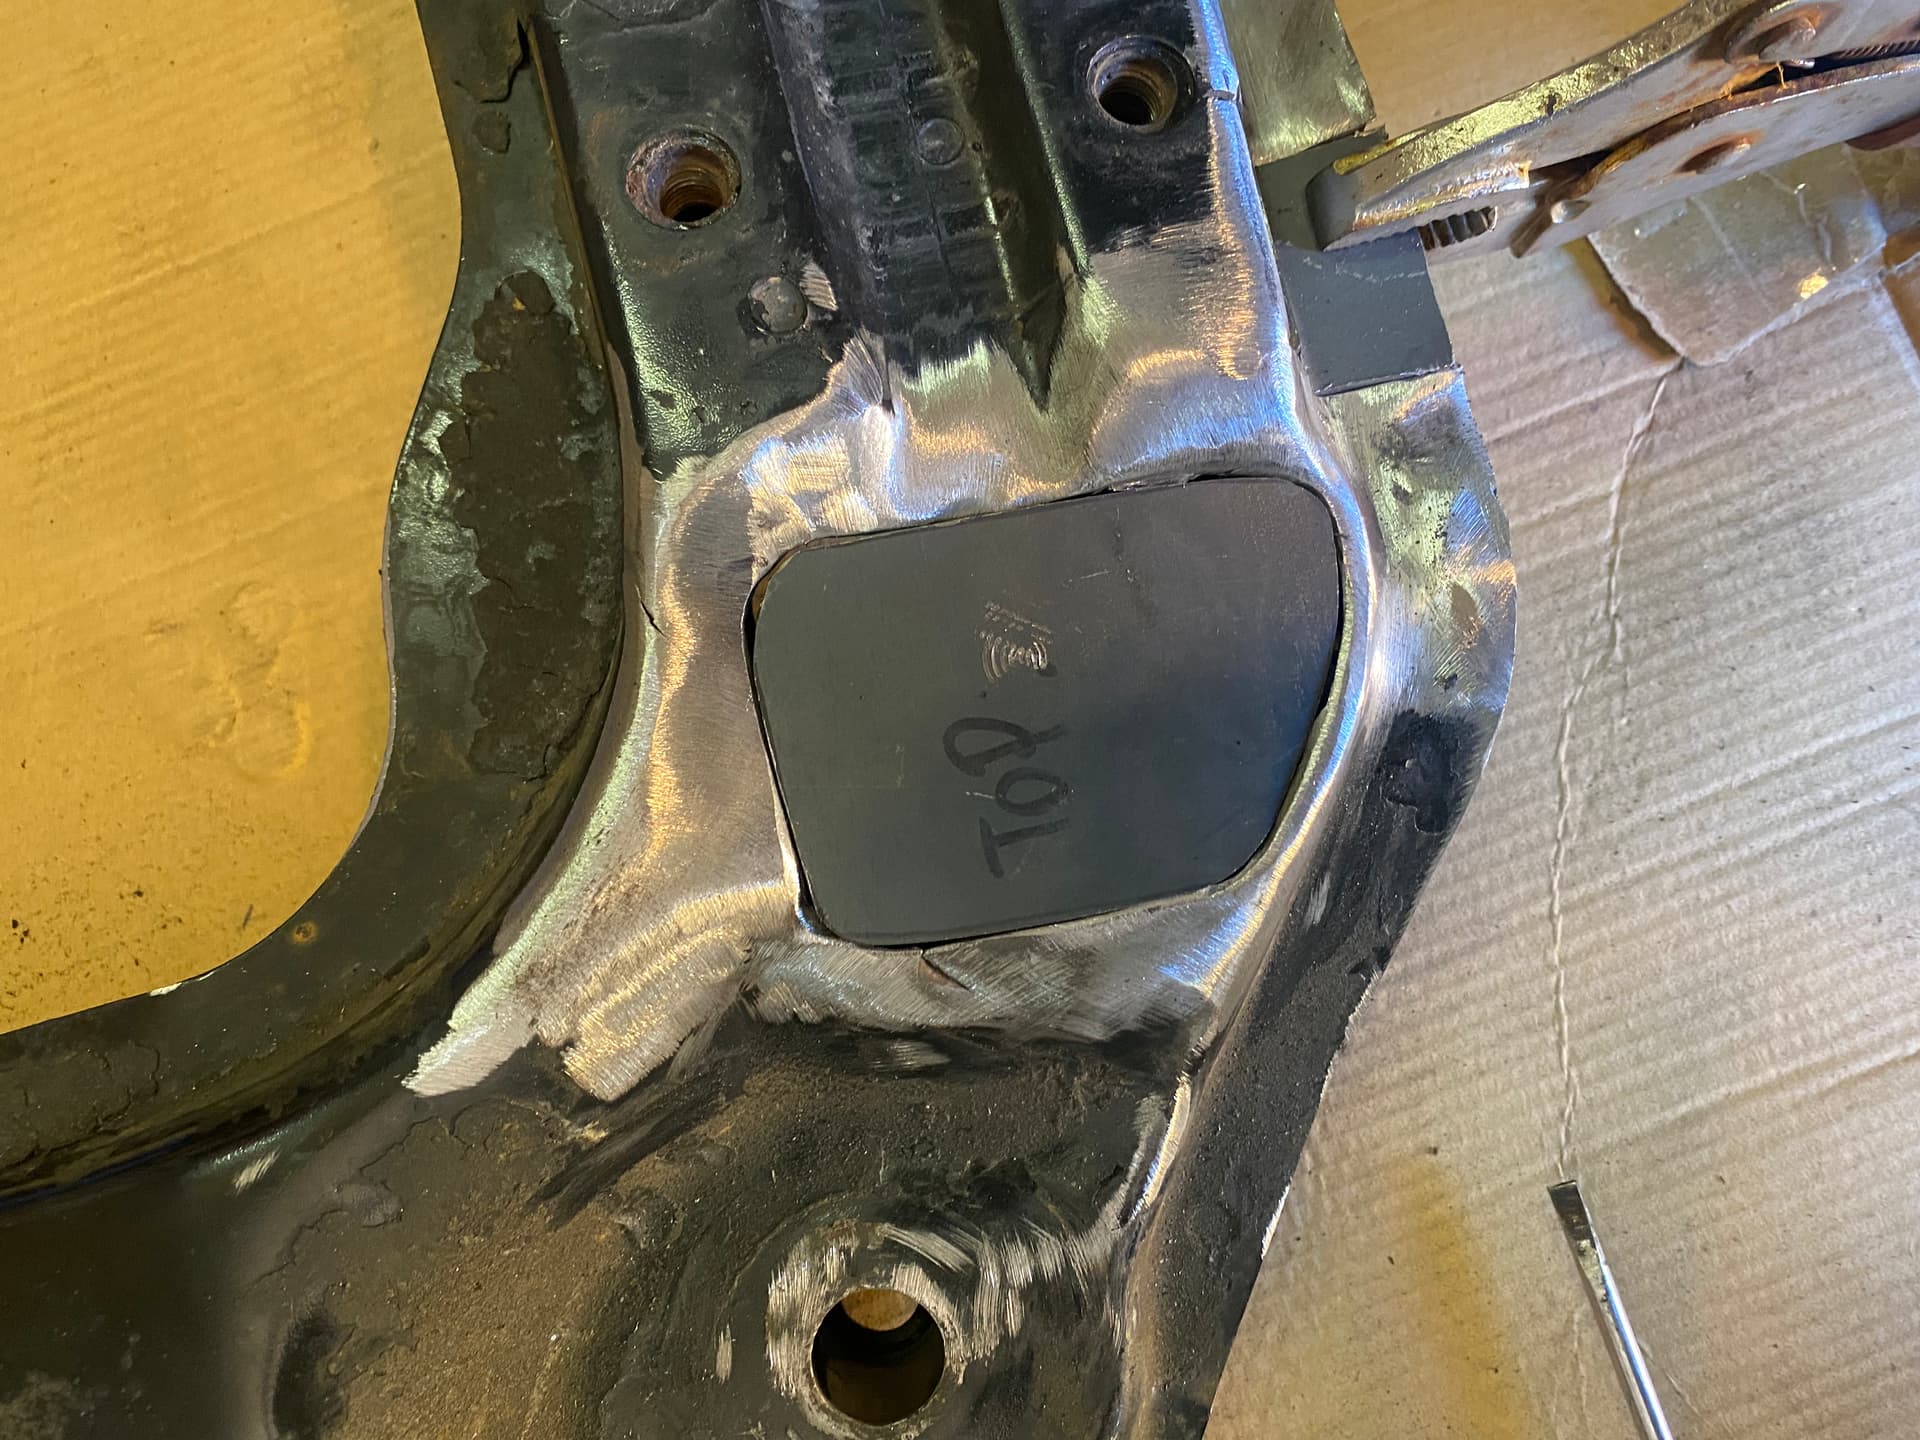
Made some patch panels…
I really could use a band saw and linisher. I think fab work is the most fun part of all this because prepping and painting most definitely is not!
Little bit of primer and you can hardly tell.
4 Likes
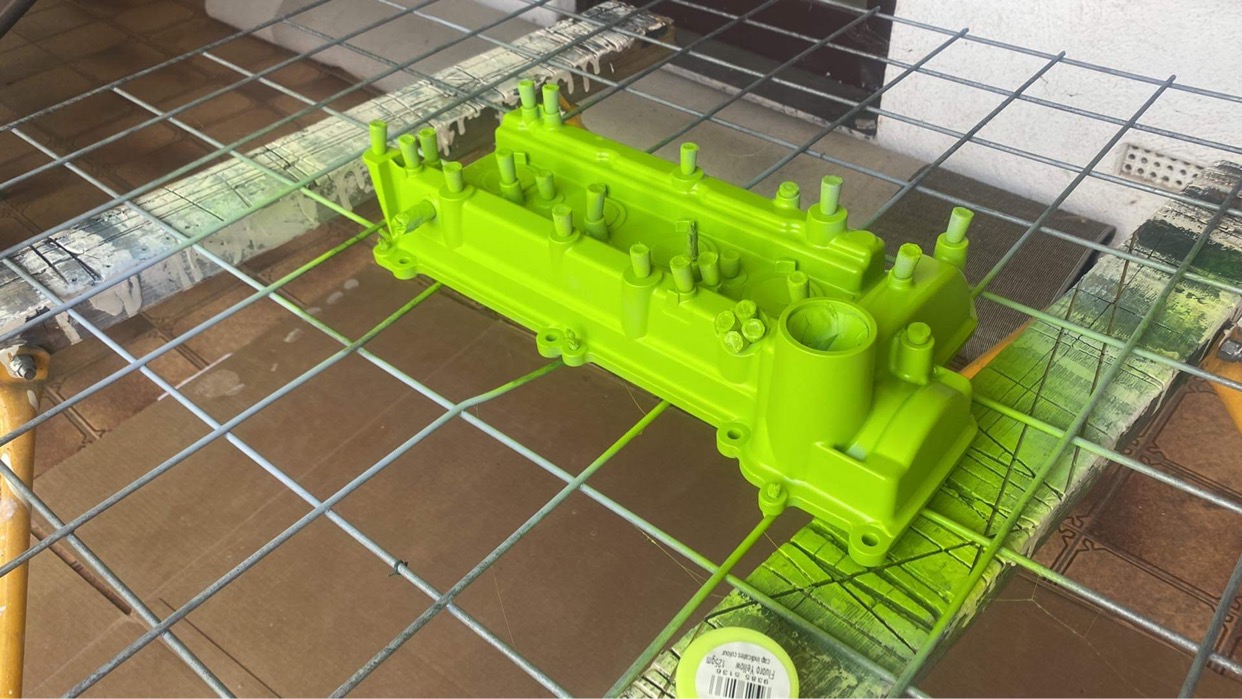
Sanding, cleaning, wire wheel, carby cleaner, primer, top coat… rinse repeat.
I just want to remind anyone reading this that I have zero idea what I’m doing. It’s a kinda learn as you go affair.
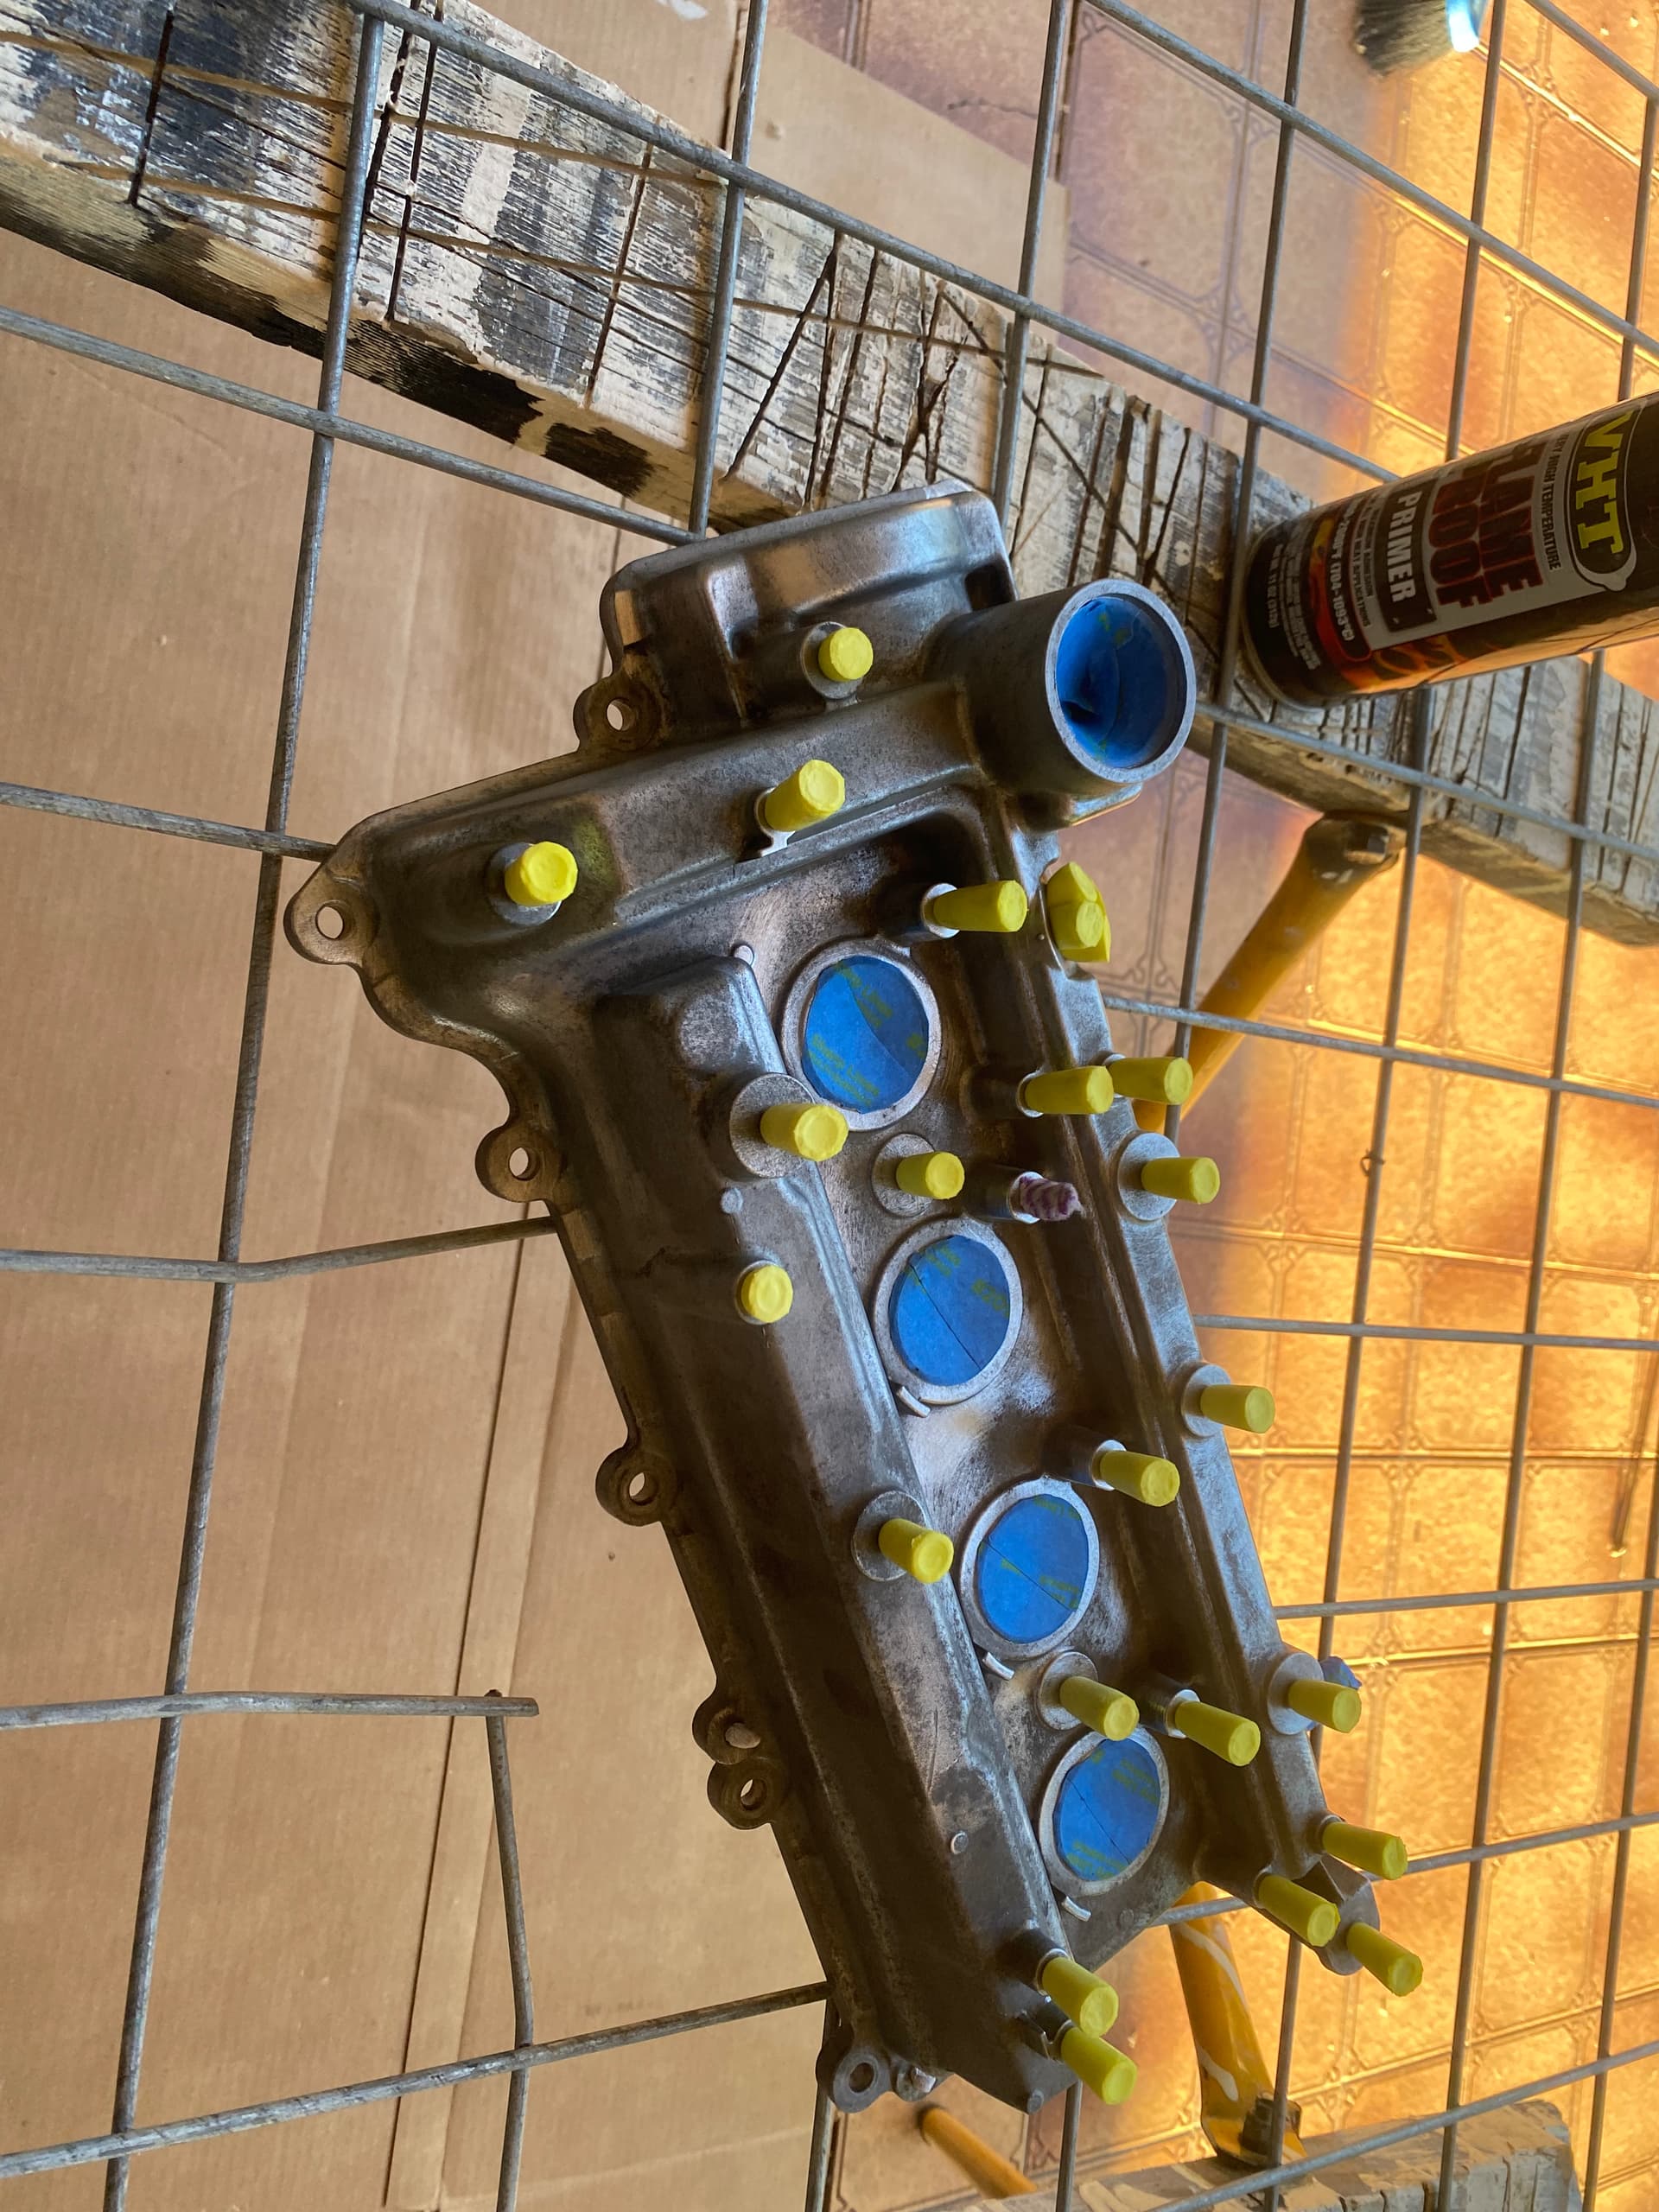
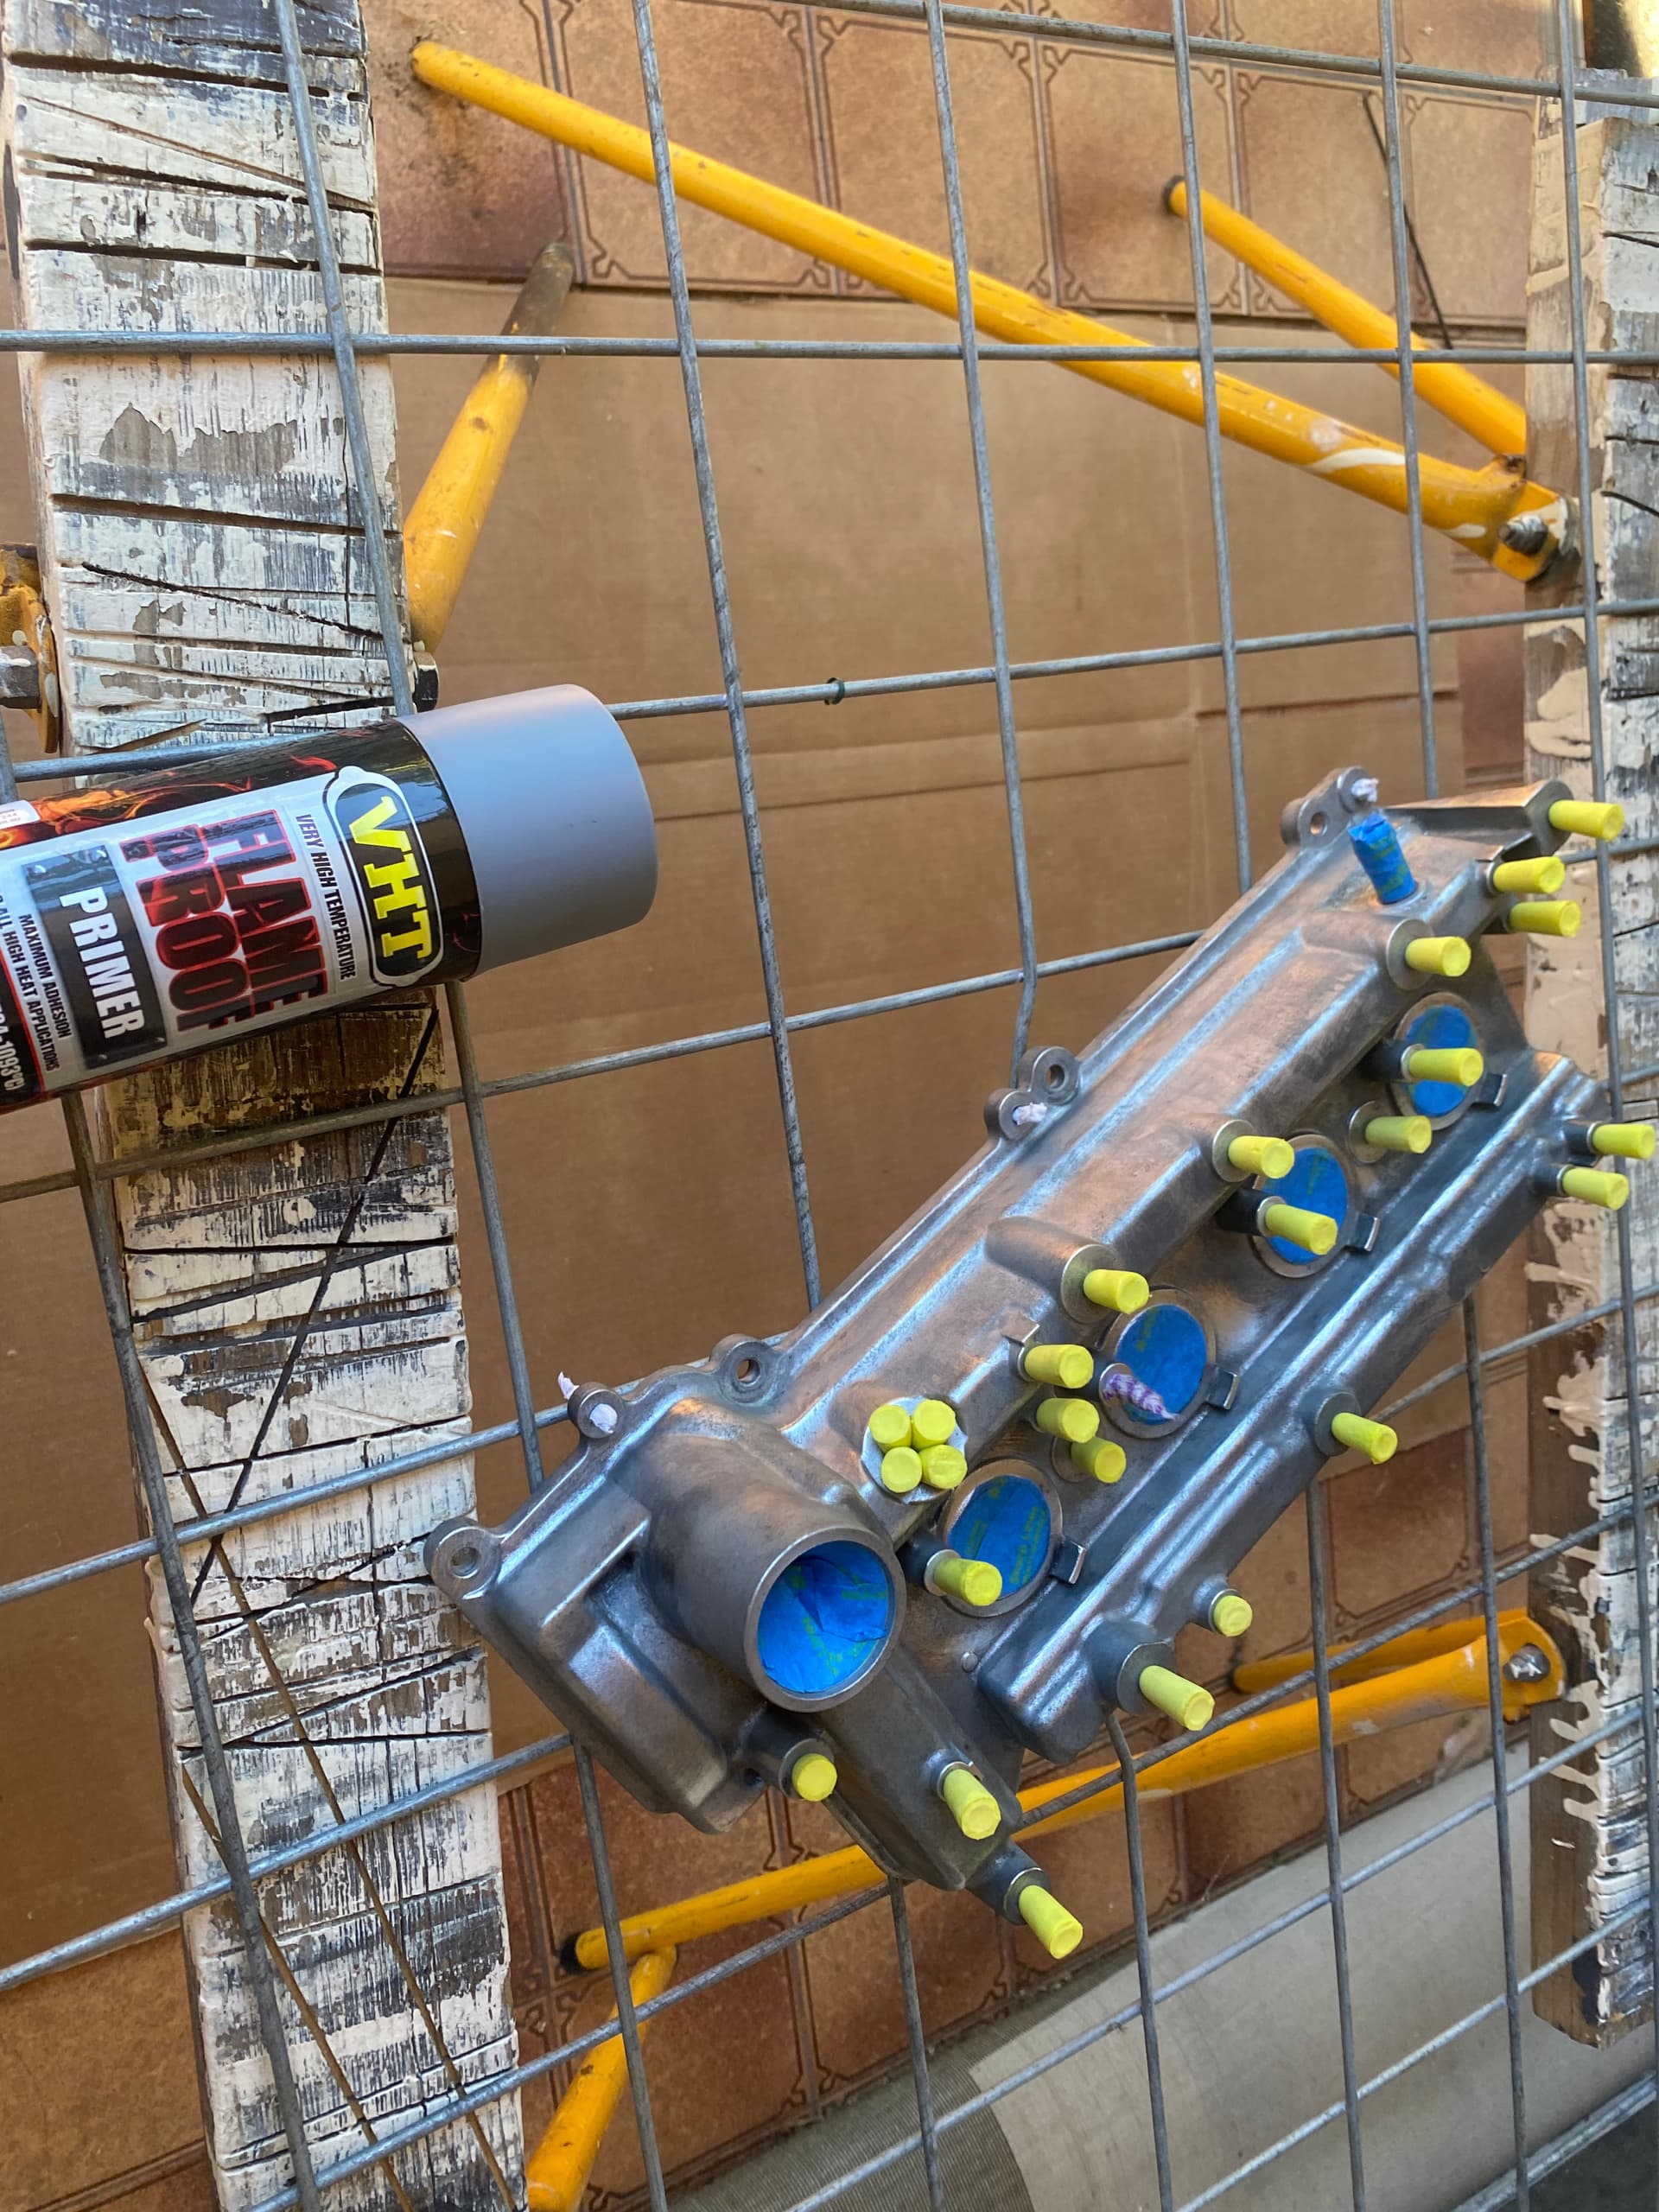
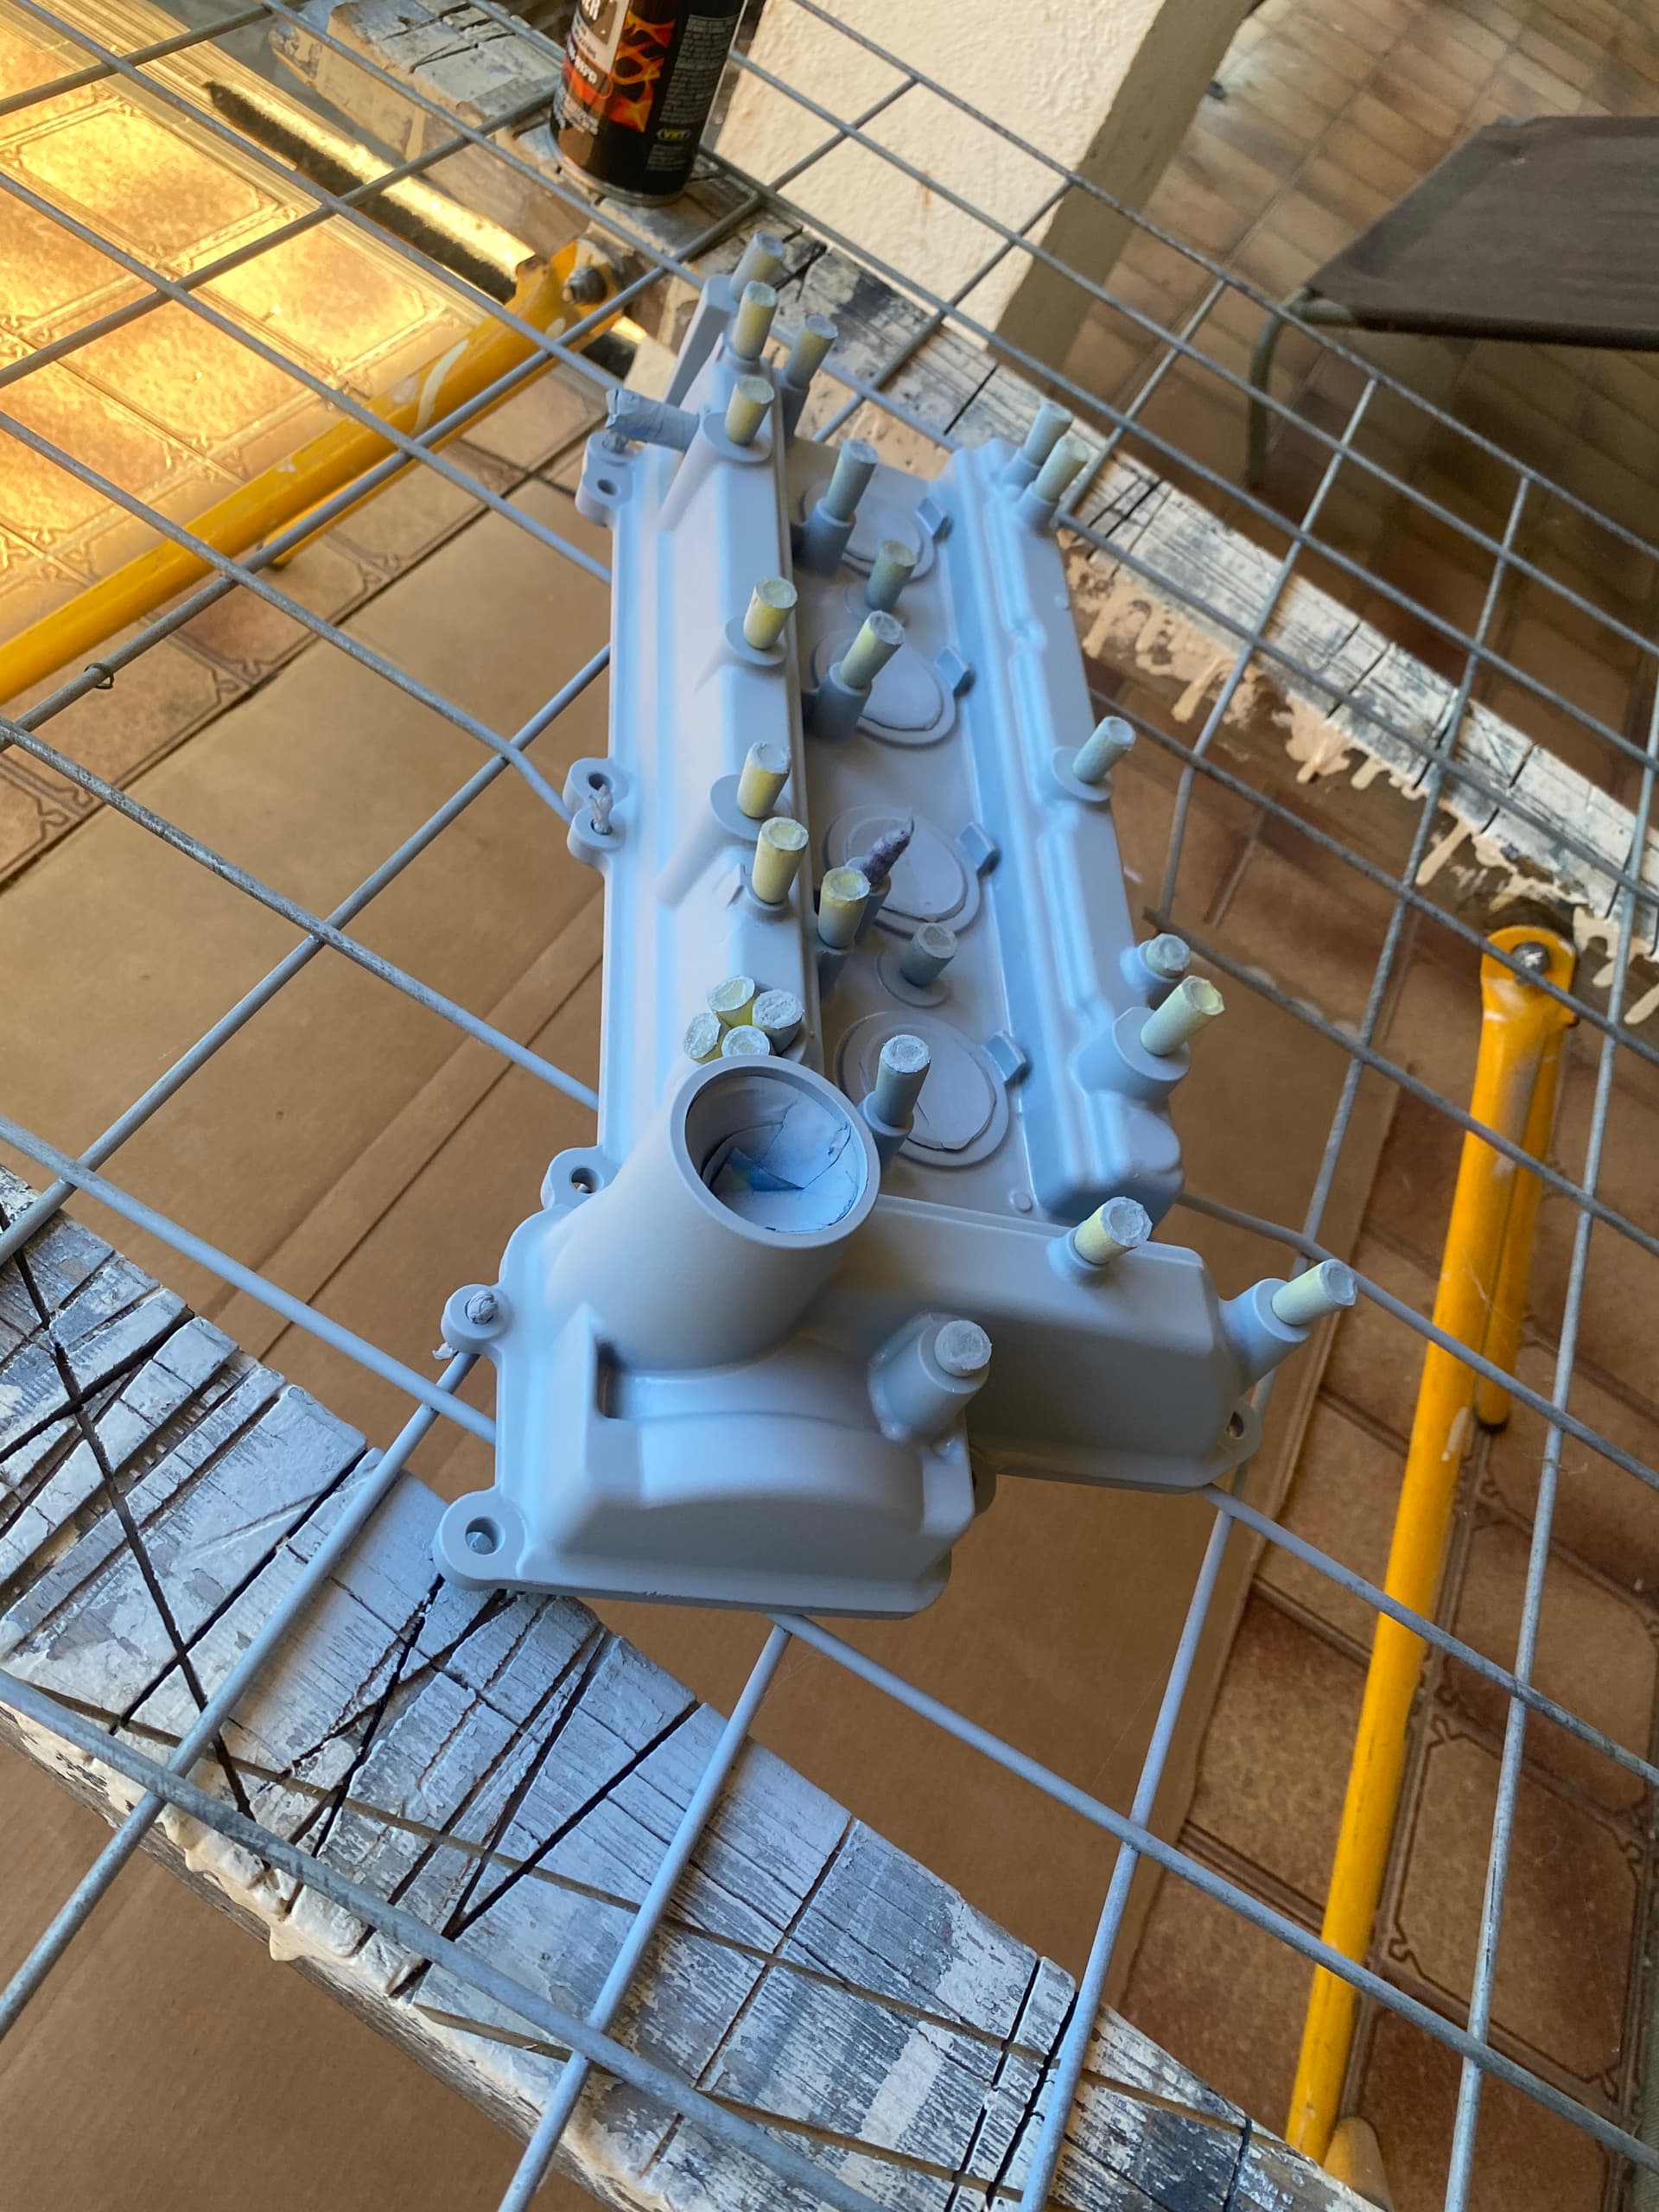
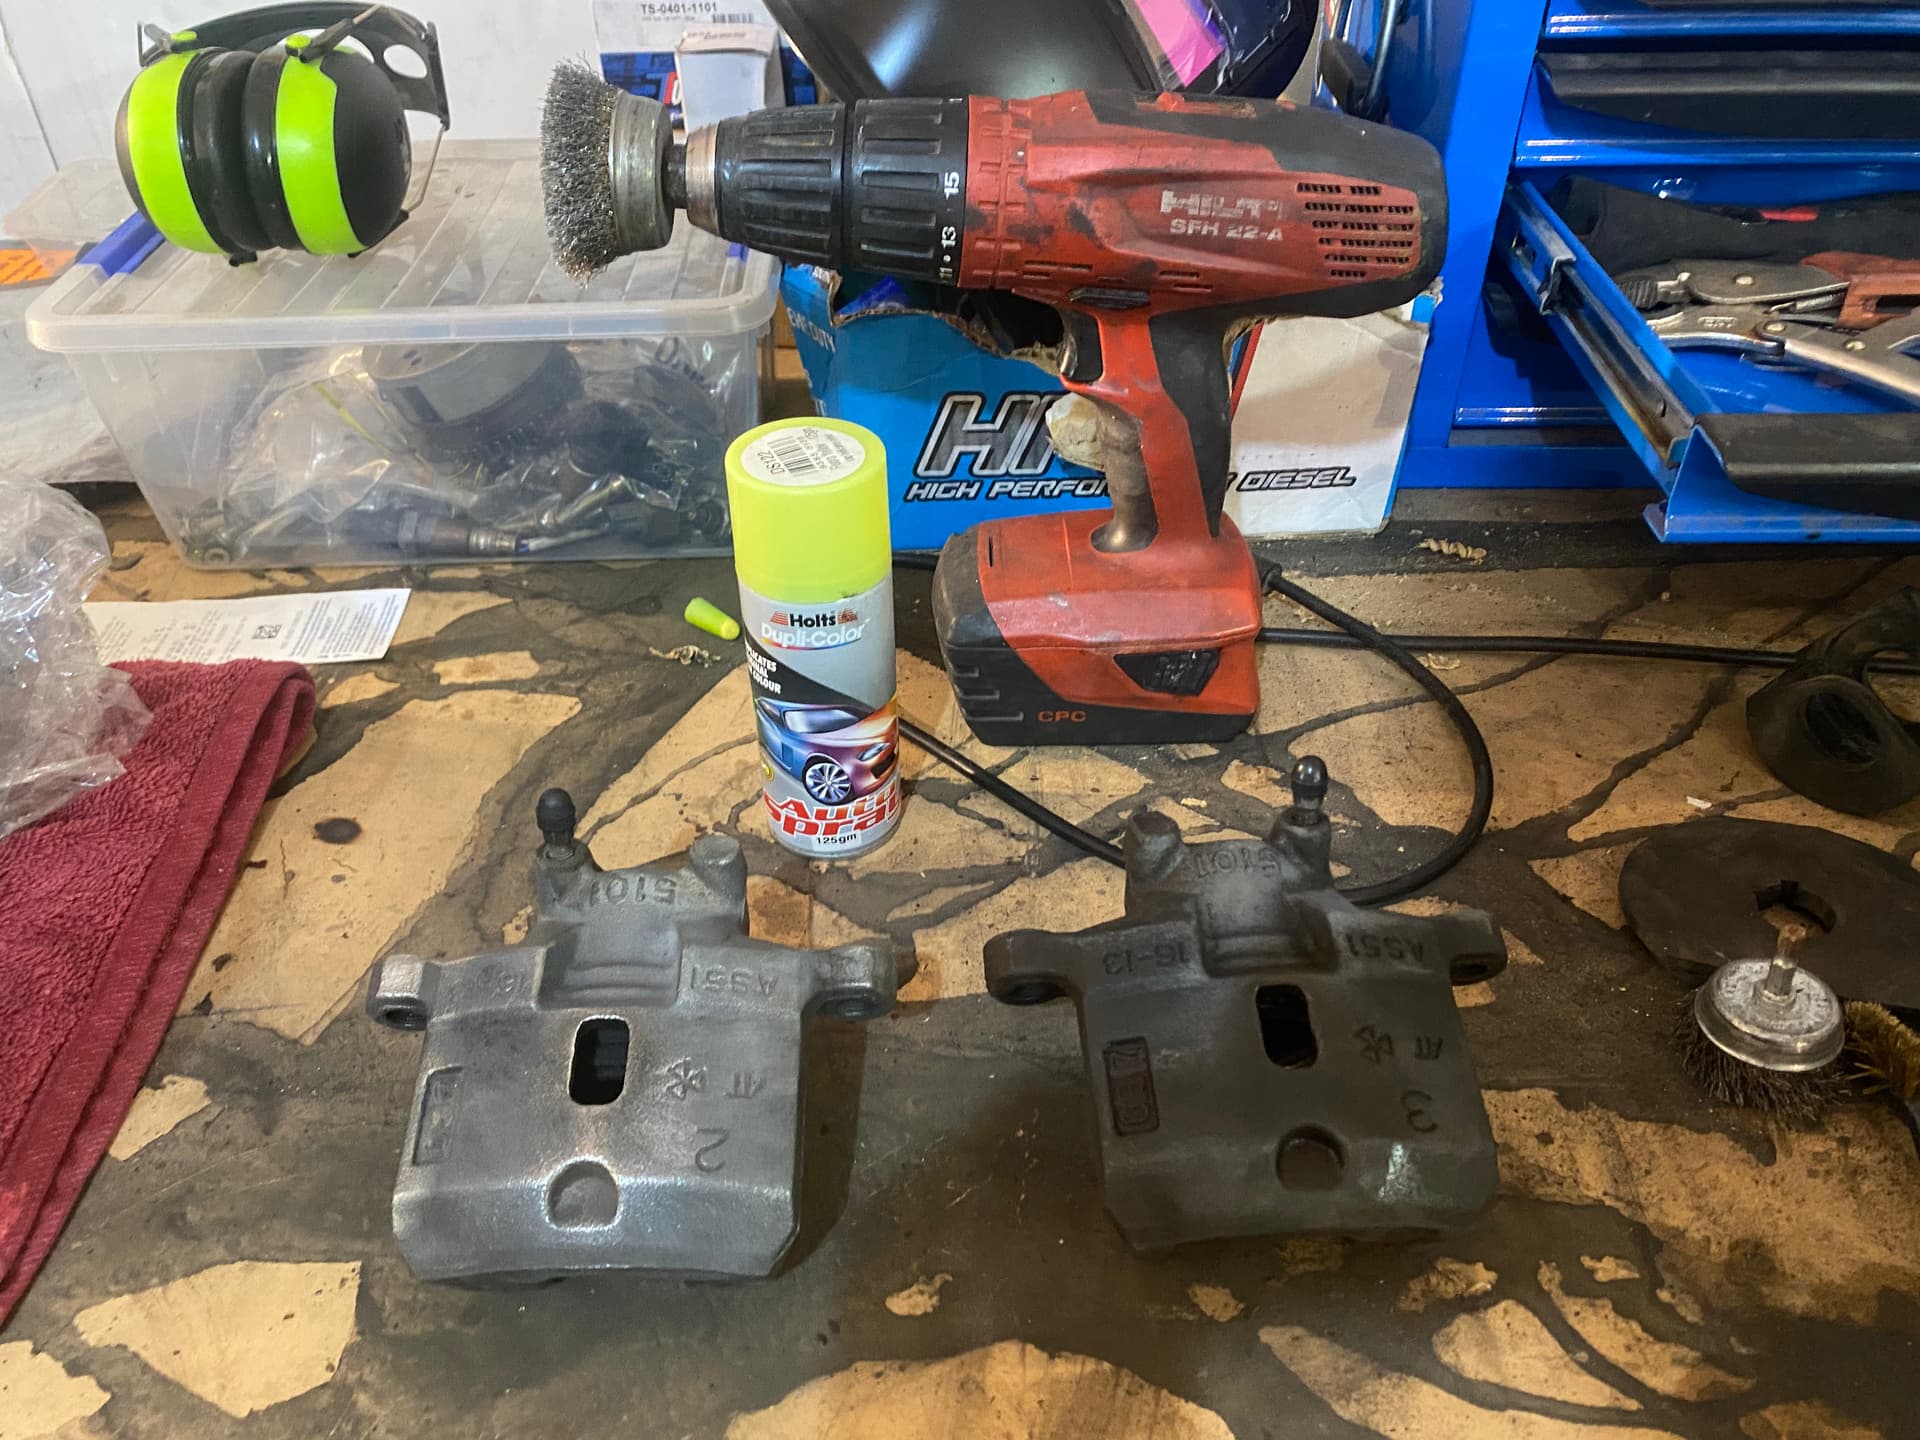
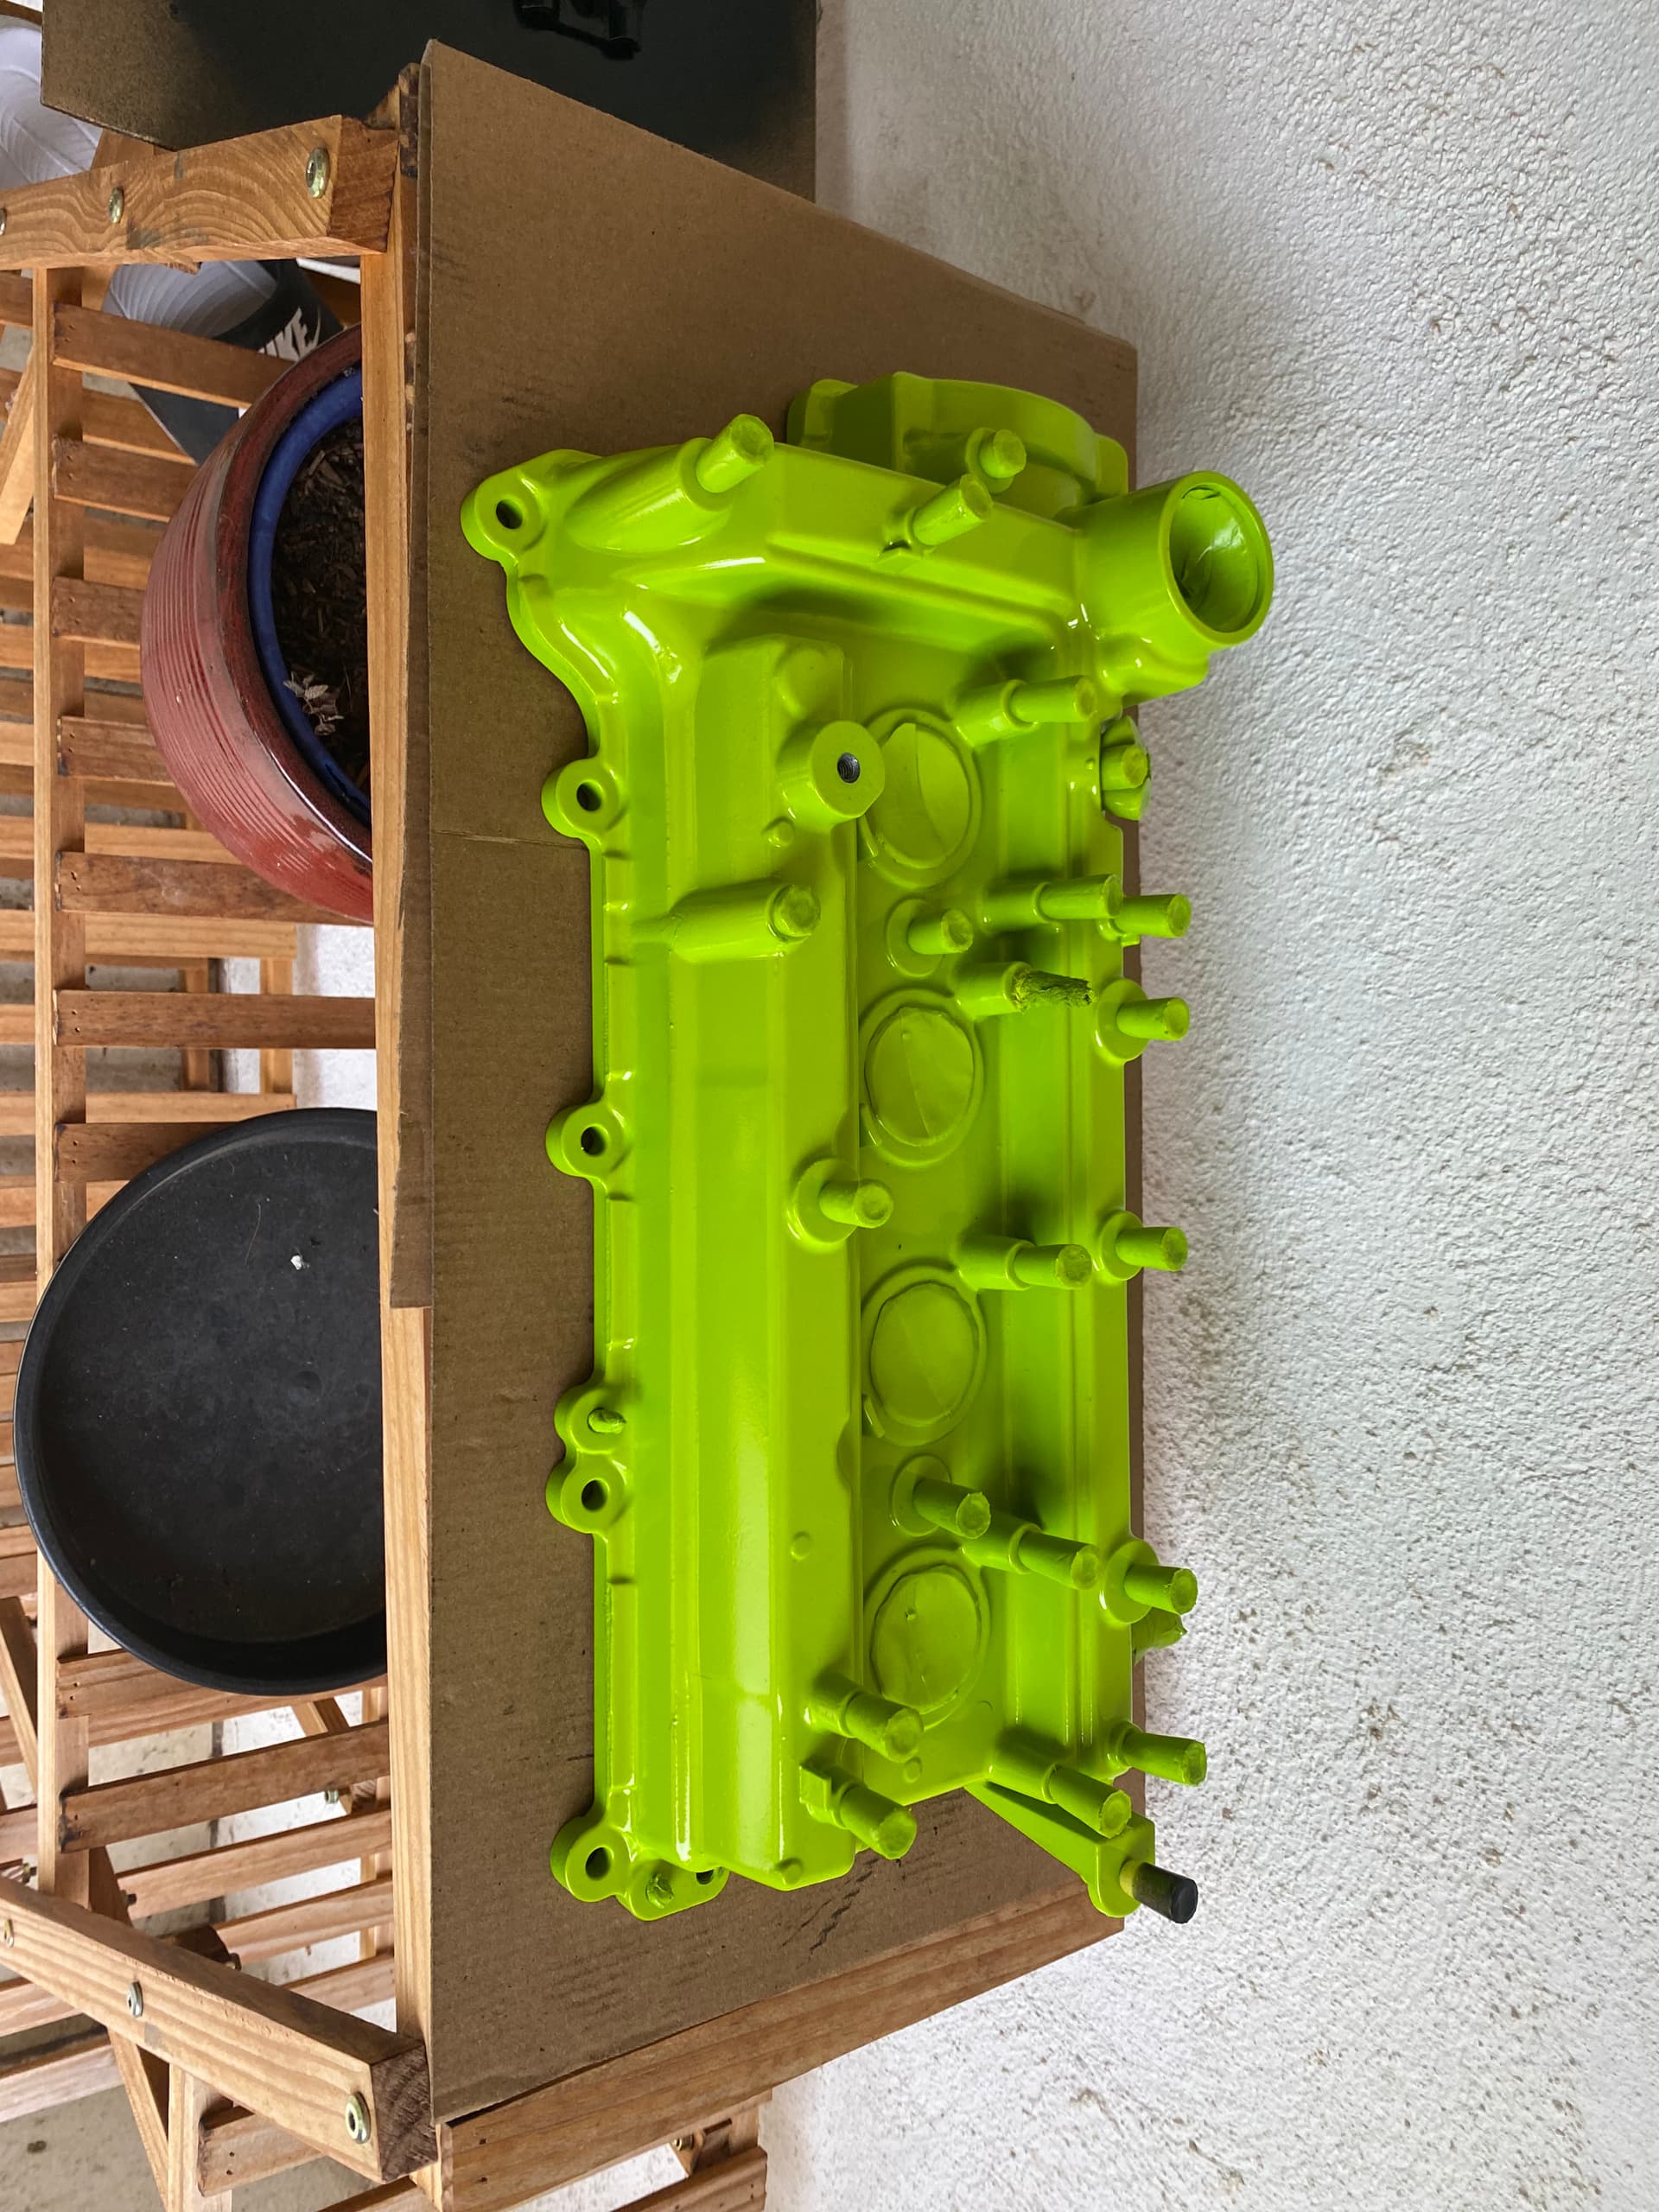
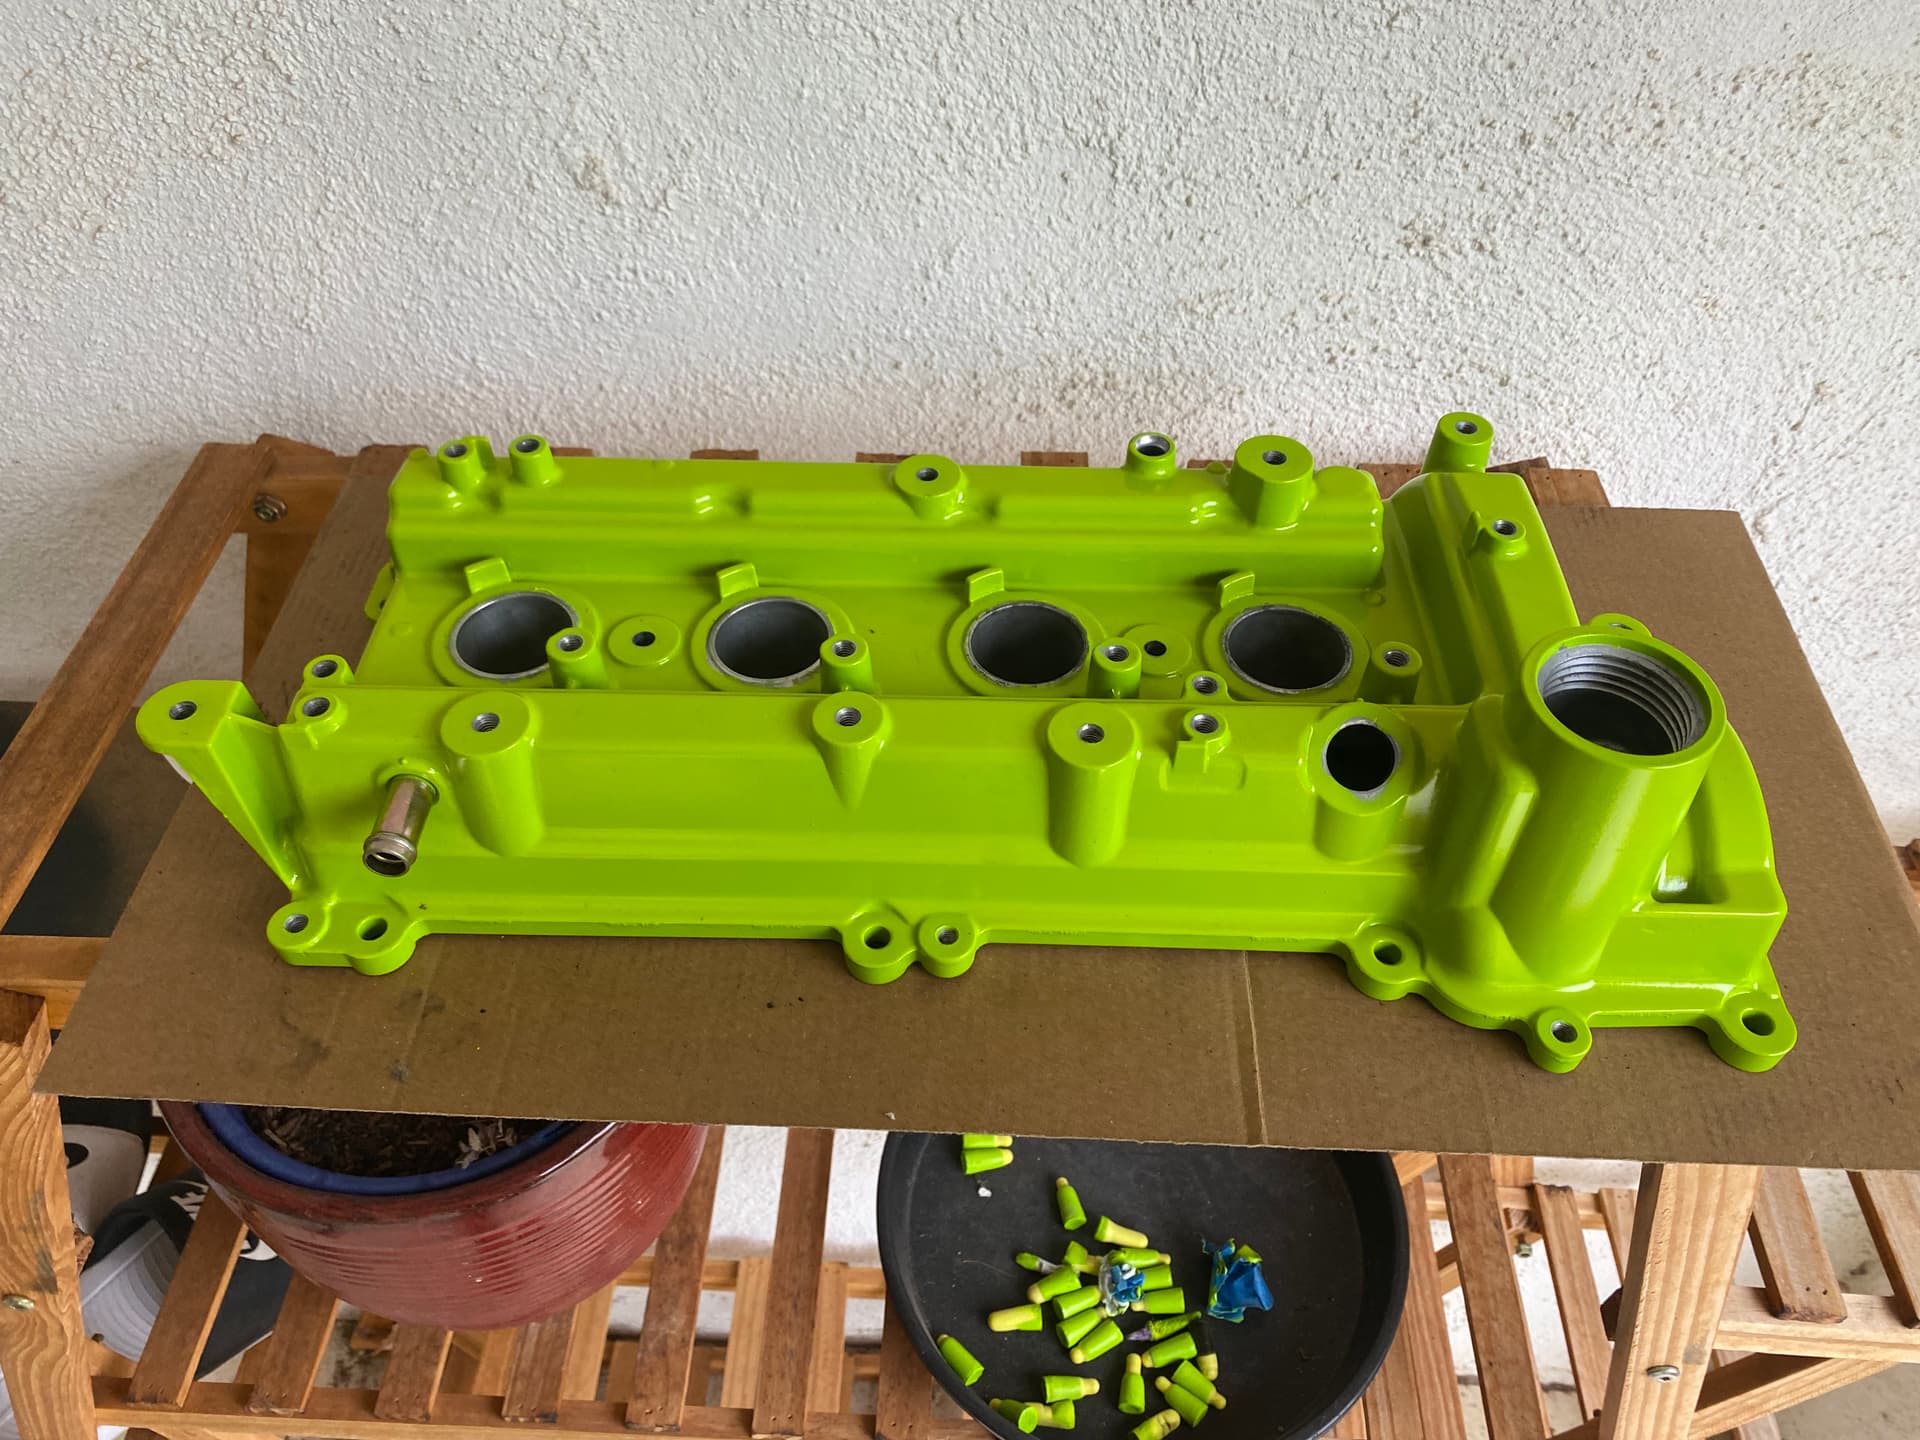
Next on the hit list was the rocker cover and brake calipers.
3 Likes
Next for the calipers. Dam these suckers are hard to clean without a media blaster.
Put that on the ever growing list of shop tools I need.
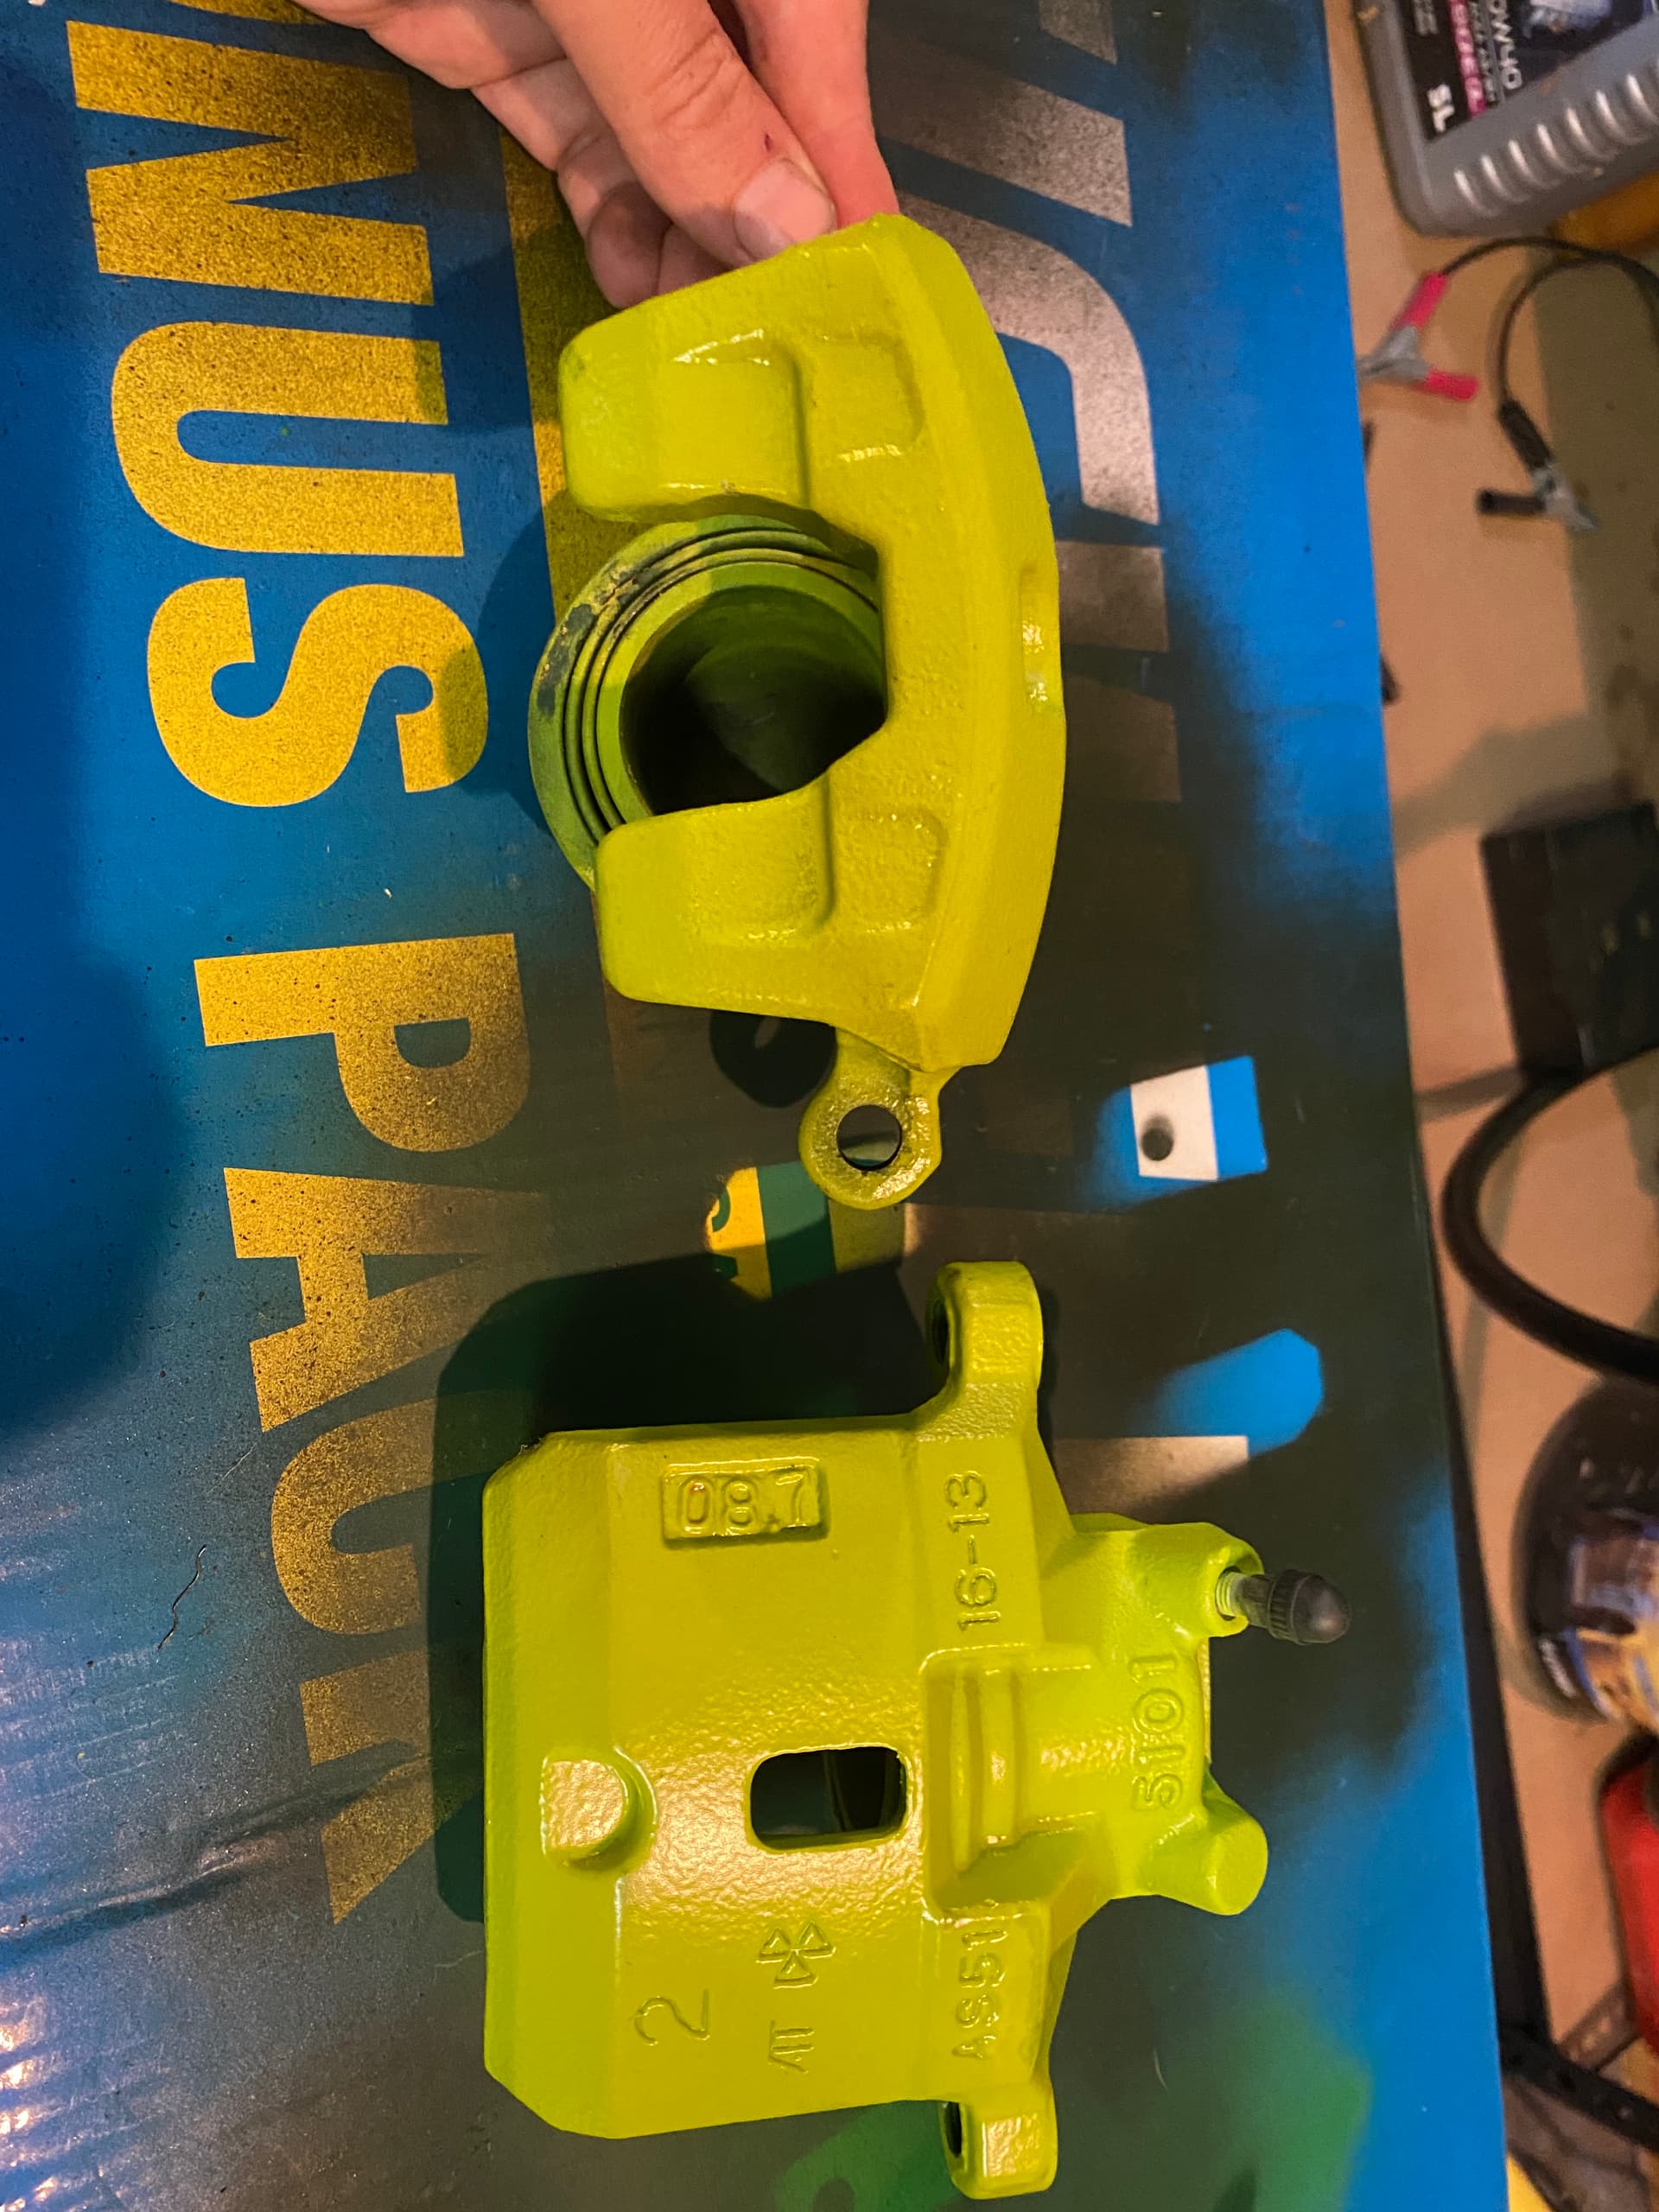
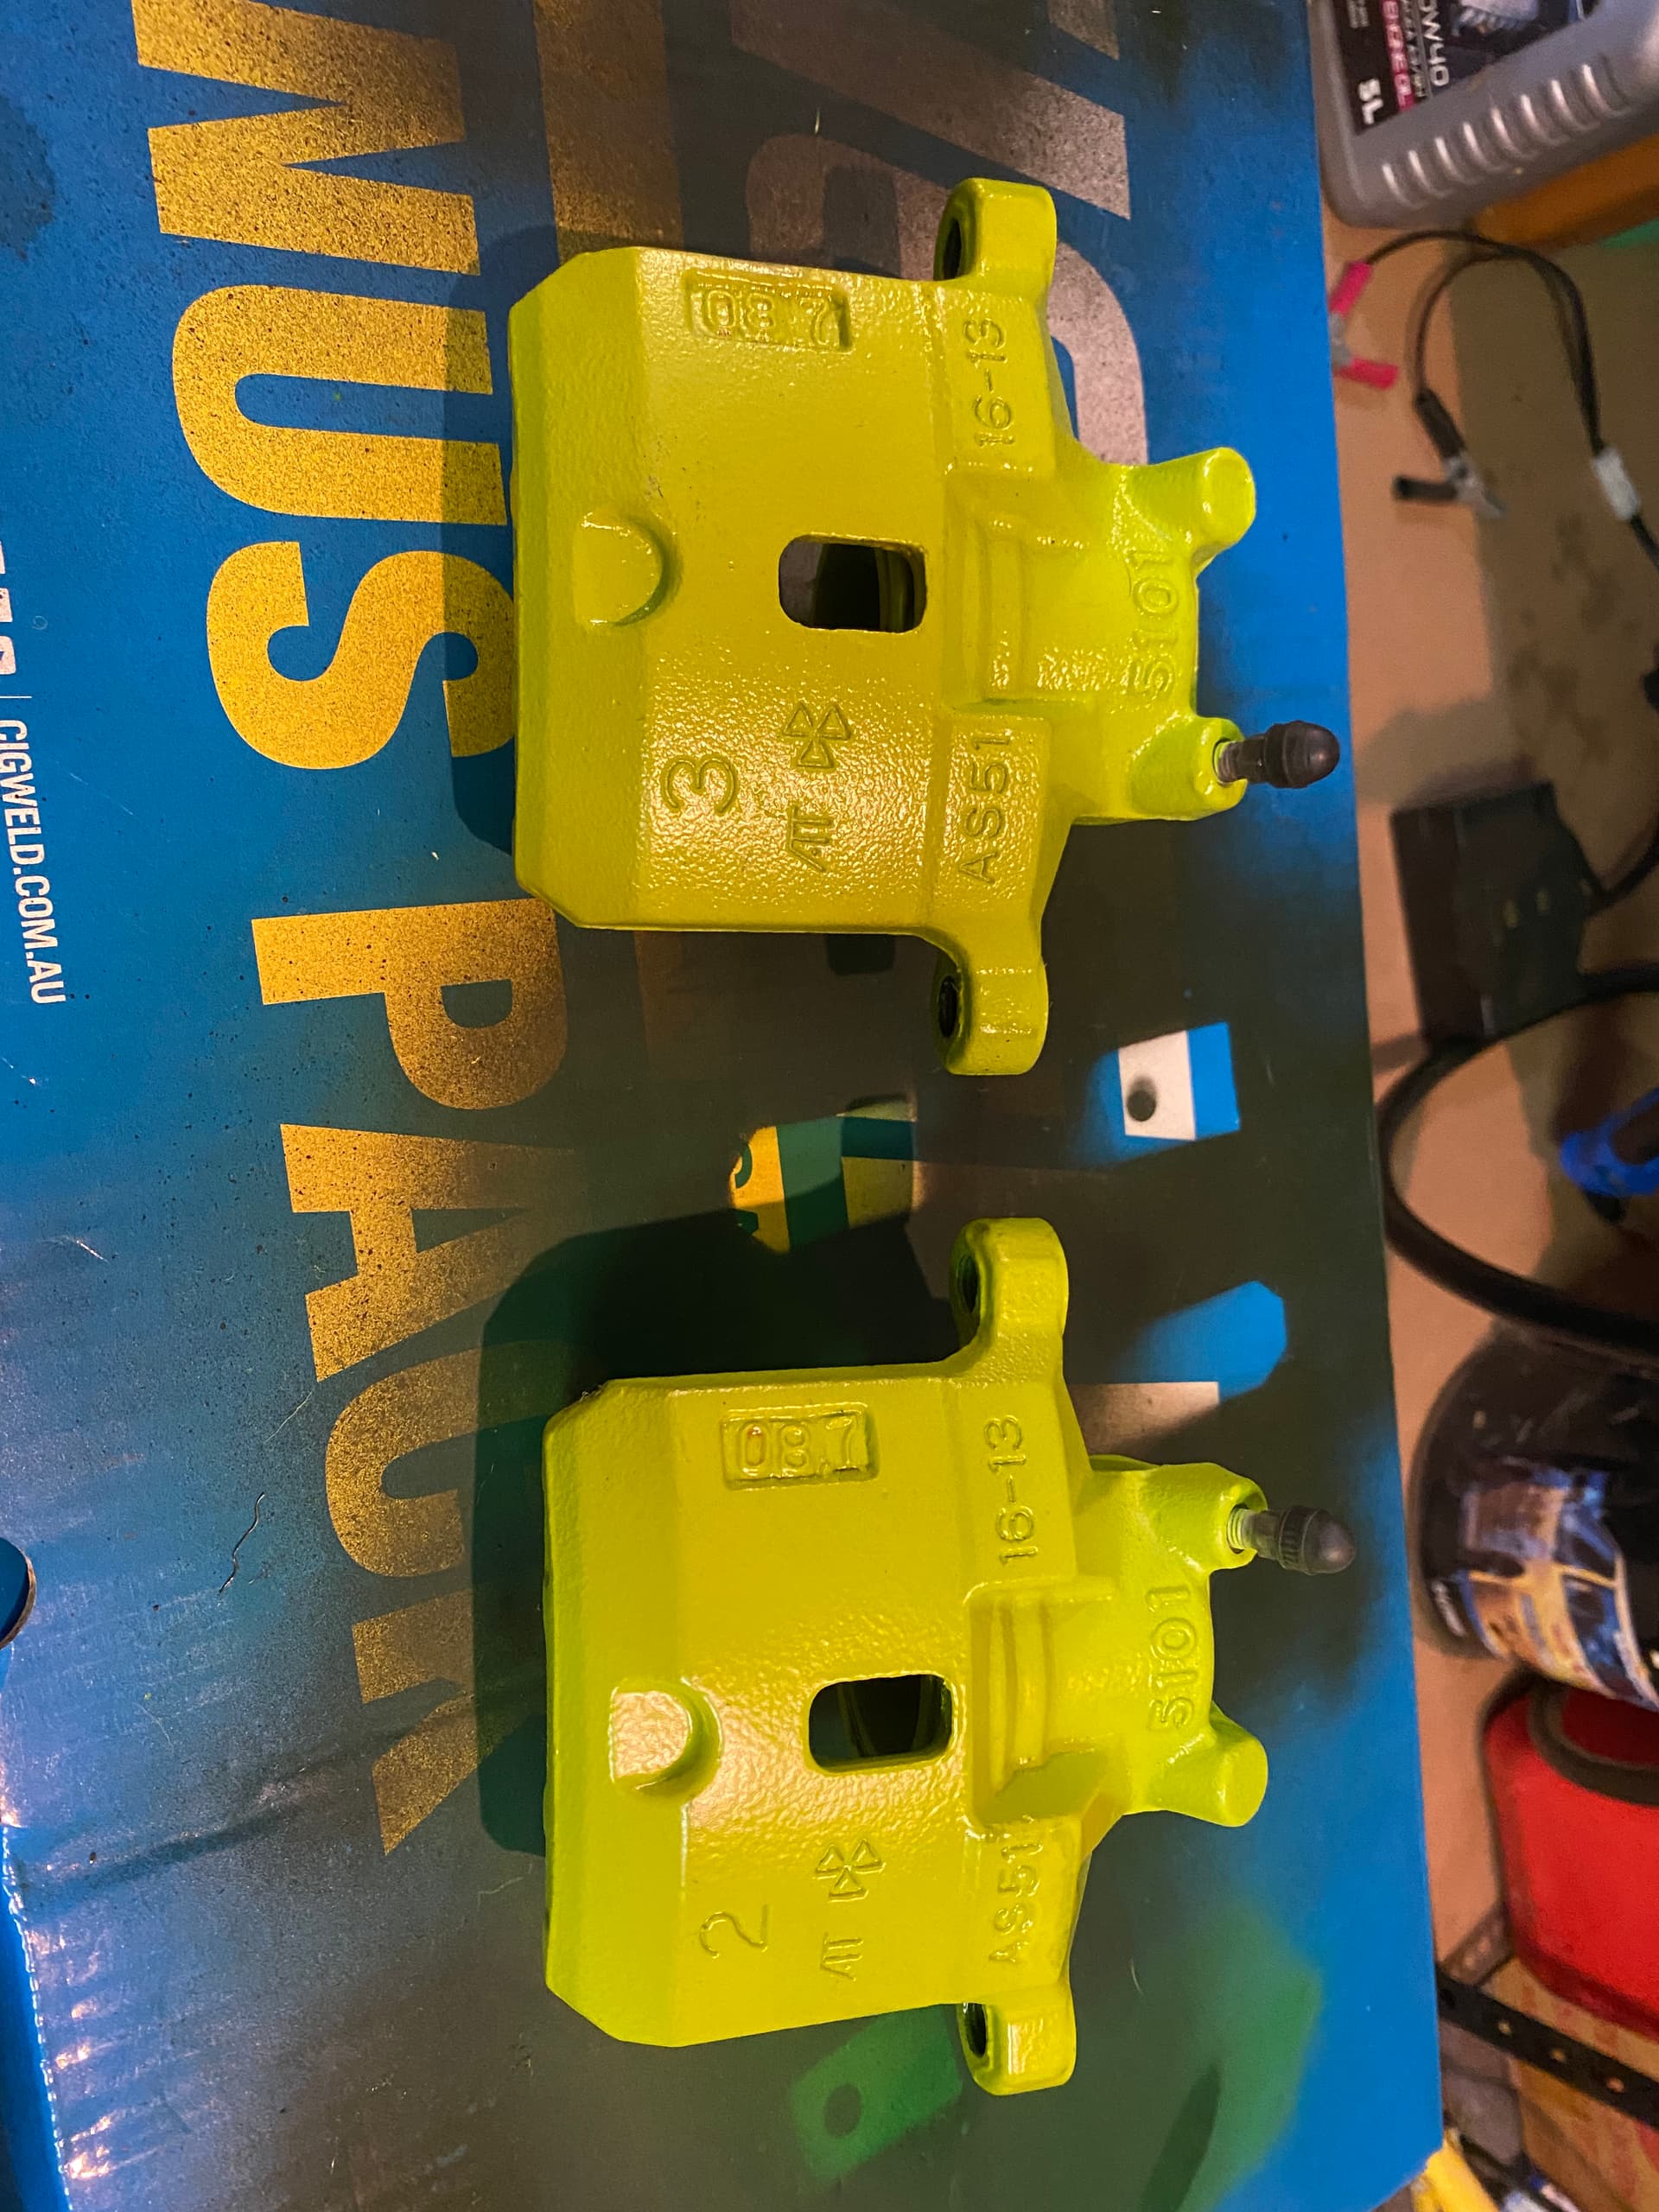
I also didn’t get heaps of pictures but here they are.
Bit of that sti vibe…
I used hi temp primer, top coat then high temp clear. Anyone who knows paint (I didn’t before I had done this) will tell you that epoxy and acrylic will not work together. So check this thread again in 9 months and I’m sure you will see proof that the paints don’t work together lol,
4 Likes
Also see the carpets match the drapes
4 Likes
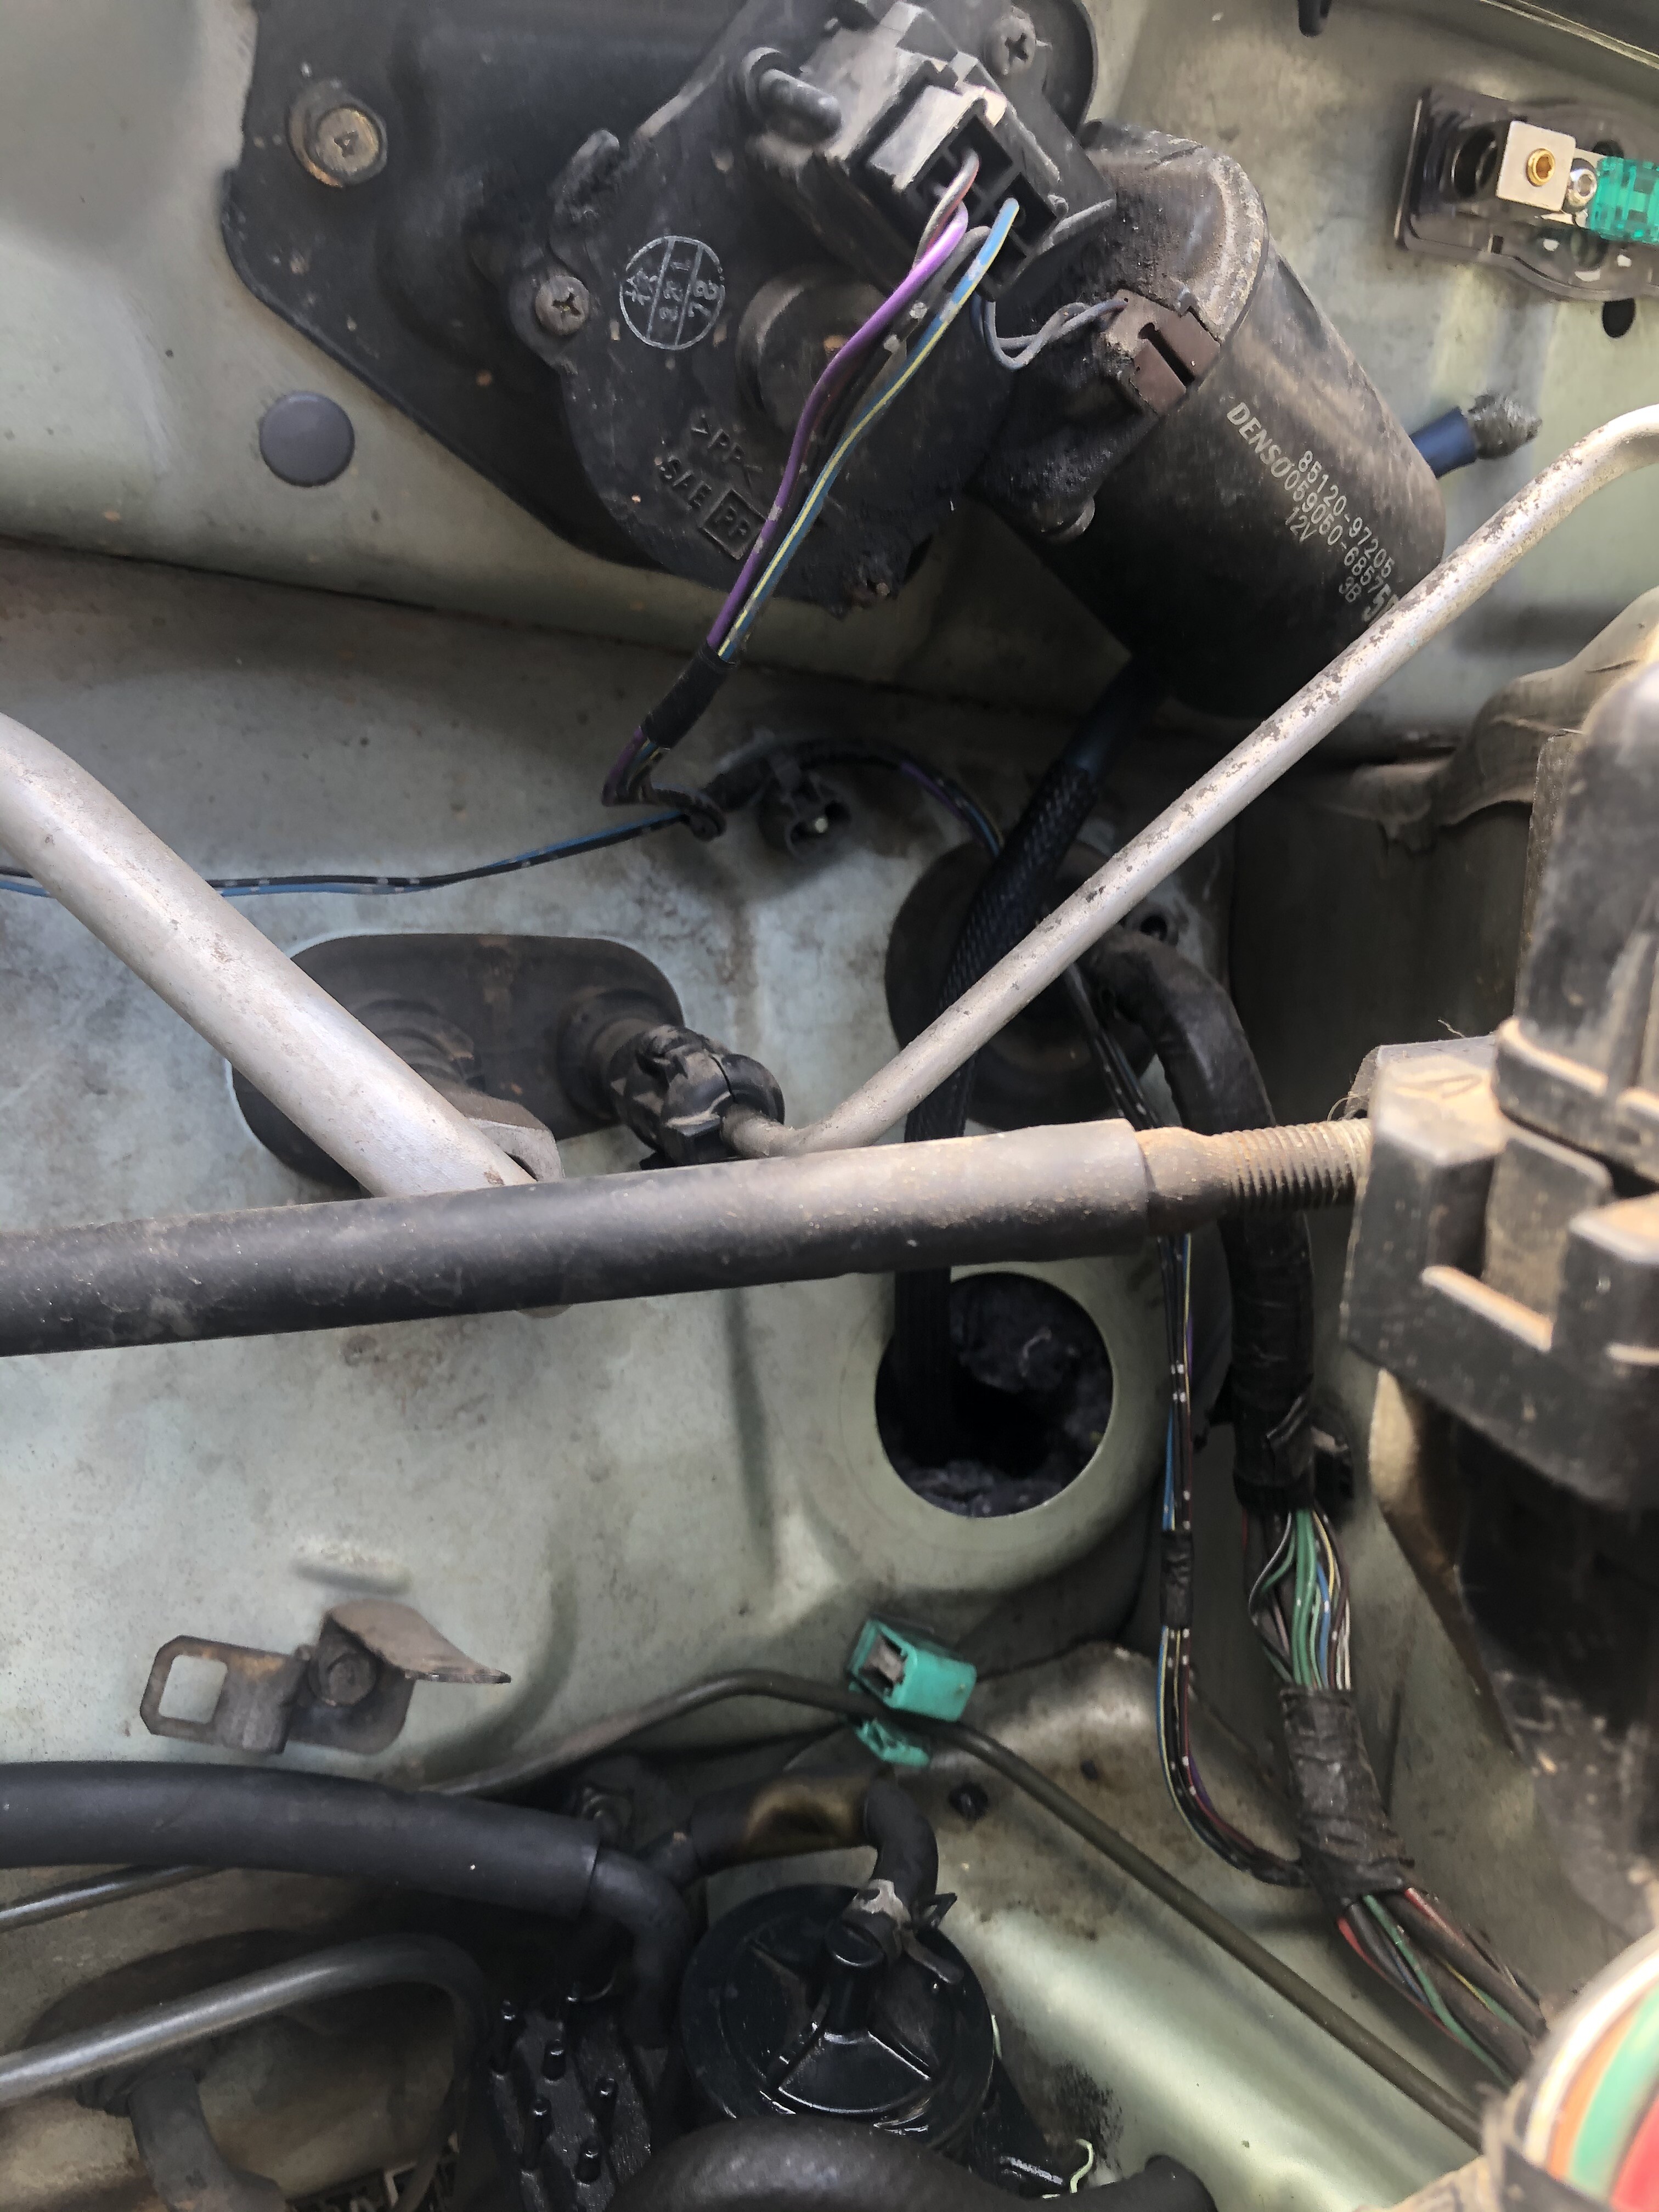
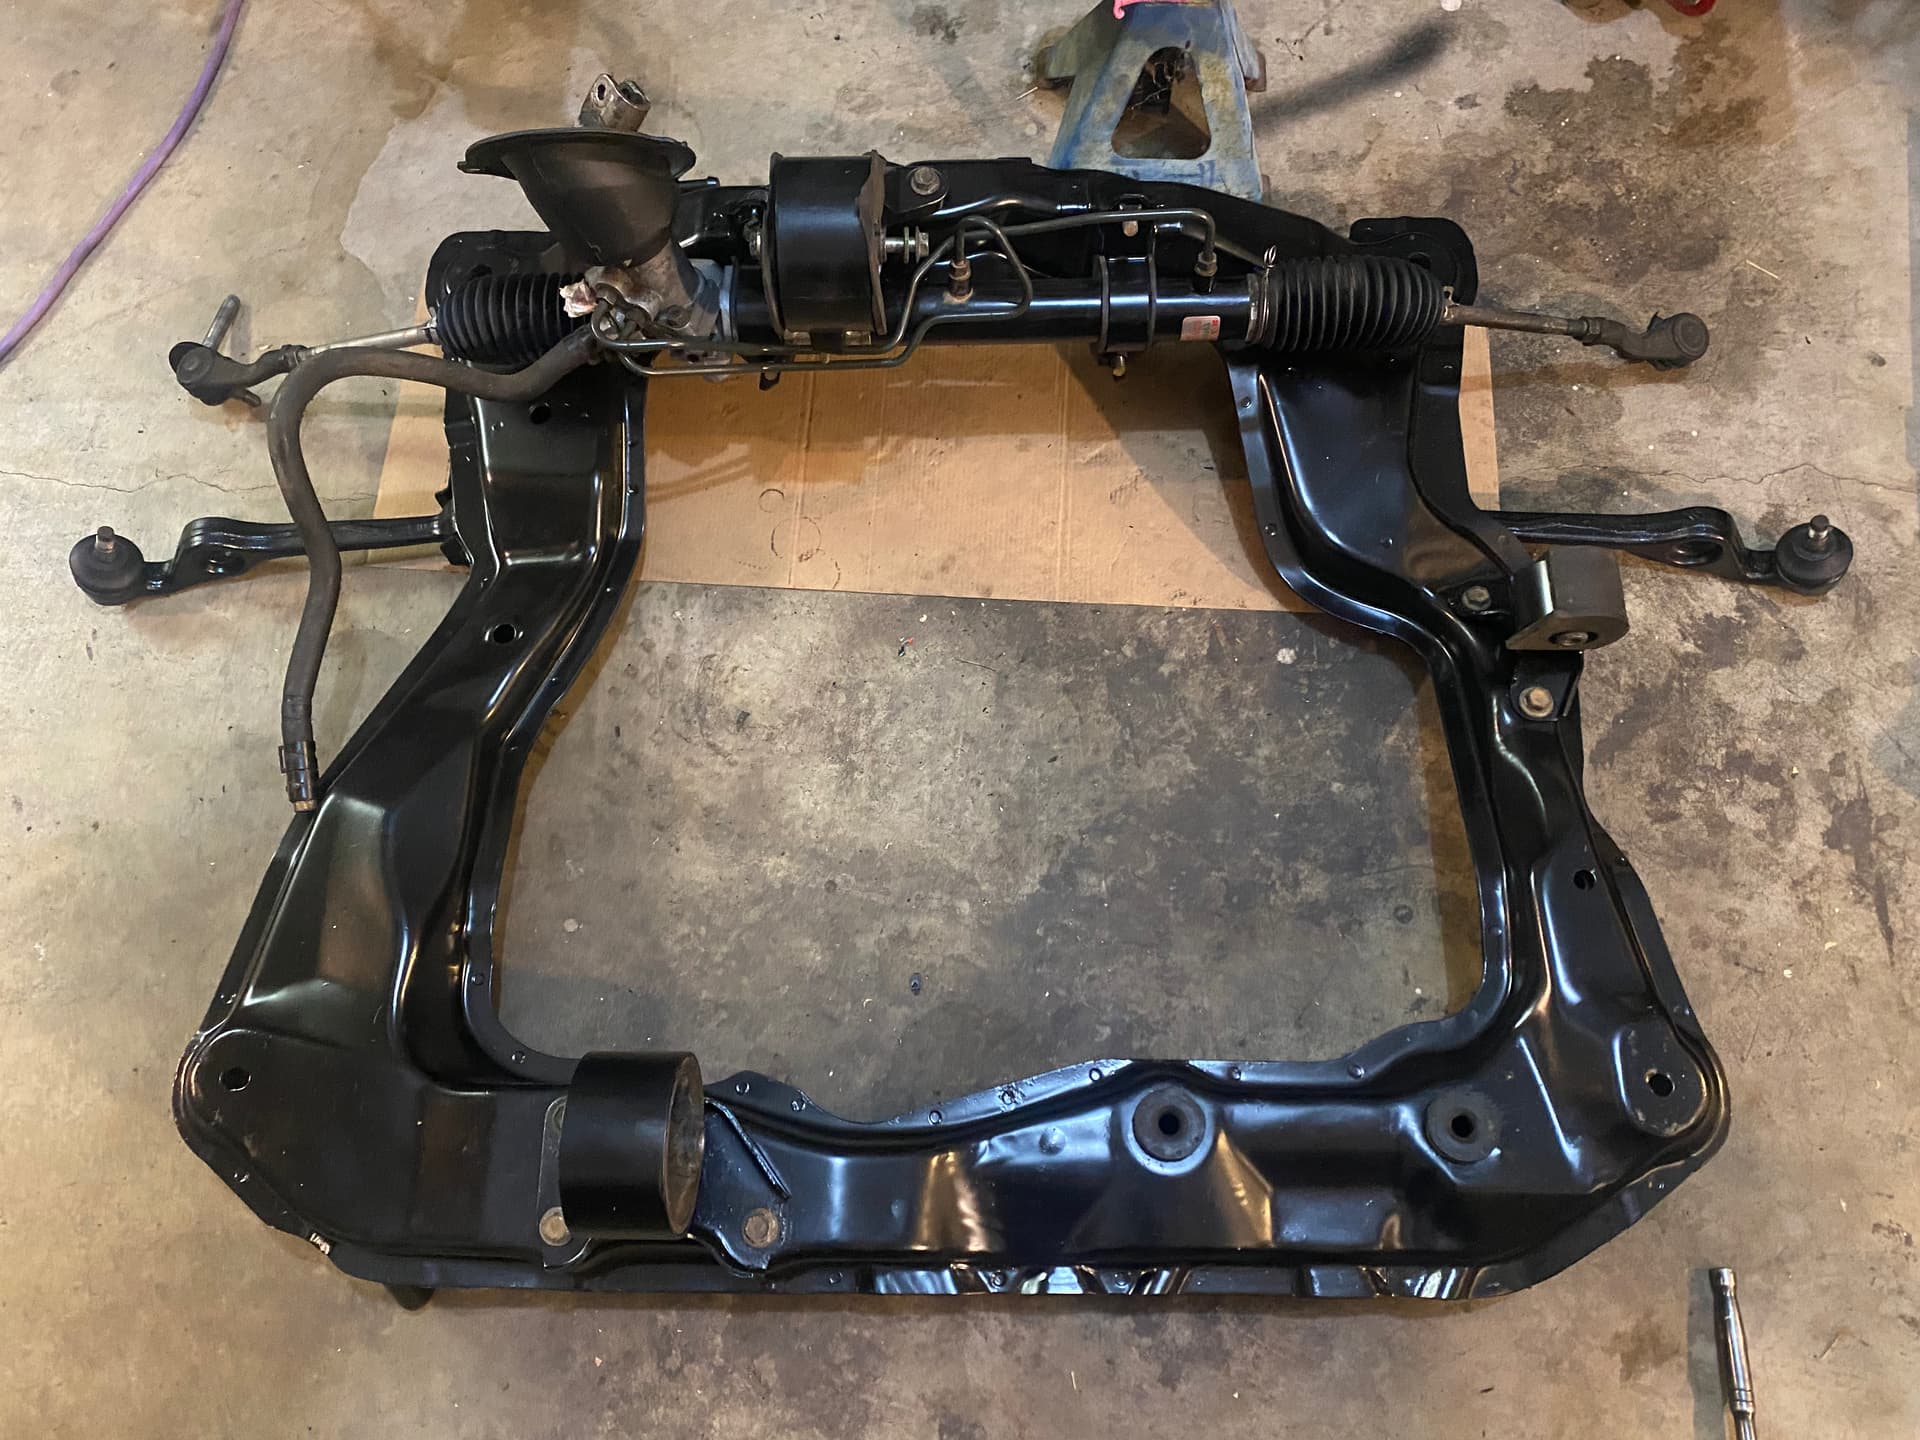
Whilst waiting for pain to dry I cleaned up the steering rack.
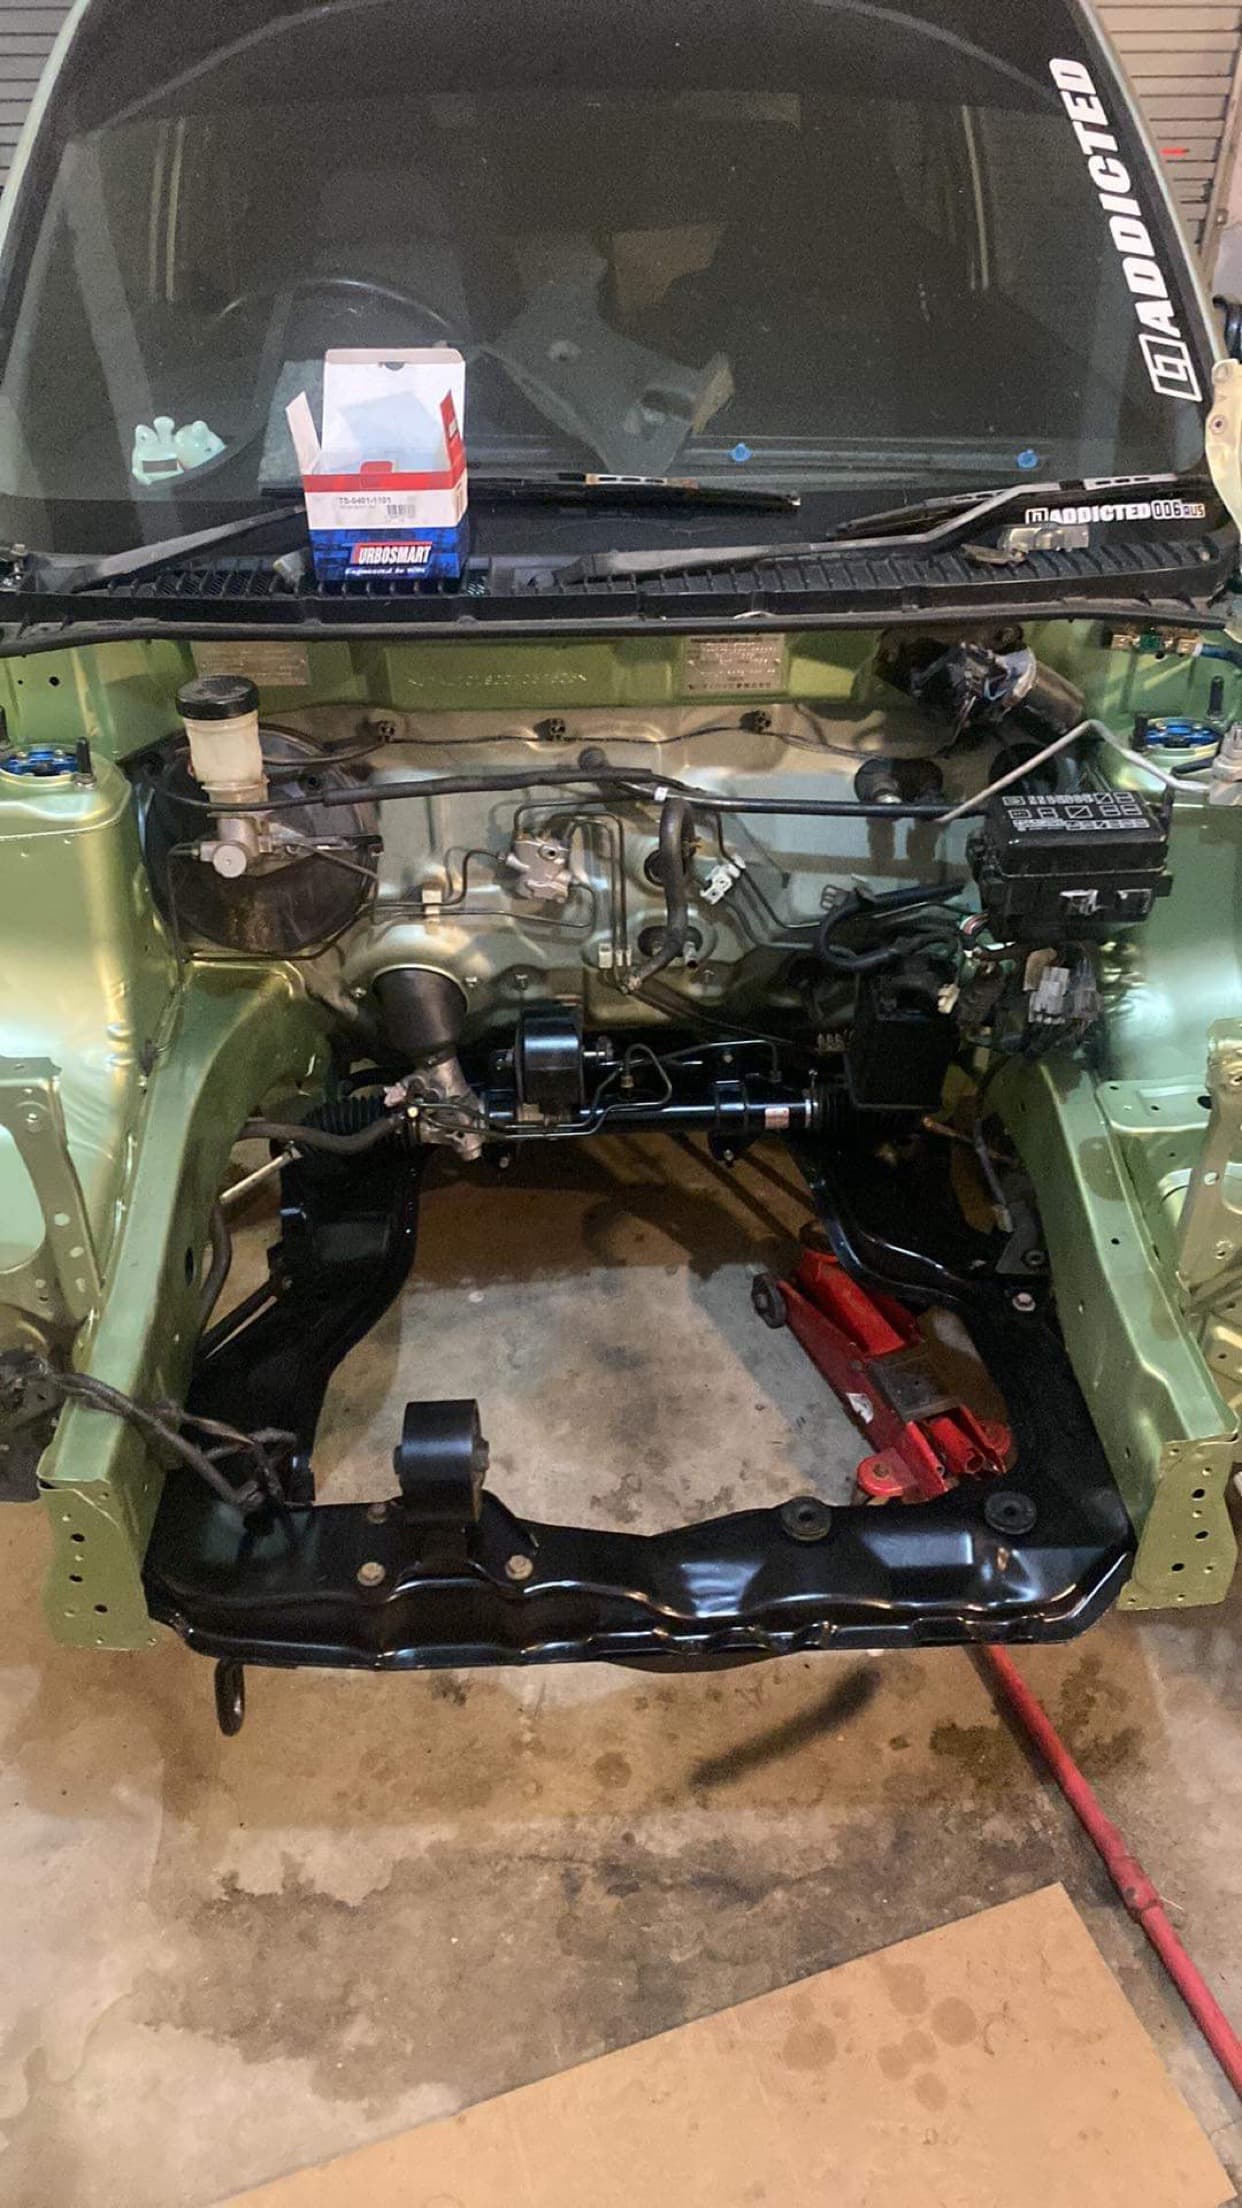
I decided that I need more room at the front of the motor for turbo activities, so I decided to delete the hydraulic power steering and replace it with an astra trw electric power steering.
I’m waiting on the pump to arrive so I can start with the bracket fab, but I’m already happy that it’s completely static and removed from the motor. The space saved is great and now I don’t have to cut the back of my head light out anymore.
I will post more pics when I have the pump,
Going to remove the charcoal canister and put the pump there and run some speed flow 490 series lines.
Very interested in comments from anyone who has done this already.
5 Likes
wow you have been busy. Well done man looks fantastic. I know only too well of being a bad hoarder and moving from a huge garage to a suburban one. It is a very painful experience.
3 Likes
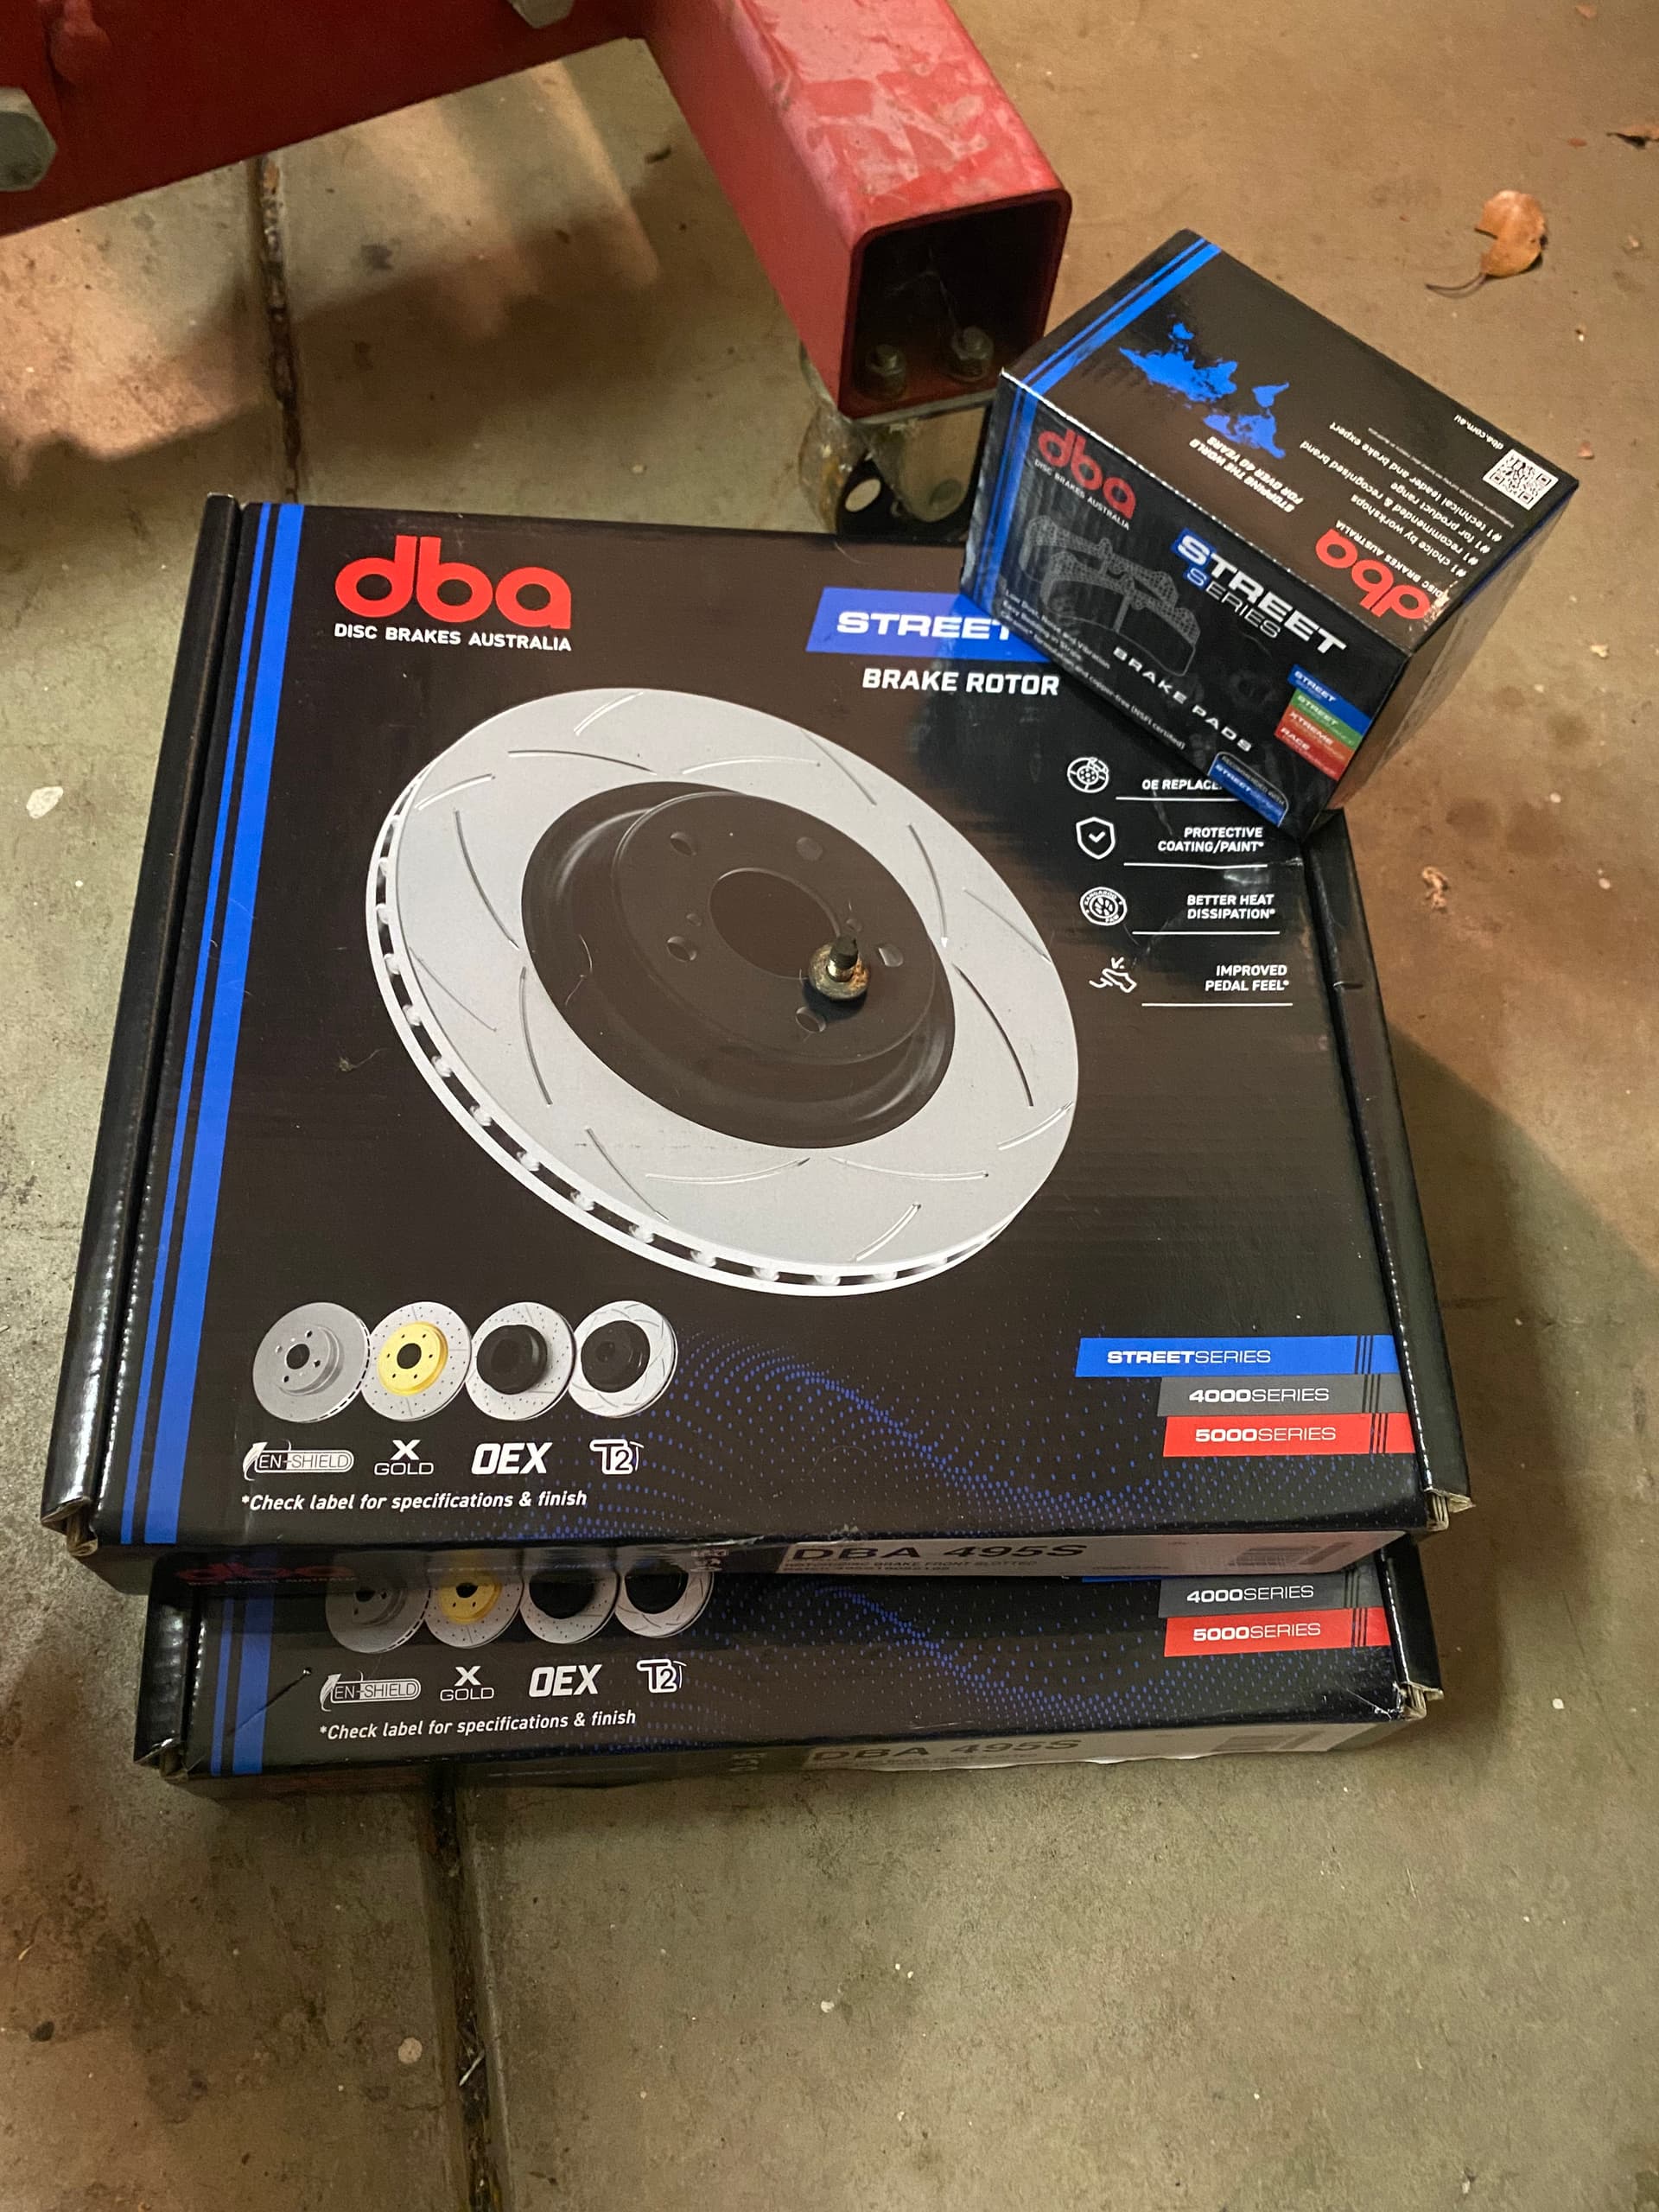
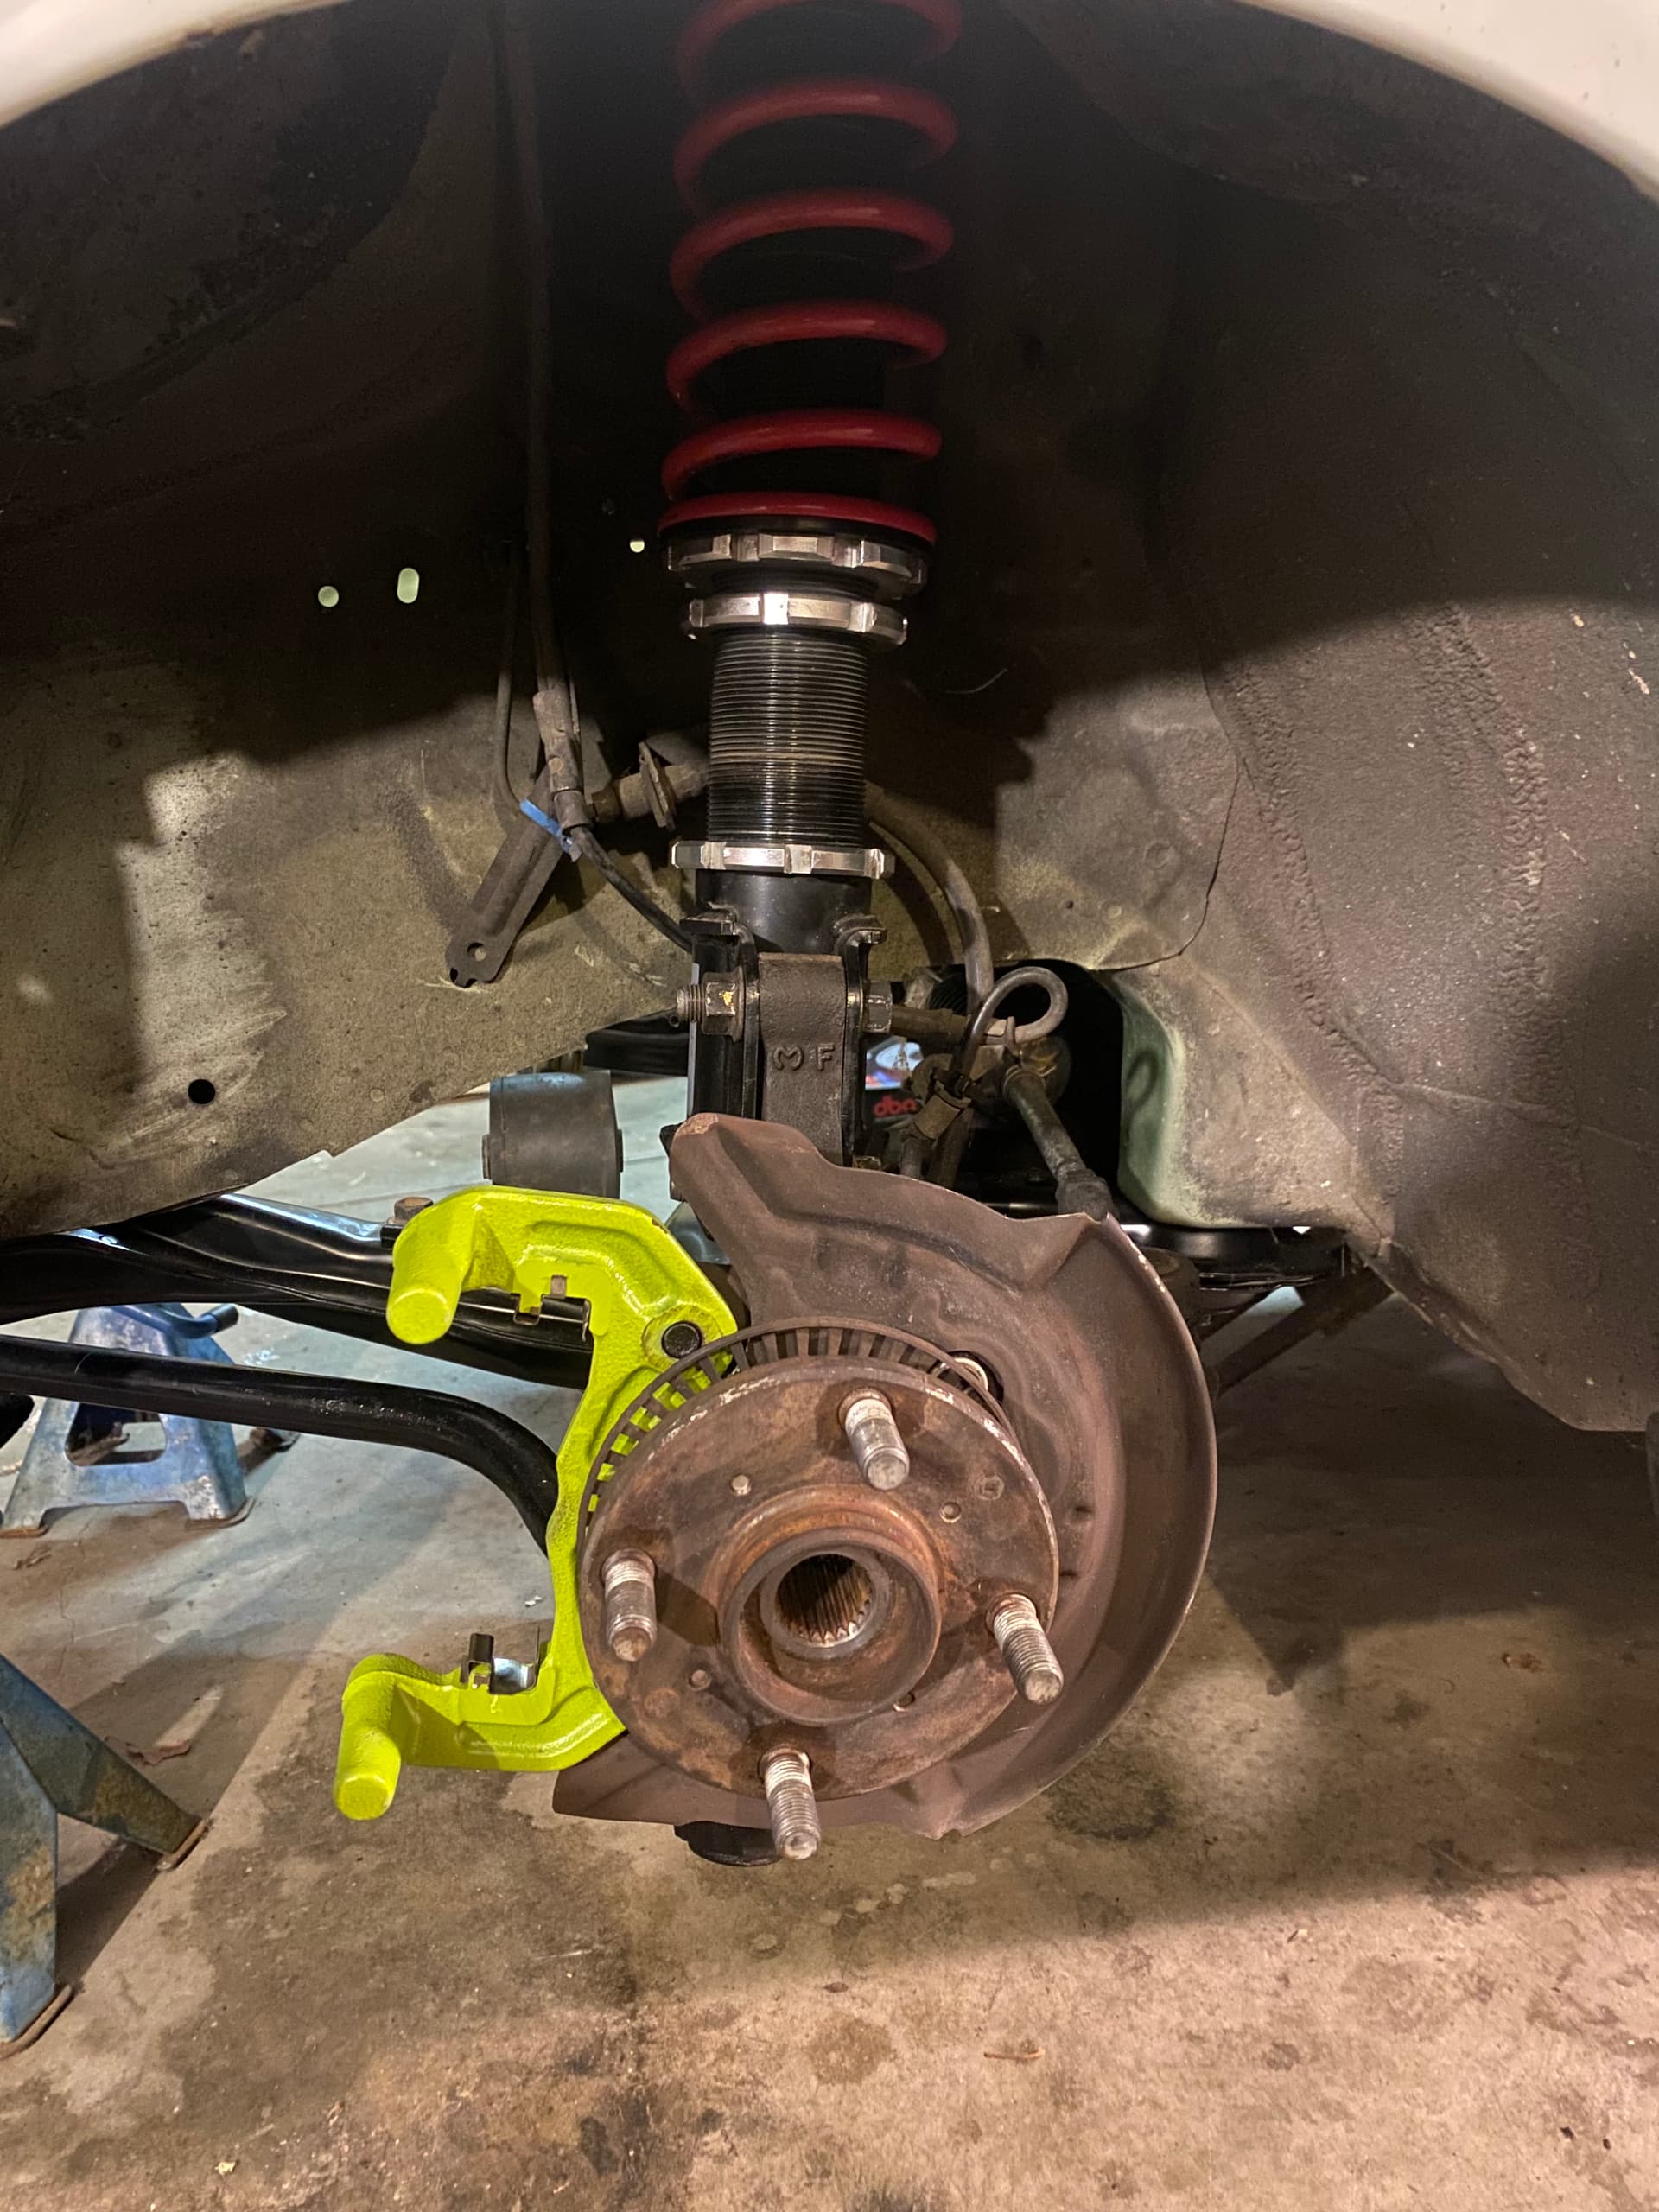
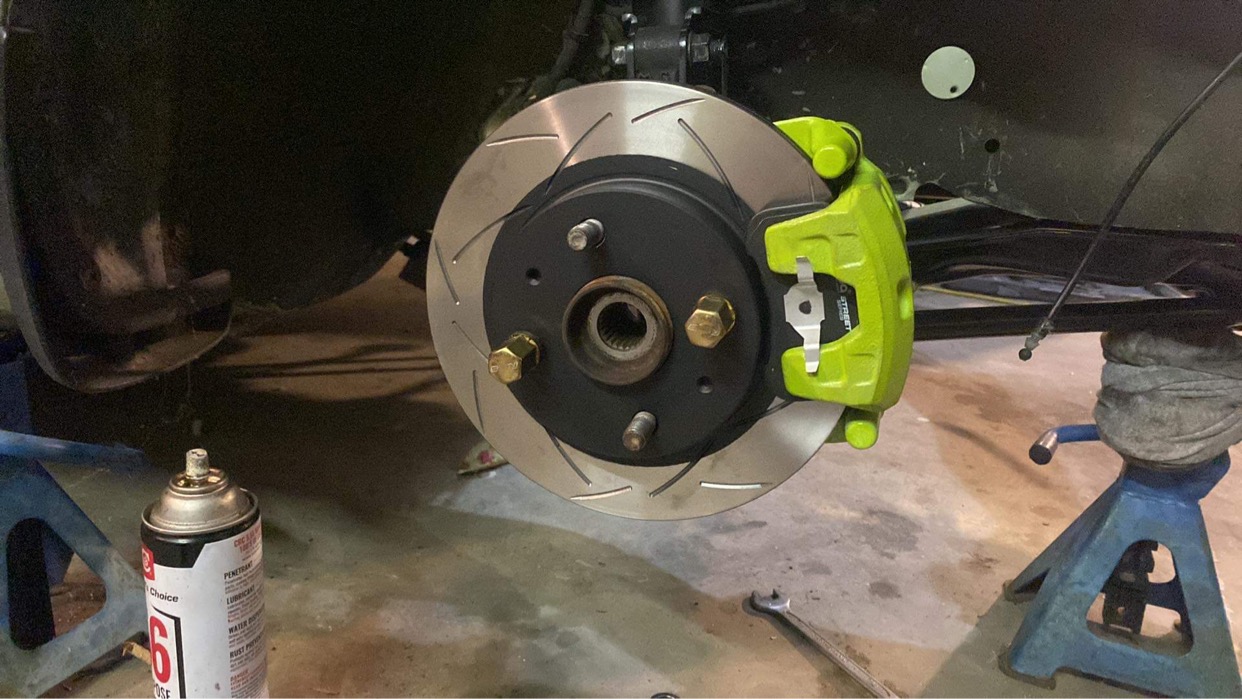
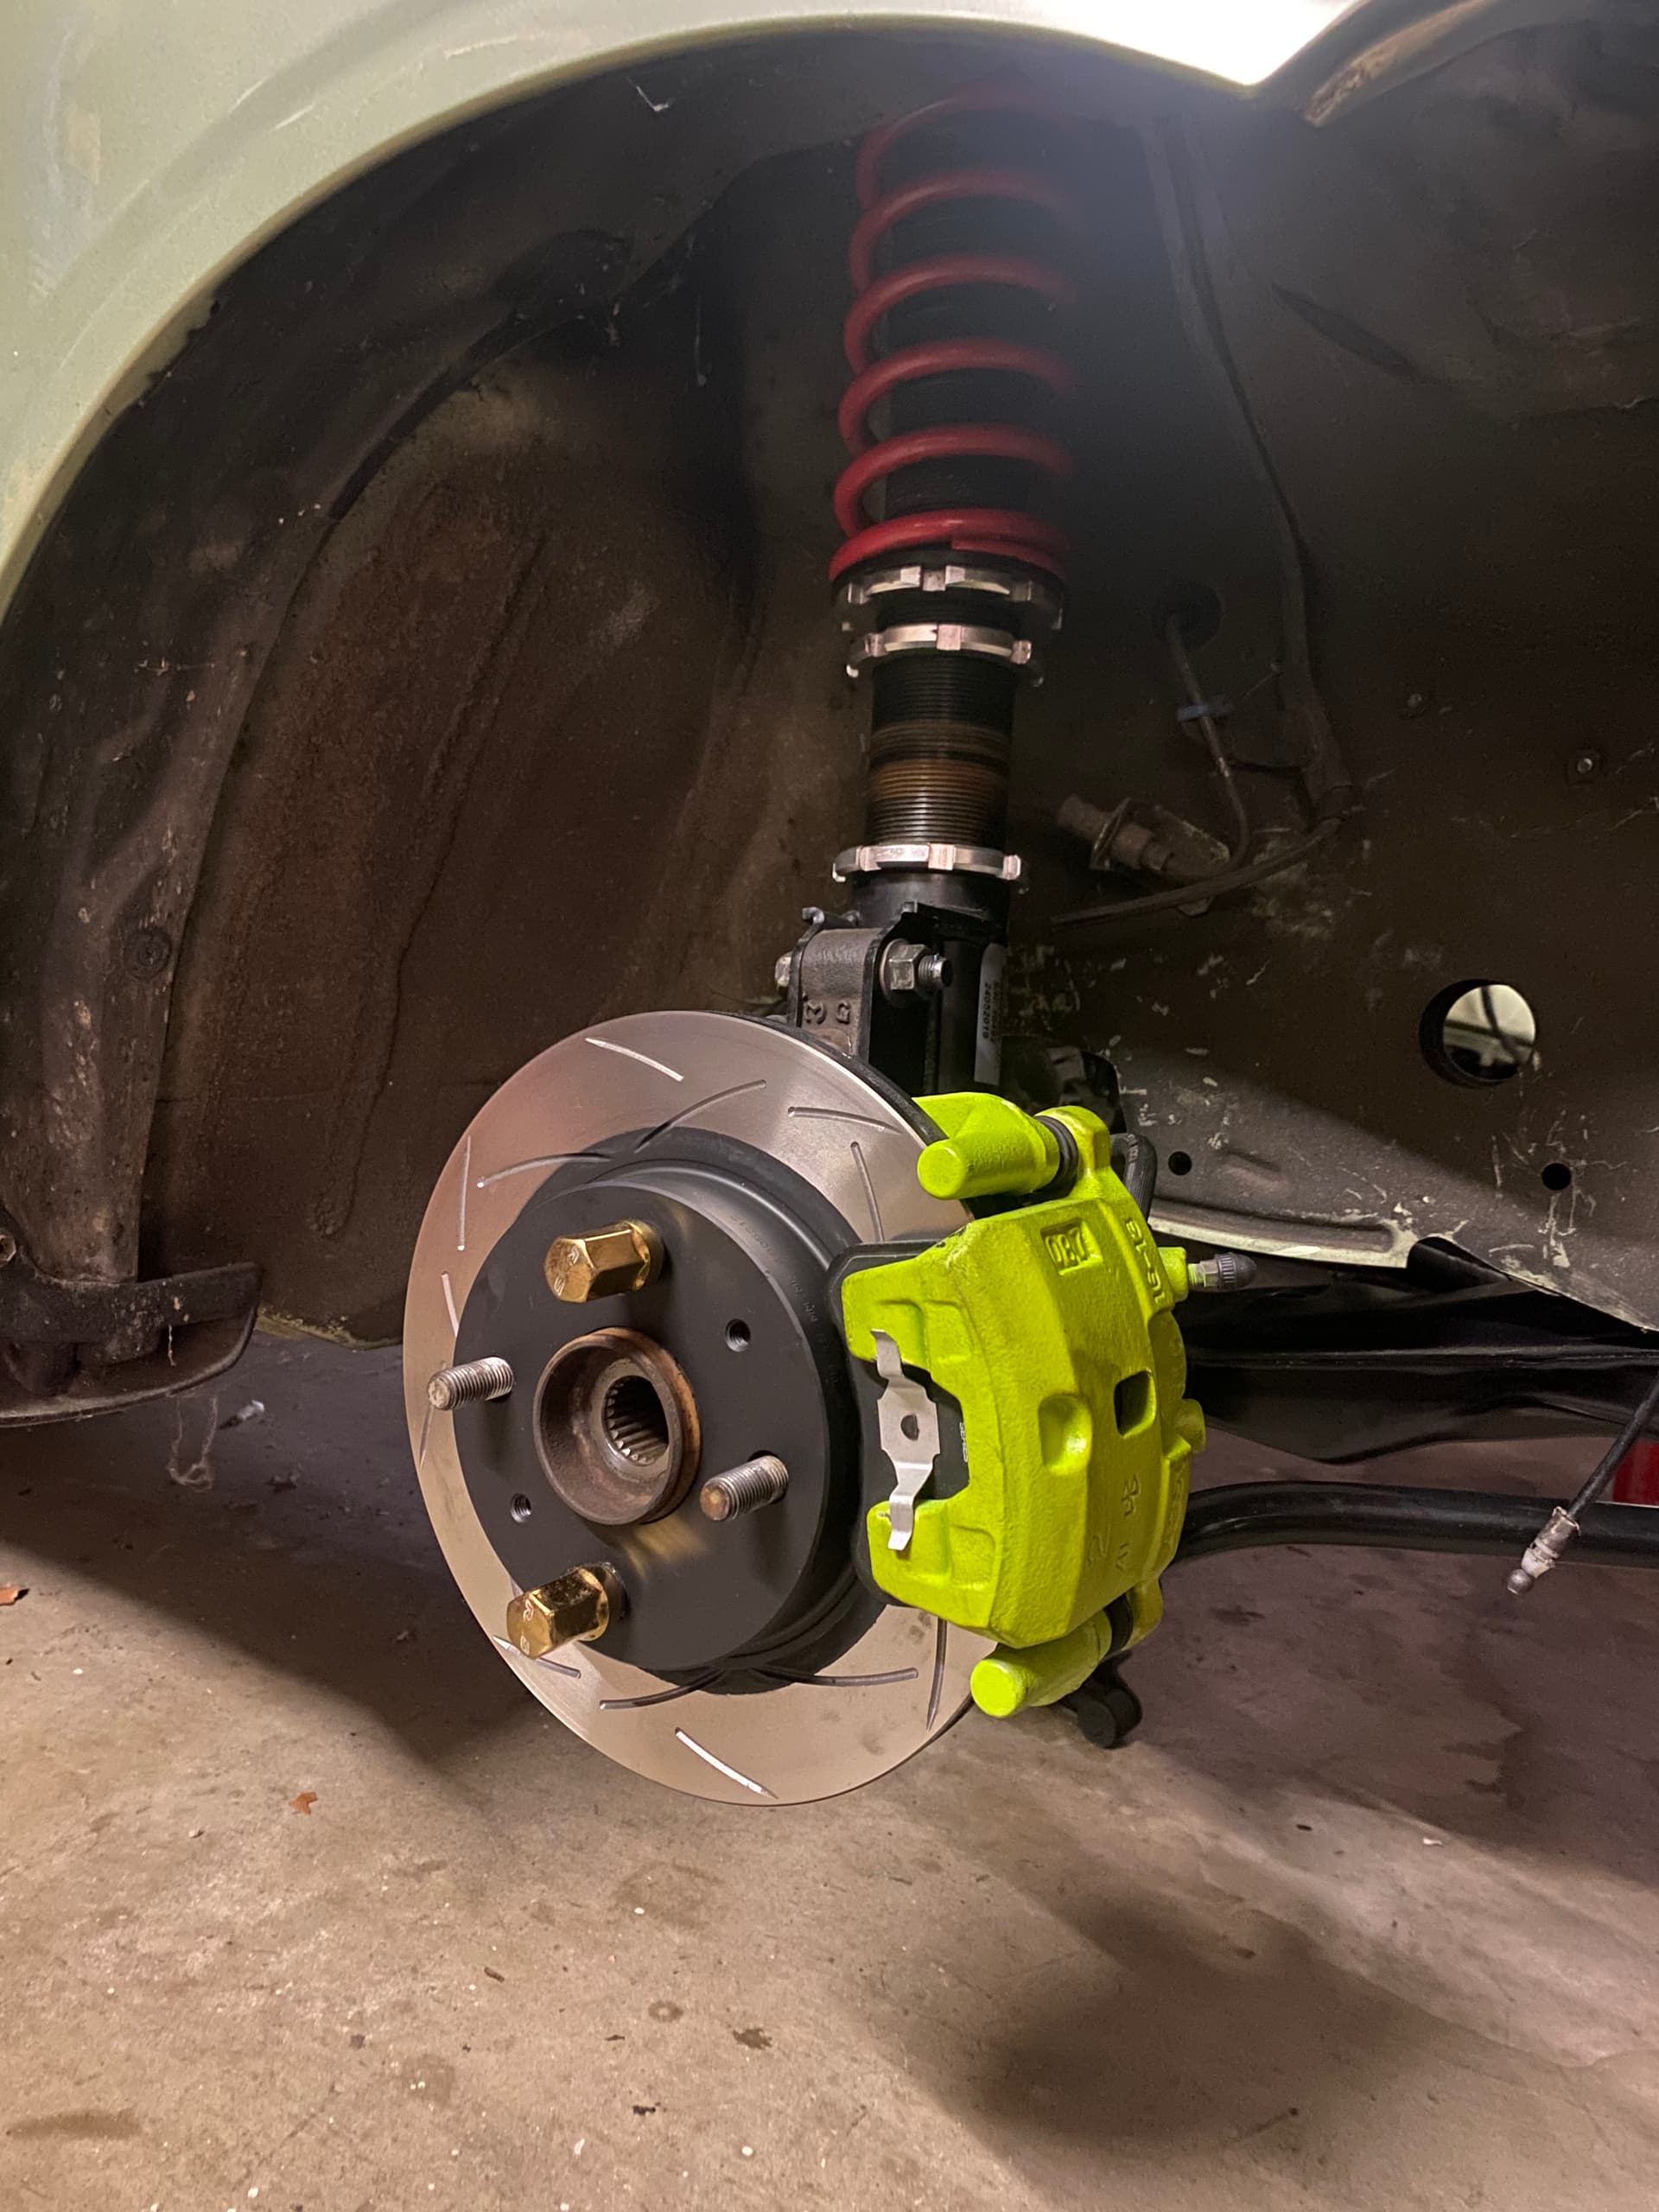
Well I finished up the brakes,
Wheel bearings felt nice so left them in the hubs. Gave the hubs a clean up and assembled the brackets and calipers.
Ended up using dba street t2 series disc and pads. I want some thing I can street cruise and weekend warrior a hill climb.
I think they look ok and should work well under the rims.
I have braided lines and a new 2nd hand brake master and we are done here for now.
Next is either power steering or return fuel line. Depends what parts present themselves first.
4 Likes
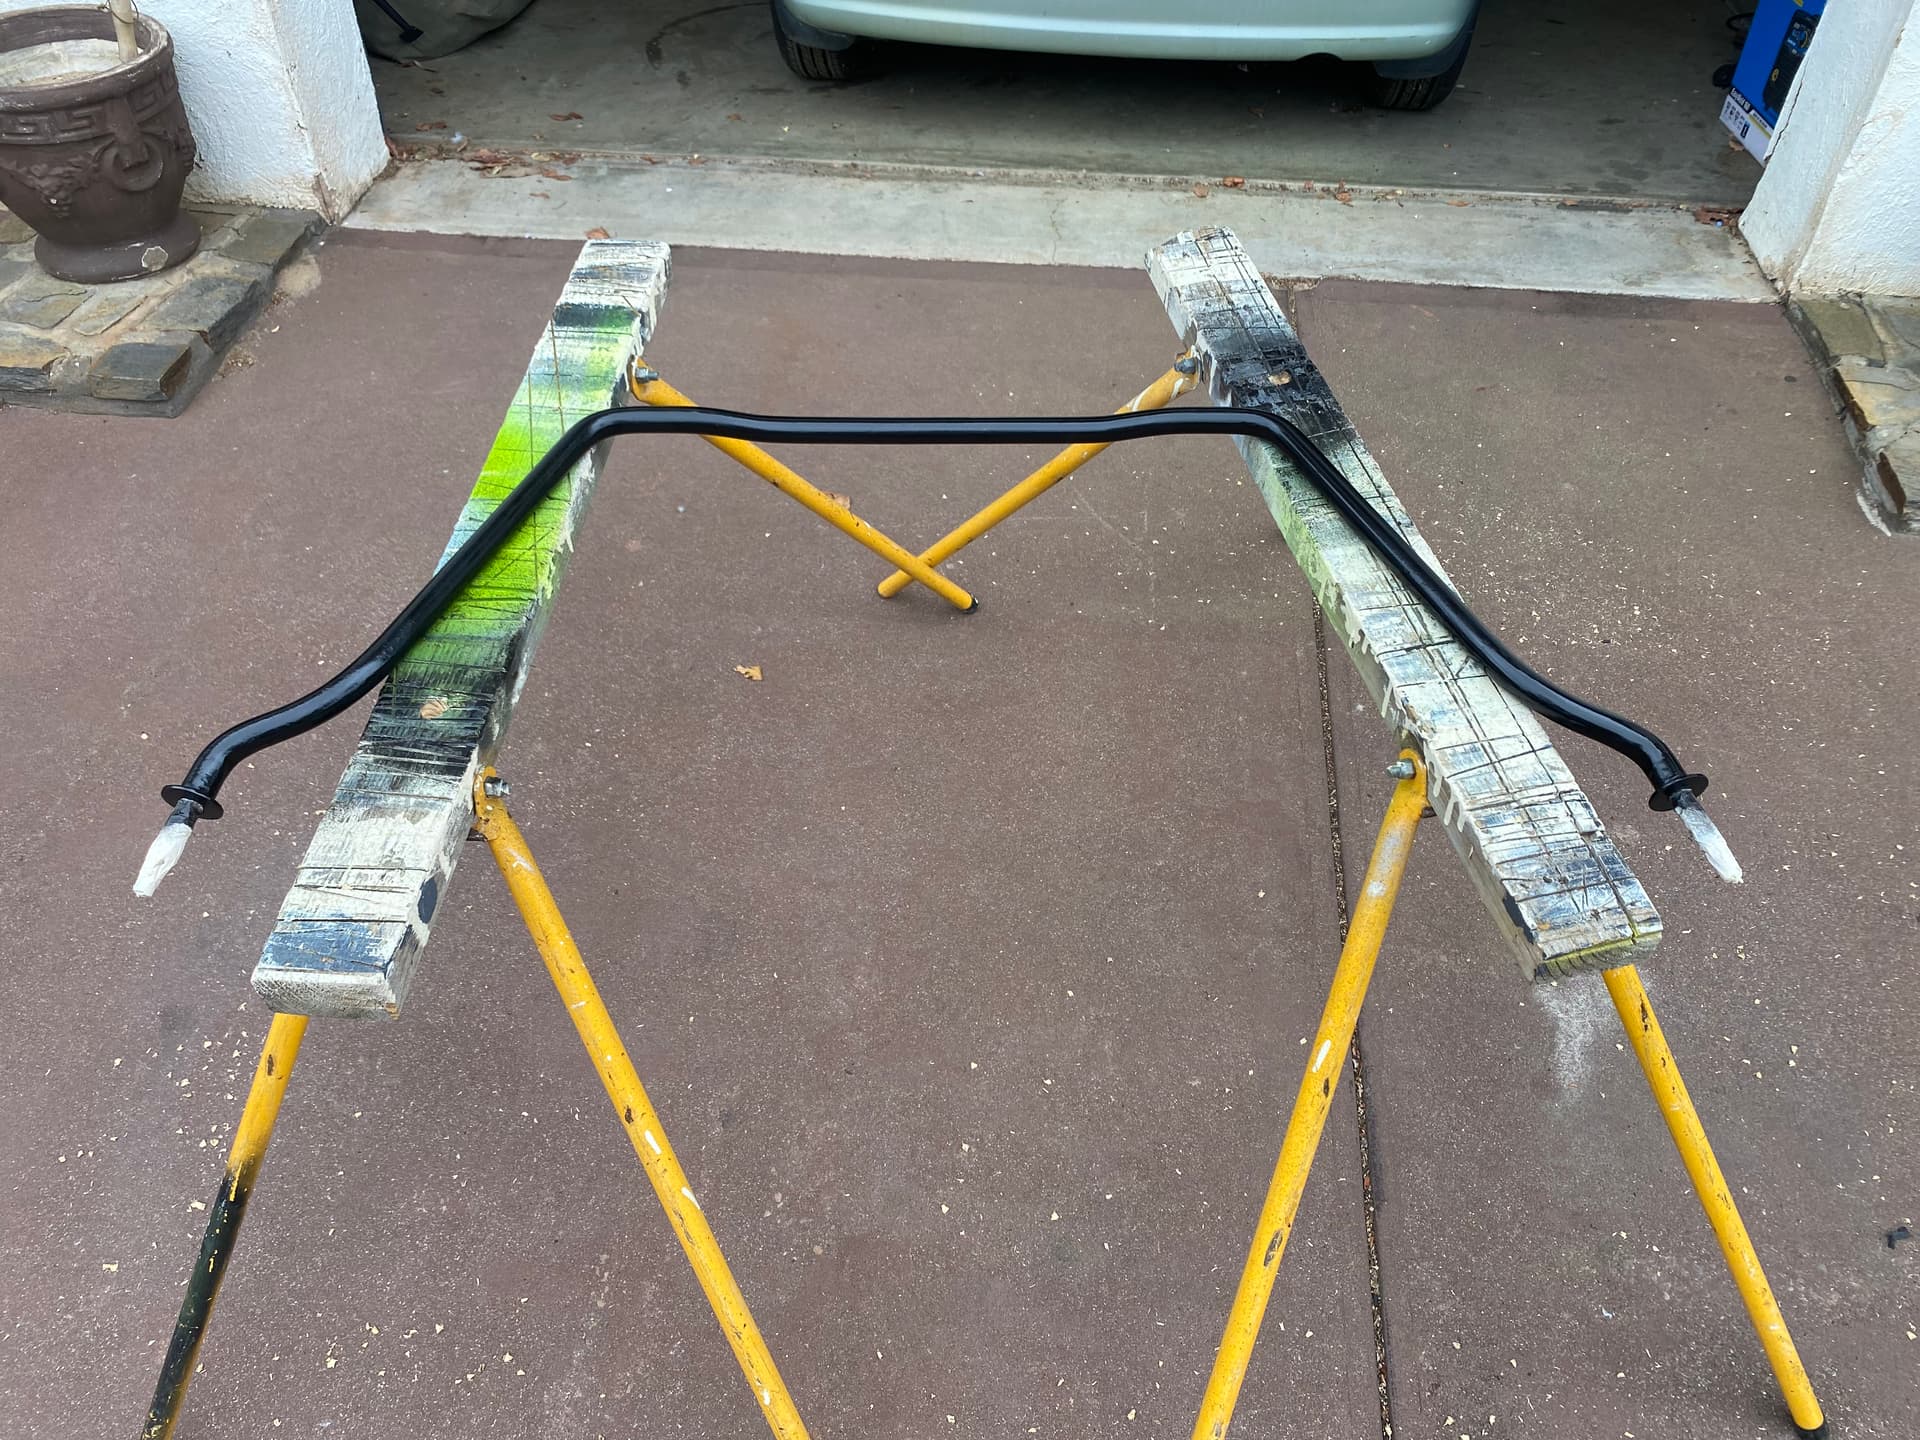
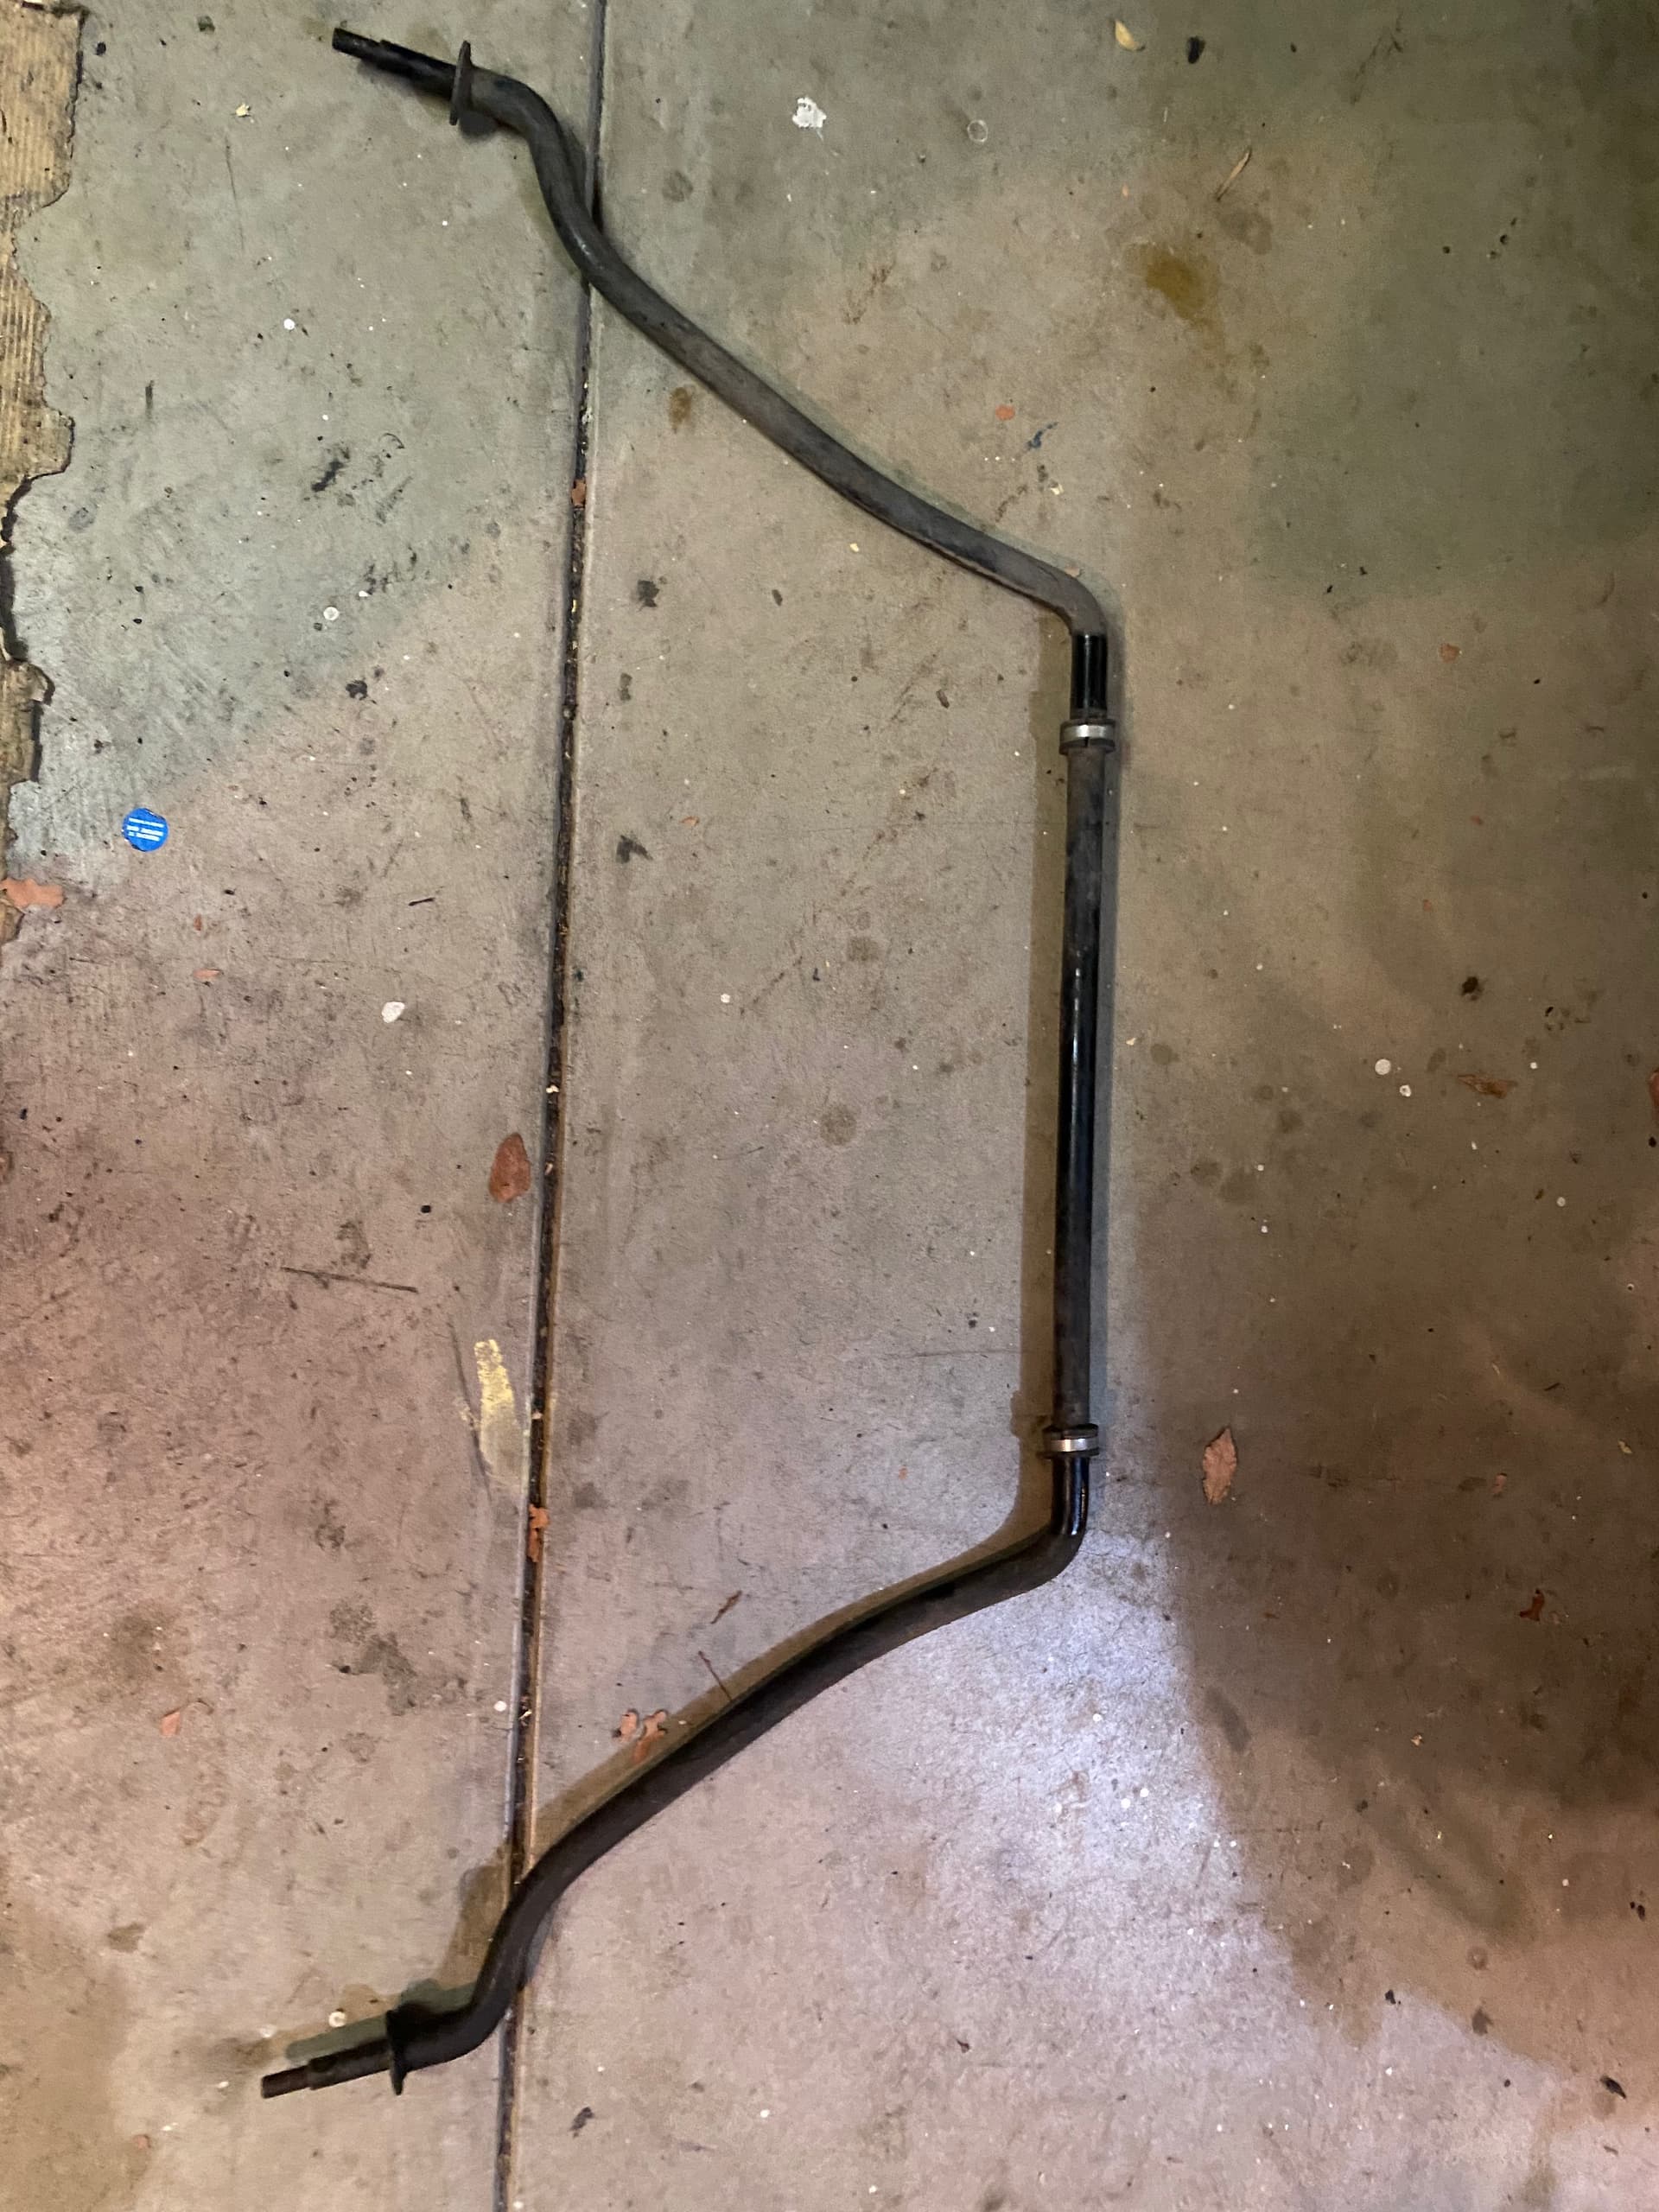
Spiffy new copen sway bar to correct the front end. Was using a ratchet strapped gtvi sway bar. This is a perfect fit.
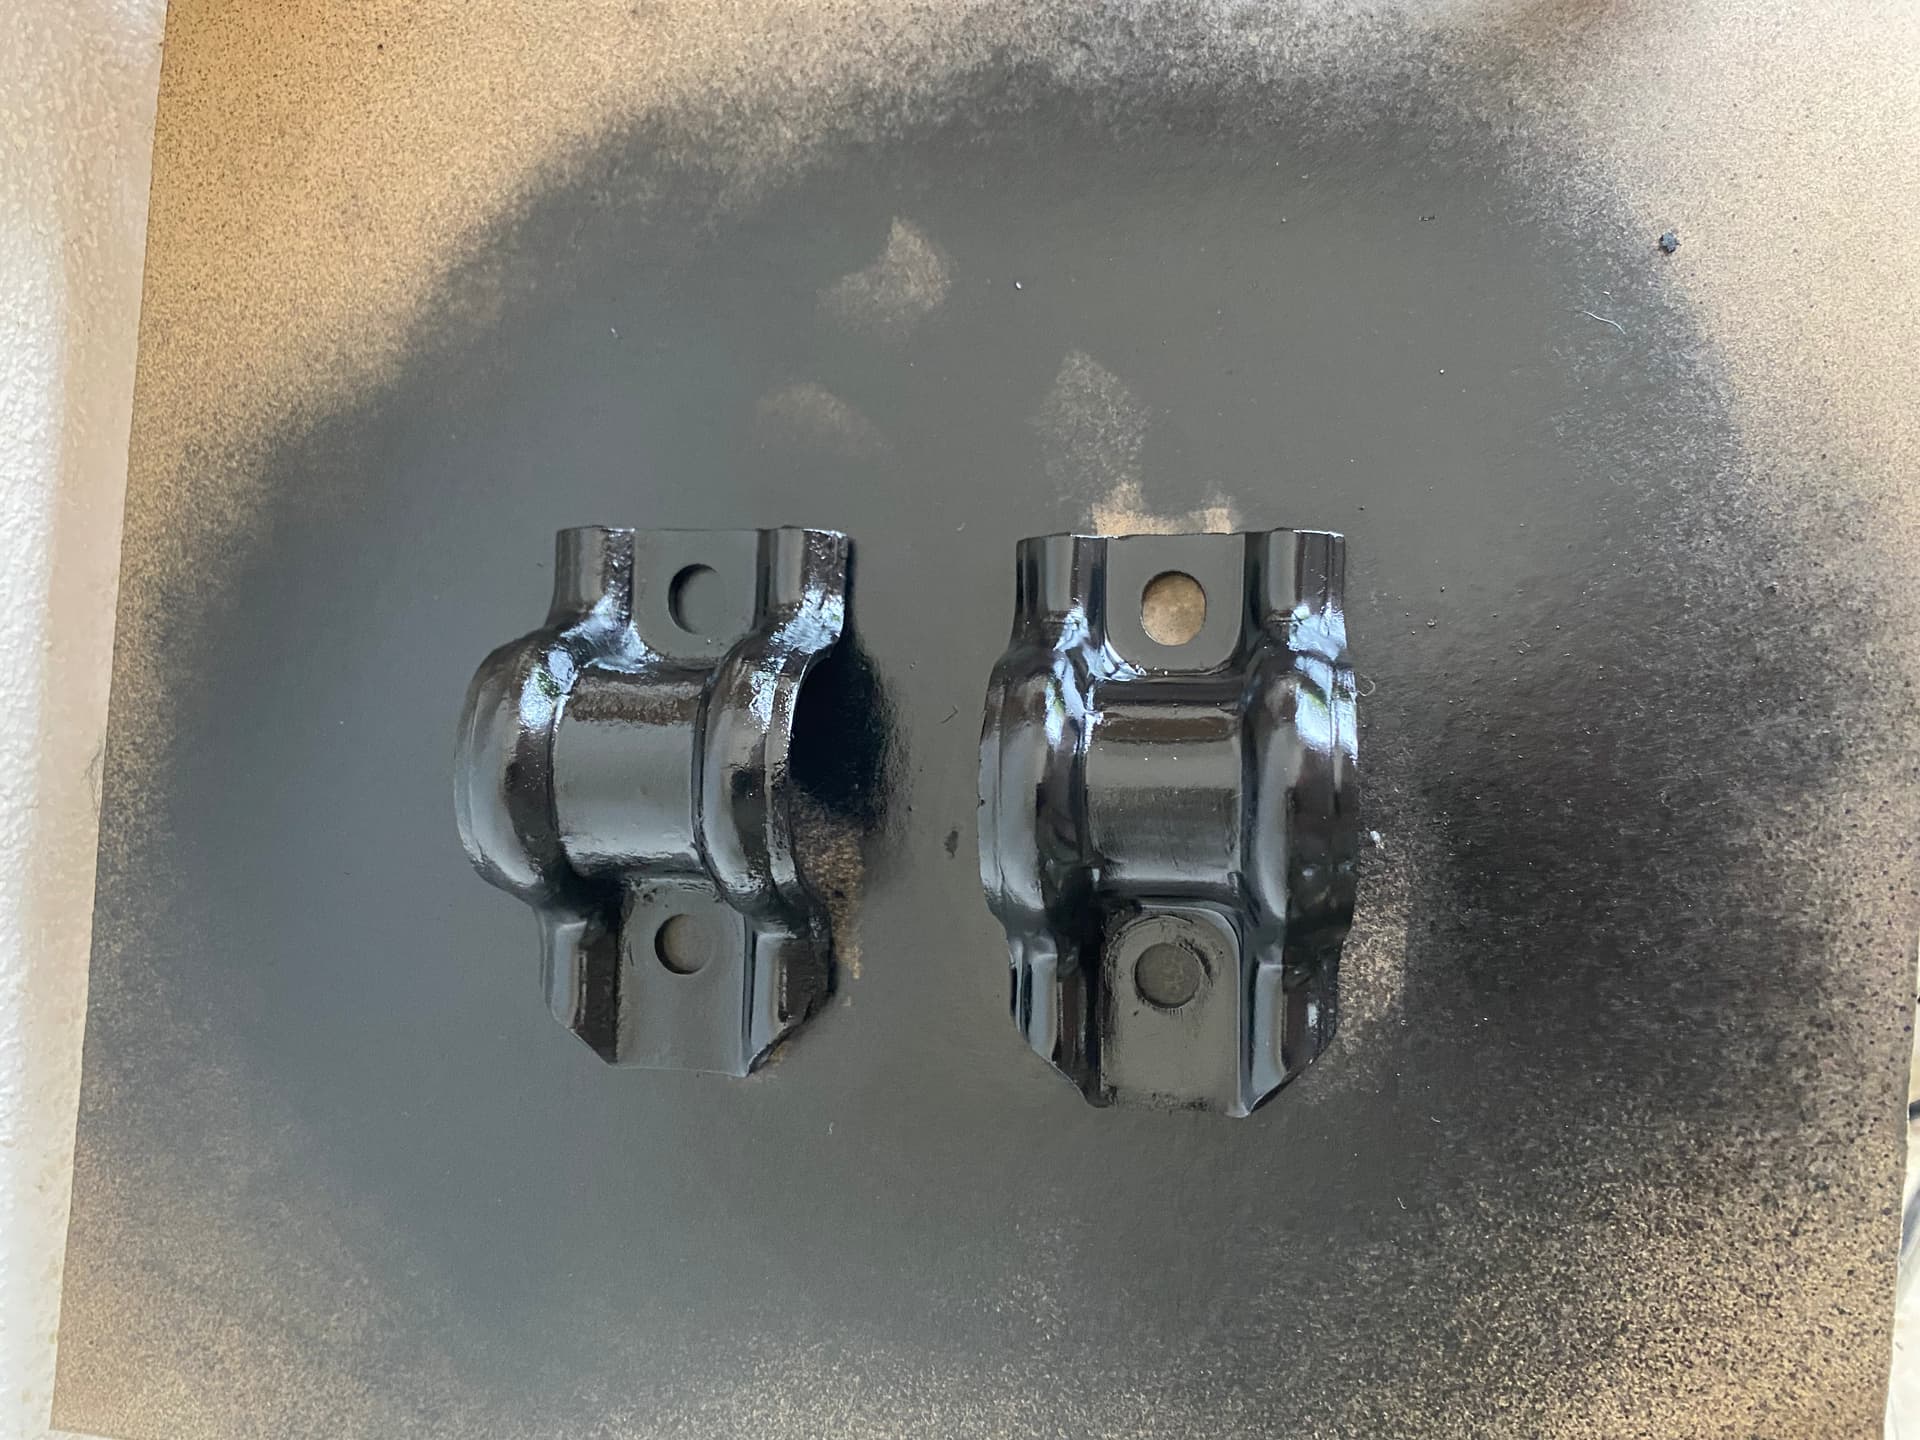
Gave them a clean up, rust proof and paint.
Come up looking better.
In she goes.
7 Likes
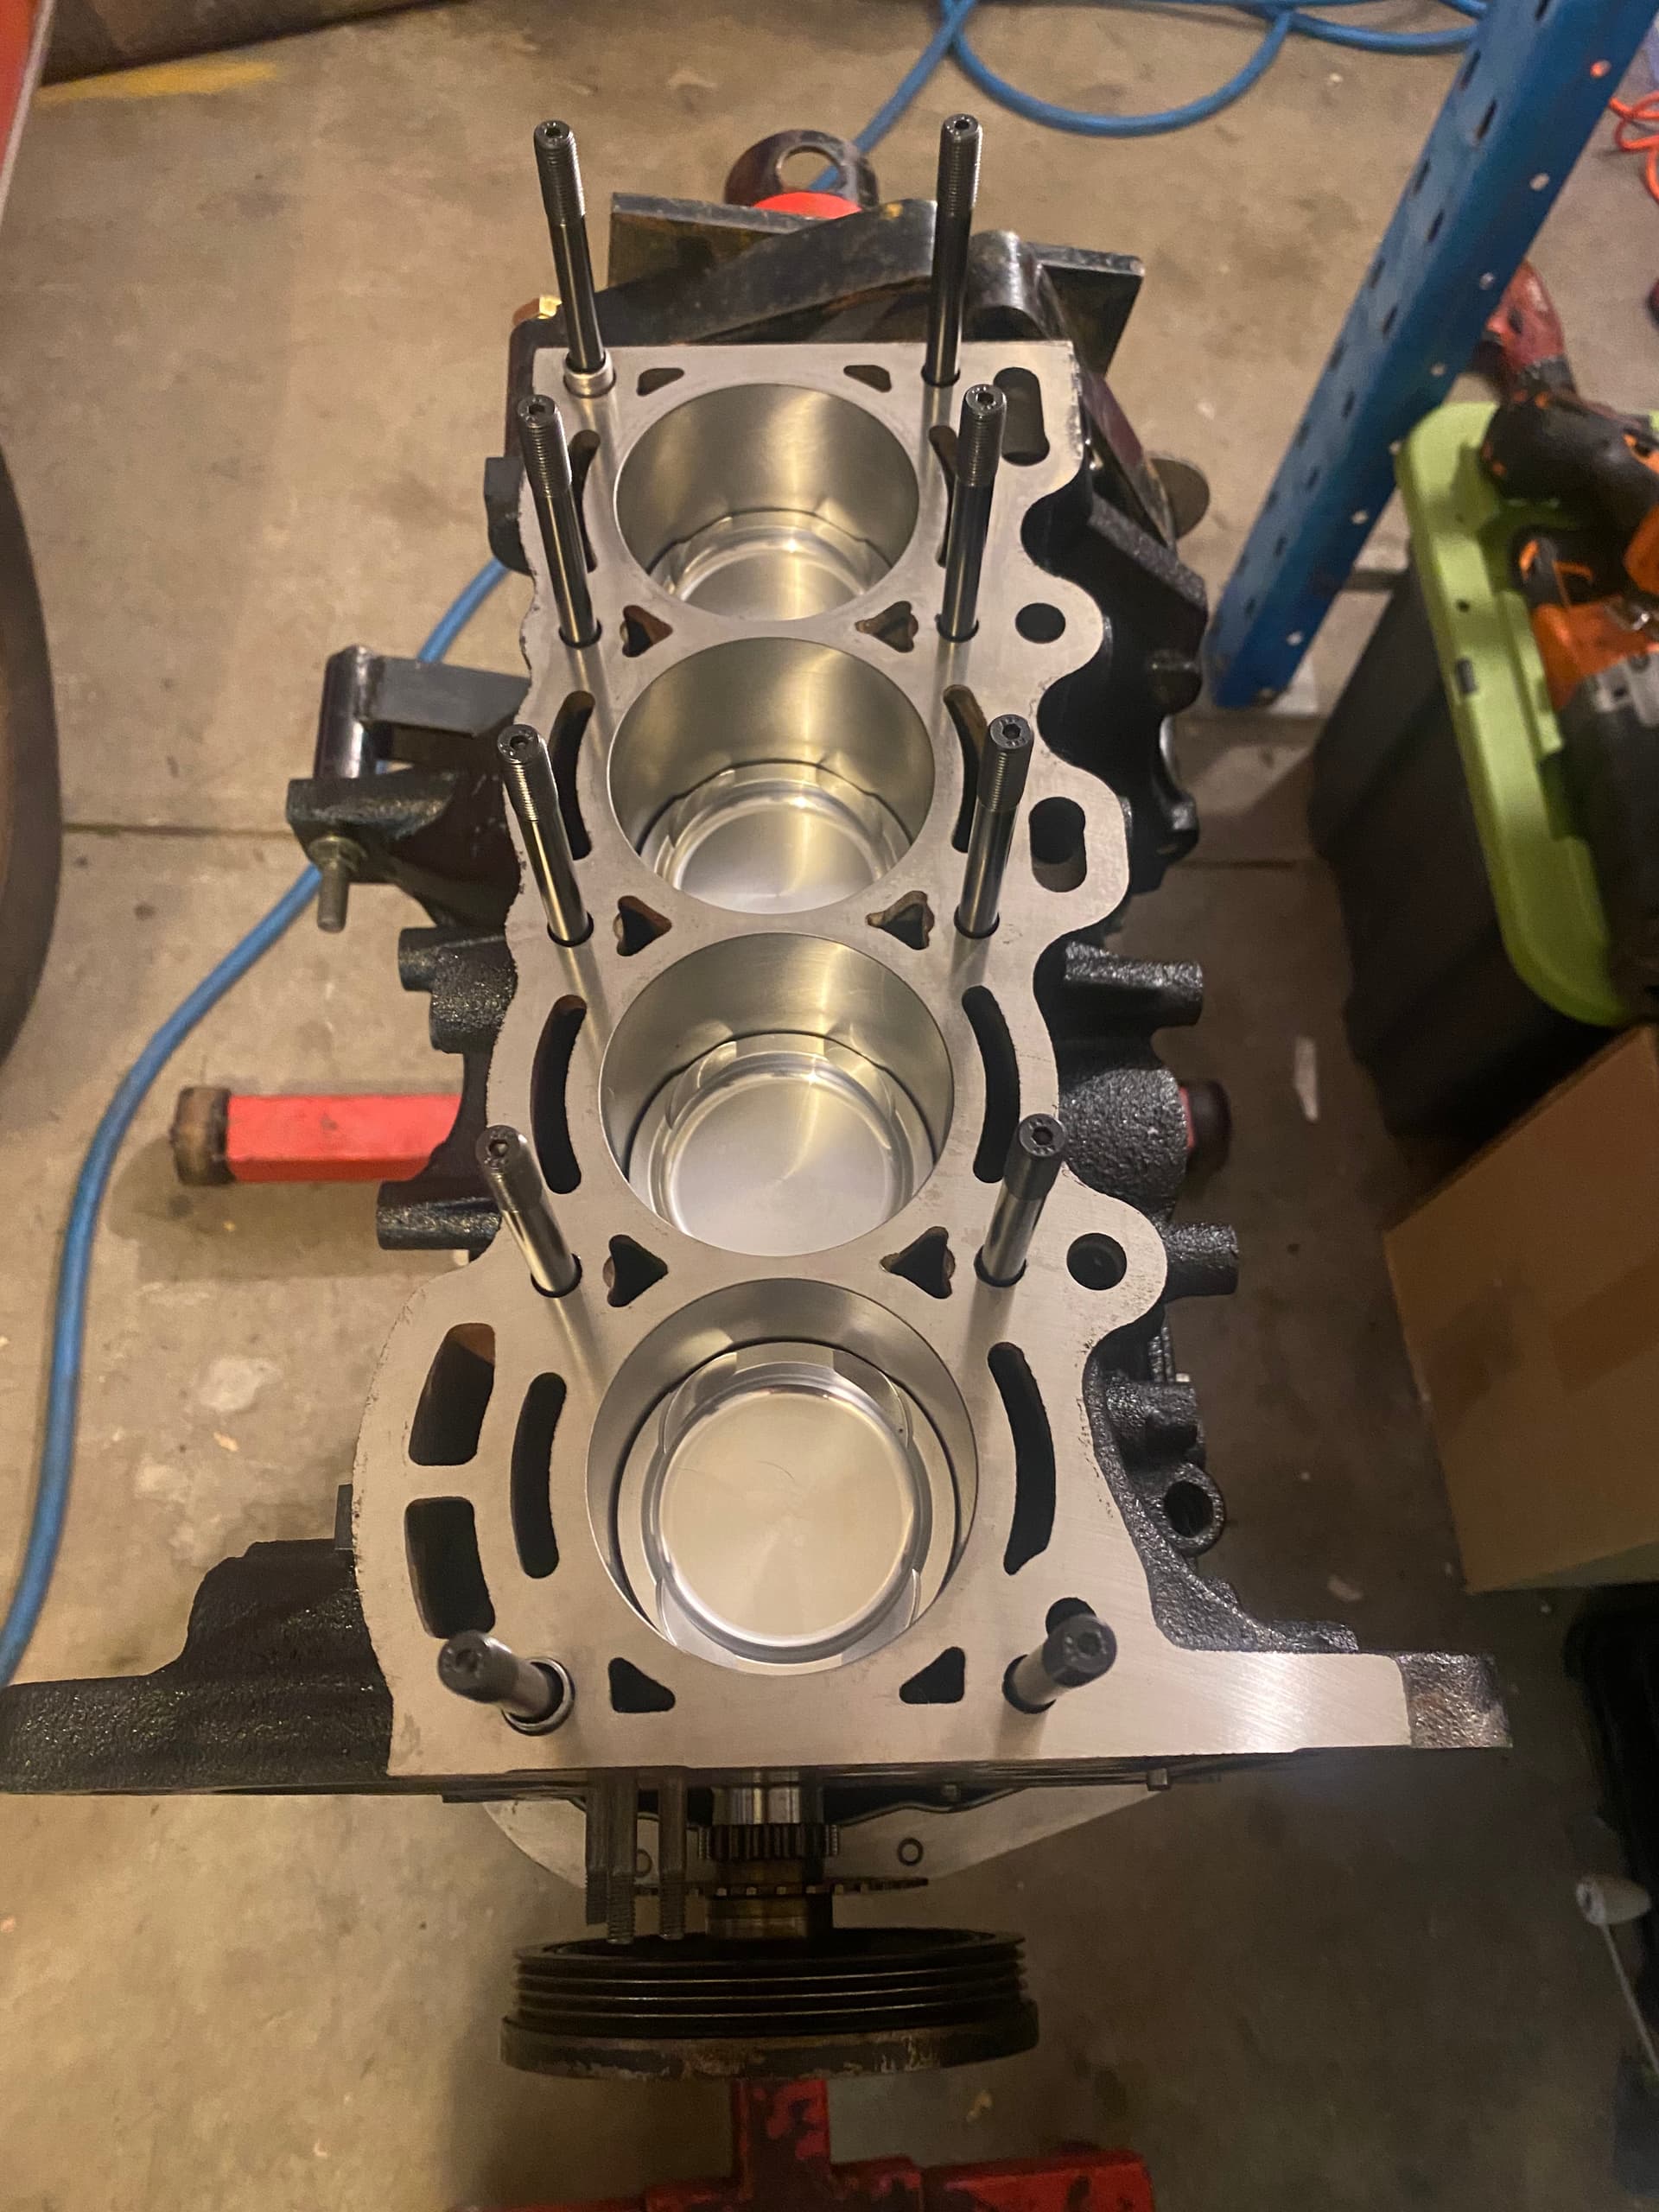
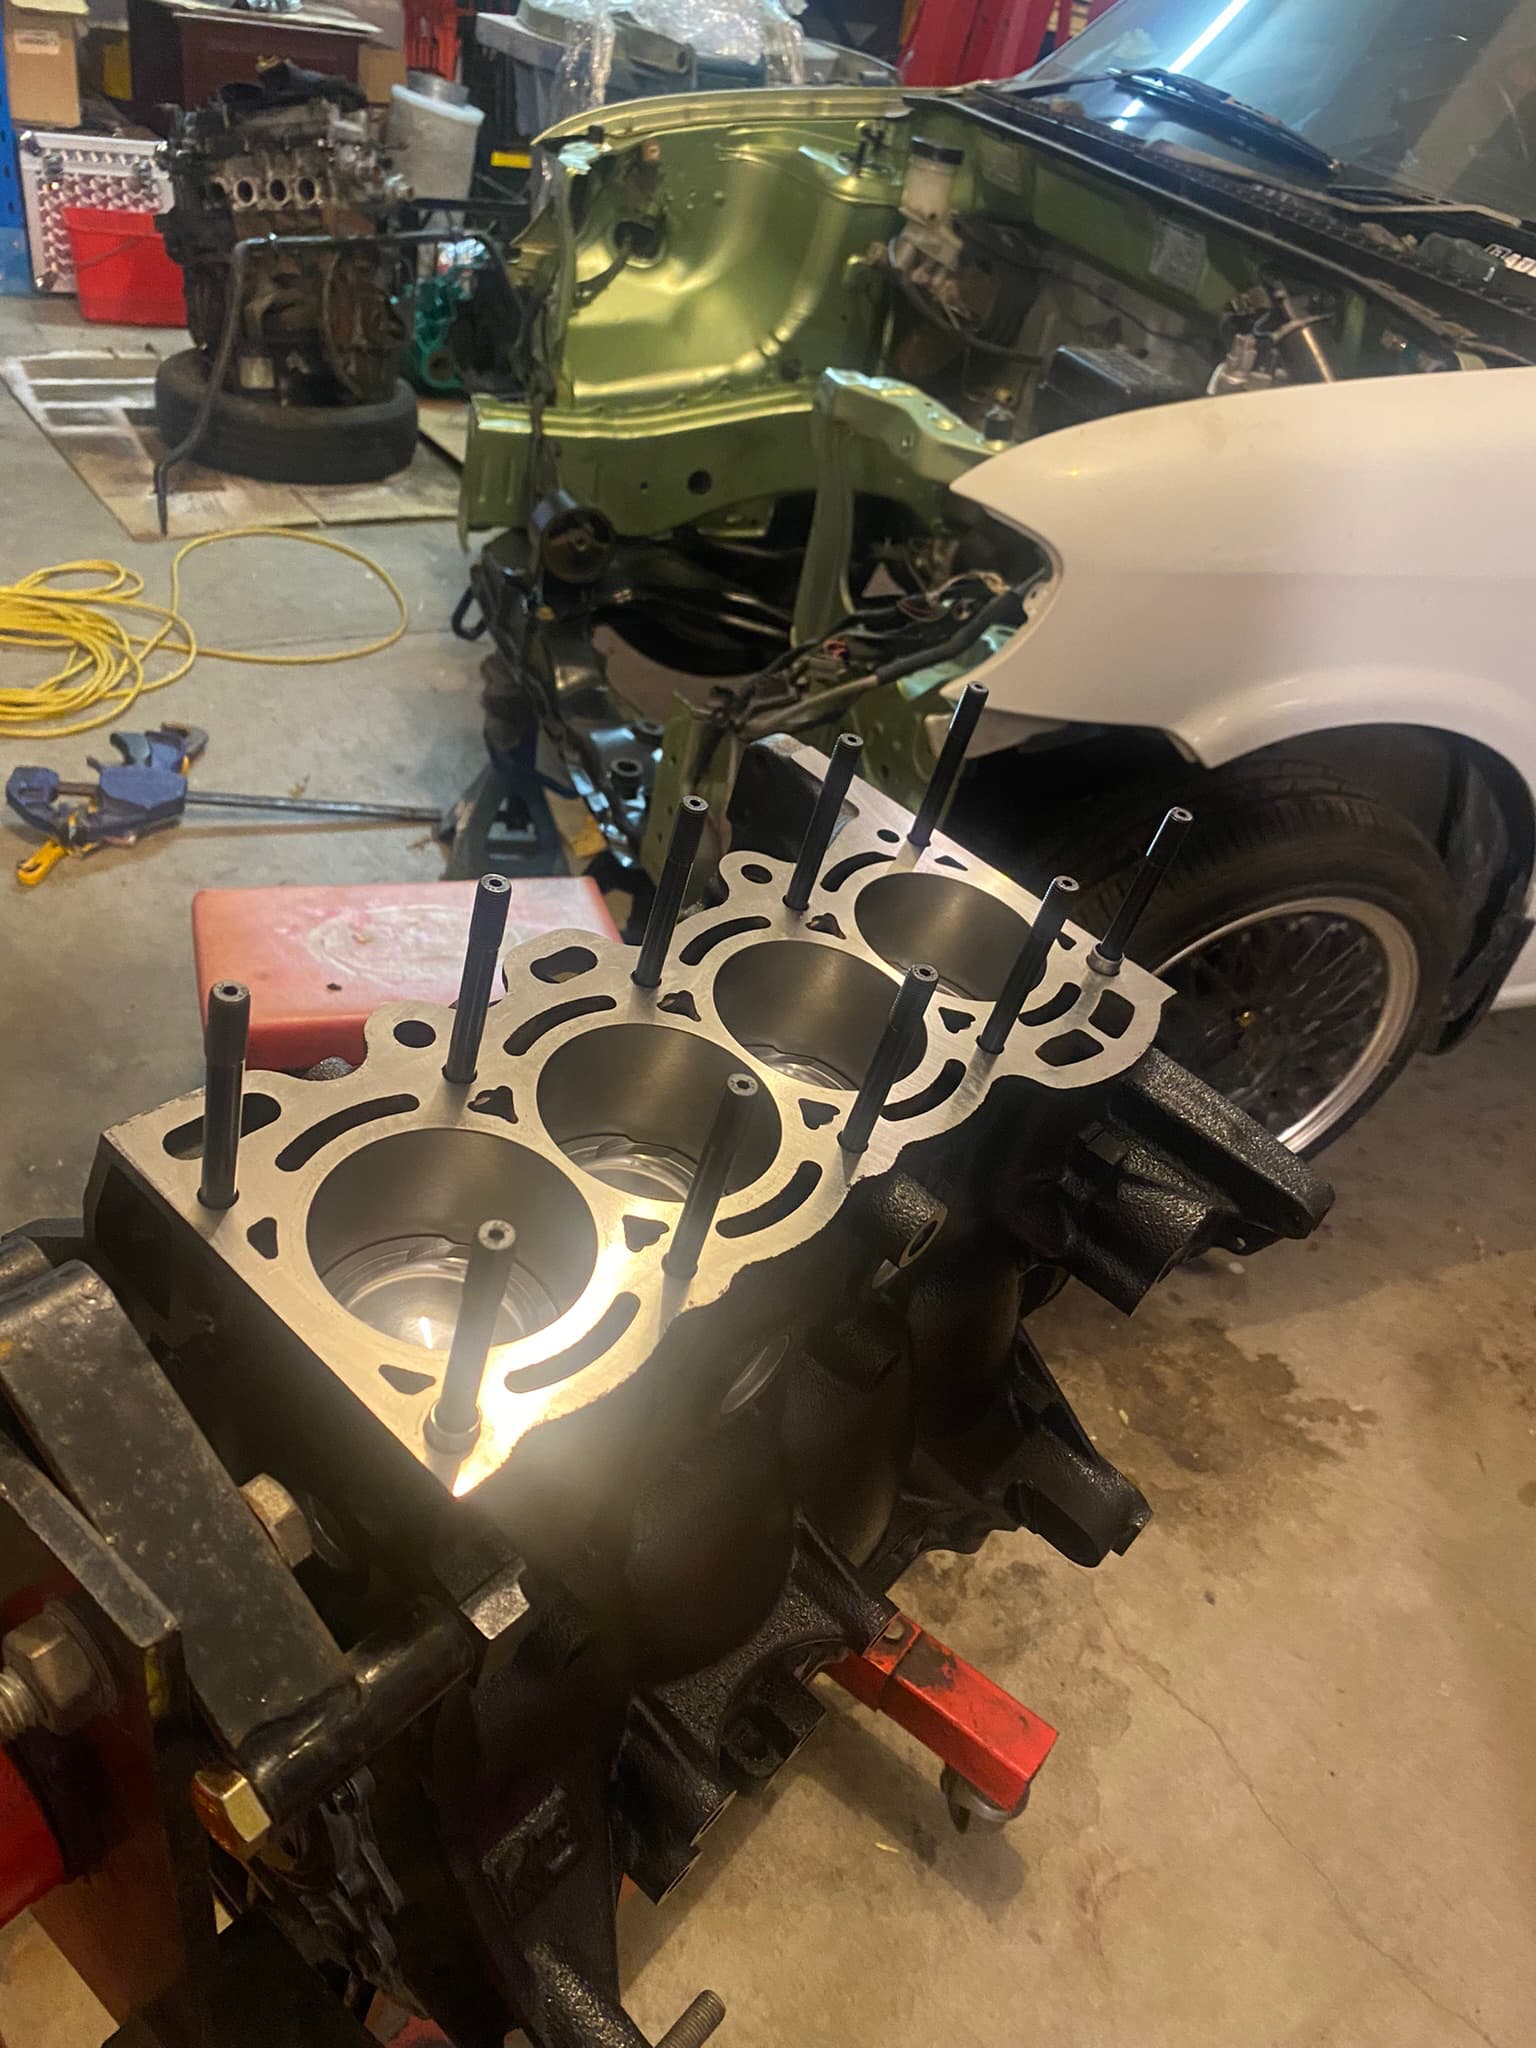
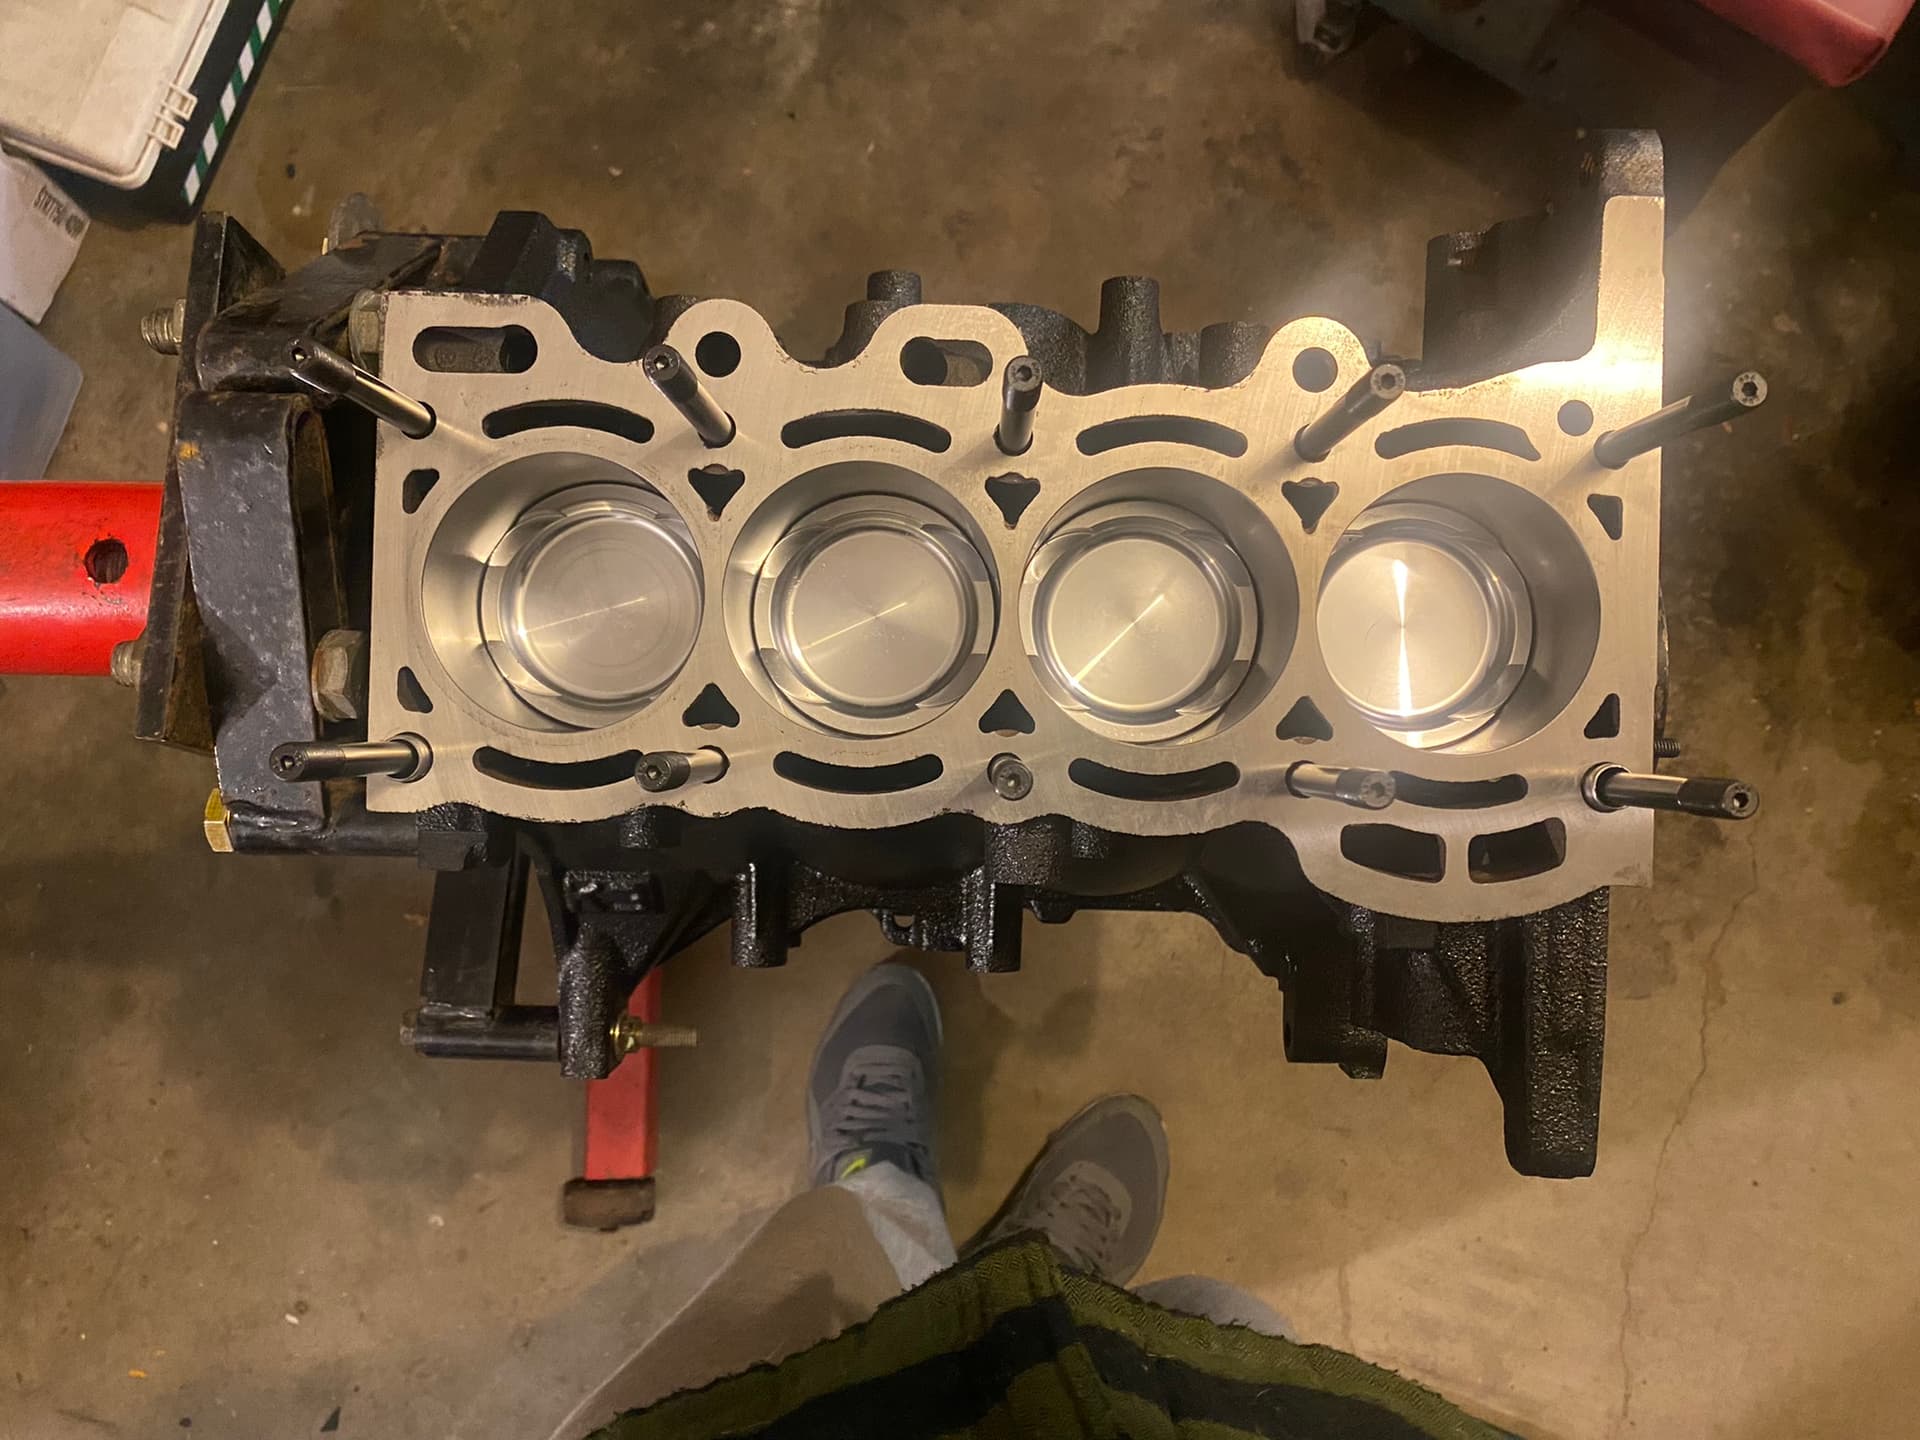
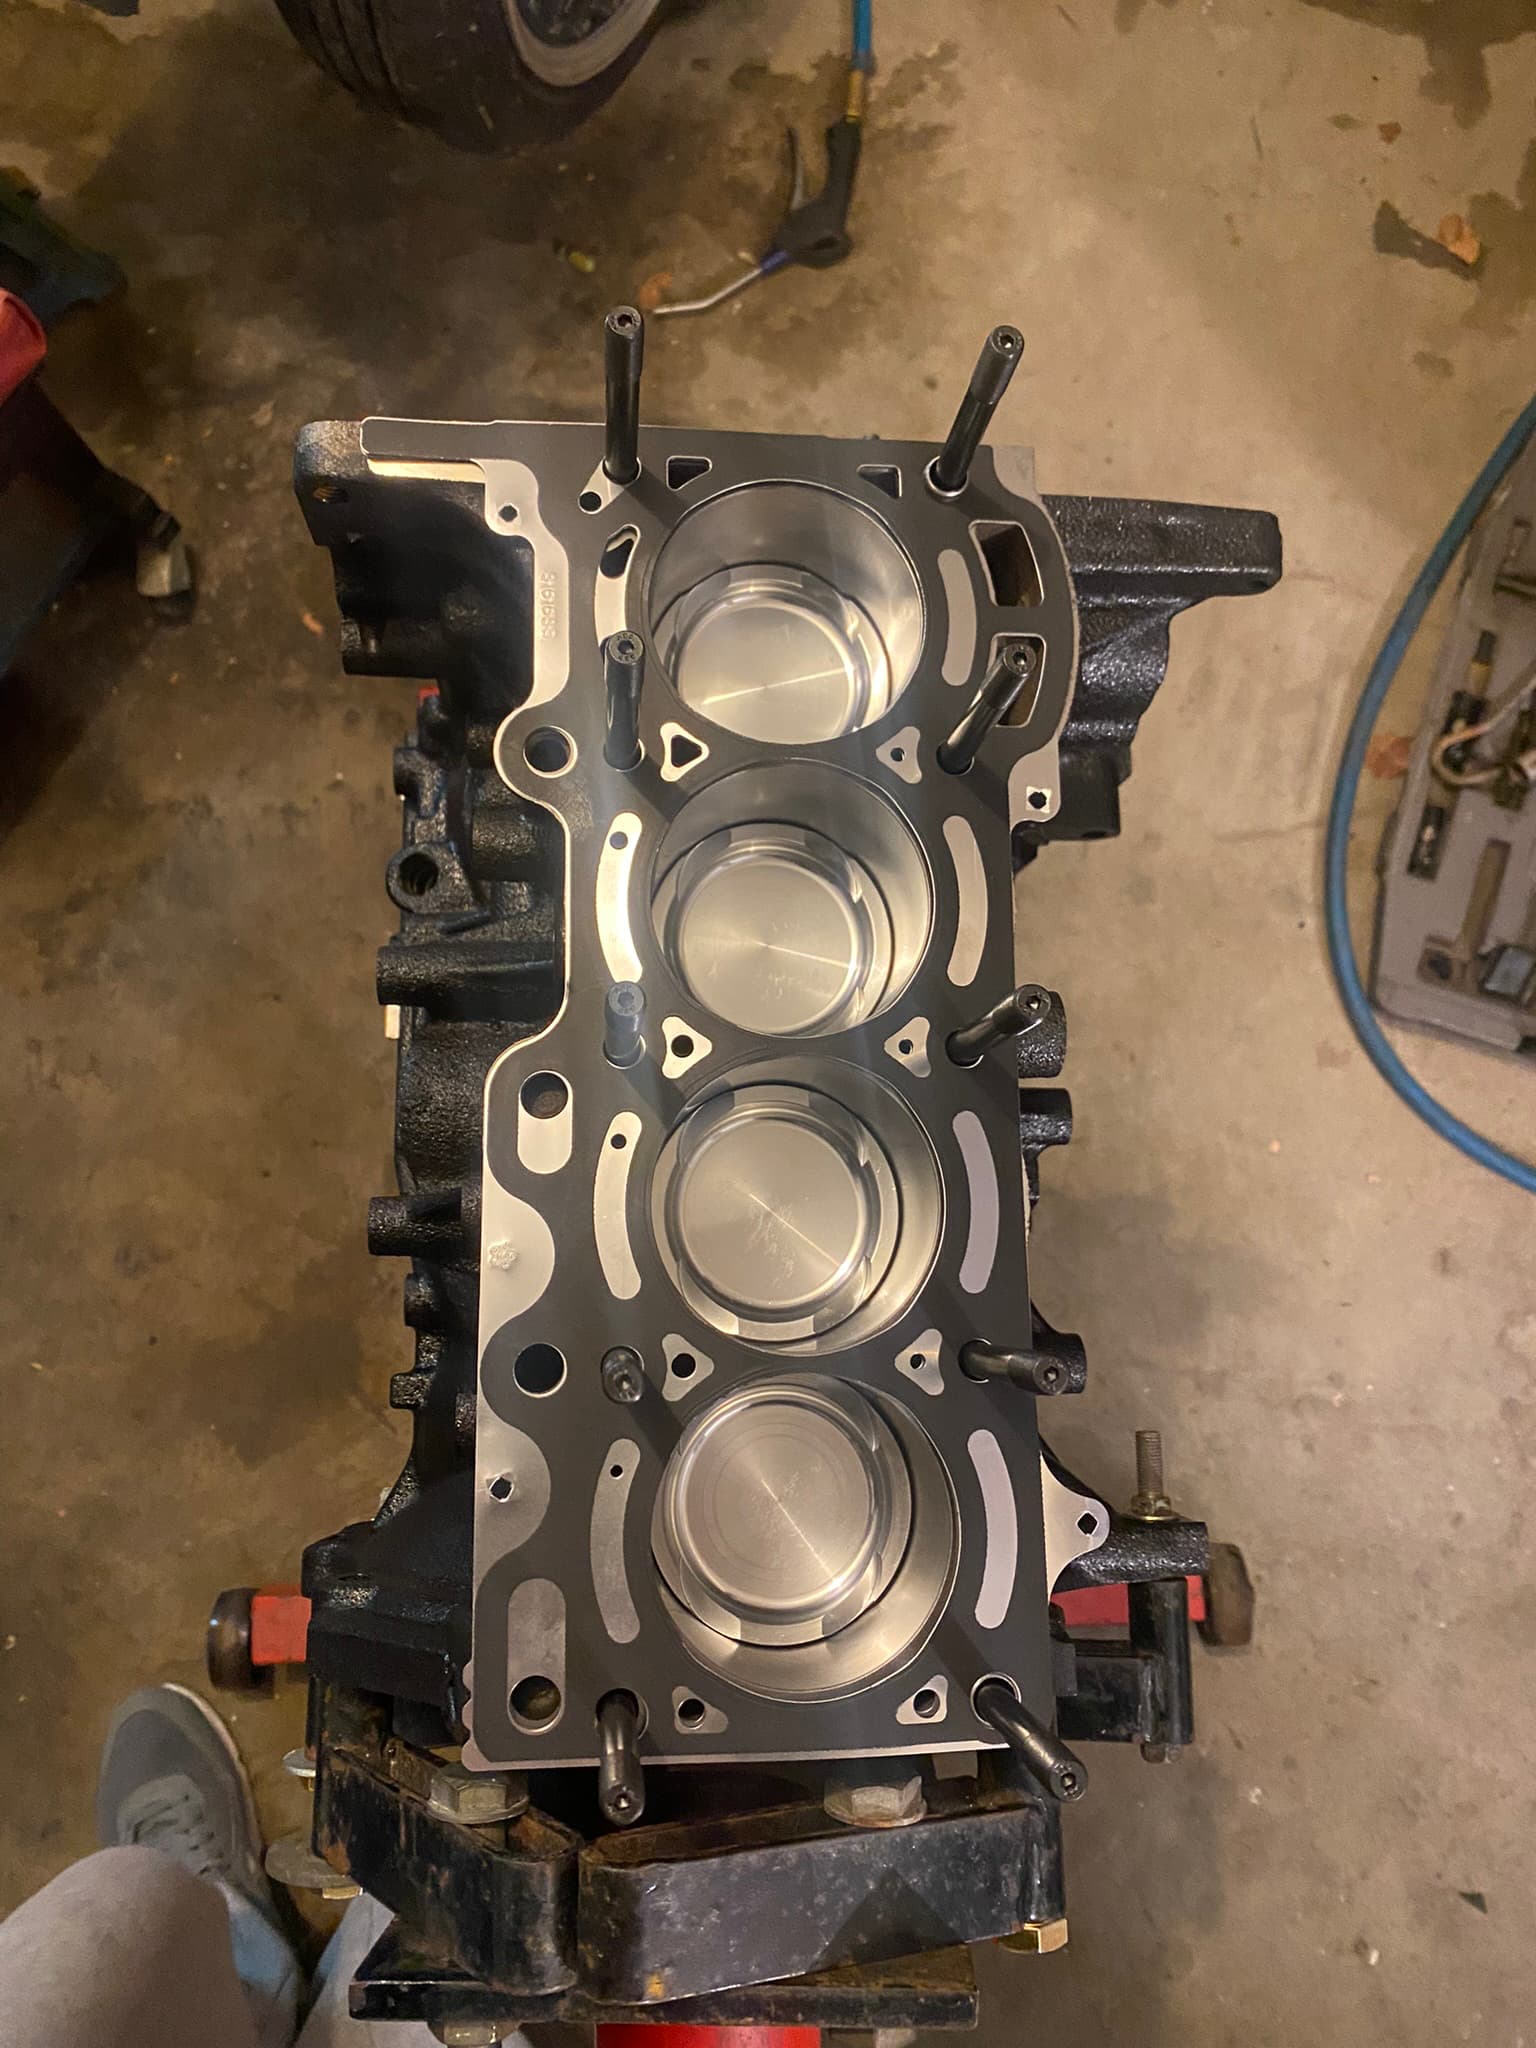
Finally got my custom ARP head studs from USA and OSK timing kit from Japan.
Cracked out the permaseal complete rebuild kit and it’s time to start assembling the motor.
Have some pics
2 Likes