From my expirence such small differences dont really matter. But the car is very small and light so every little bit could make a difference.
The problem youre having seems a tyre problem.
Switch the wheels/tyres from left to right, both on the front and back, see if this makes a difference.
Ill post a pic of my alligment so you can get an idea of what works. I have no problems whatso ever with pulling or so.
Slightly slotting the tops of the strut towers and elongate the top hole on the strut leg. Even adjusting by loosening bolts/nuts and pushing in the desired direction can net some improvement.
Today i tried swapping the wheels around (front to rear, left to right and everything in between), but without any effect.
Luckily my uncle offered to help. After a lot of brainstorming and measuring we noticed that the center to center between the front and rear wheels is 5mm shorter on the right. Shouldn’t matter and it didn’t.
Using a few washers we managed to put the front left wheel back about as much. But also no result.
Tried putting more toe in on the right. It helped a little under certain conditions but when acceleration it still sucks just as bad.
Then my uncle came with the idea of load testing the control arm bushings. Bushings were good but then he noticed when putting the car in gear that the left wheel is loading up but not the right. Same when staying on the brake while depressing the accelerator a bit.
Seeing as the problem is during acceleration this seems like a very plausible cause. But that would mean there’s something wrong with either the axles or the transmission.
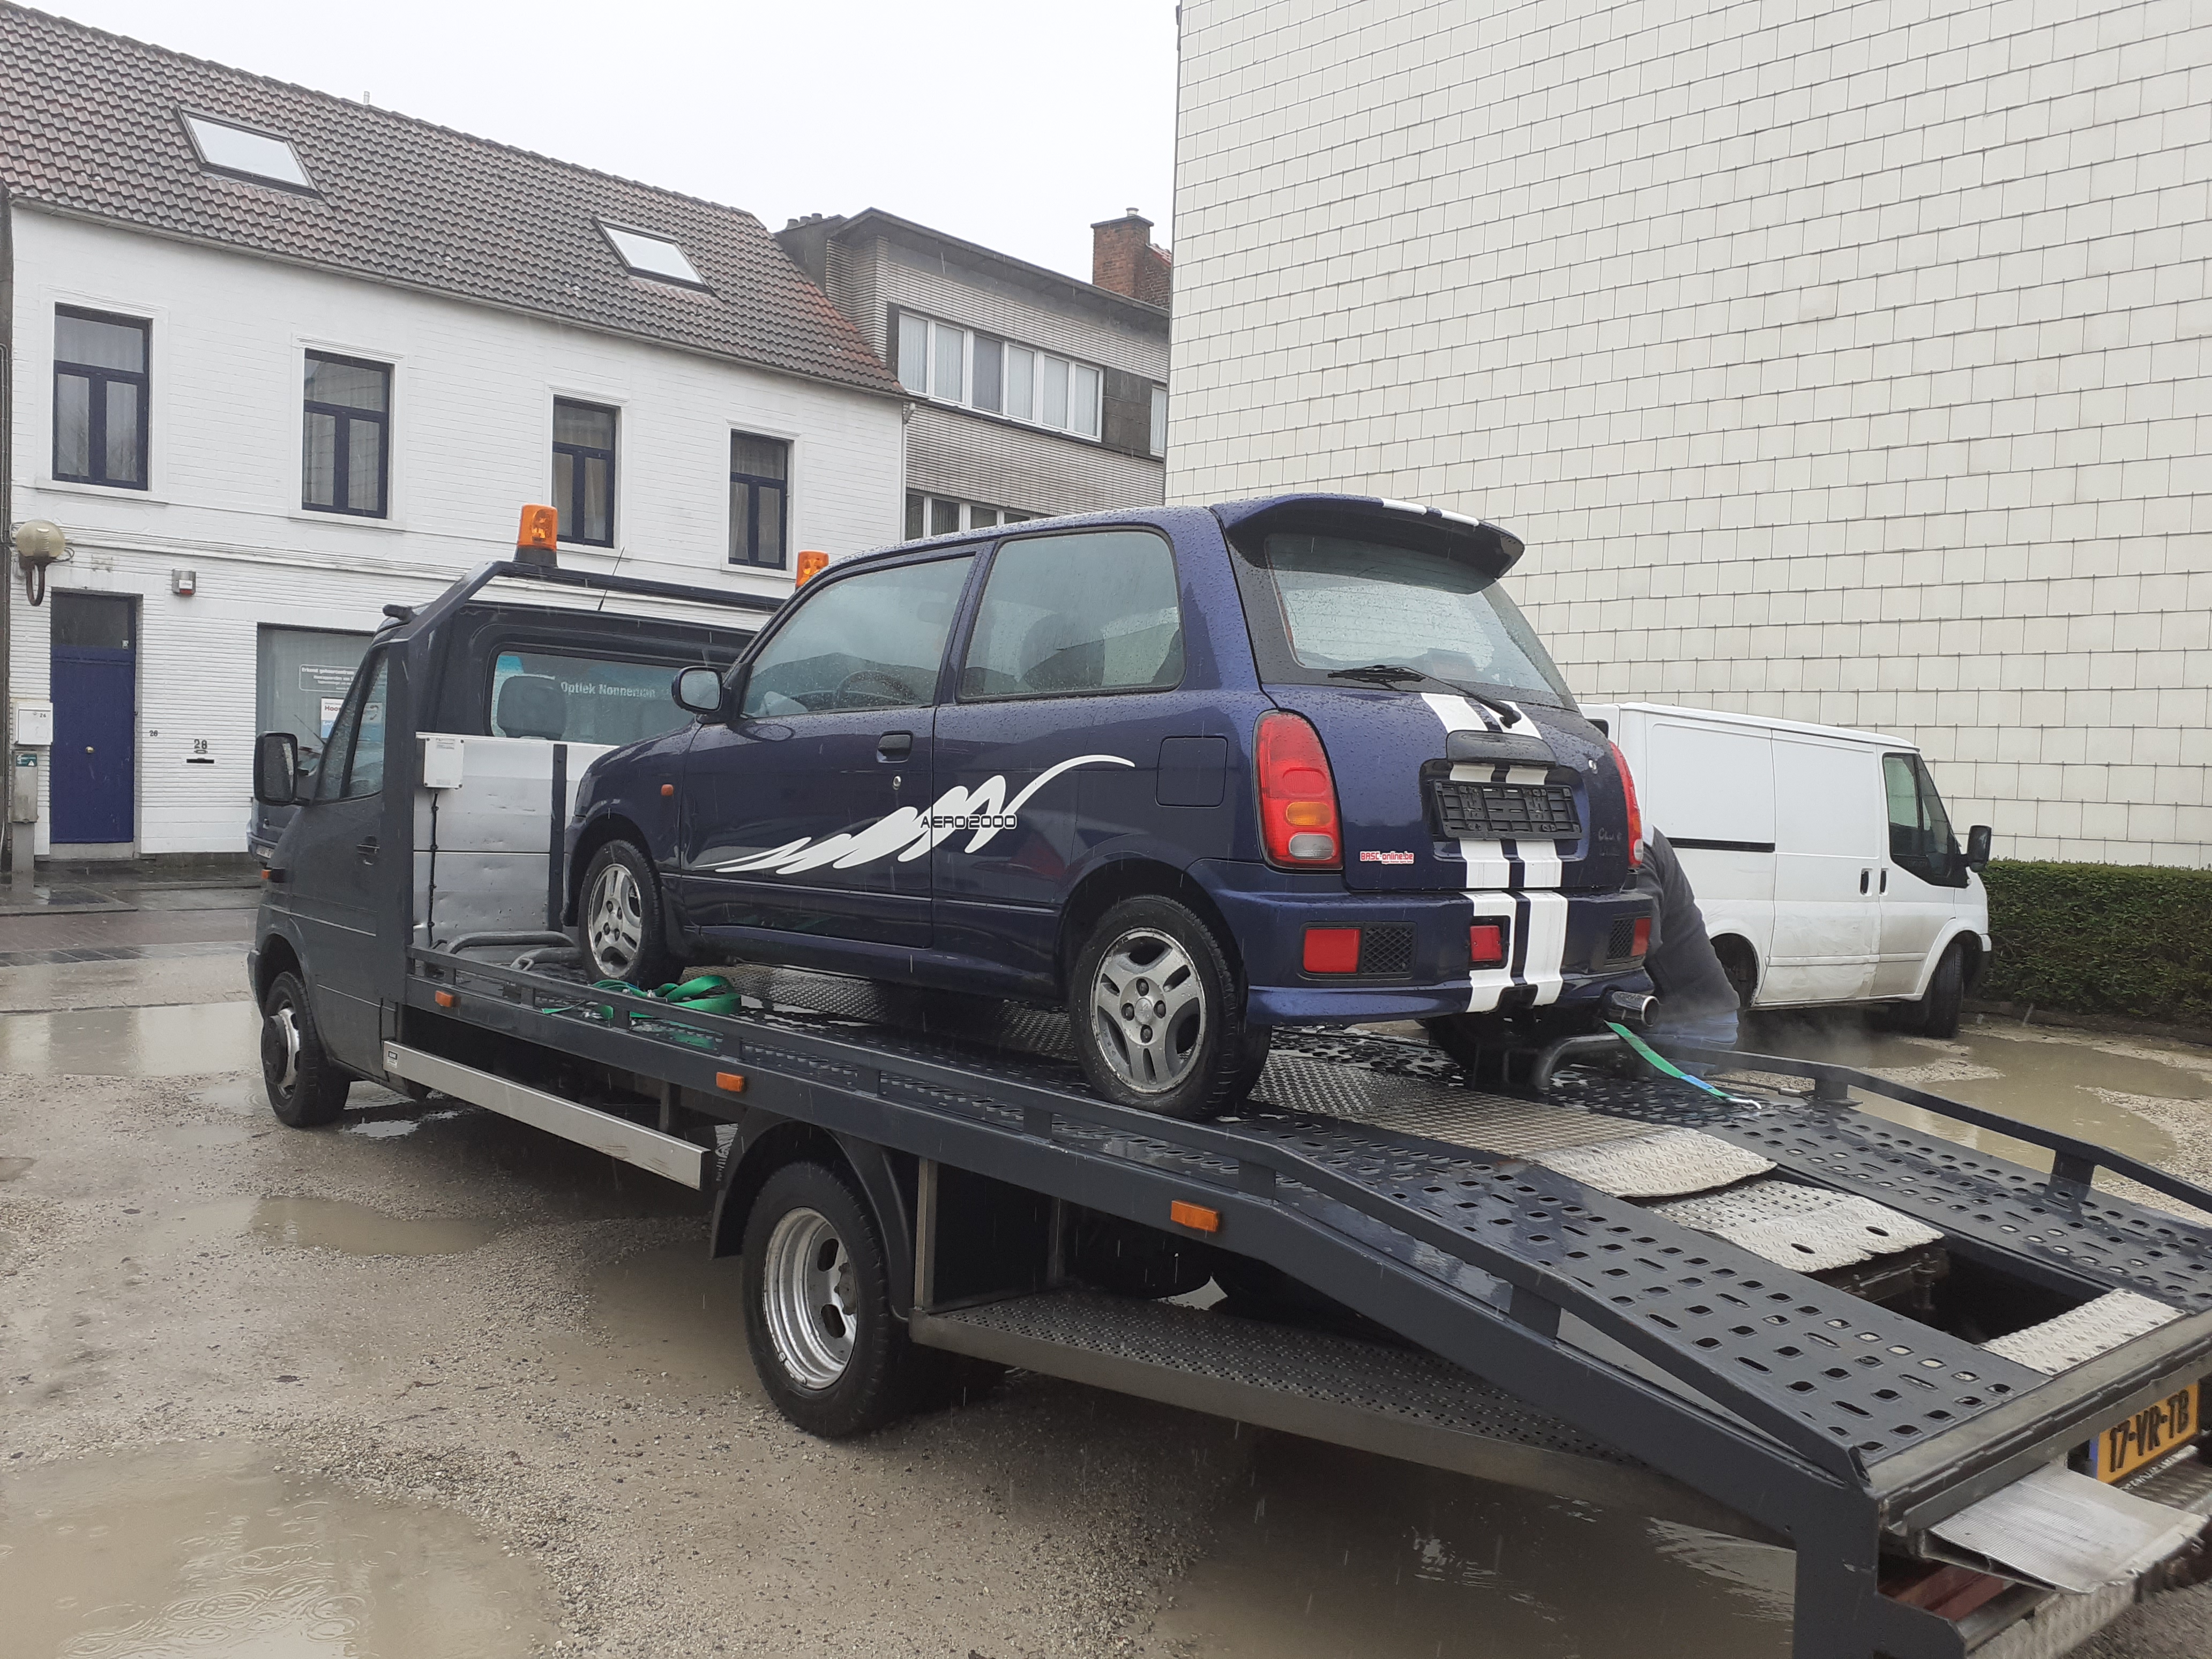
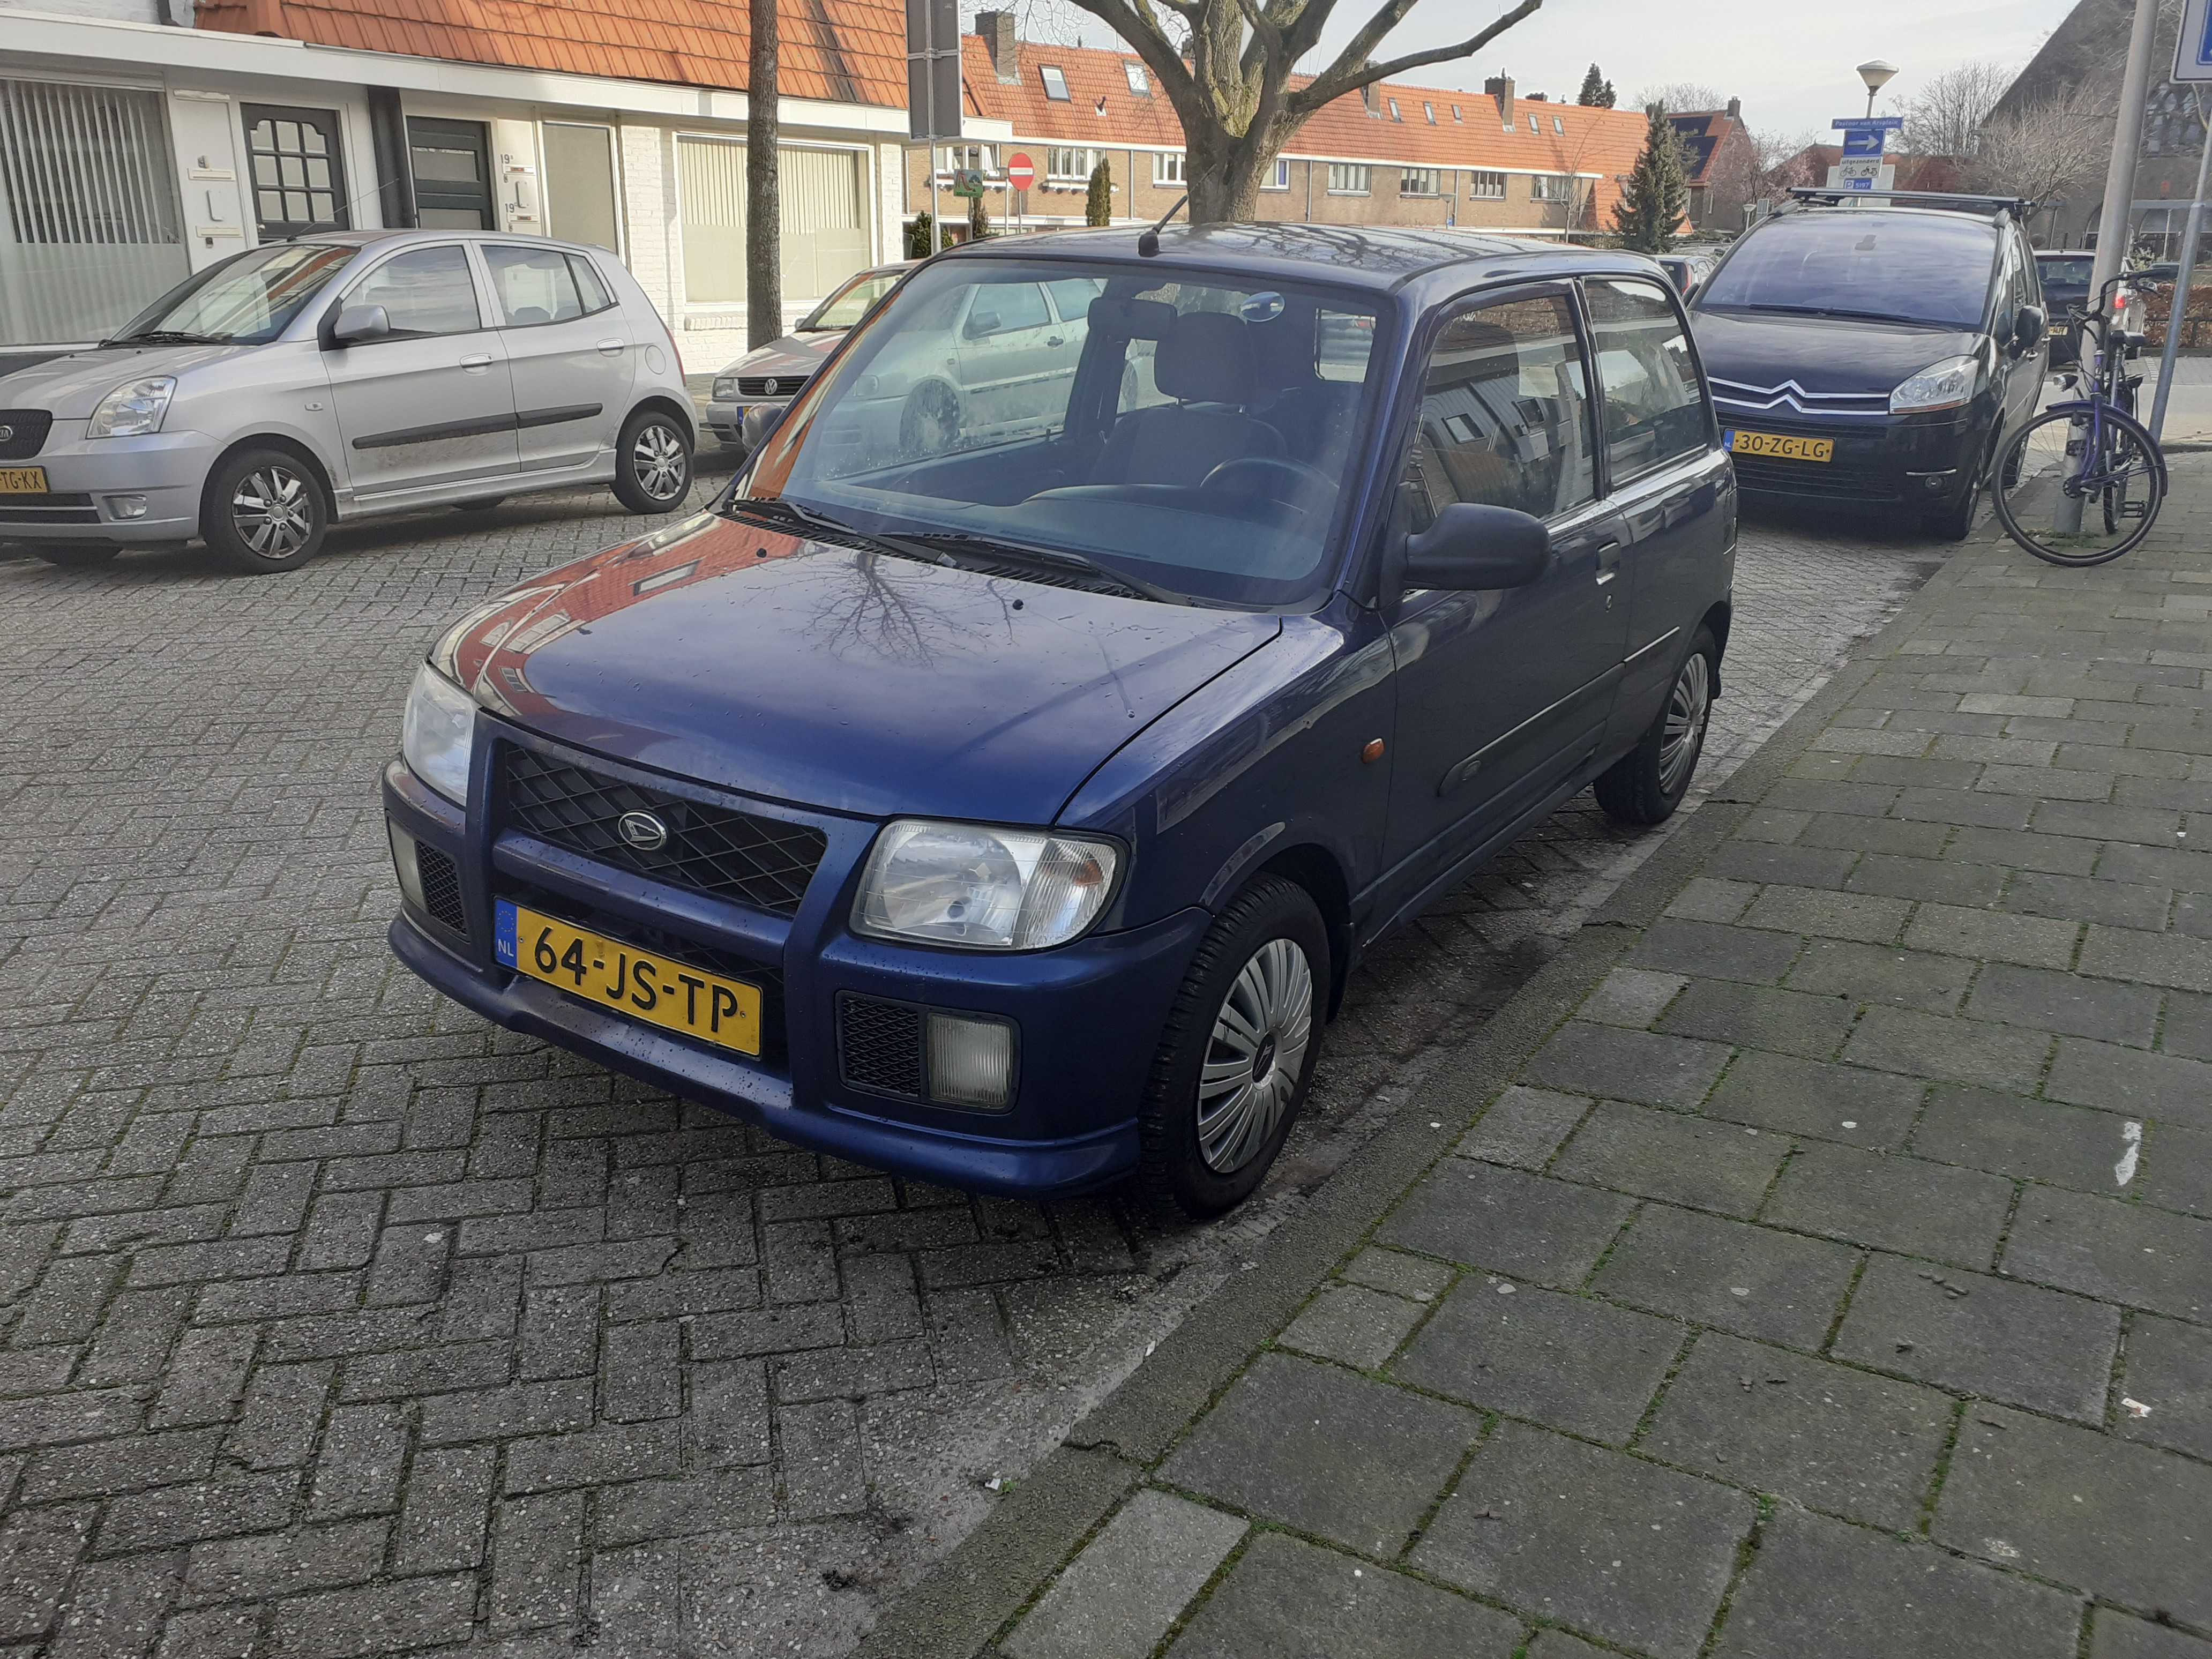
Earlier today i went to belgium and picked up a little unicorn.
The clutch is bad and has a few ugly spots. He was asking 350,- euro and paid 250,- for it.
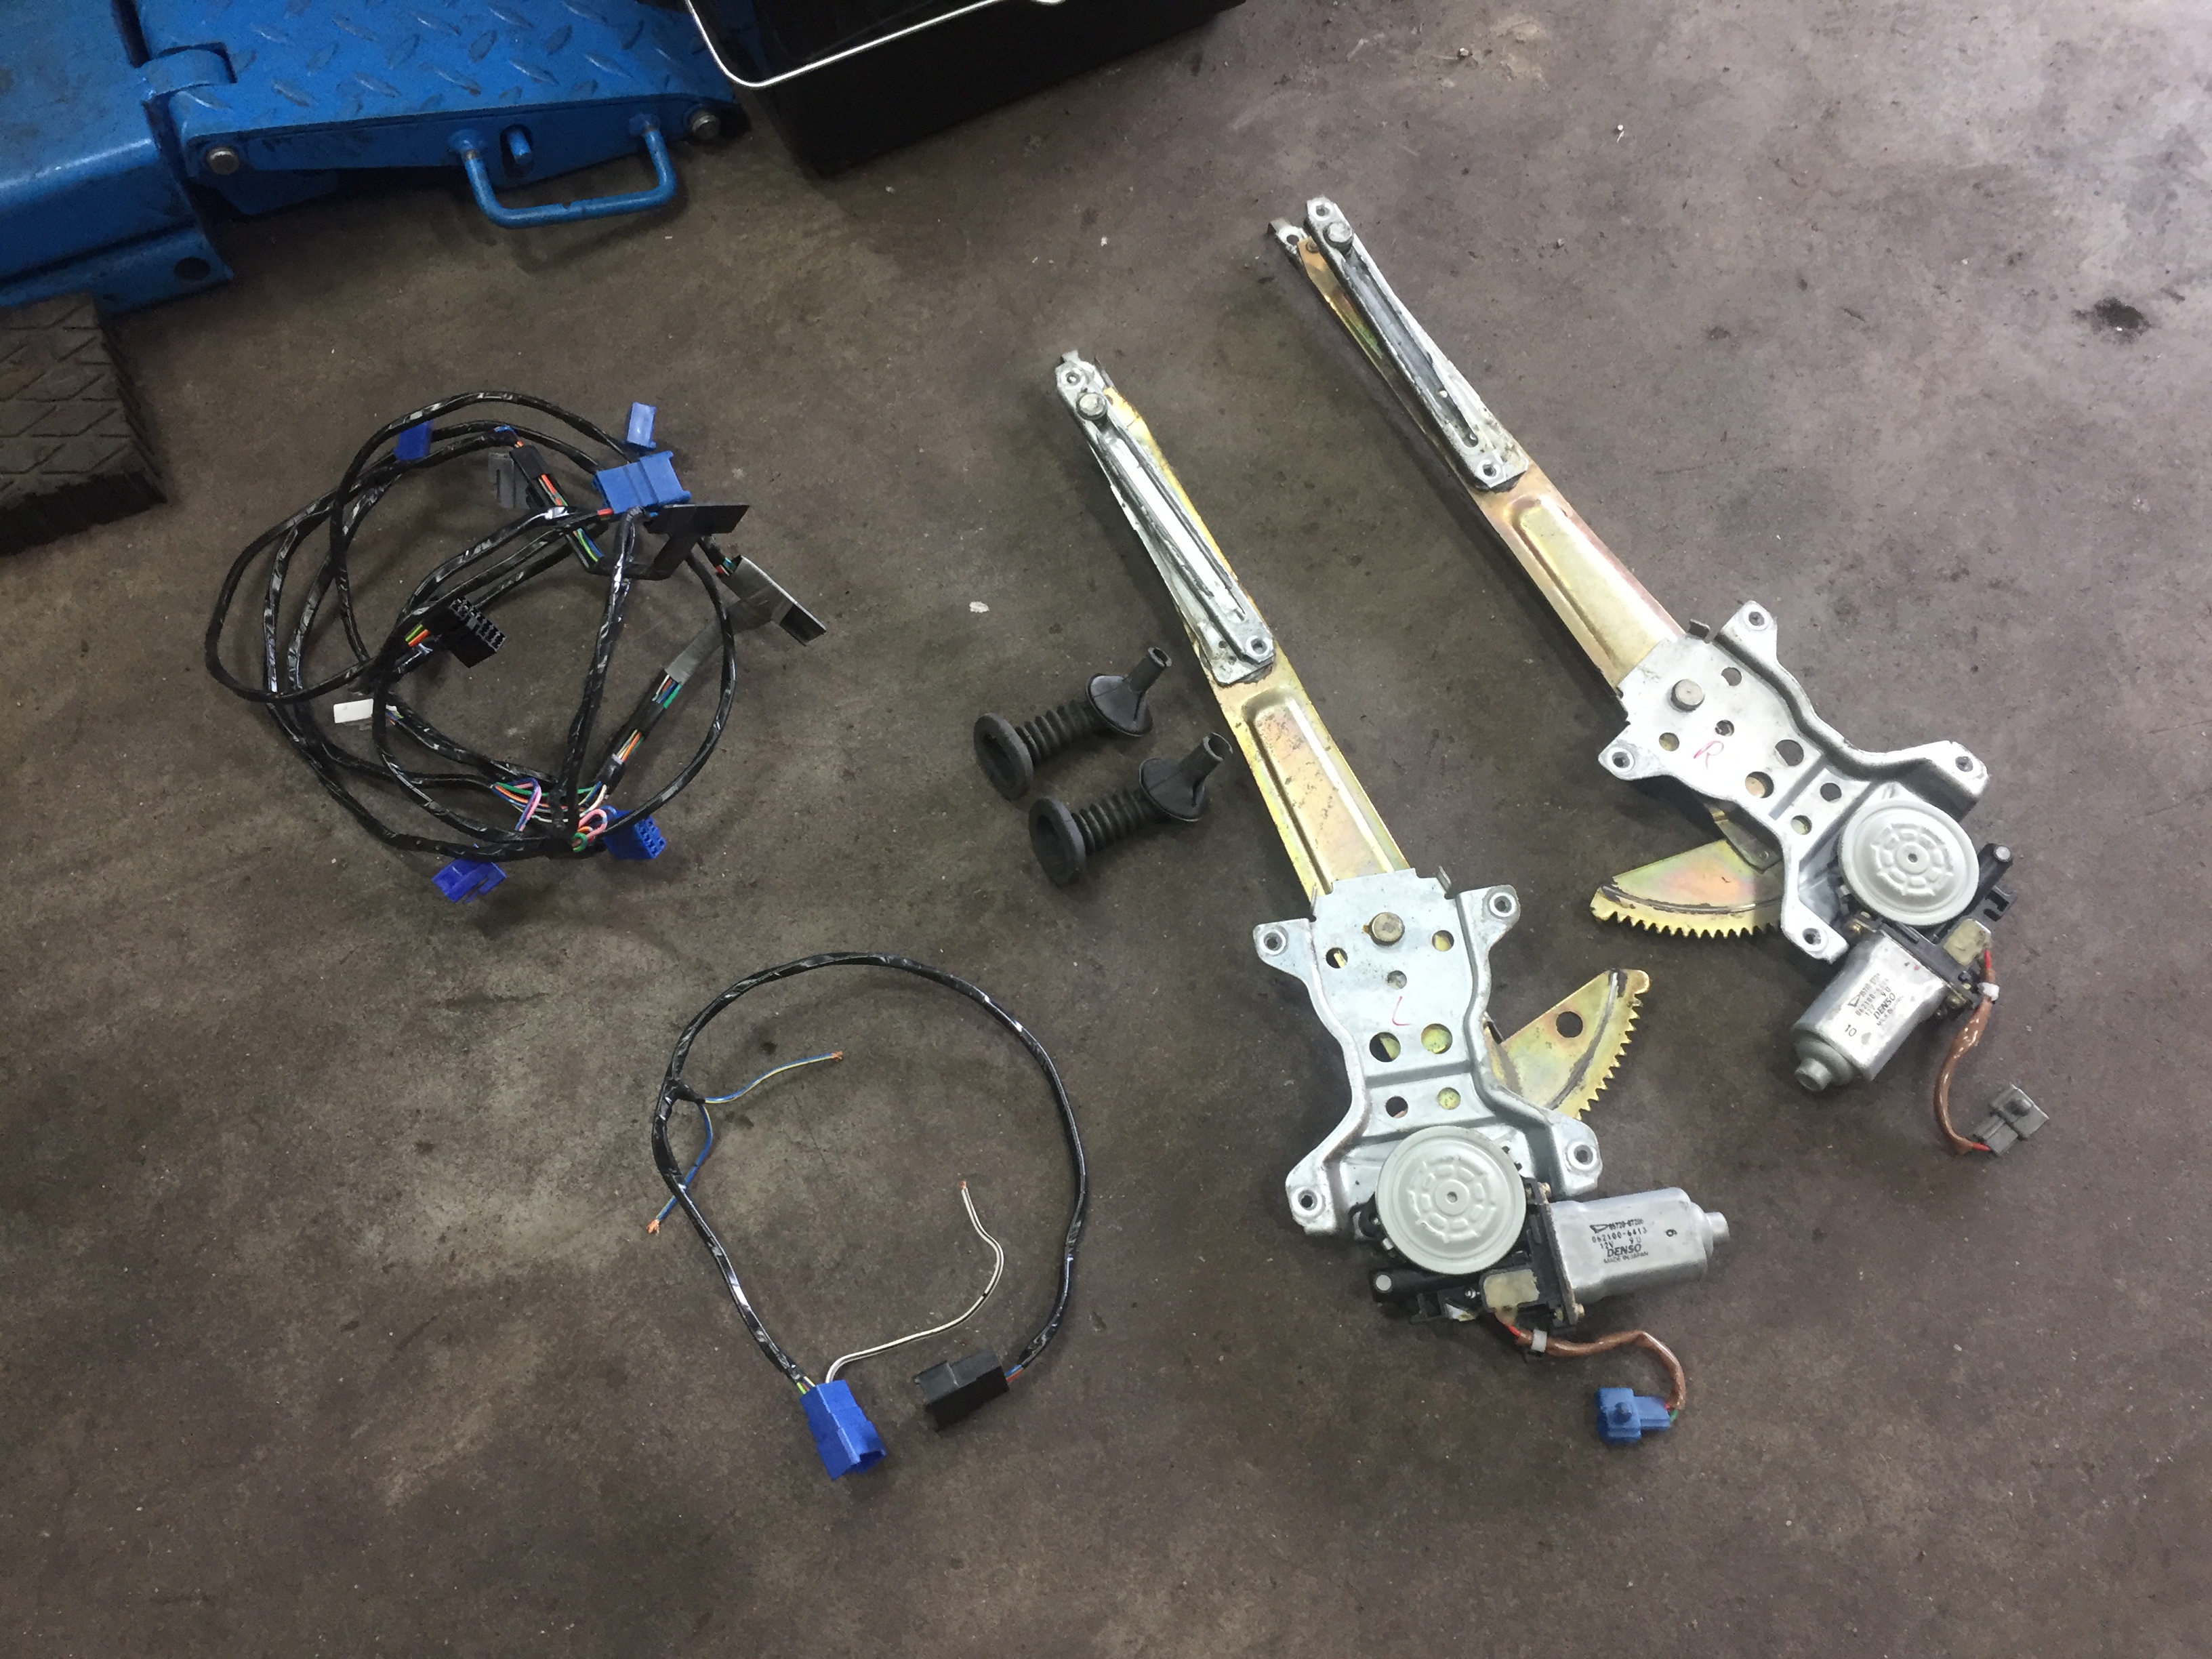
The power window stuff i bought recently can now go in the parts pile.
Cause it comes with the power windows and power steering.
Also included was the original “Daihatsu EEC certificate of conformity for complete vehicles”. And according to it the car should have ABS. I honestly didn’t check the car that well, cause it was raining and was already really happy the bumpers were fine.
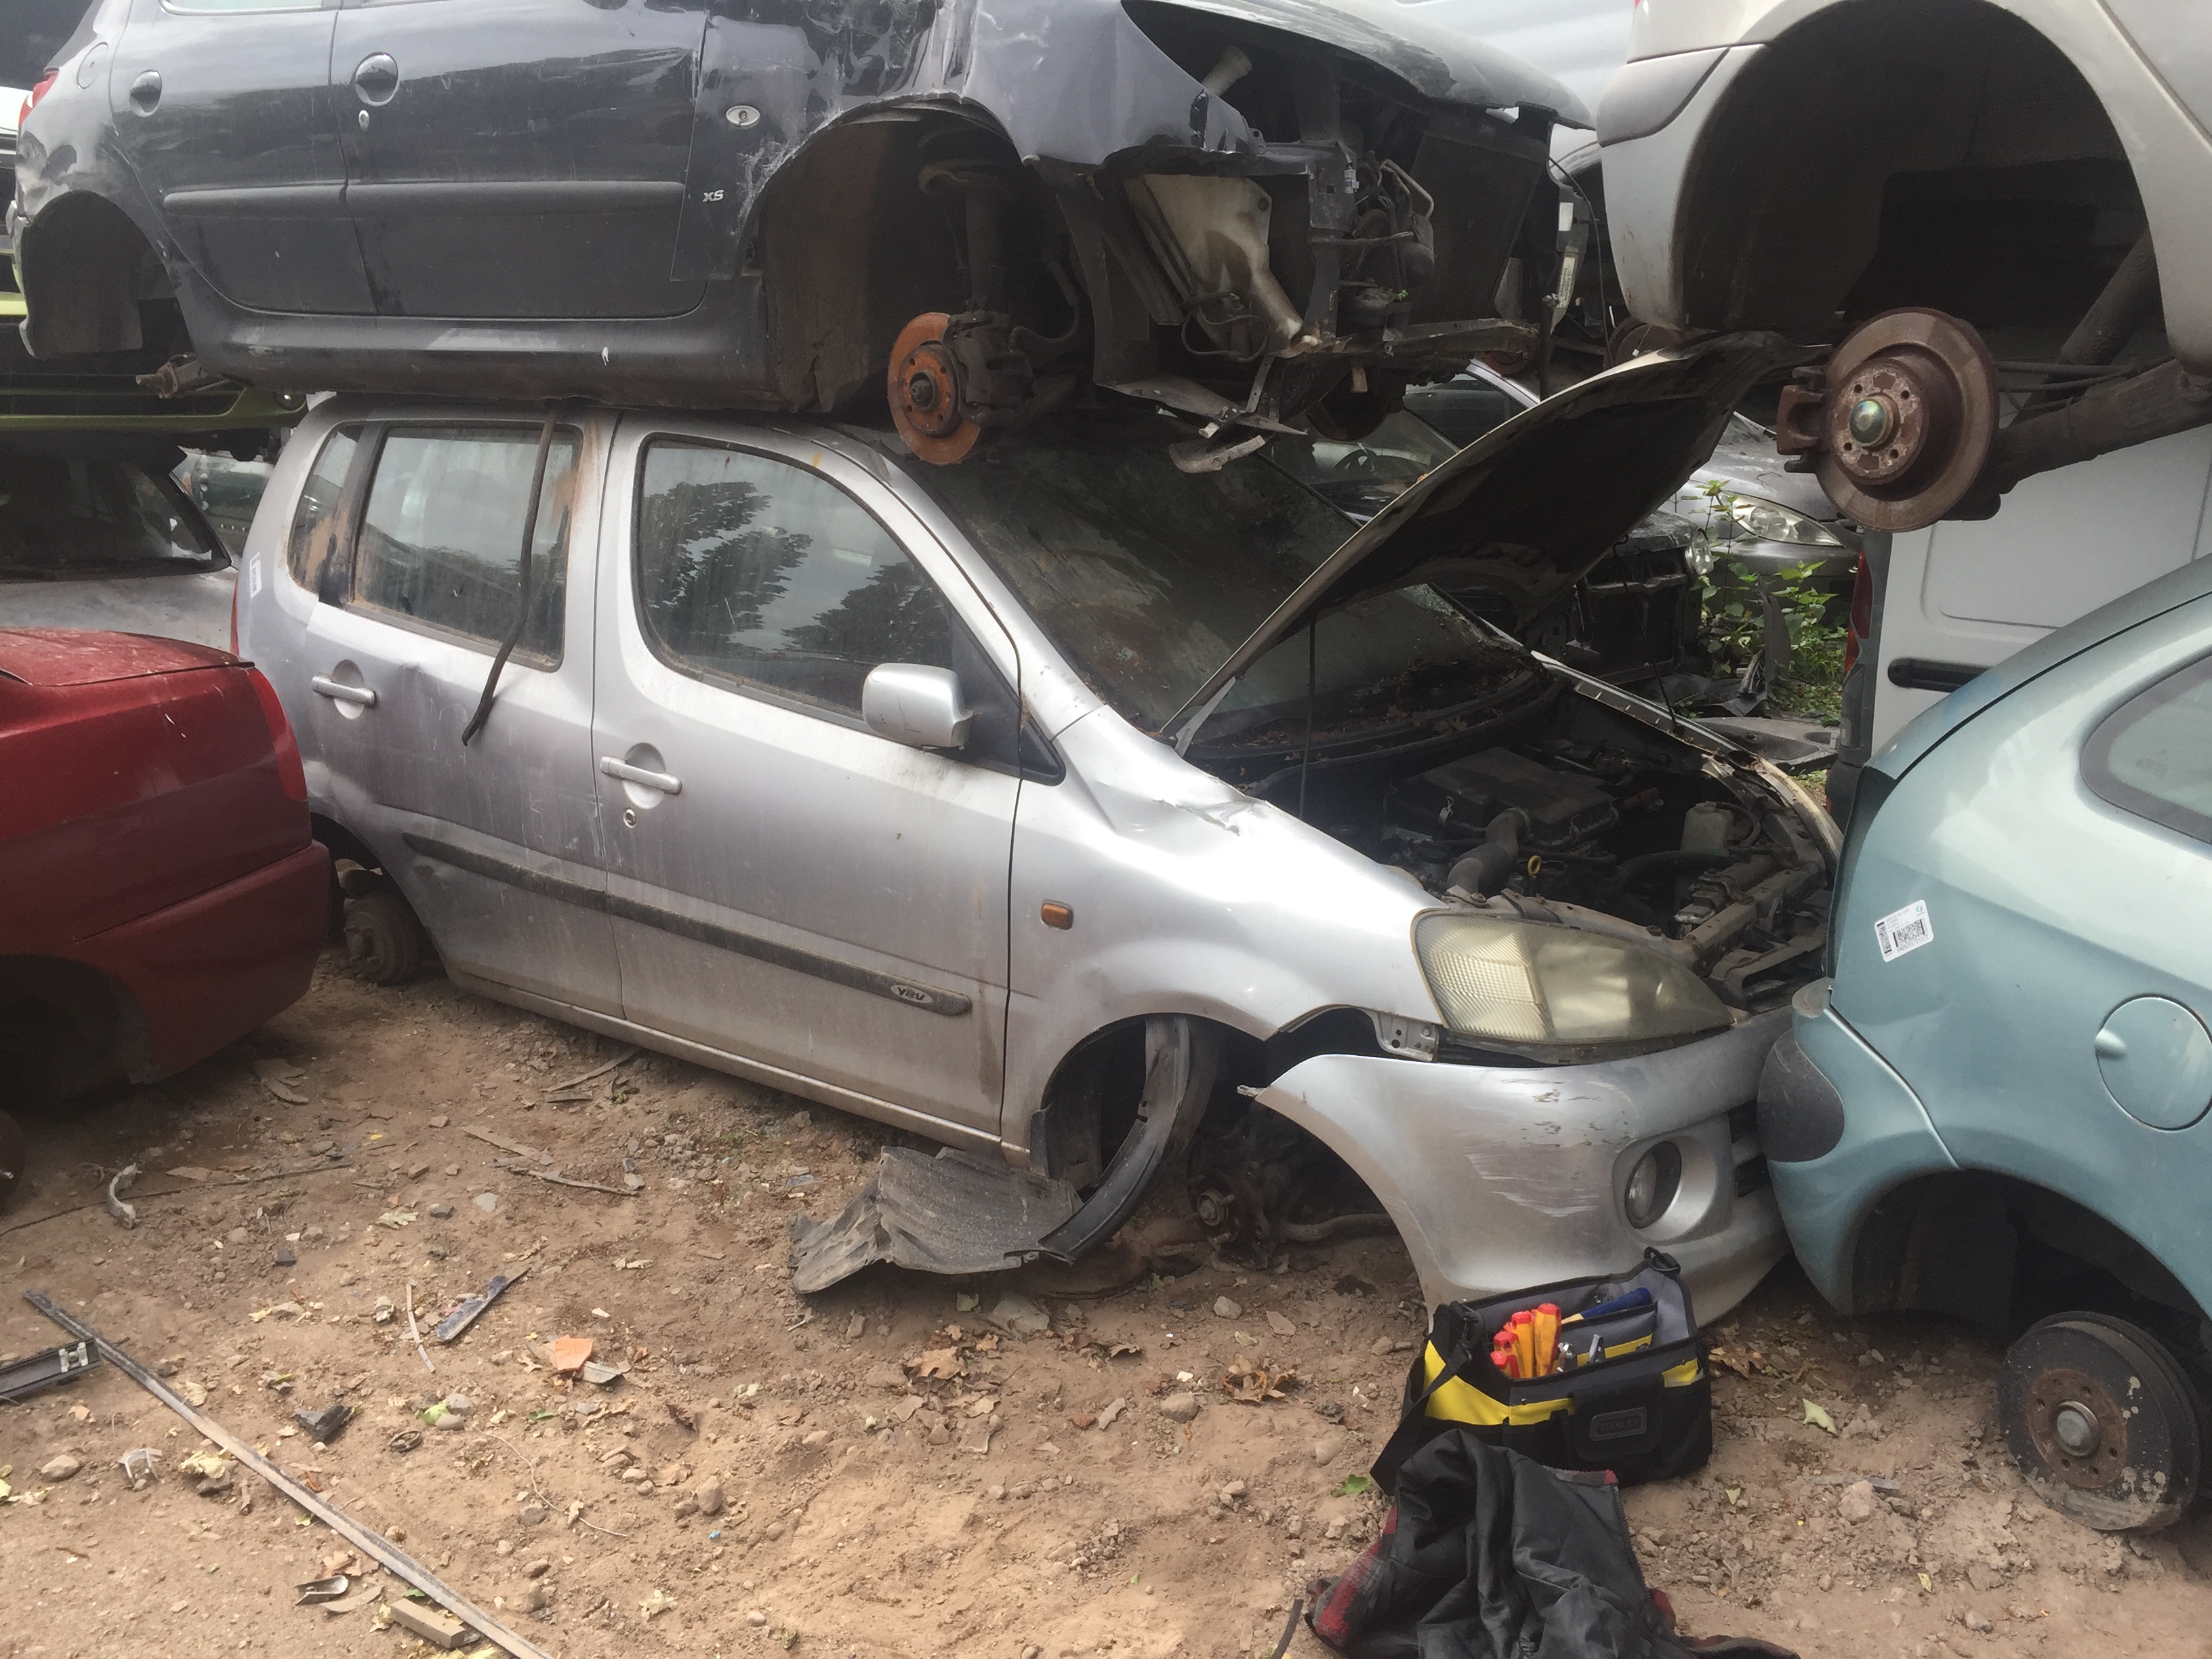
The ‘‘new’’ car wasn’t a complete success. But also not complete junk.
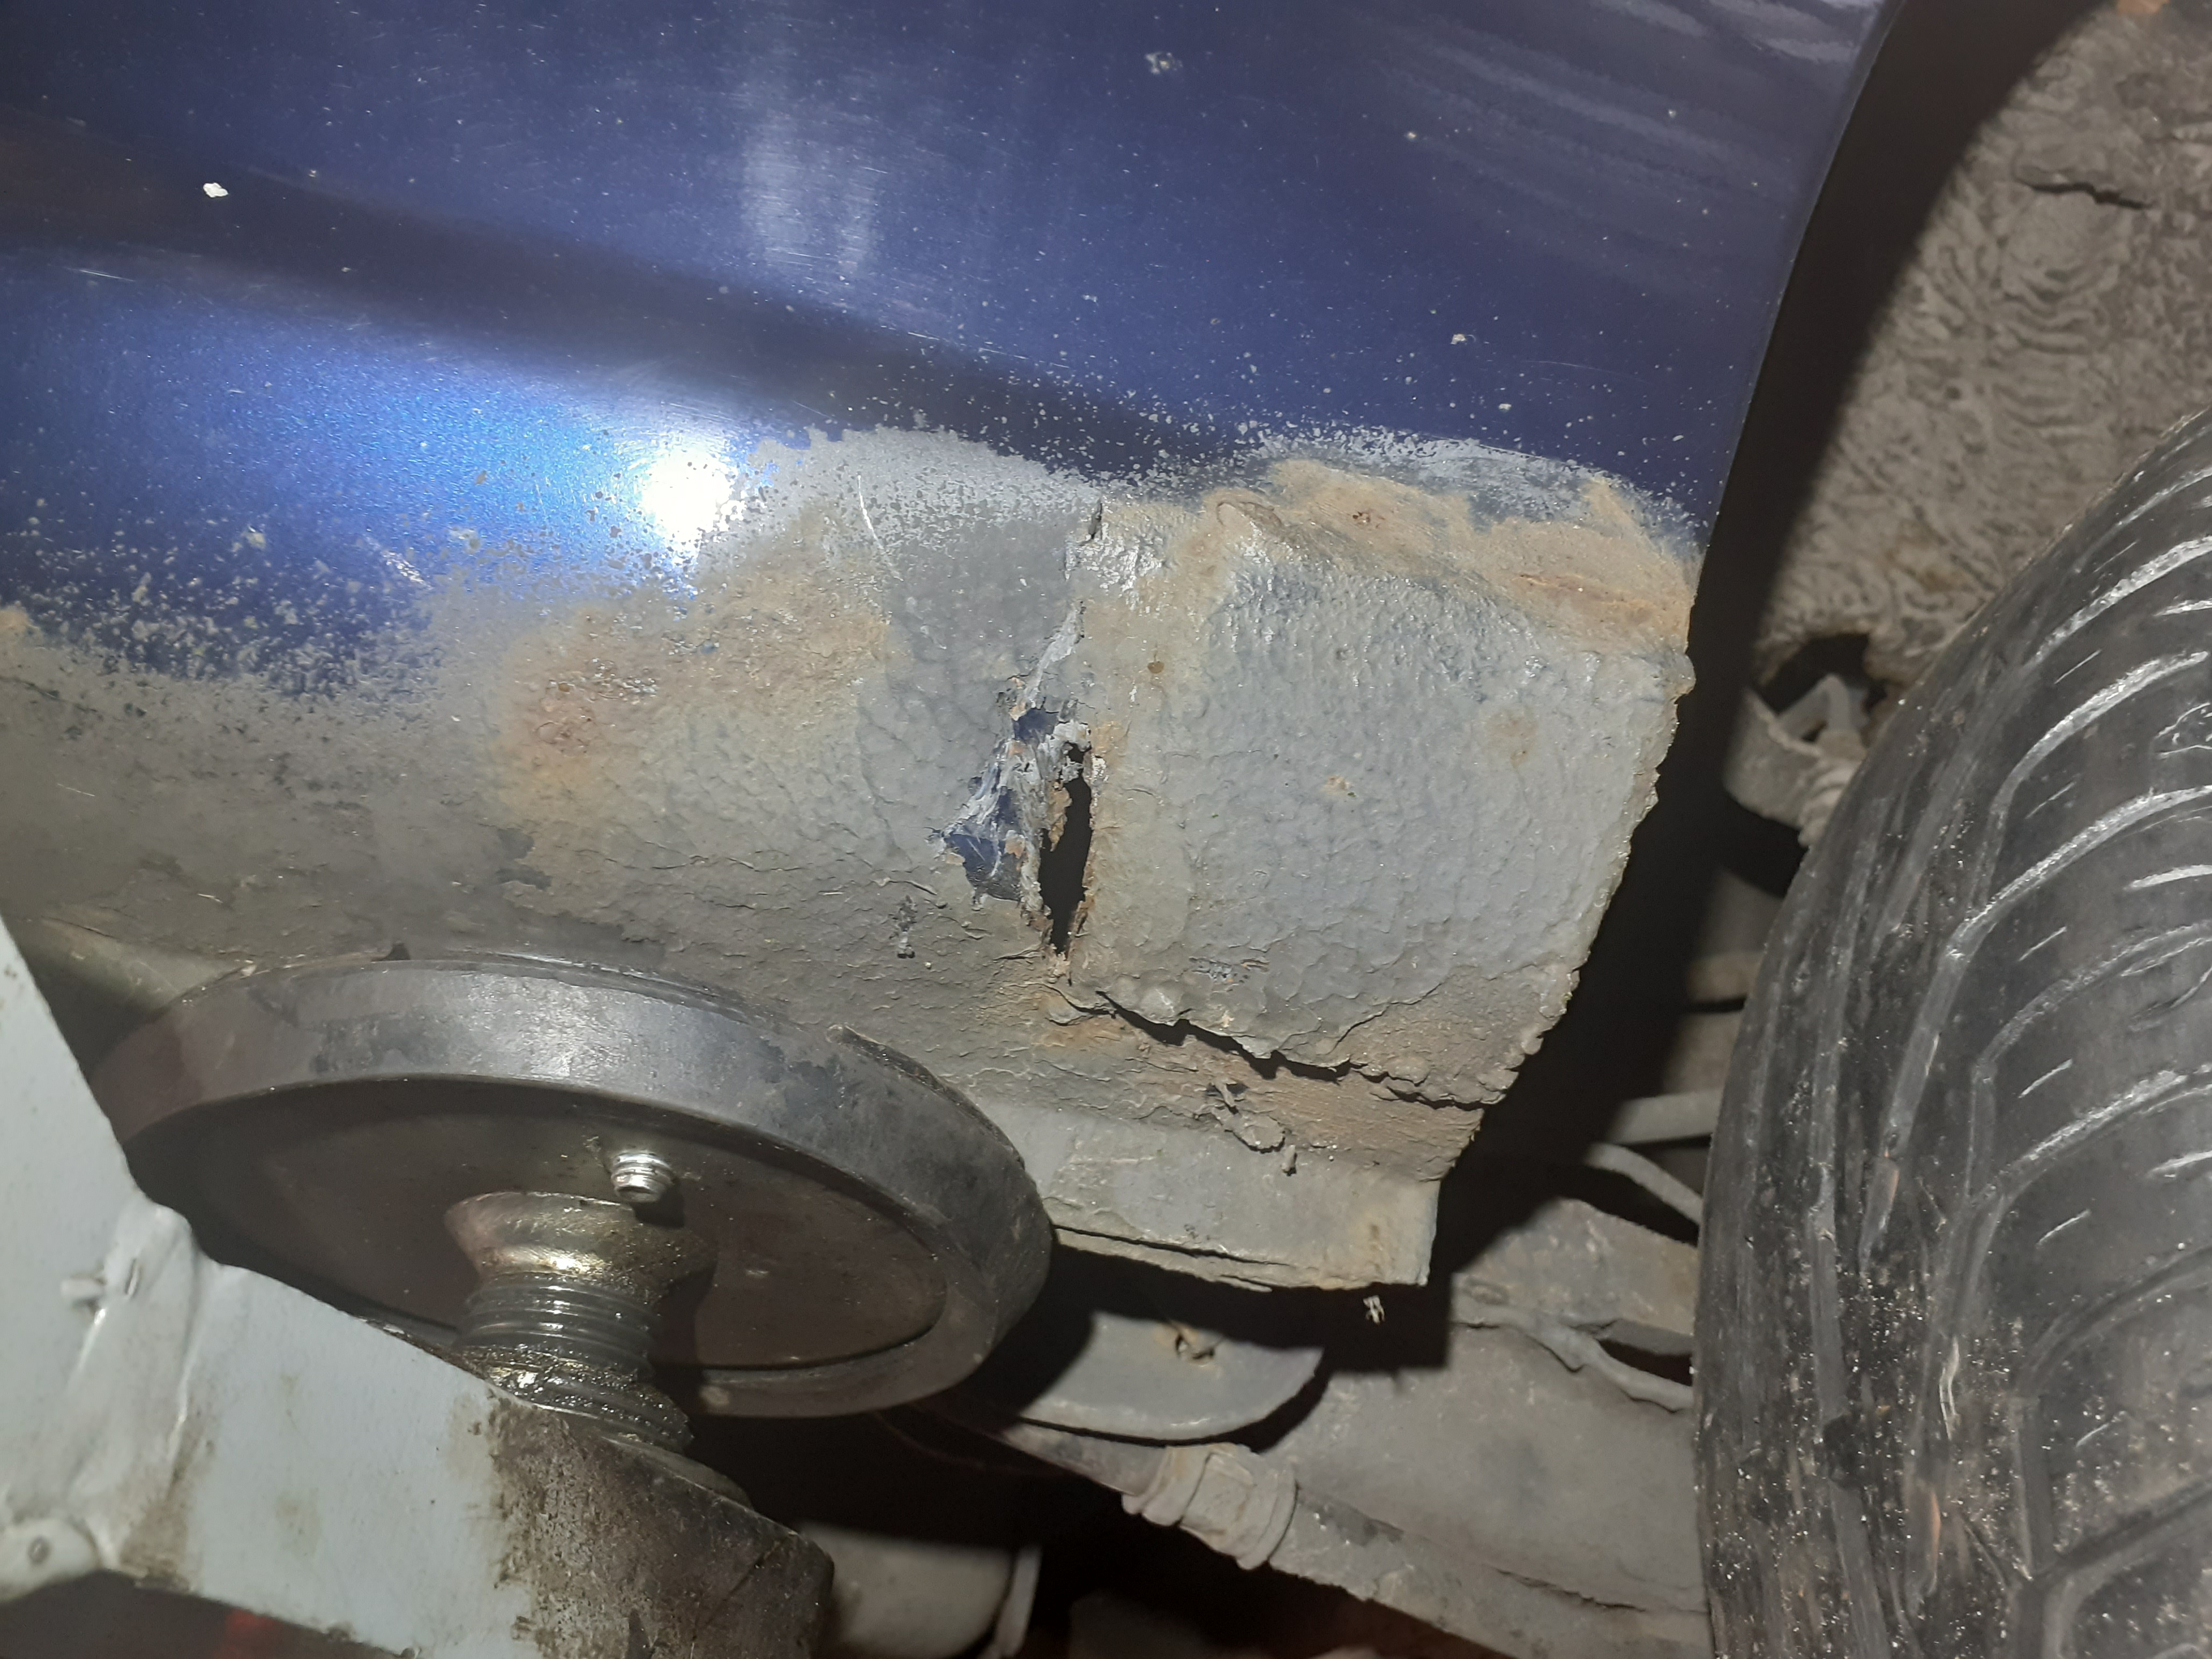
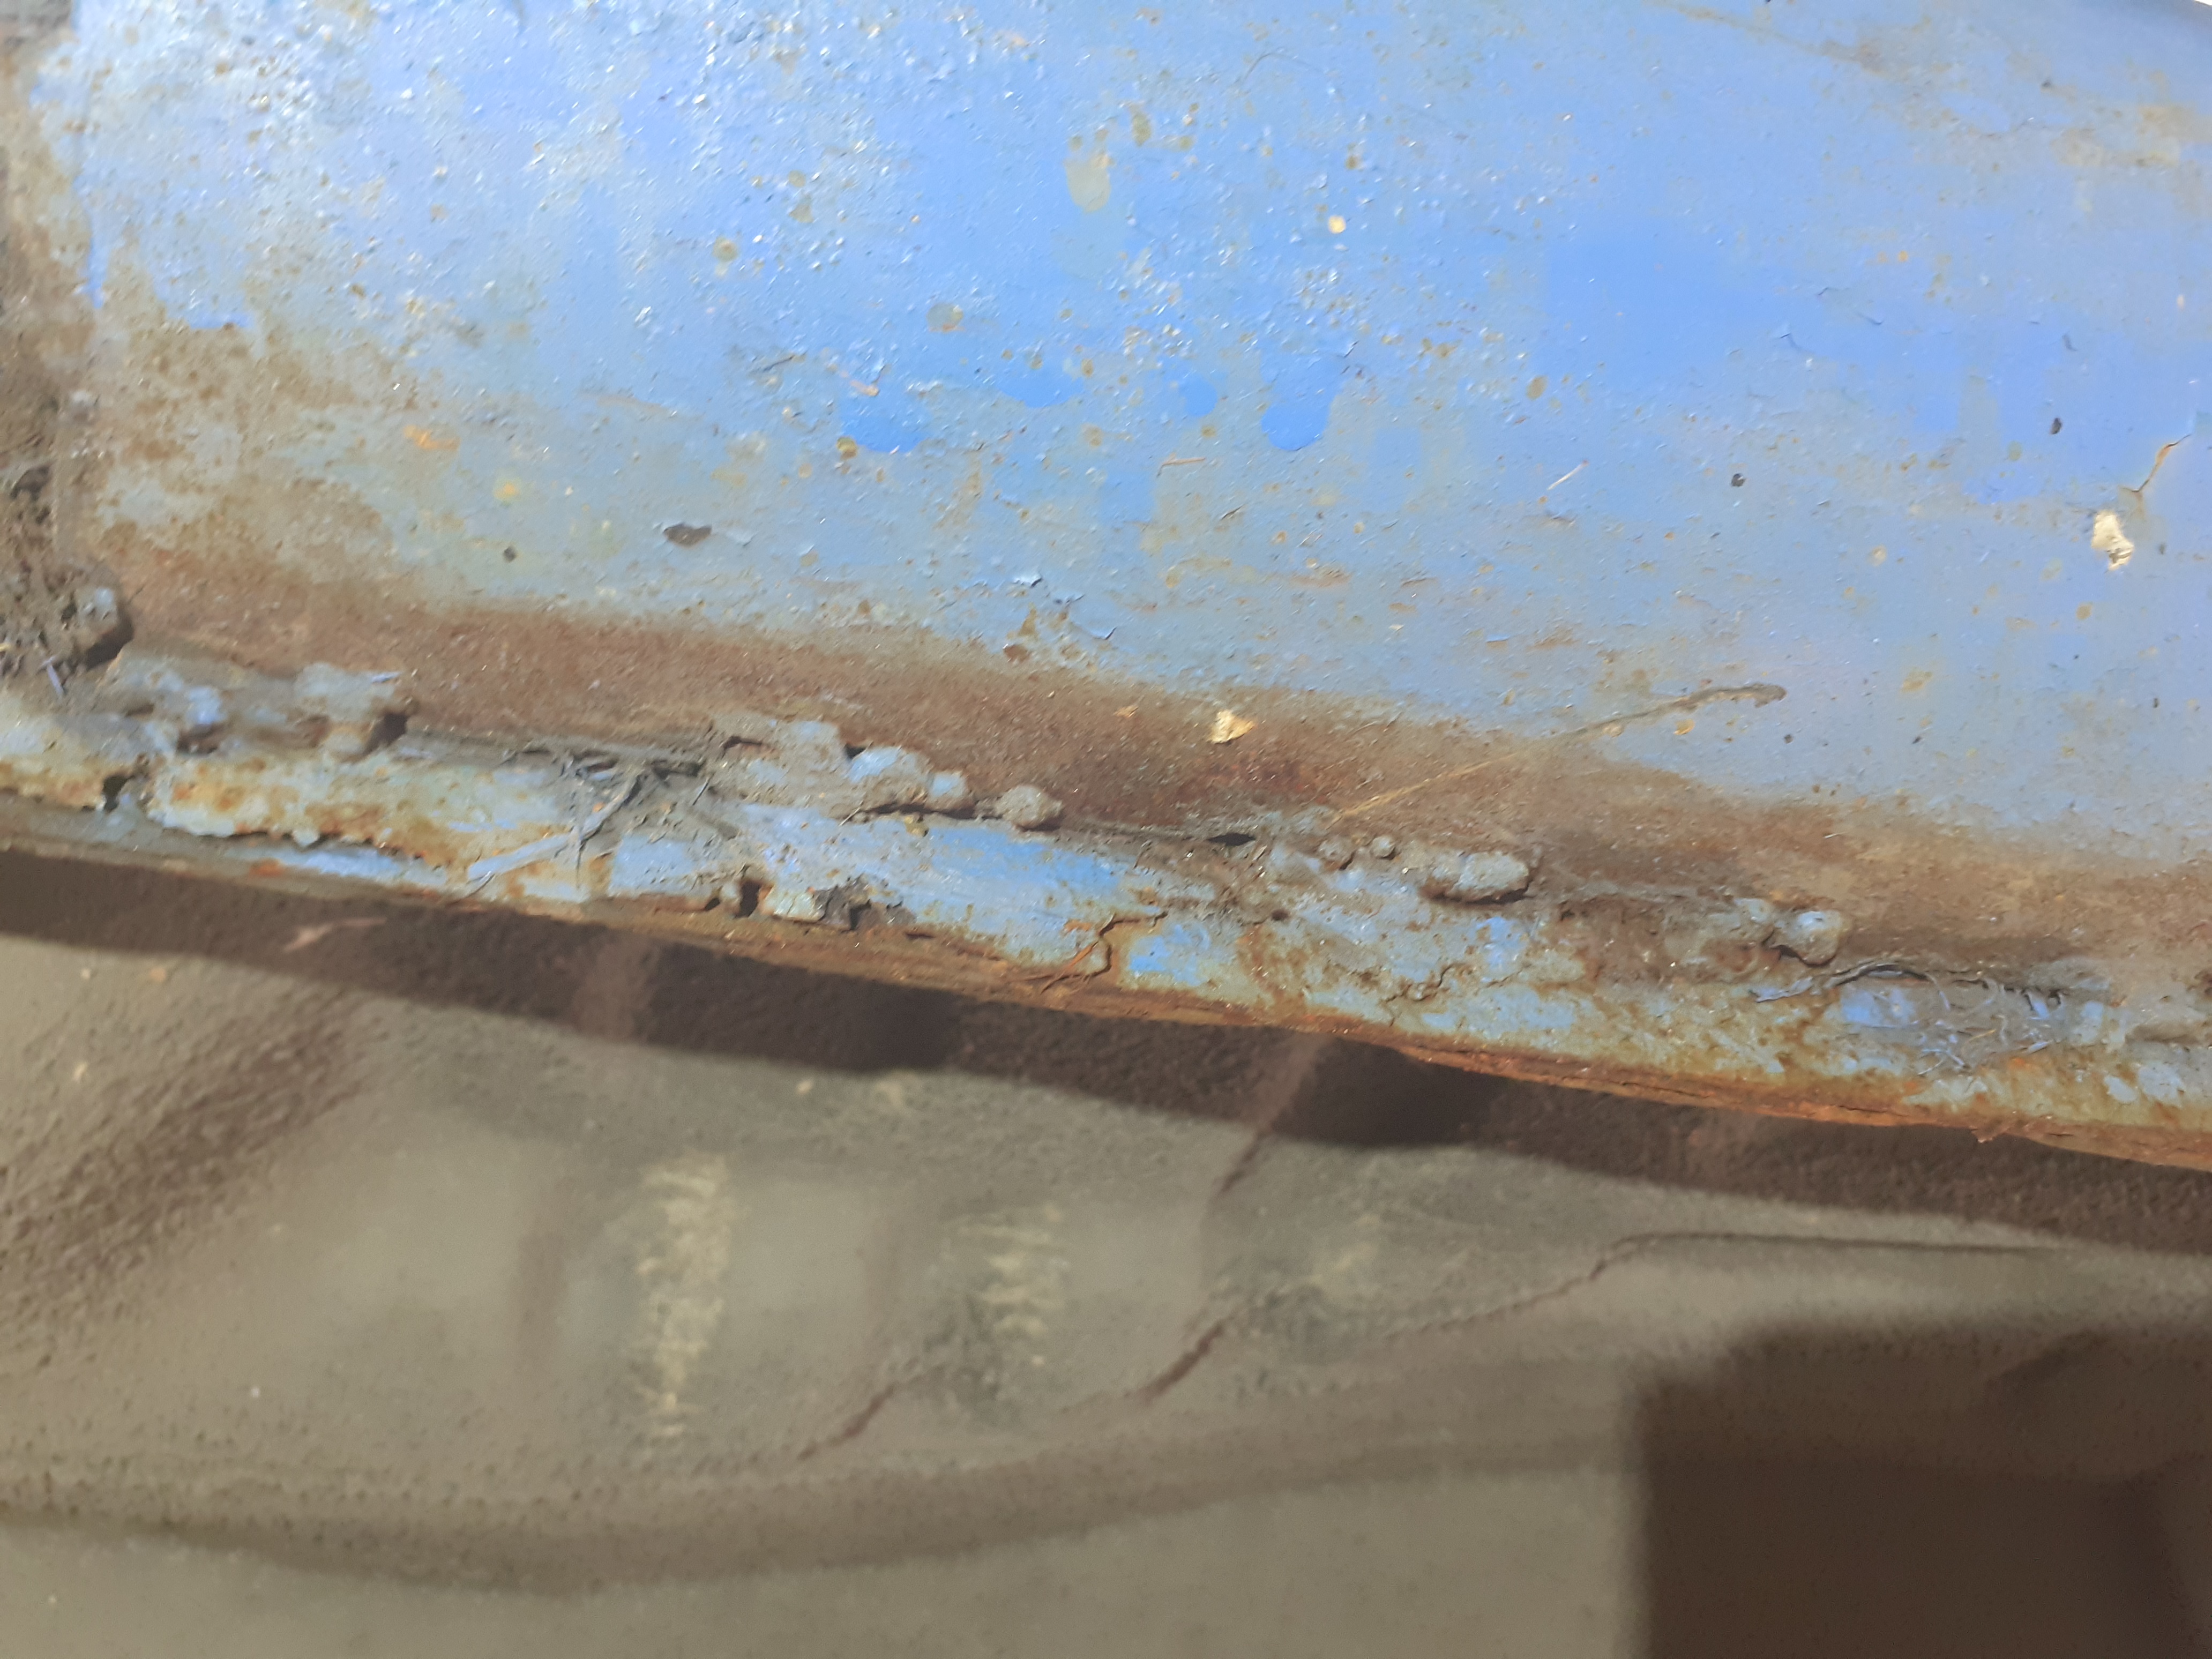
I was planning on importing it, but it’s more rust then car. And what’s in the photo’s isn’t even all.
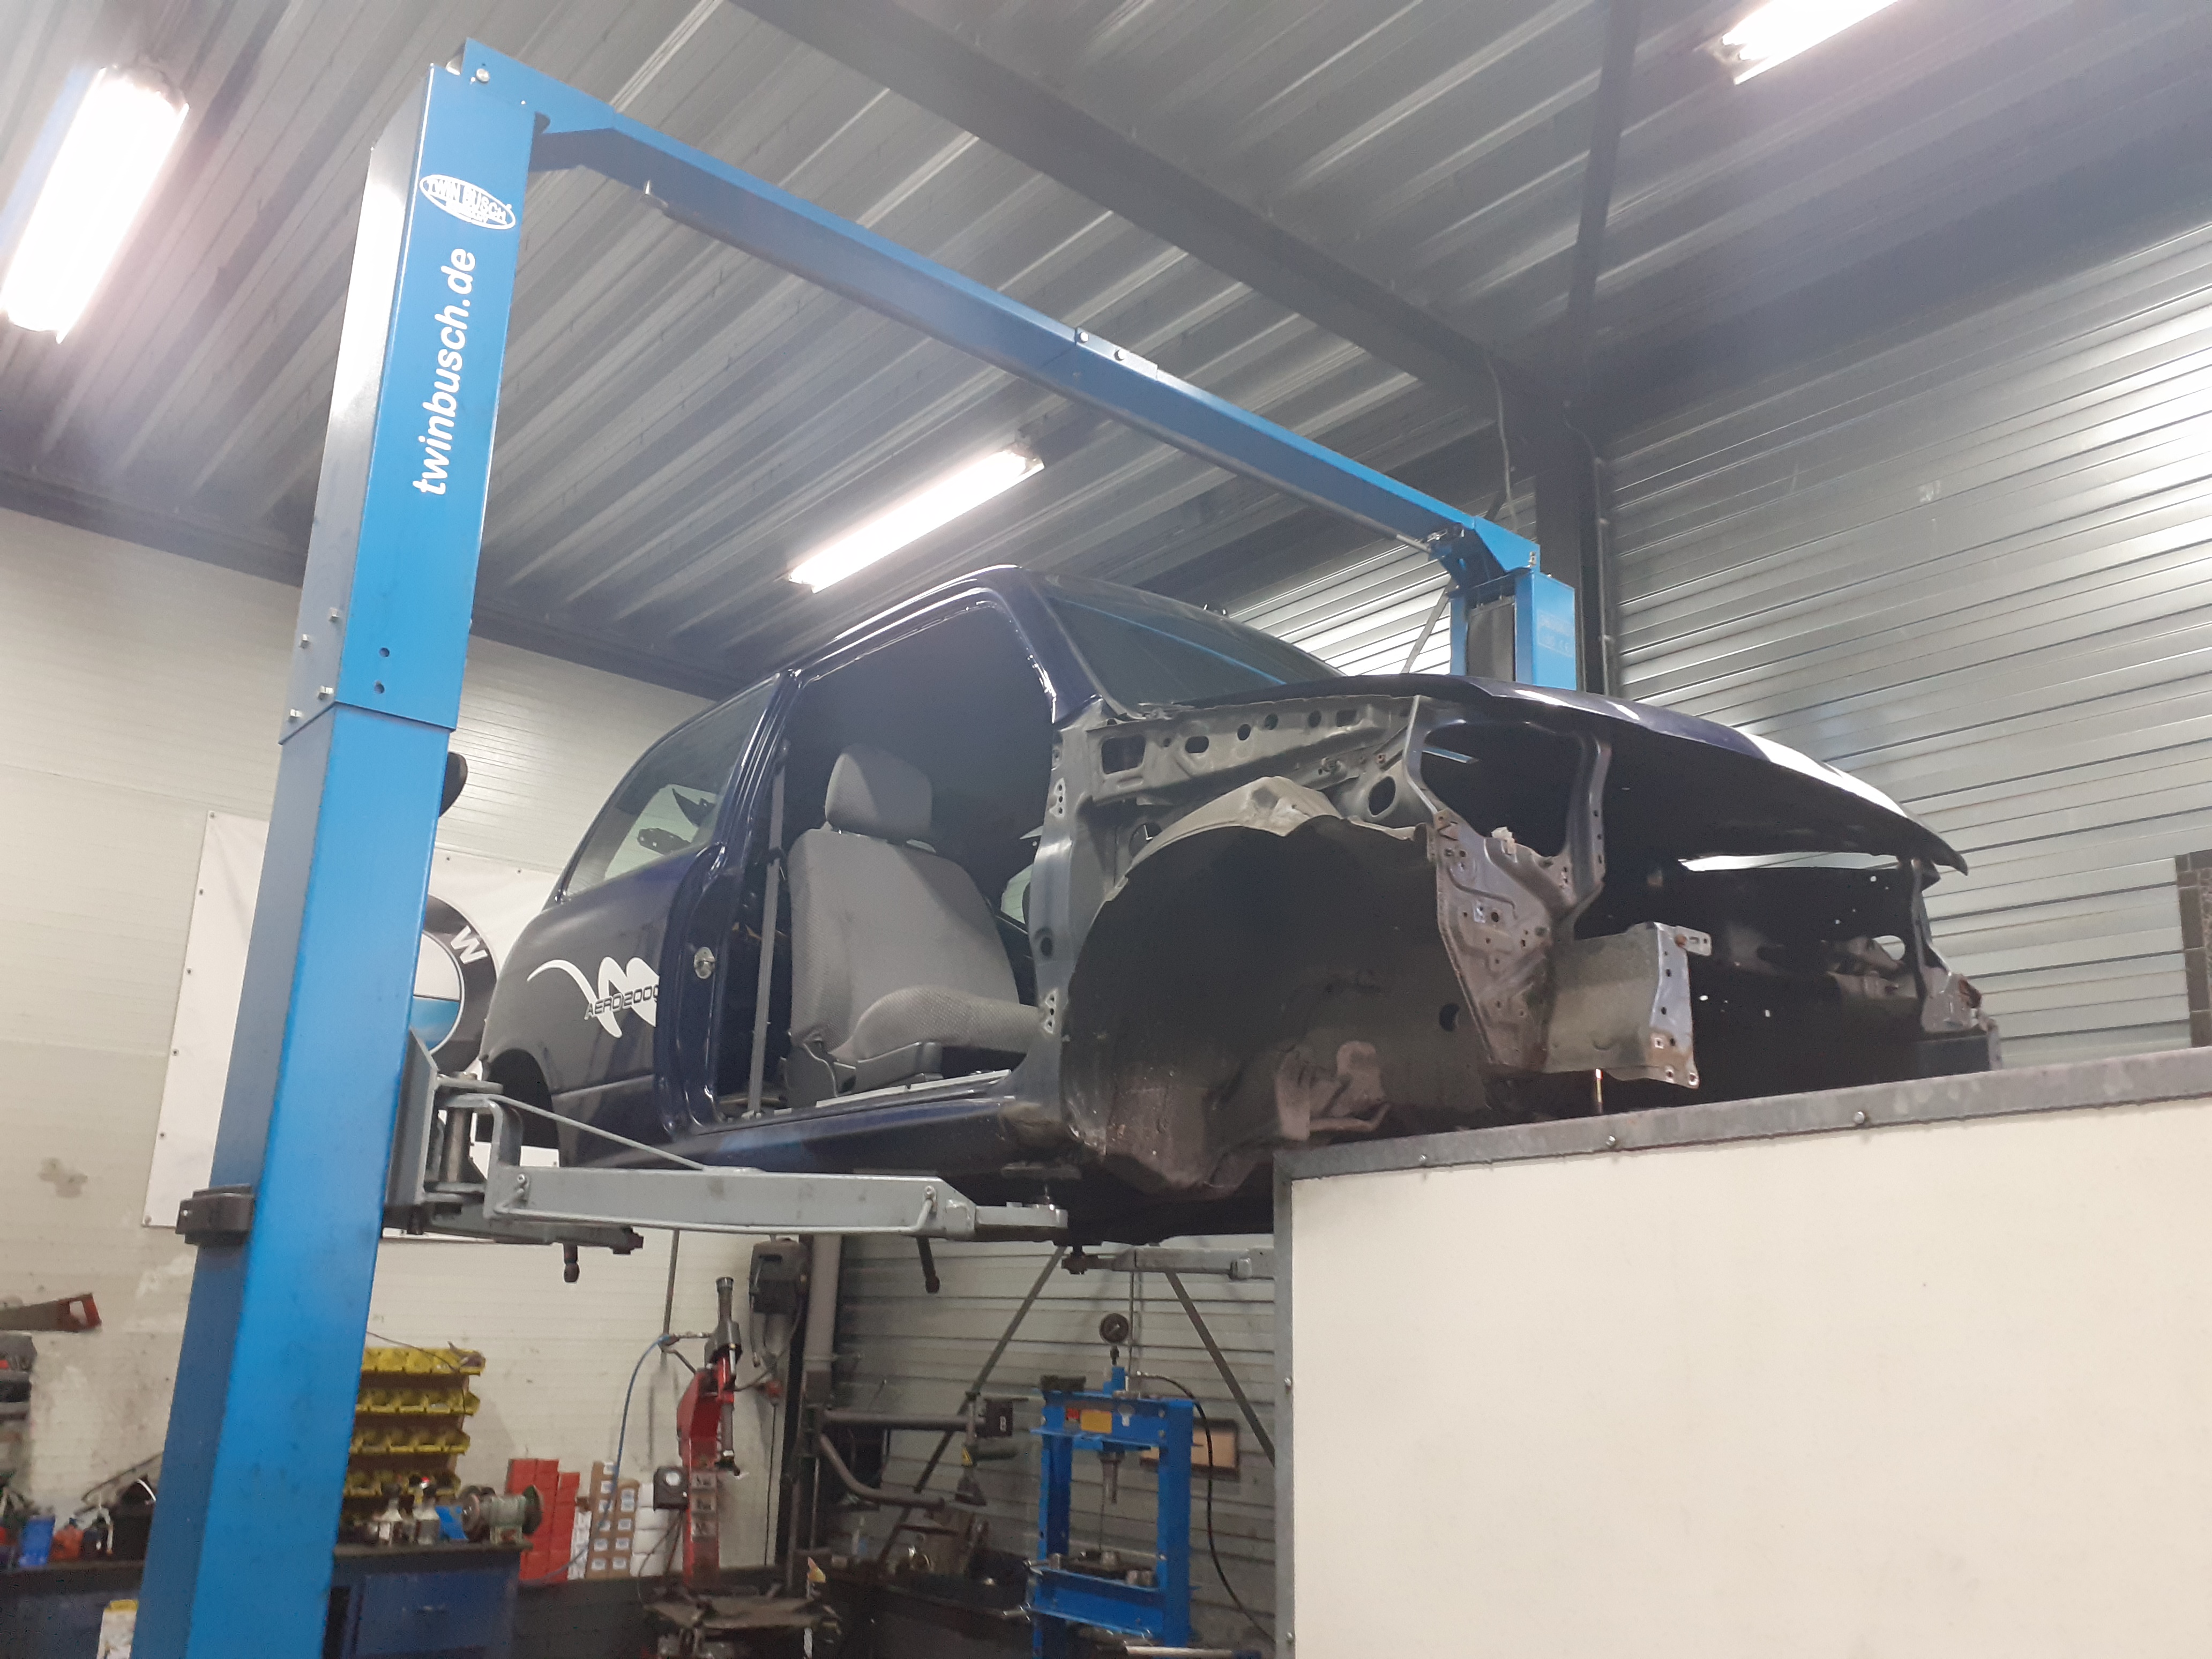
So i completely stripped it and i’ll just junk the body and interior.
I saved pretty much everything else.
Not sure yet, but i’m thinking on using the engine to experiment with and maybe even make it ready for a turbo.
Of course i’ve saved everything that’s got to do with the manual gearbox. So that i’ll have everything if i ever decide to do manual conversion.
I started with custom headers, 1 7/8" exhaust and altered inlet tract (see my build thread) and light flywheel. After that vernier adjust cam wheel and adj fuel pressure reg. From there head porting, combustion chamber smoothing and K3VE pistons (I’ve not done the last thing but keen to do so). Aftermarket Autronic SM4 ecu and DVVT cams to go in.
While i was at it i started taking out some of the little dents in the body.
If you have some patience it’ll work pretty good. I used one of those cheapo chinesium kits.
Just make sure to buy extra glue sticks, cause you’ll run through them like crazy.
Now all that’s left is to get her detailed and a new license plate for the front as it is pretty mangled.
Does anyone know where i can get the little frame for around the rear fog light. (Mine is missing and the one from the standard bumper are different). The oem number would be fine as well.
Still mucking around with the pulling problem.Got the frame measured by a pro, but he says it’s well within spec. So past saturday i’ve replaced the complete front suspension including the subframe. But no changes.
I’ll try to replace the rear axle hopefully upcoming weekend. I’m really hoping that will fix it. But i’m afraid the problem is elsewhere.
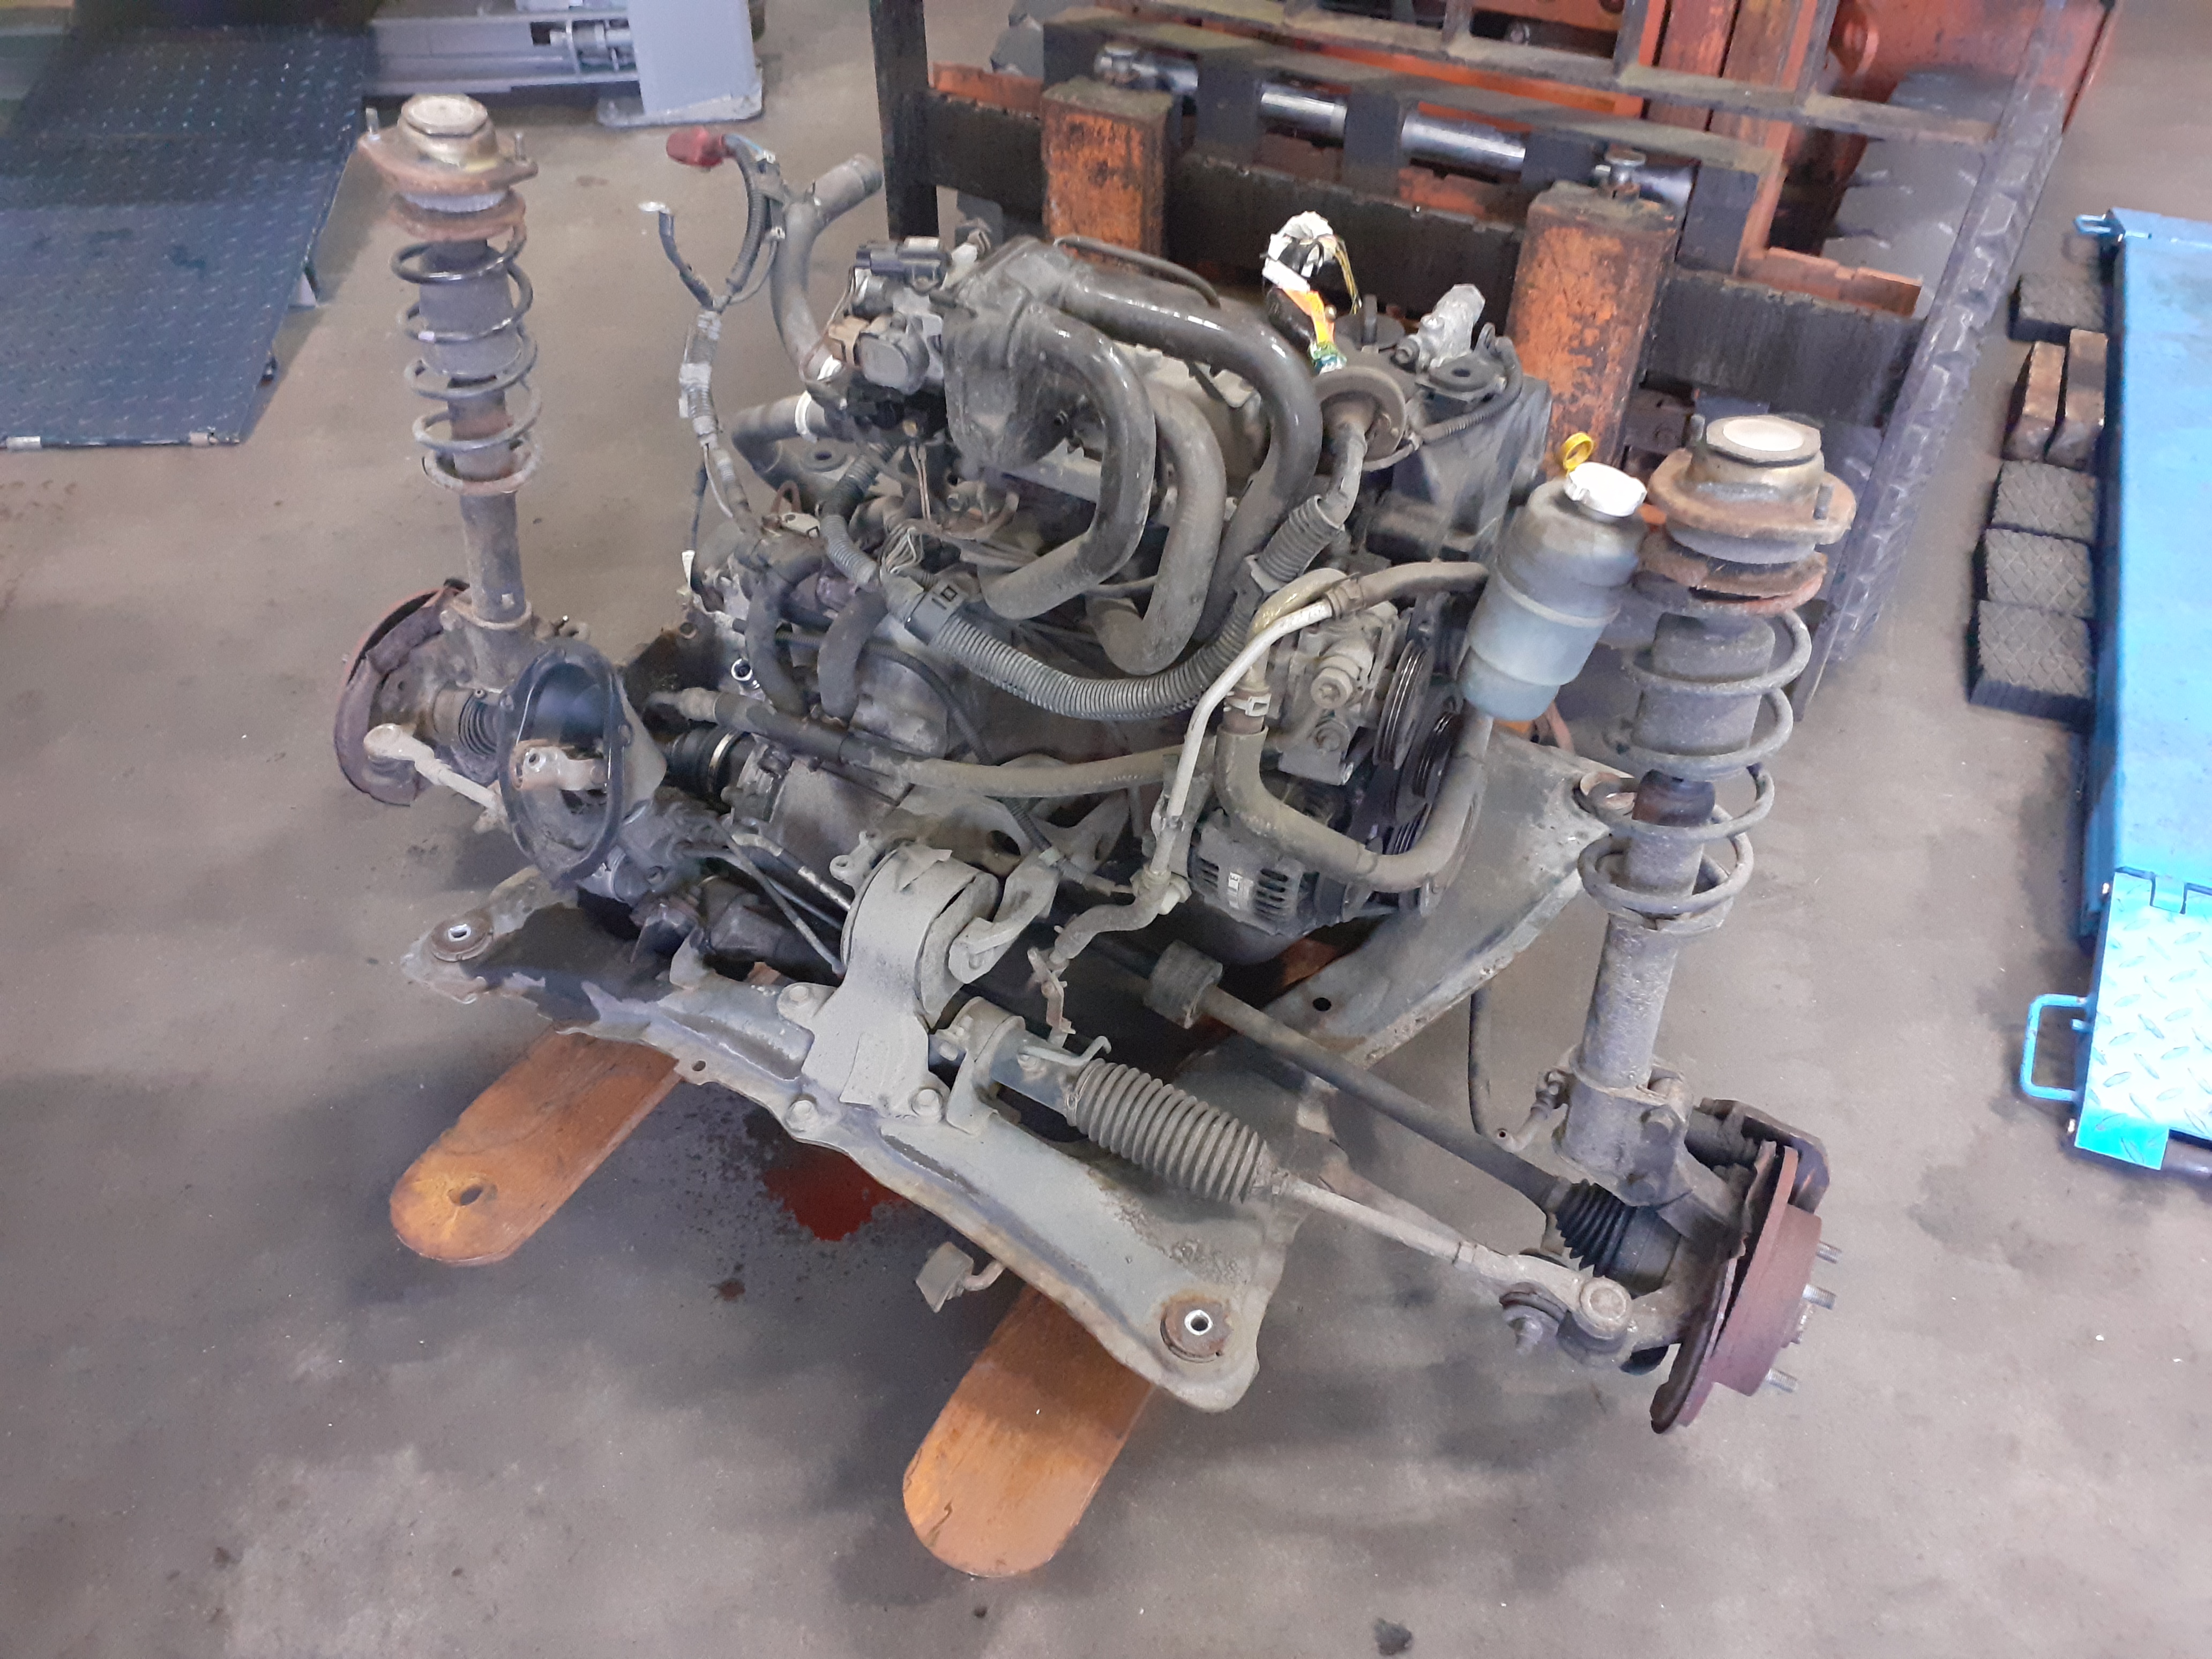
The engine from the L7 i bought recently went up to my little work area at the shop.
And i started taking it apart yesterday. This is how far i’ve come so far. It seems like it wasn’t maintained properly.
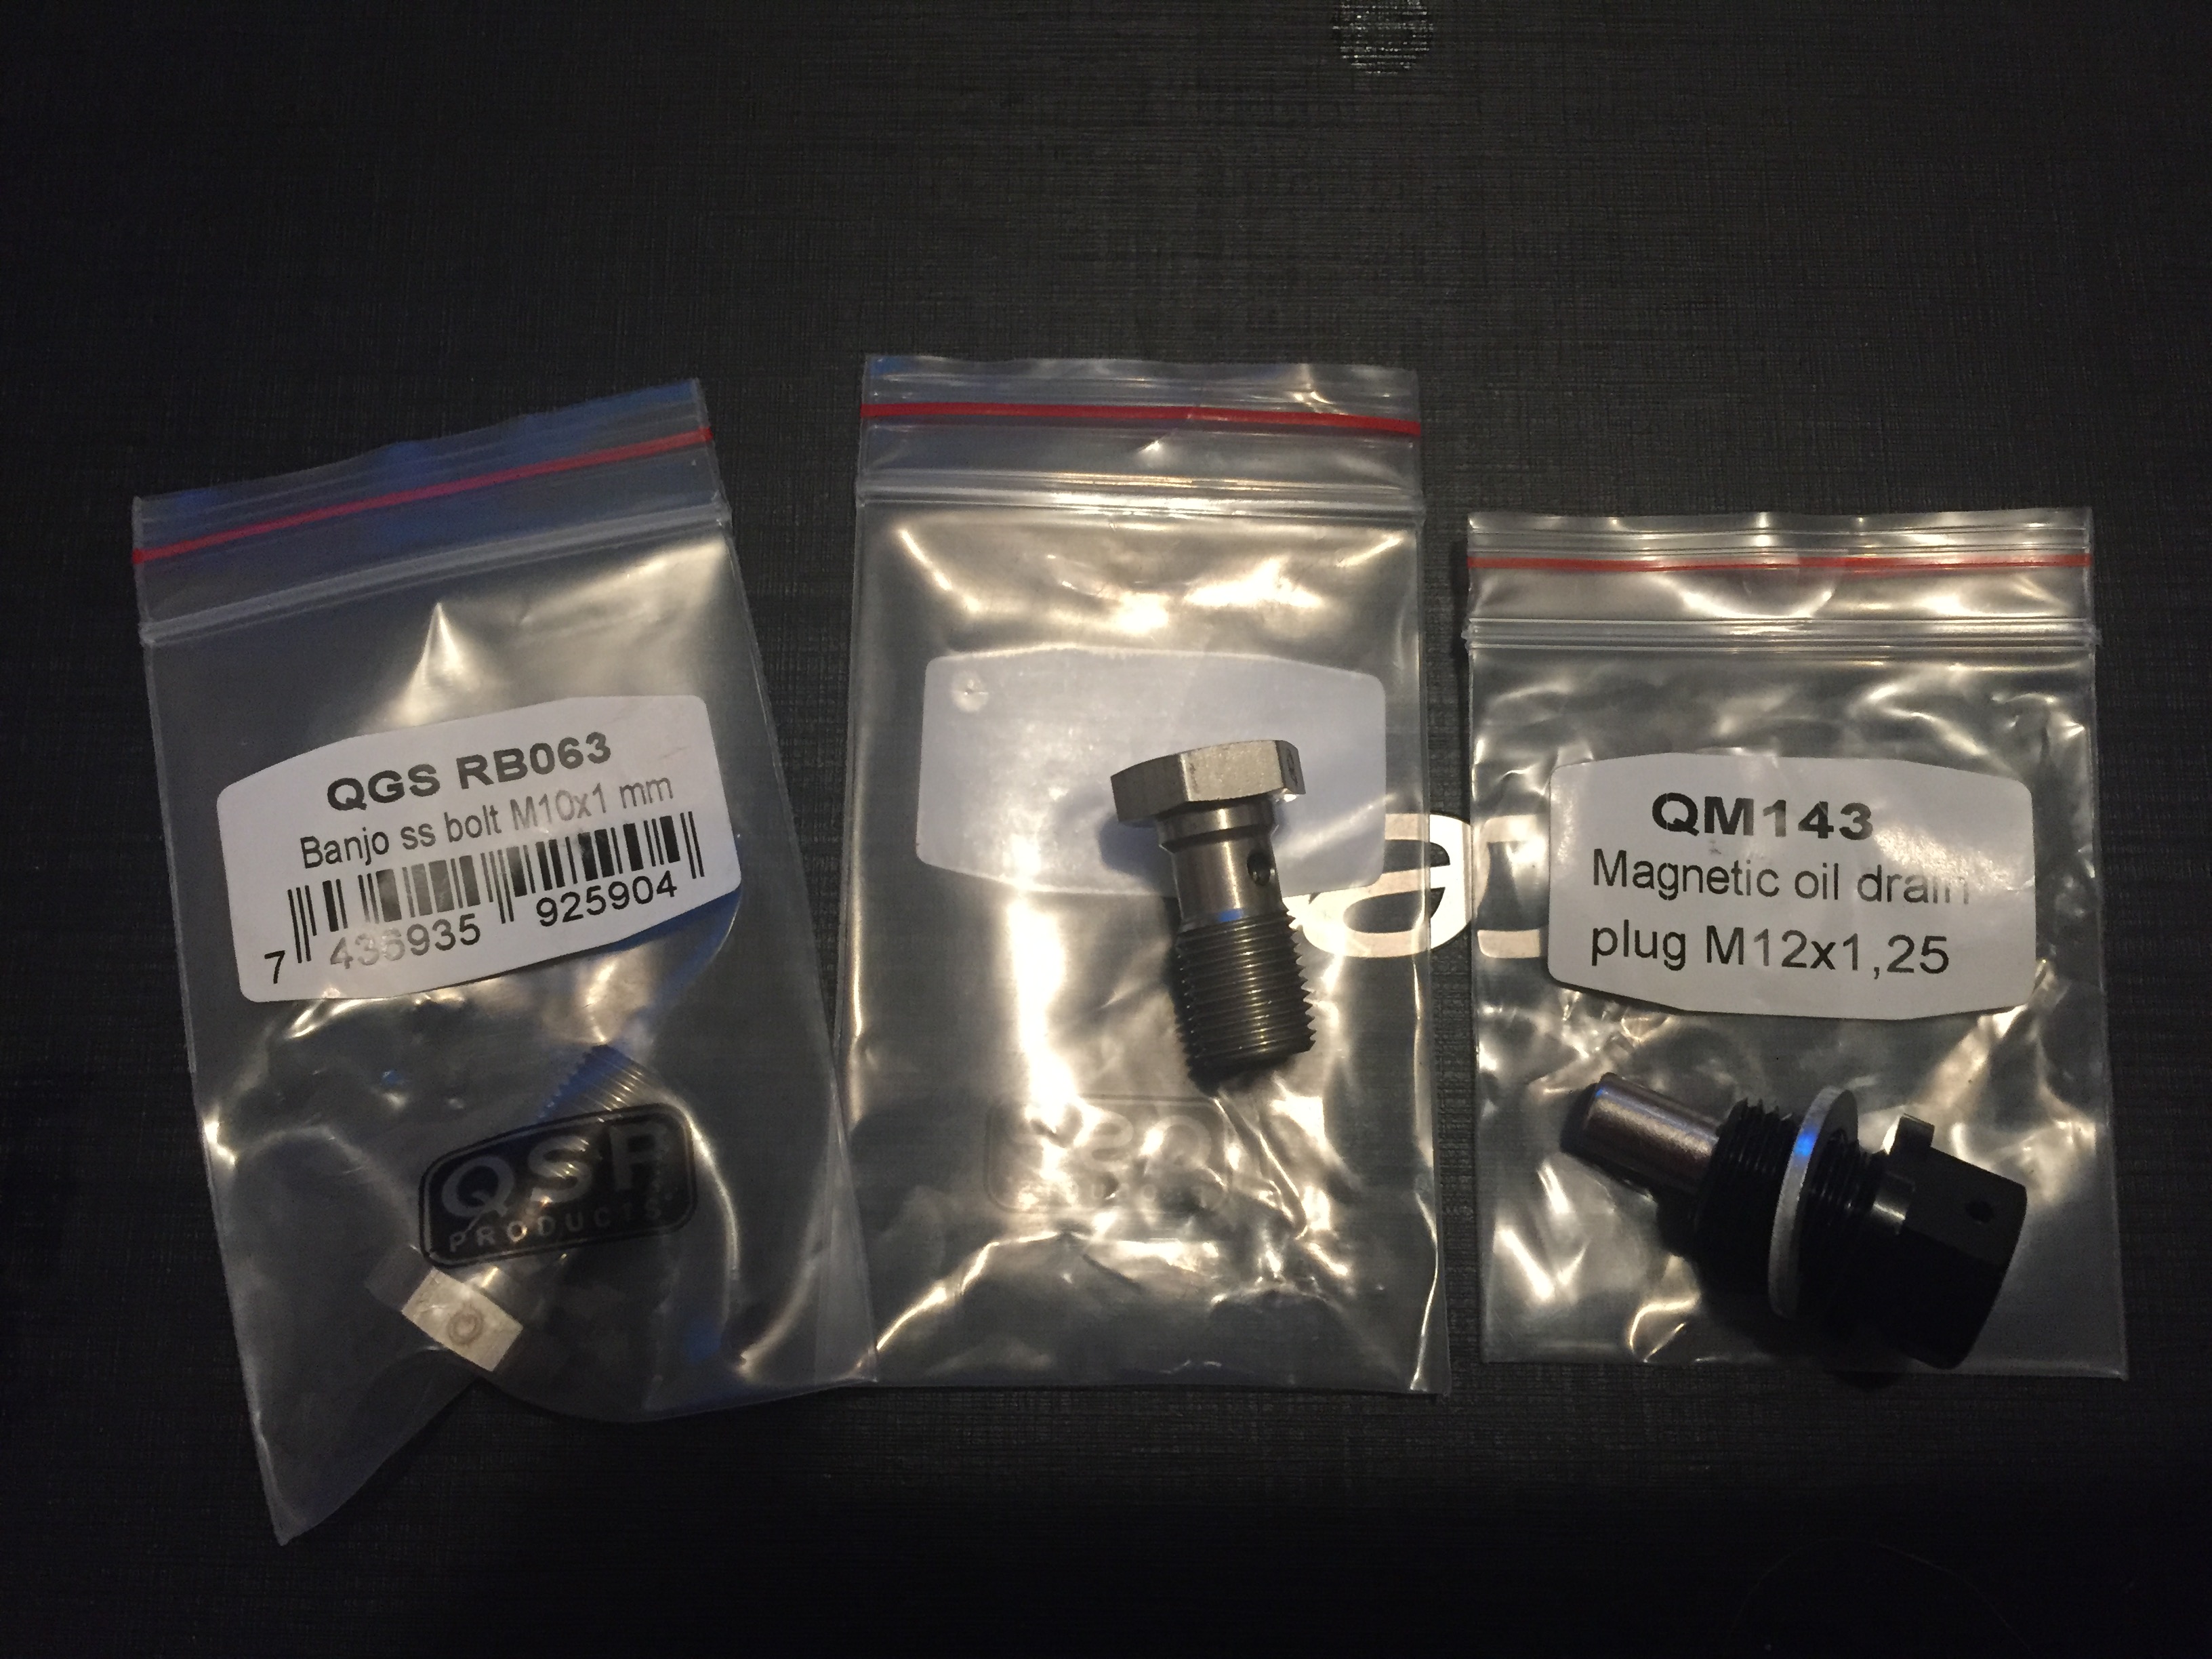
To drain the oil i had to drill a hole in the sump. Cause the drain bolt was rounded over.
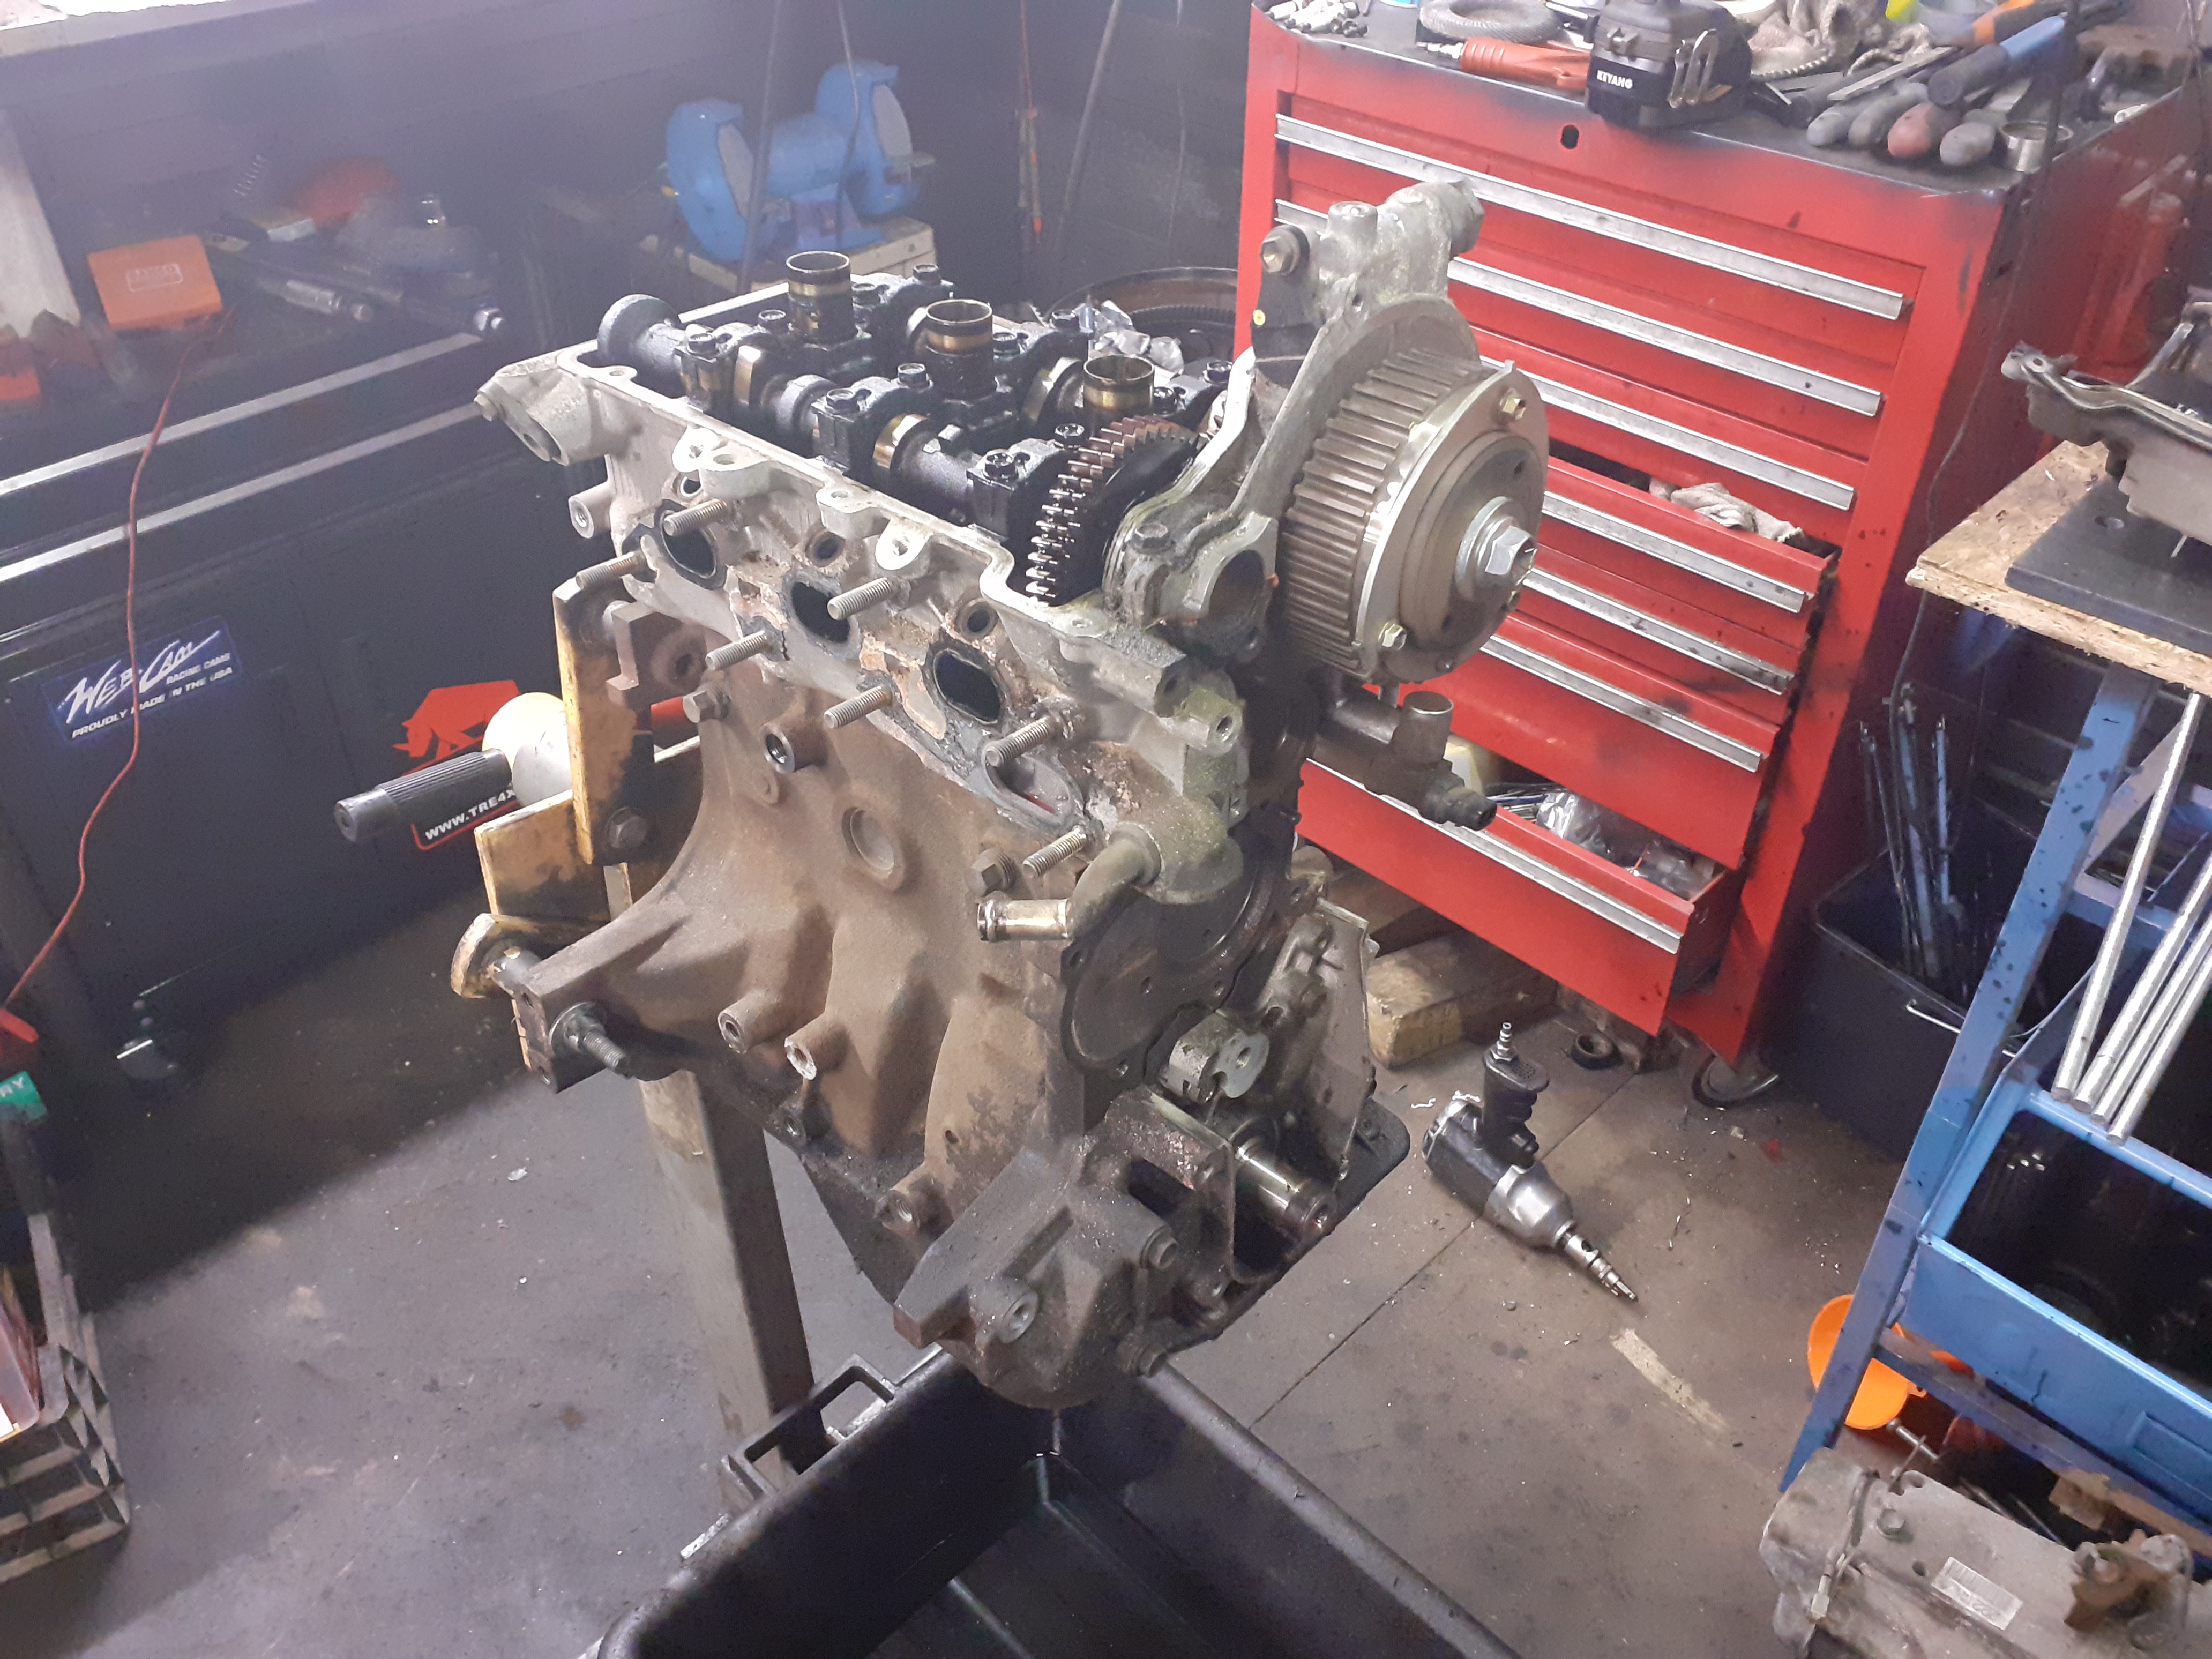
I’m working on the cylinder block right now. And am wondering if the oil flow to the bearings would be disrupted if I put piston squirters in the same oil gallery.
On a side note I’m thinking about using an external oil pump to increase flow and pressure as I’m sure the stock pump can’t handle the extra capacity needed for a turbo and squirters.
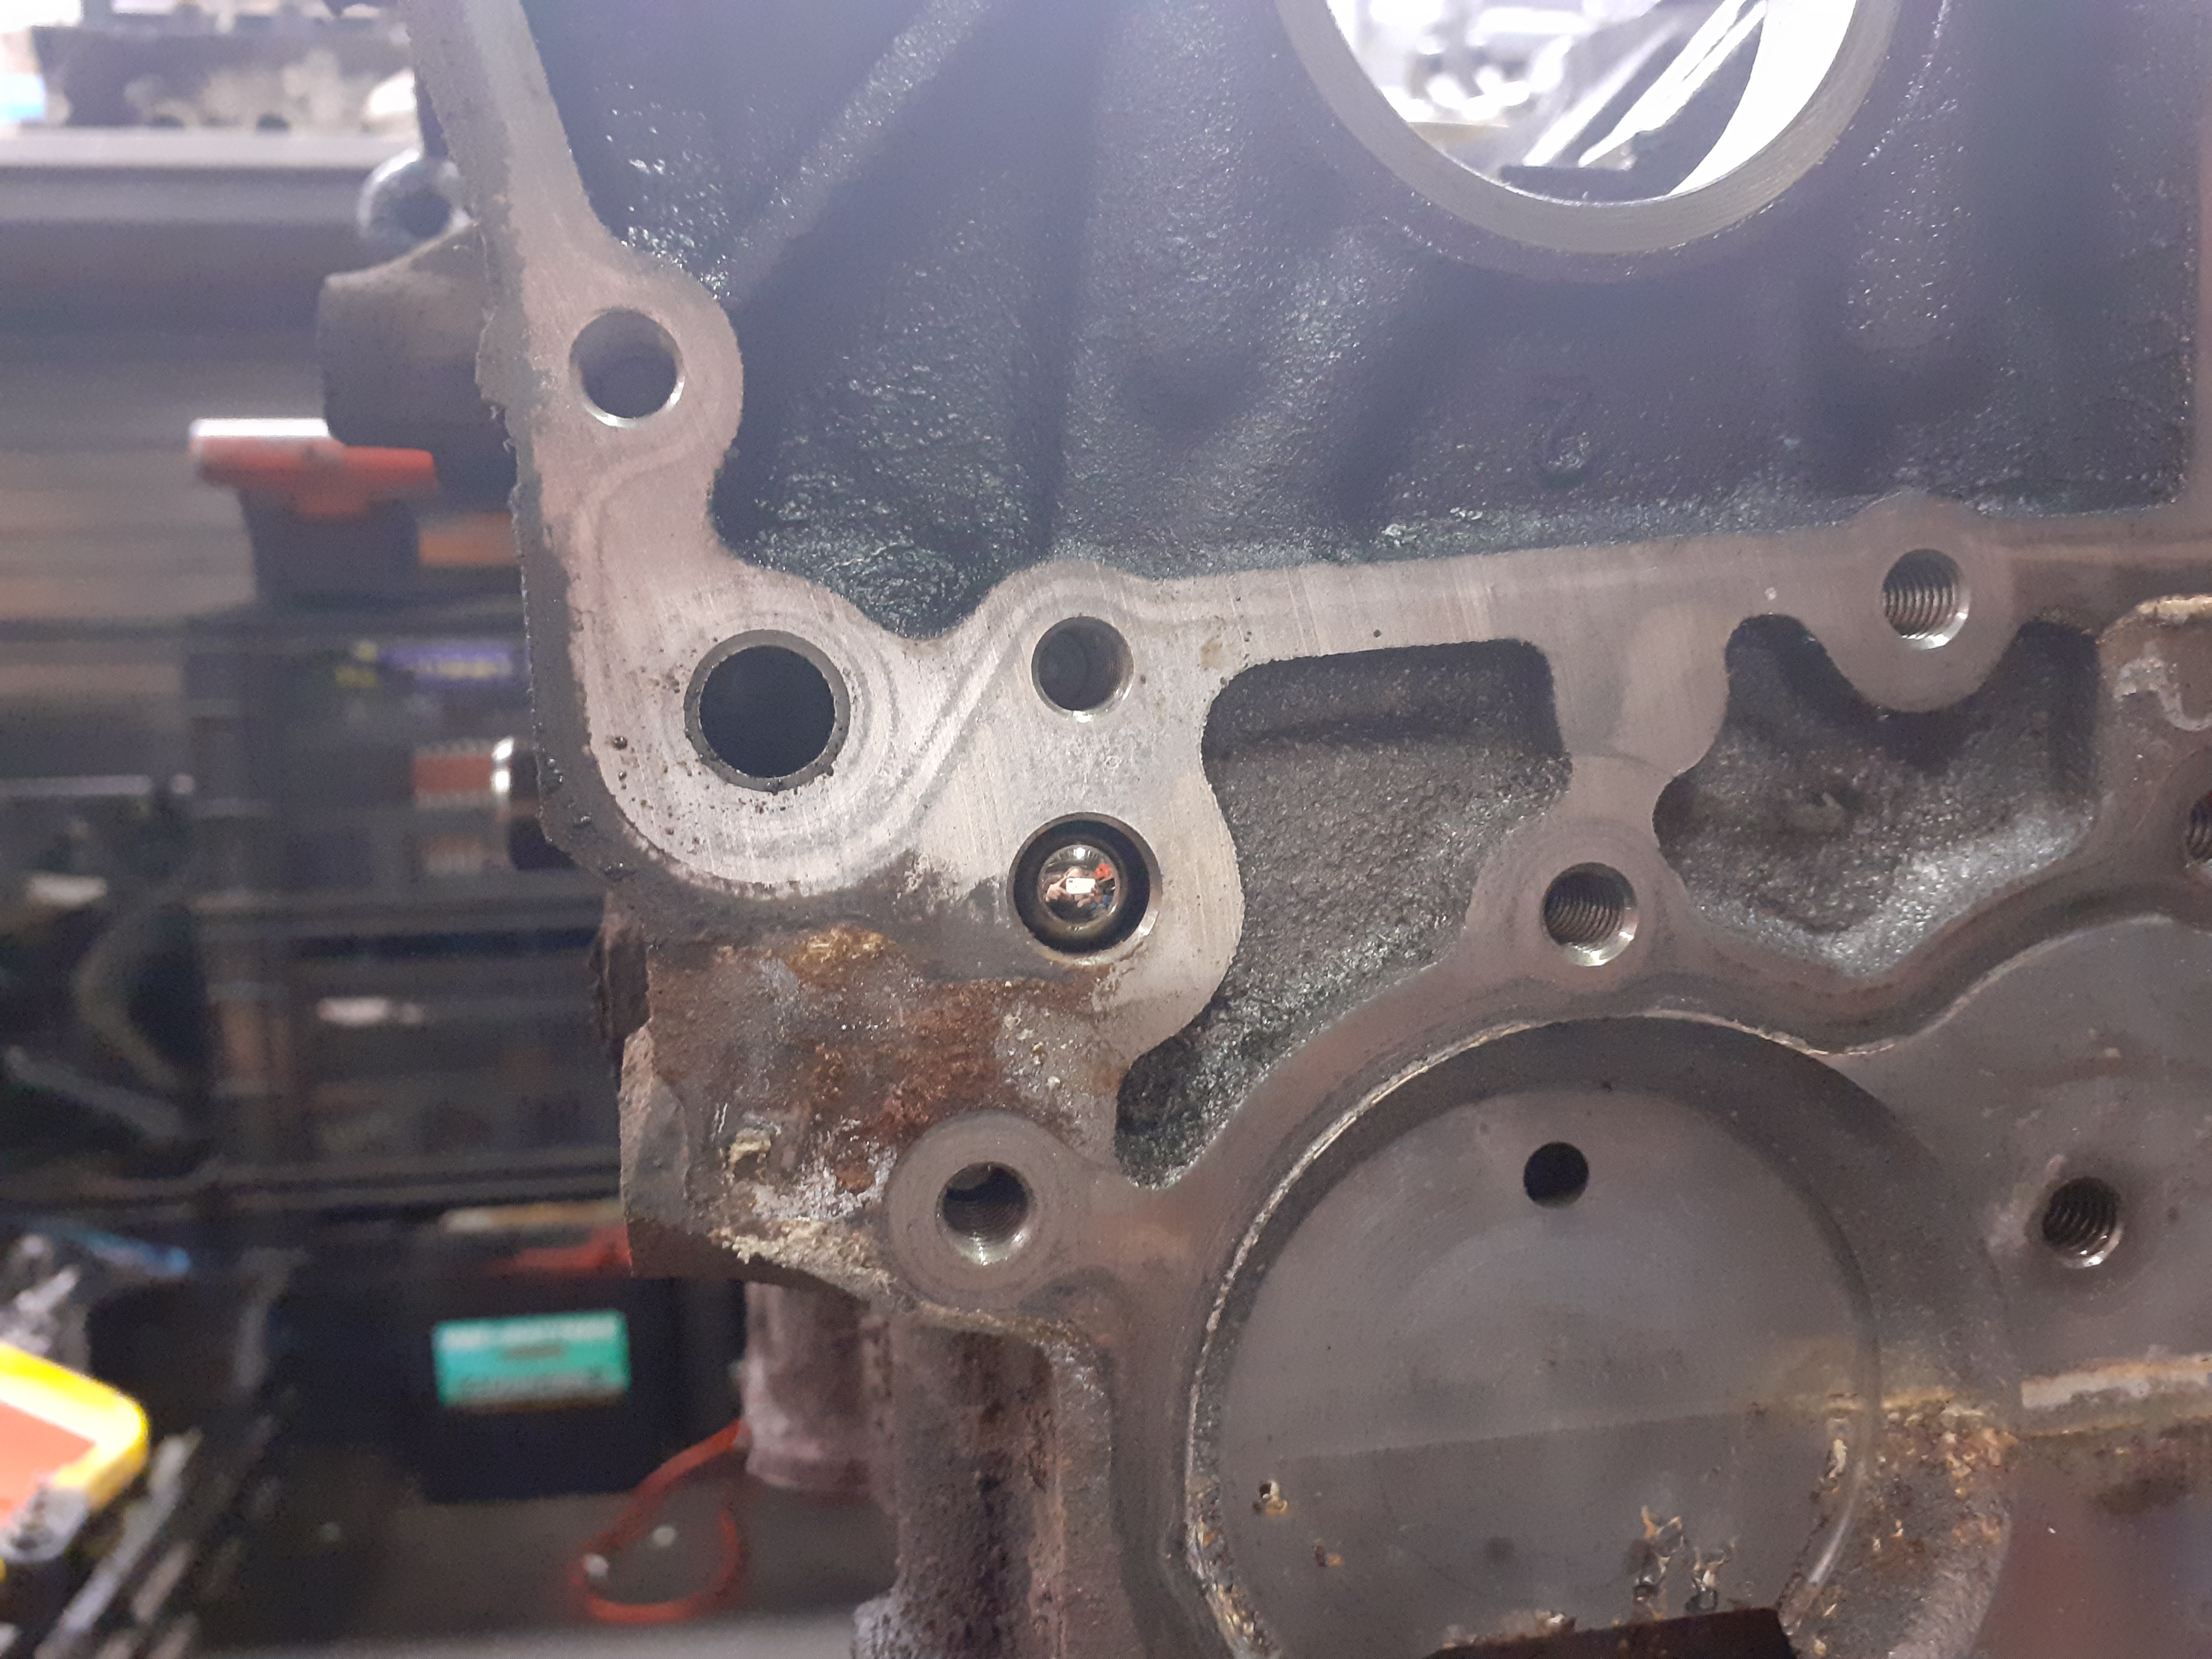
The oil gallery I’m talking about runs about where I traced a red line.
Also… There’s a steel ball on the front and back of the block that blocks off the ends of the gallery. What would be the best method to take these out? Cause after drilling for the piston squirters I want to clean the gallery properly and then put a threaded bung back in instead of the steel balls.
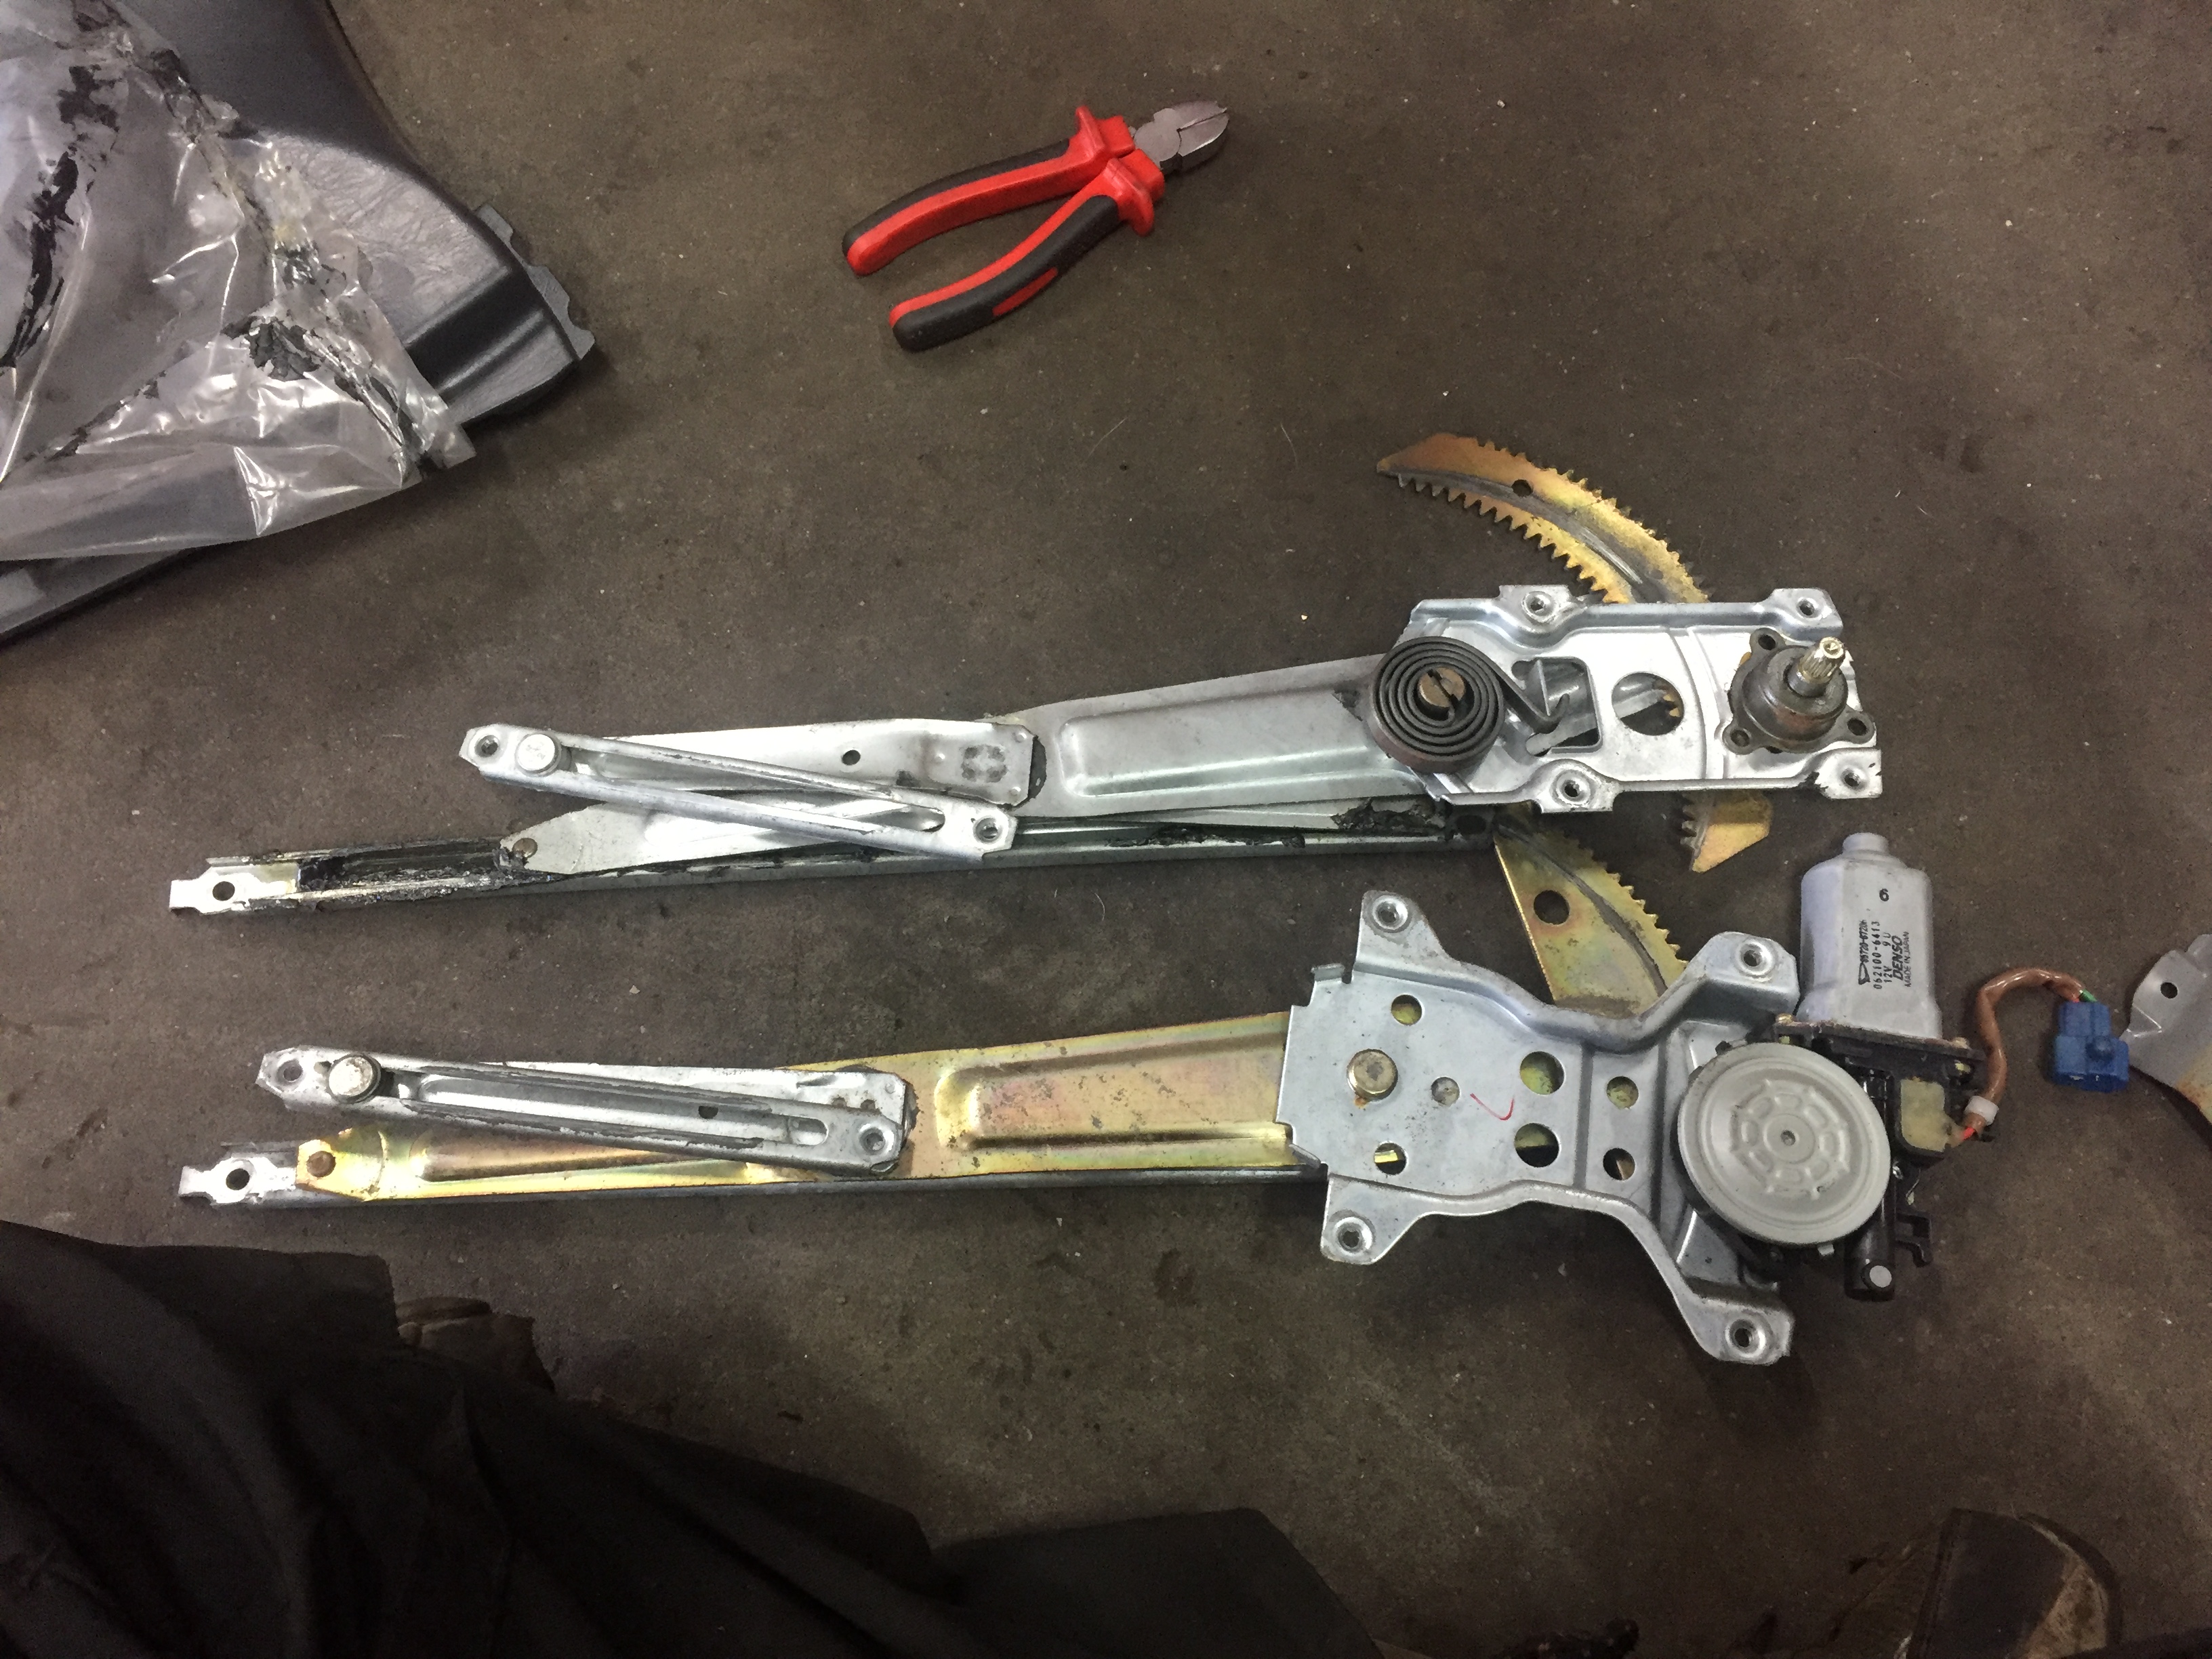
in my experience with other makes, the arms will be longer on the 3 door to the 5 door. approx center of window. Check that to winder position, you might be luck and it might be the same, otherwise cut and weld the arms at a pinch
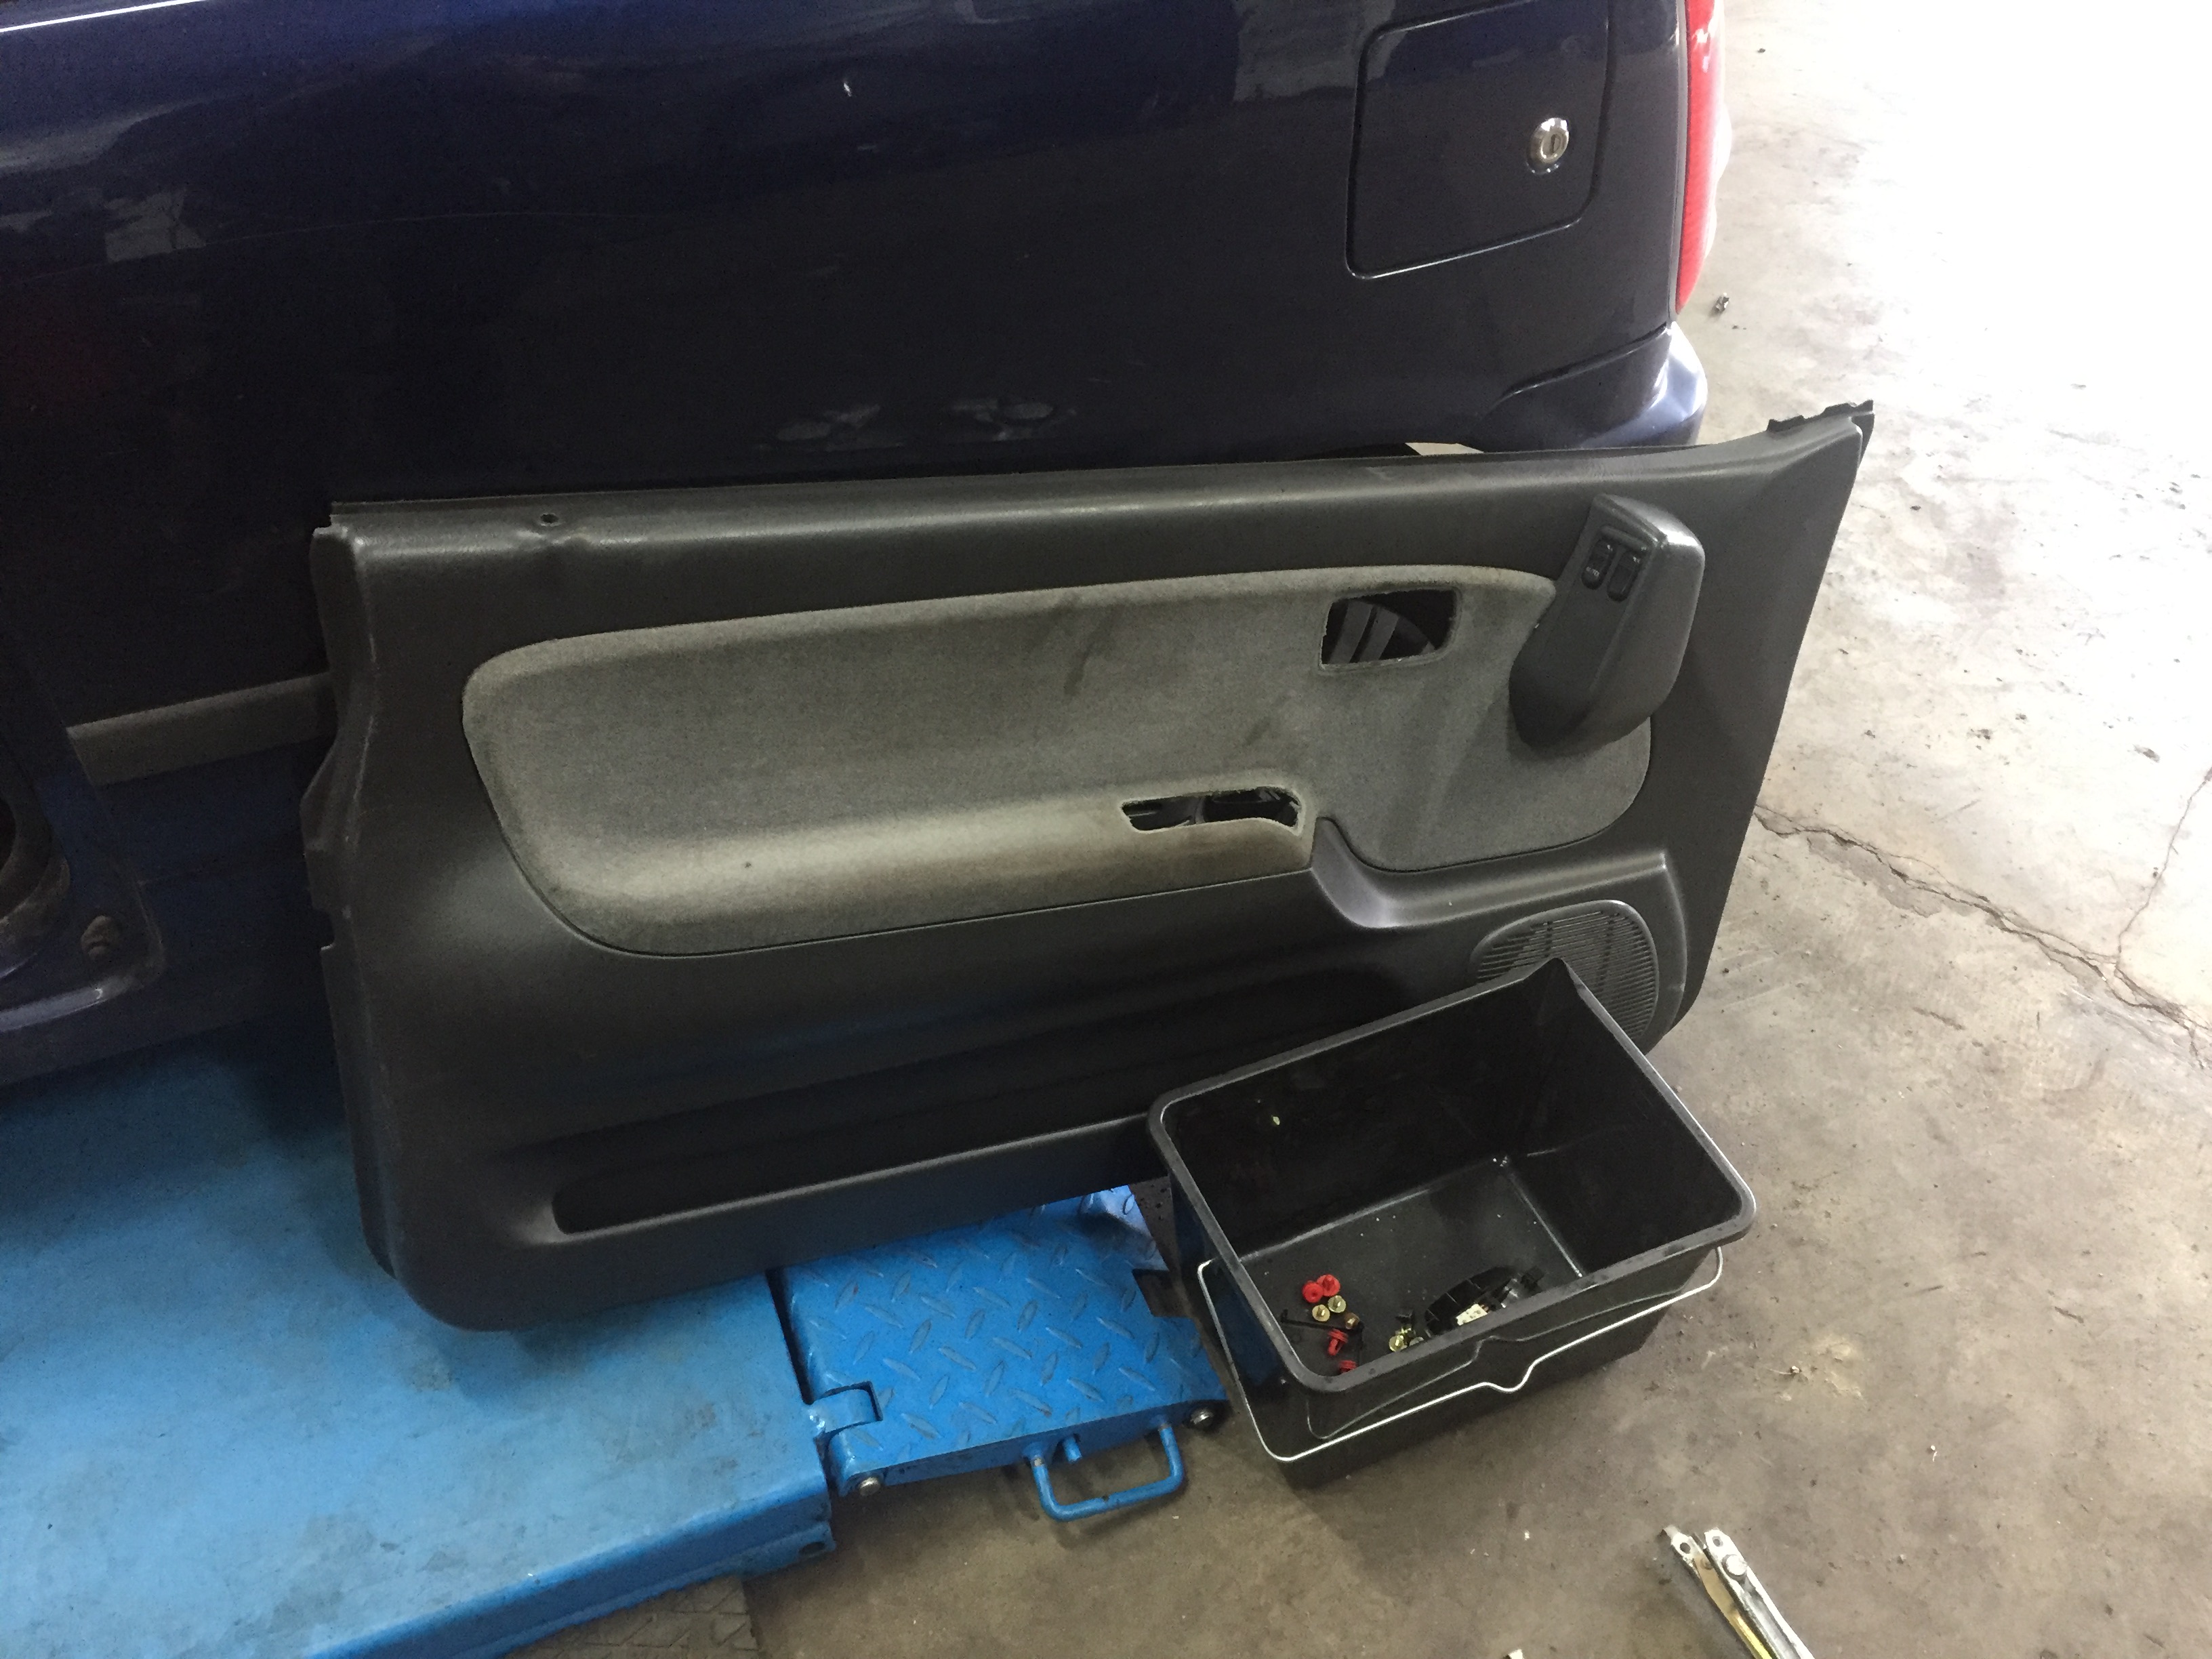
Today i decided to install the power windows before my left arm got too muscular.
Now the temps are going up i’m opening and closing the driver side window pretty often and wanting to open the passenger side as well.
So it was finally time.
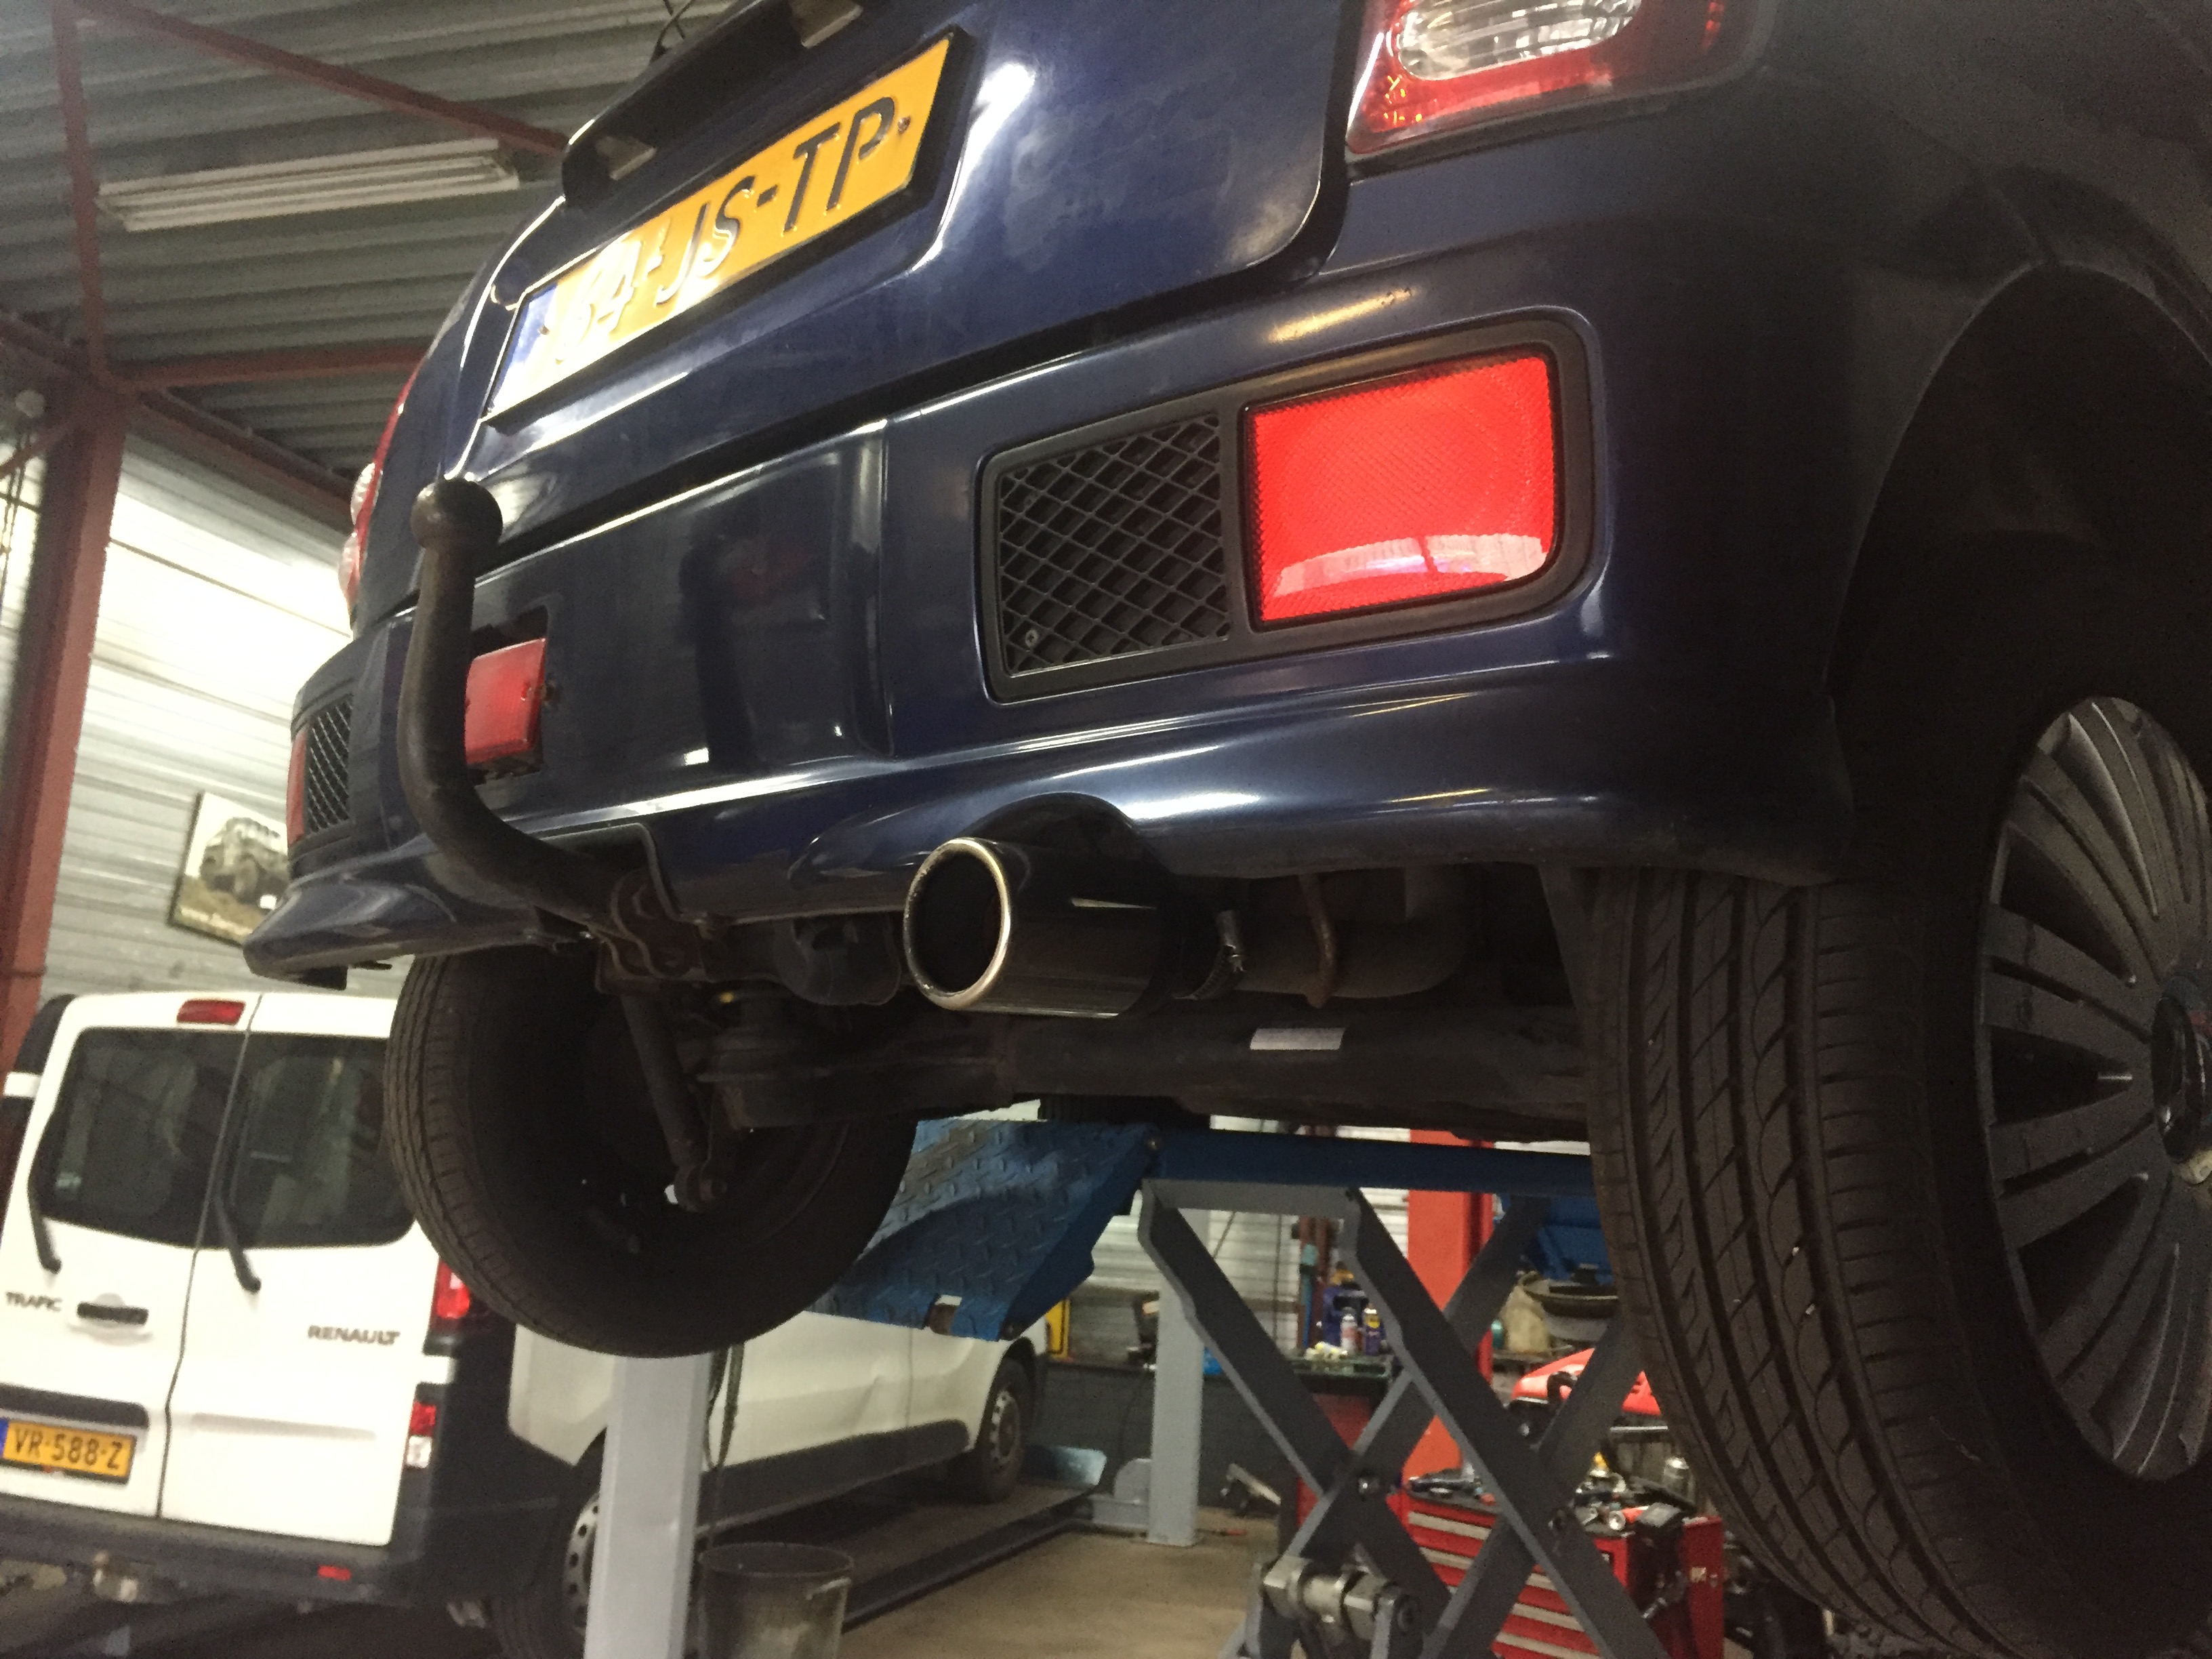
I had to pick up a part at our supplier for a customer and bring it to him. And because he literally lives across the road from the shop, i decided to go in and get a little more work done.
I replaced the back piece from the exhaust as it was rusted through. The upside is that the spare exhaust had a chrome tip.
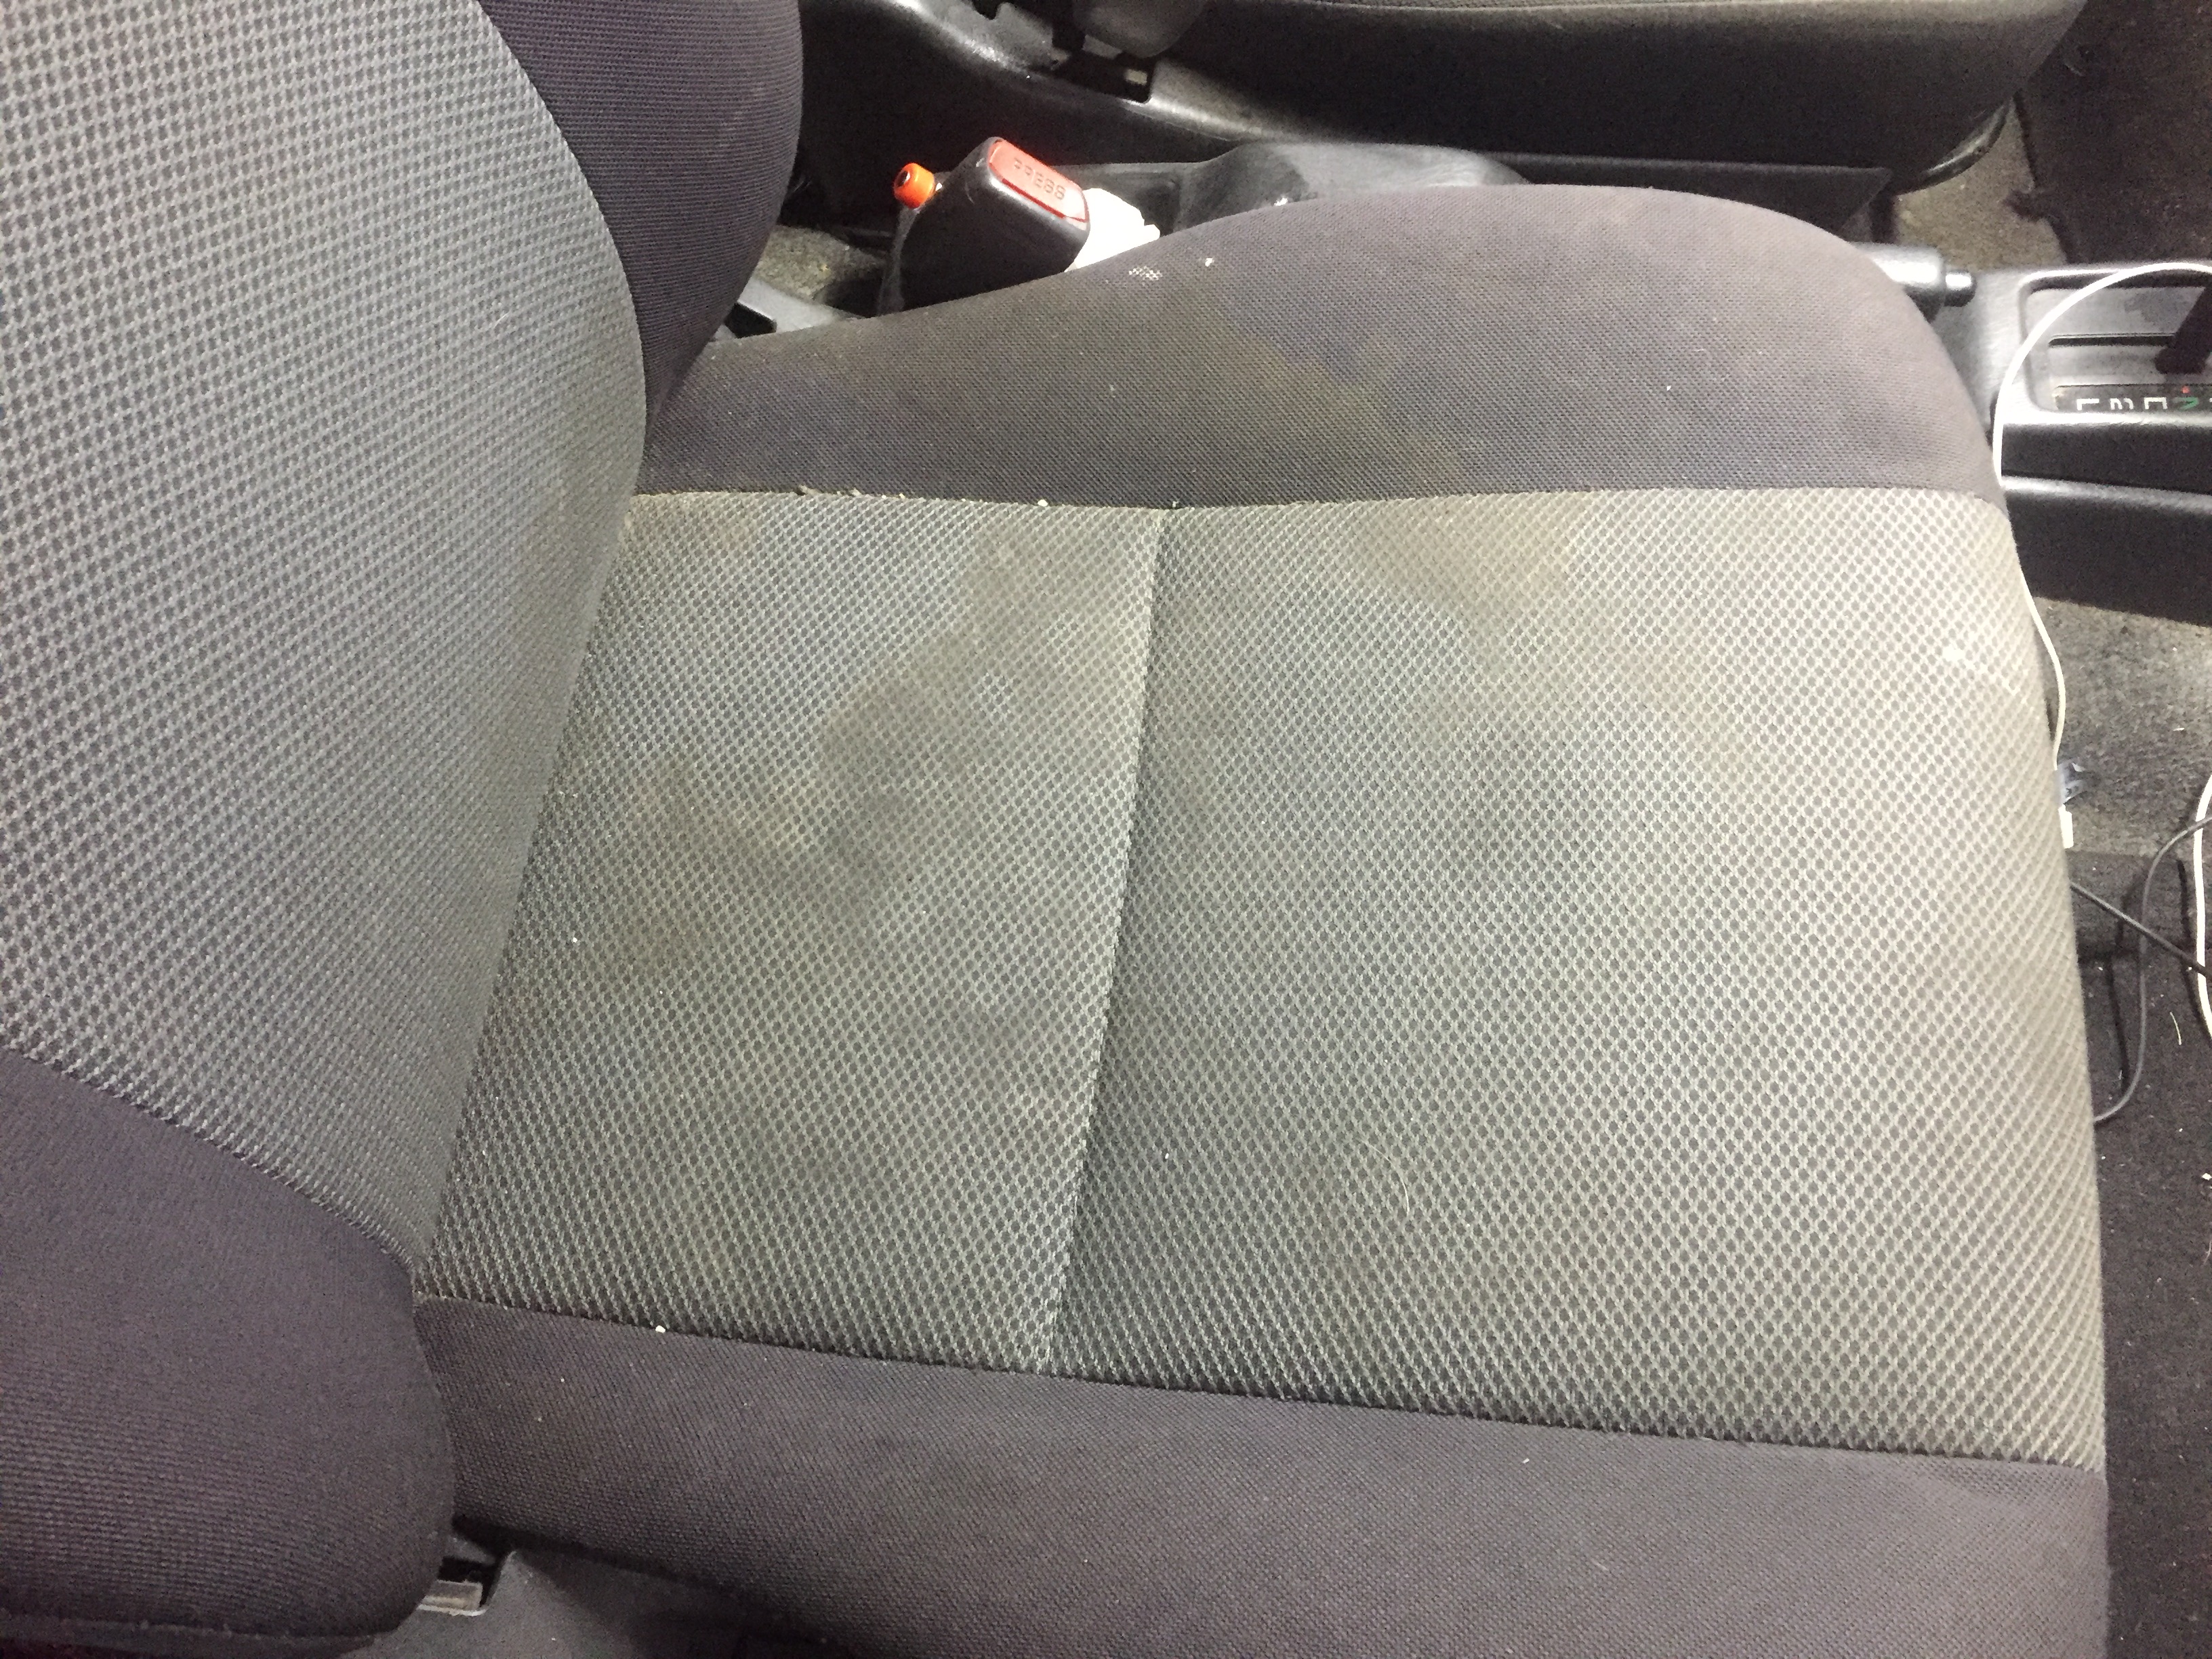
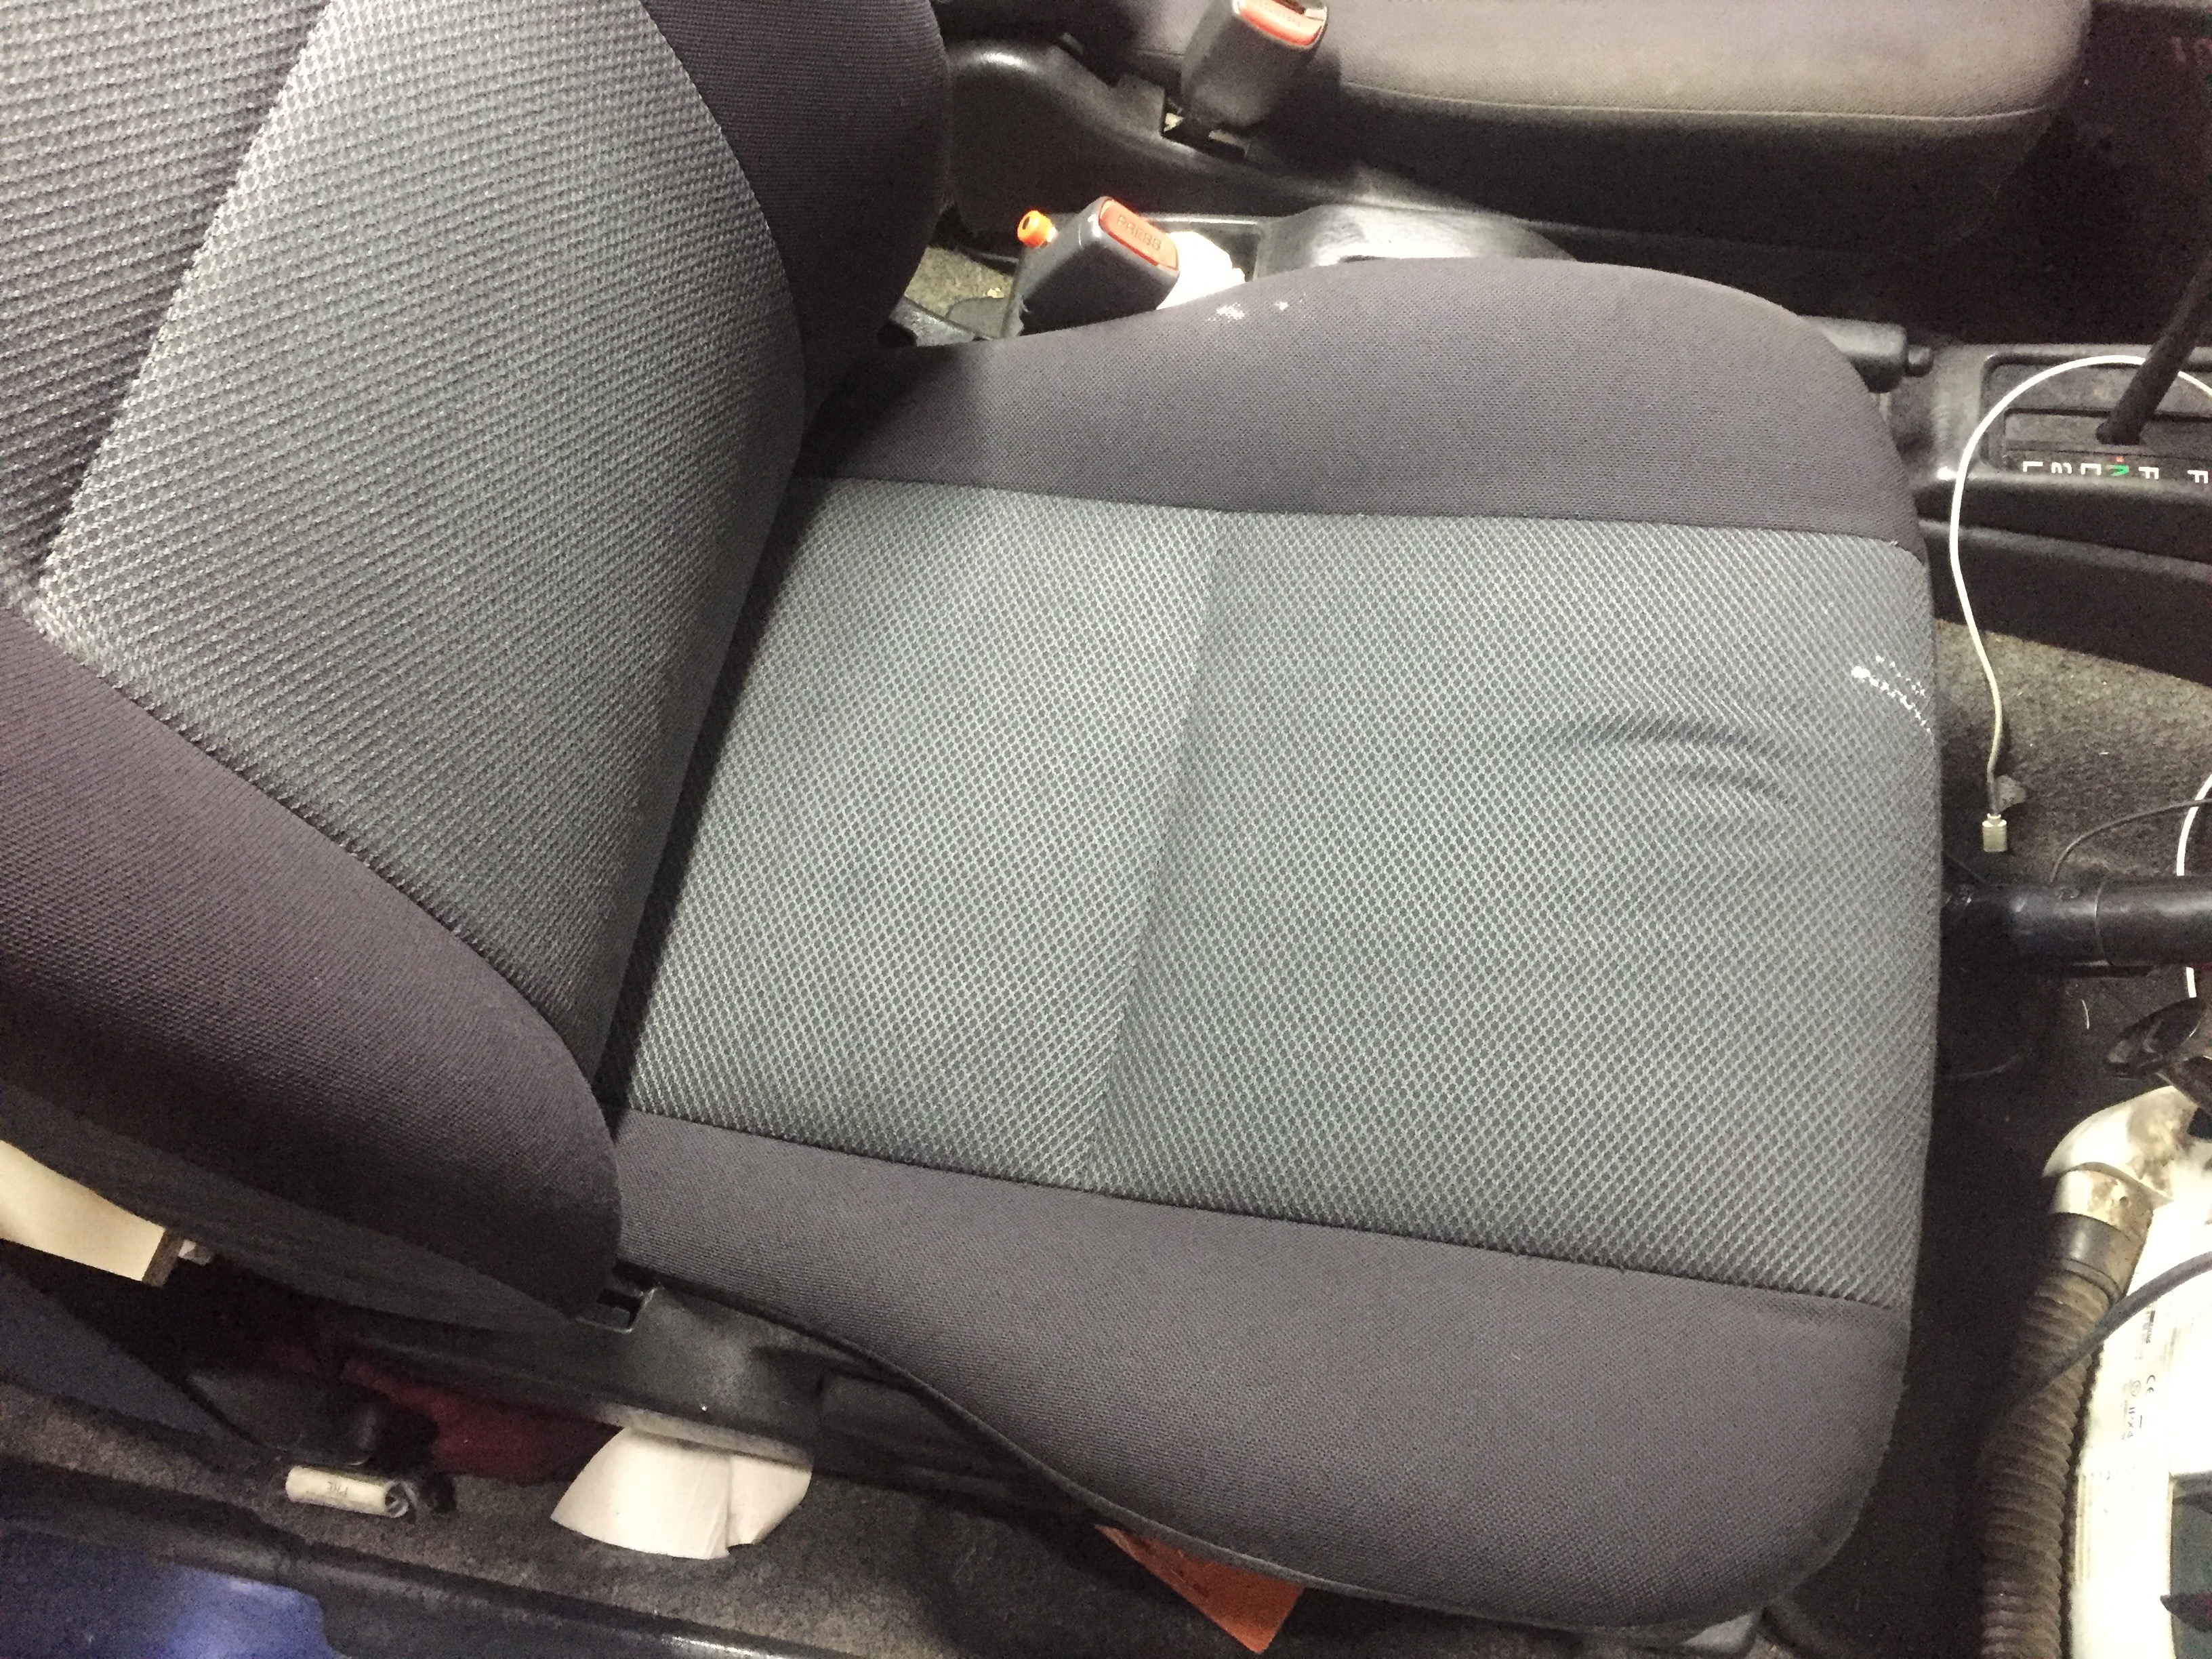
The seat pictured looked way worse than in the photo. The passenger seat was the worst.
It still isn’t perfect but it’s a lot better. I’m planning on getting the car detailed by a pro inside and out later this year. Cause i’m planning on making a proper floor for in the back.
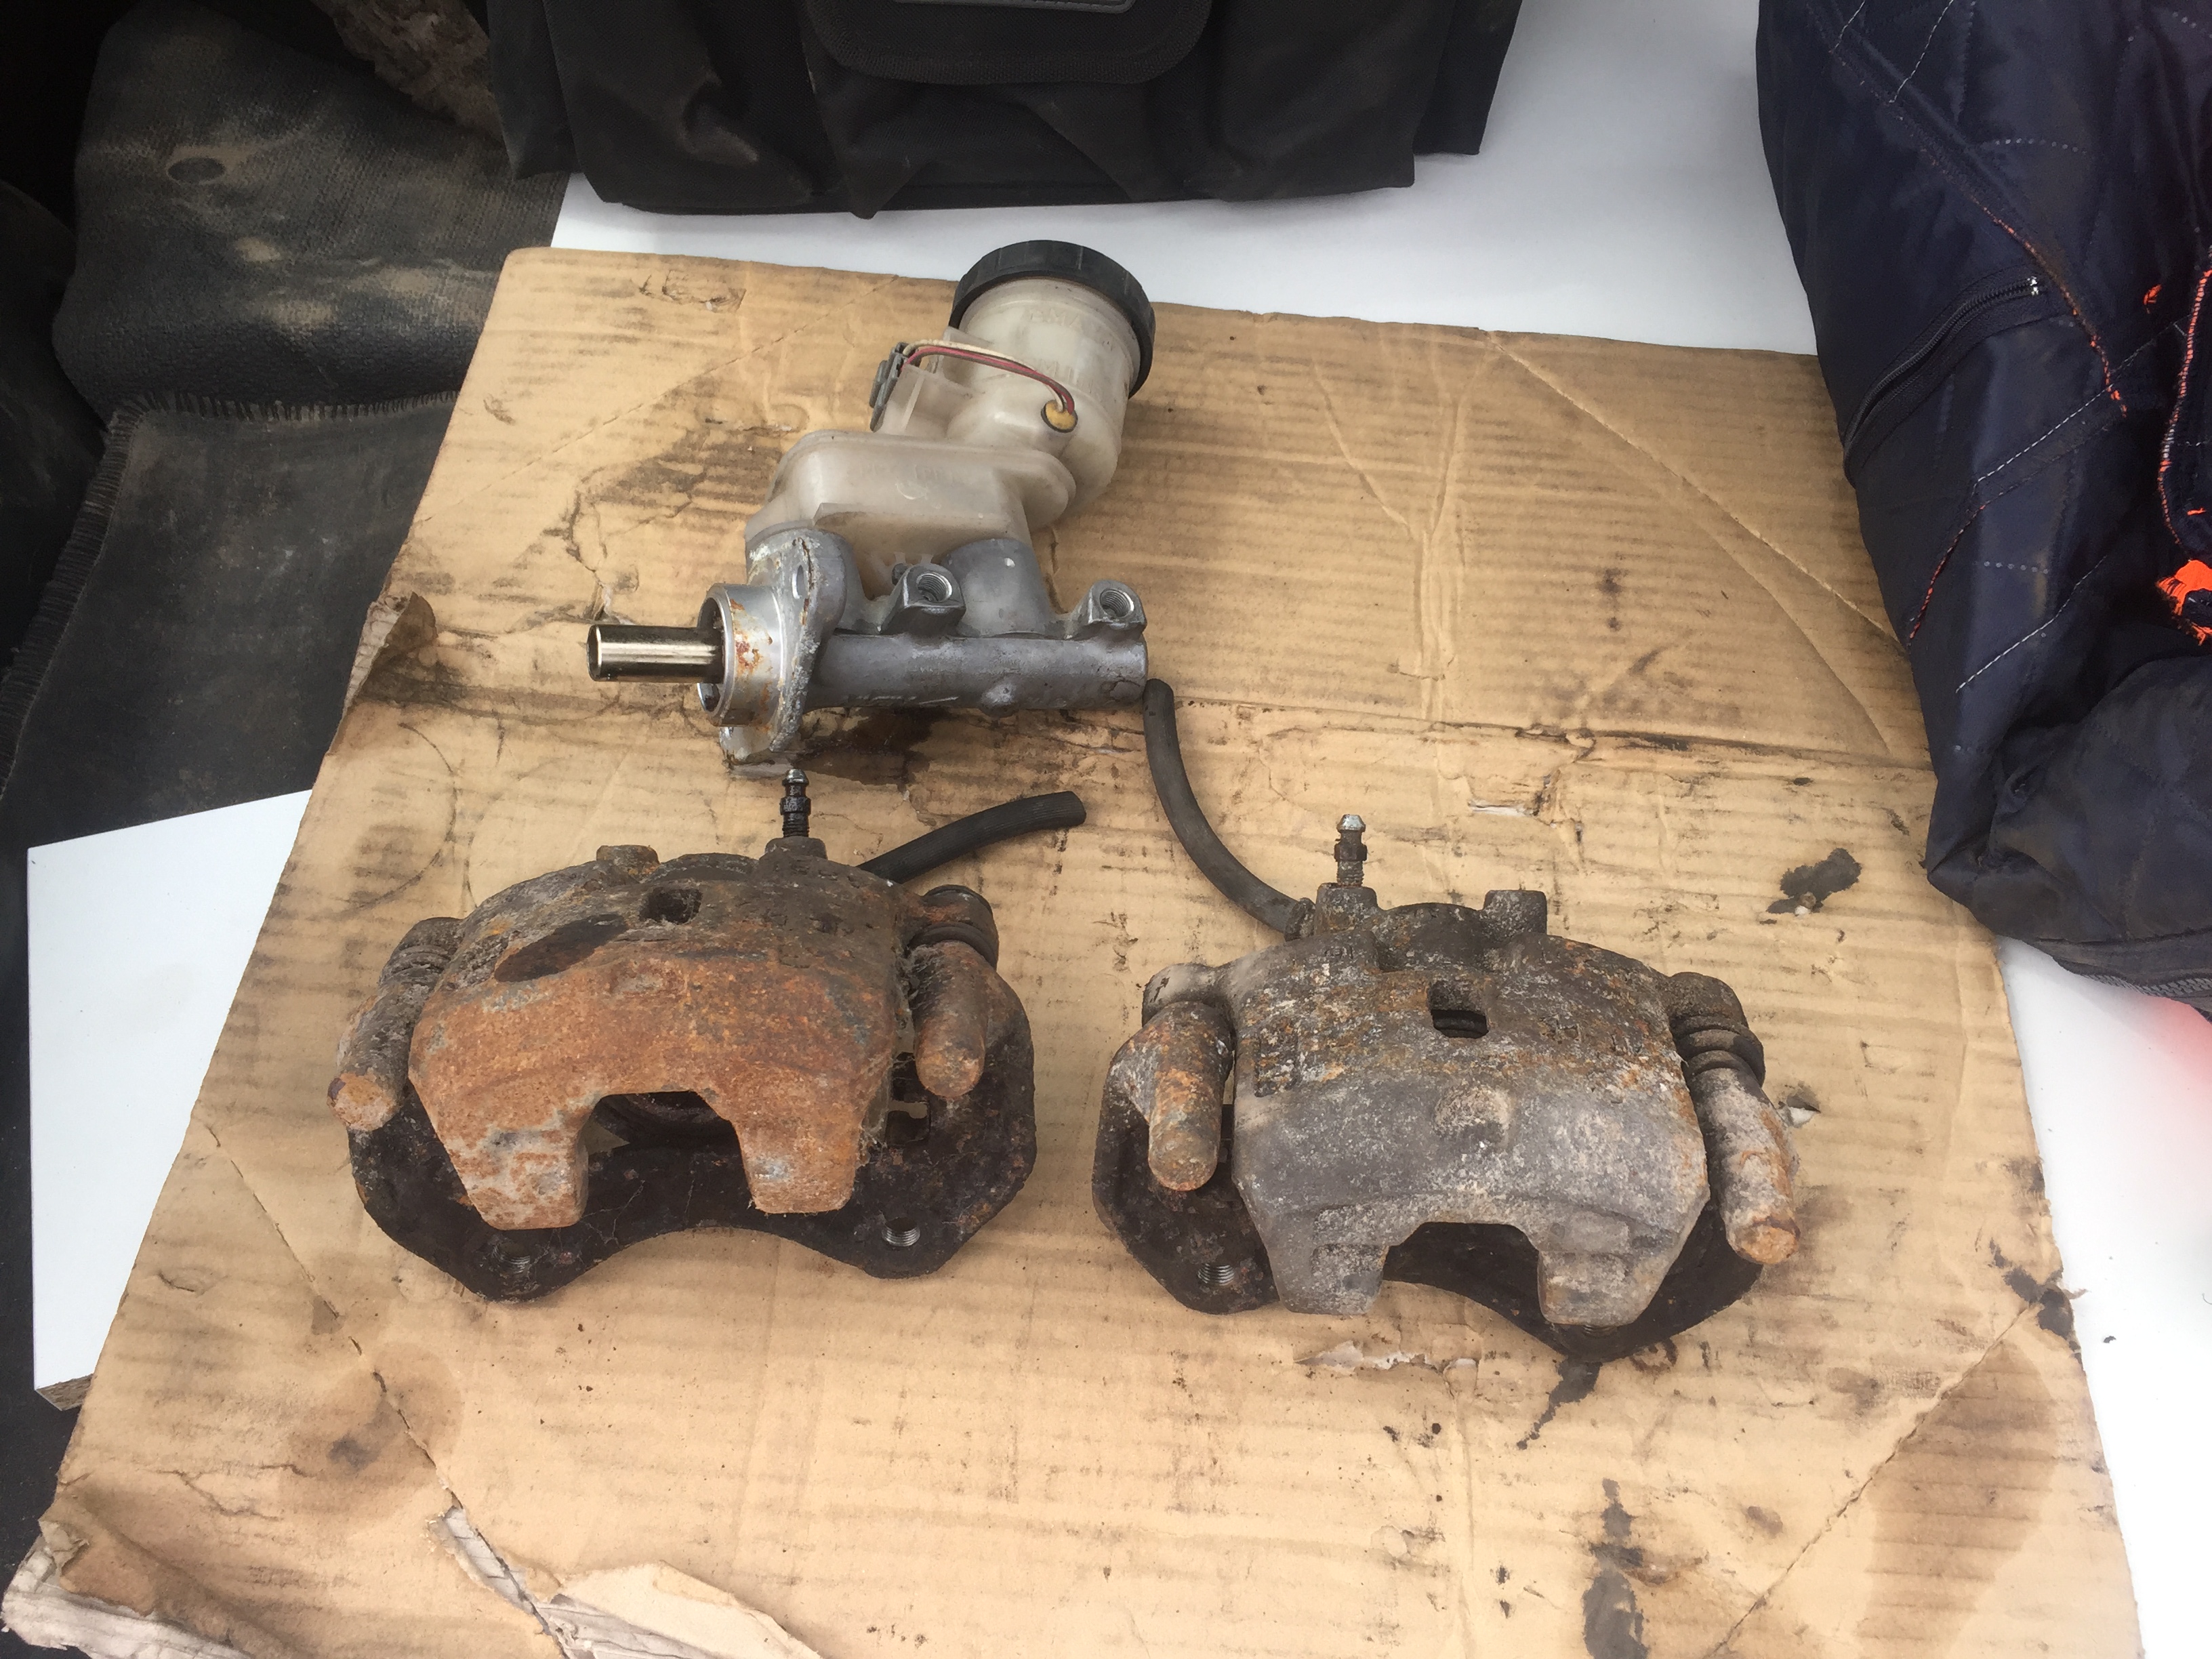
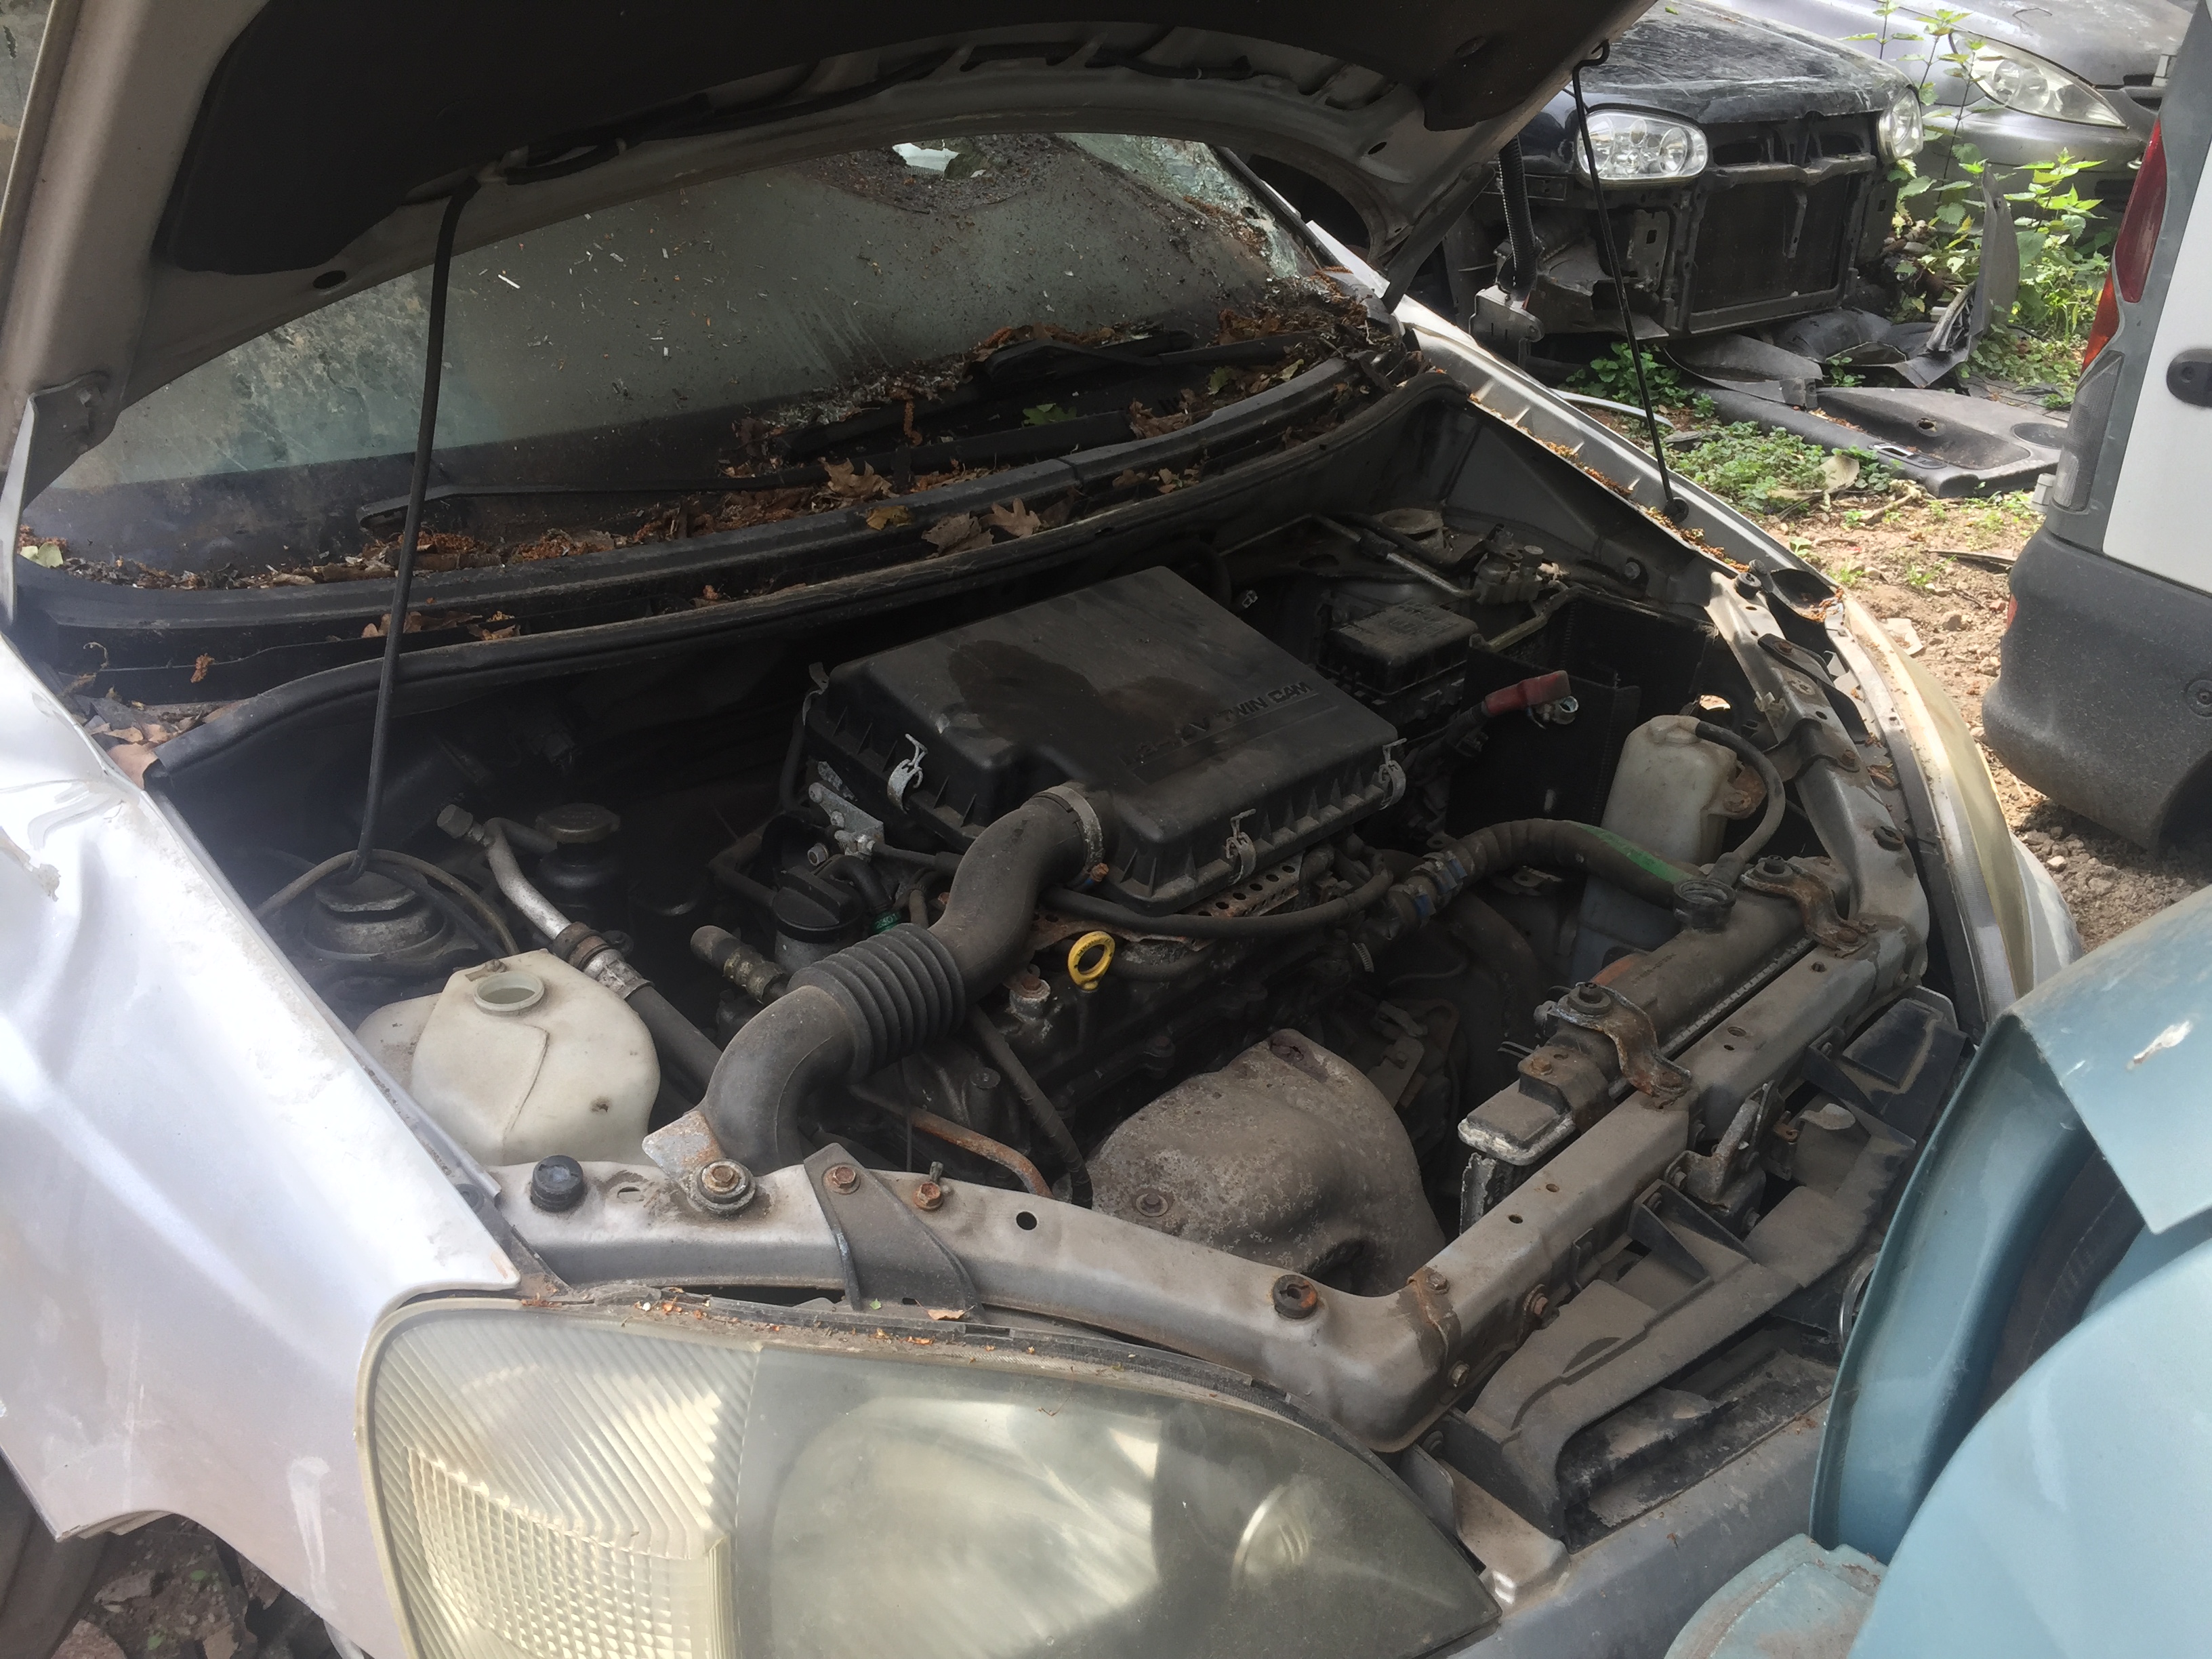
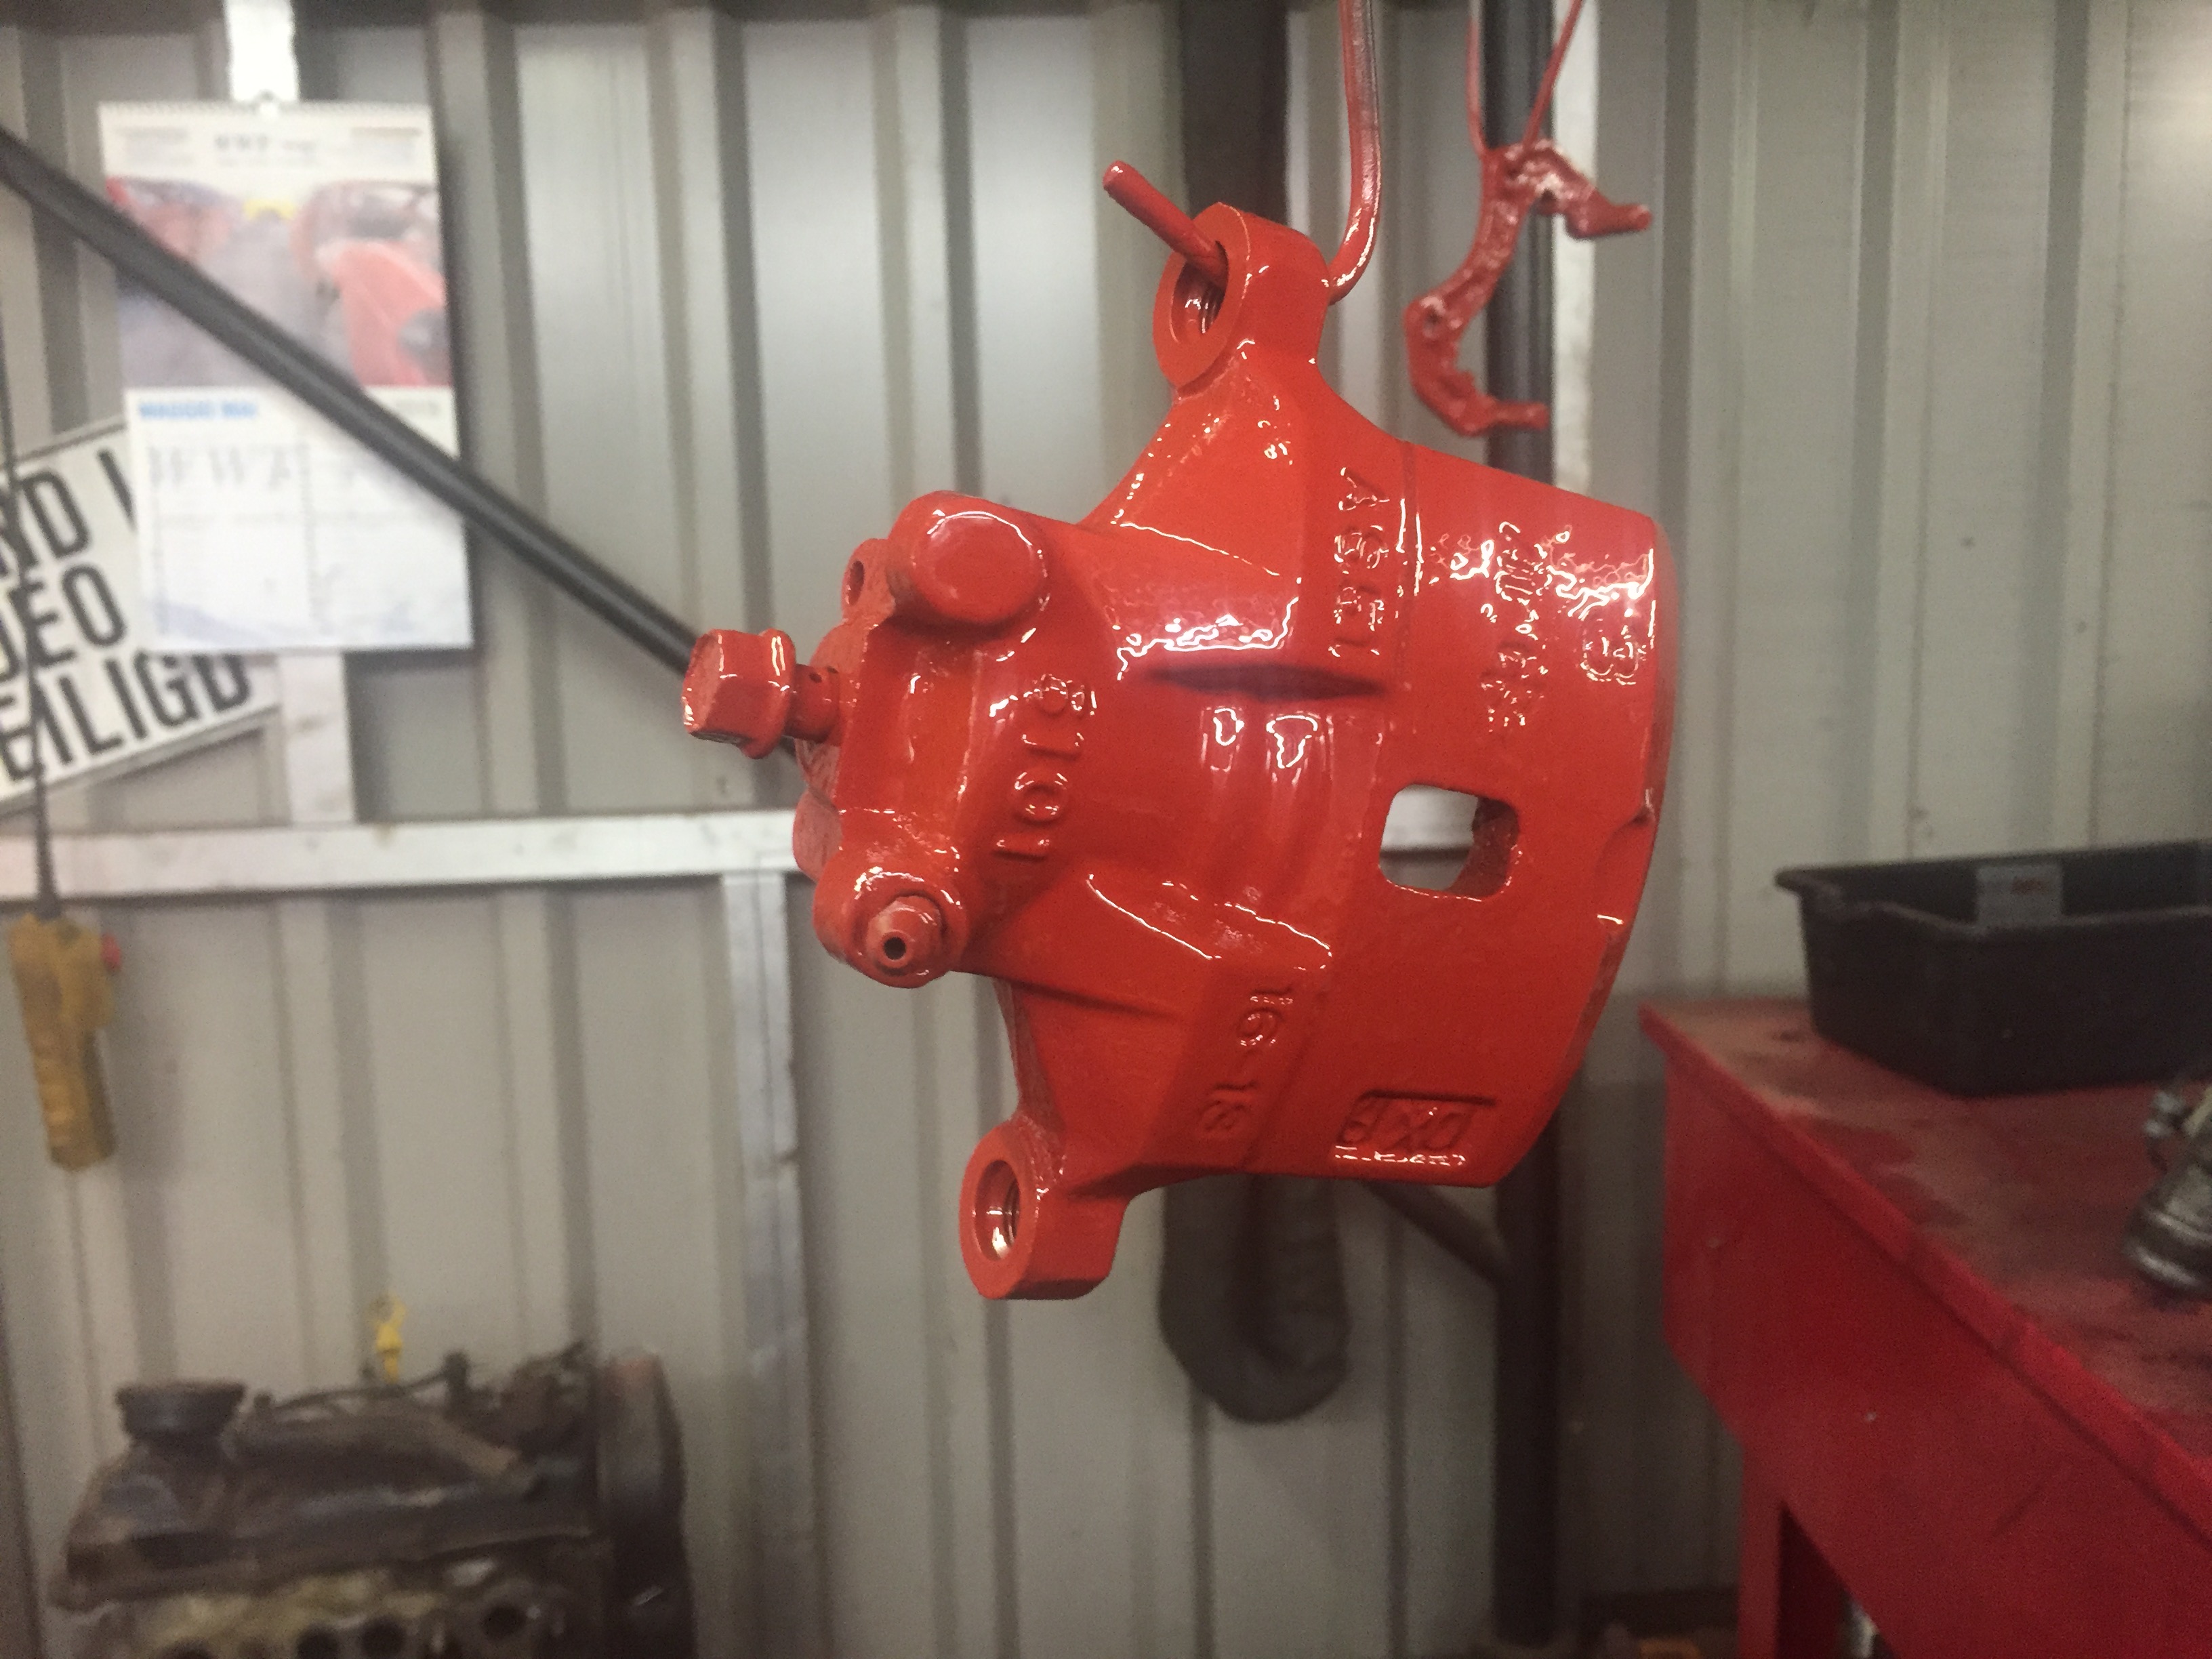
Been thinking about a brake upgrade for a while but i didn’t think i’d be doing it anytime soon.
However this morning i went to my local wrecker with no intent to buy anything. But they offered me a great deal.
So i got my tools out and started wrenching. It was not as easy as i thought due to the way the car was sitting.
I also got the master cylinder to make up for the larger calipers.
I’ll order the rebuild kits, brake pads and brake discs in a moment.
1.3 engine swap maybe?!? They also offered me a killer deal on that stuff. The offer is 275,- for the engine, transmission, mounts, wiring, ecu and everything else needed for the swap,
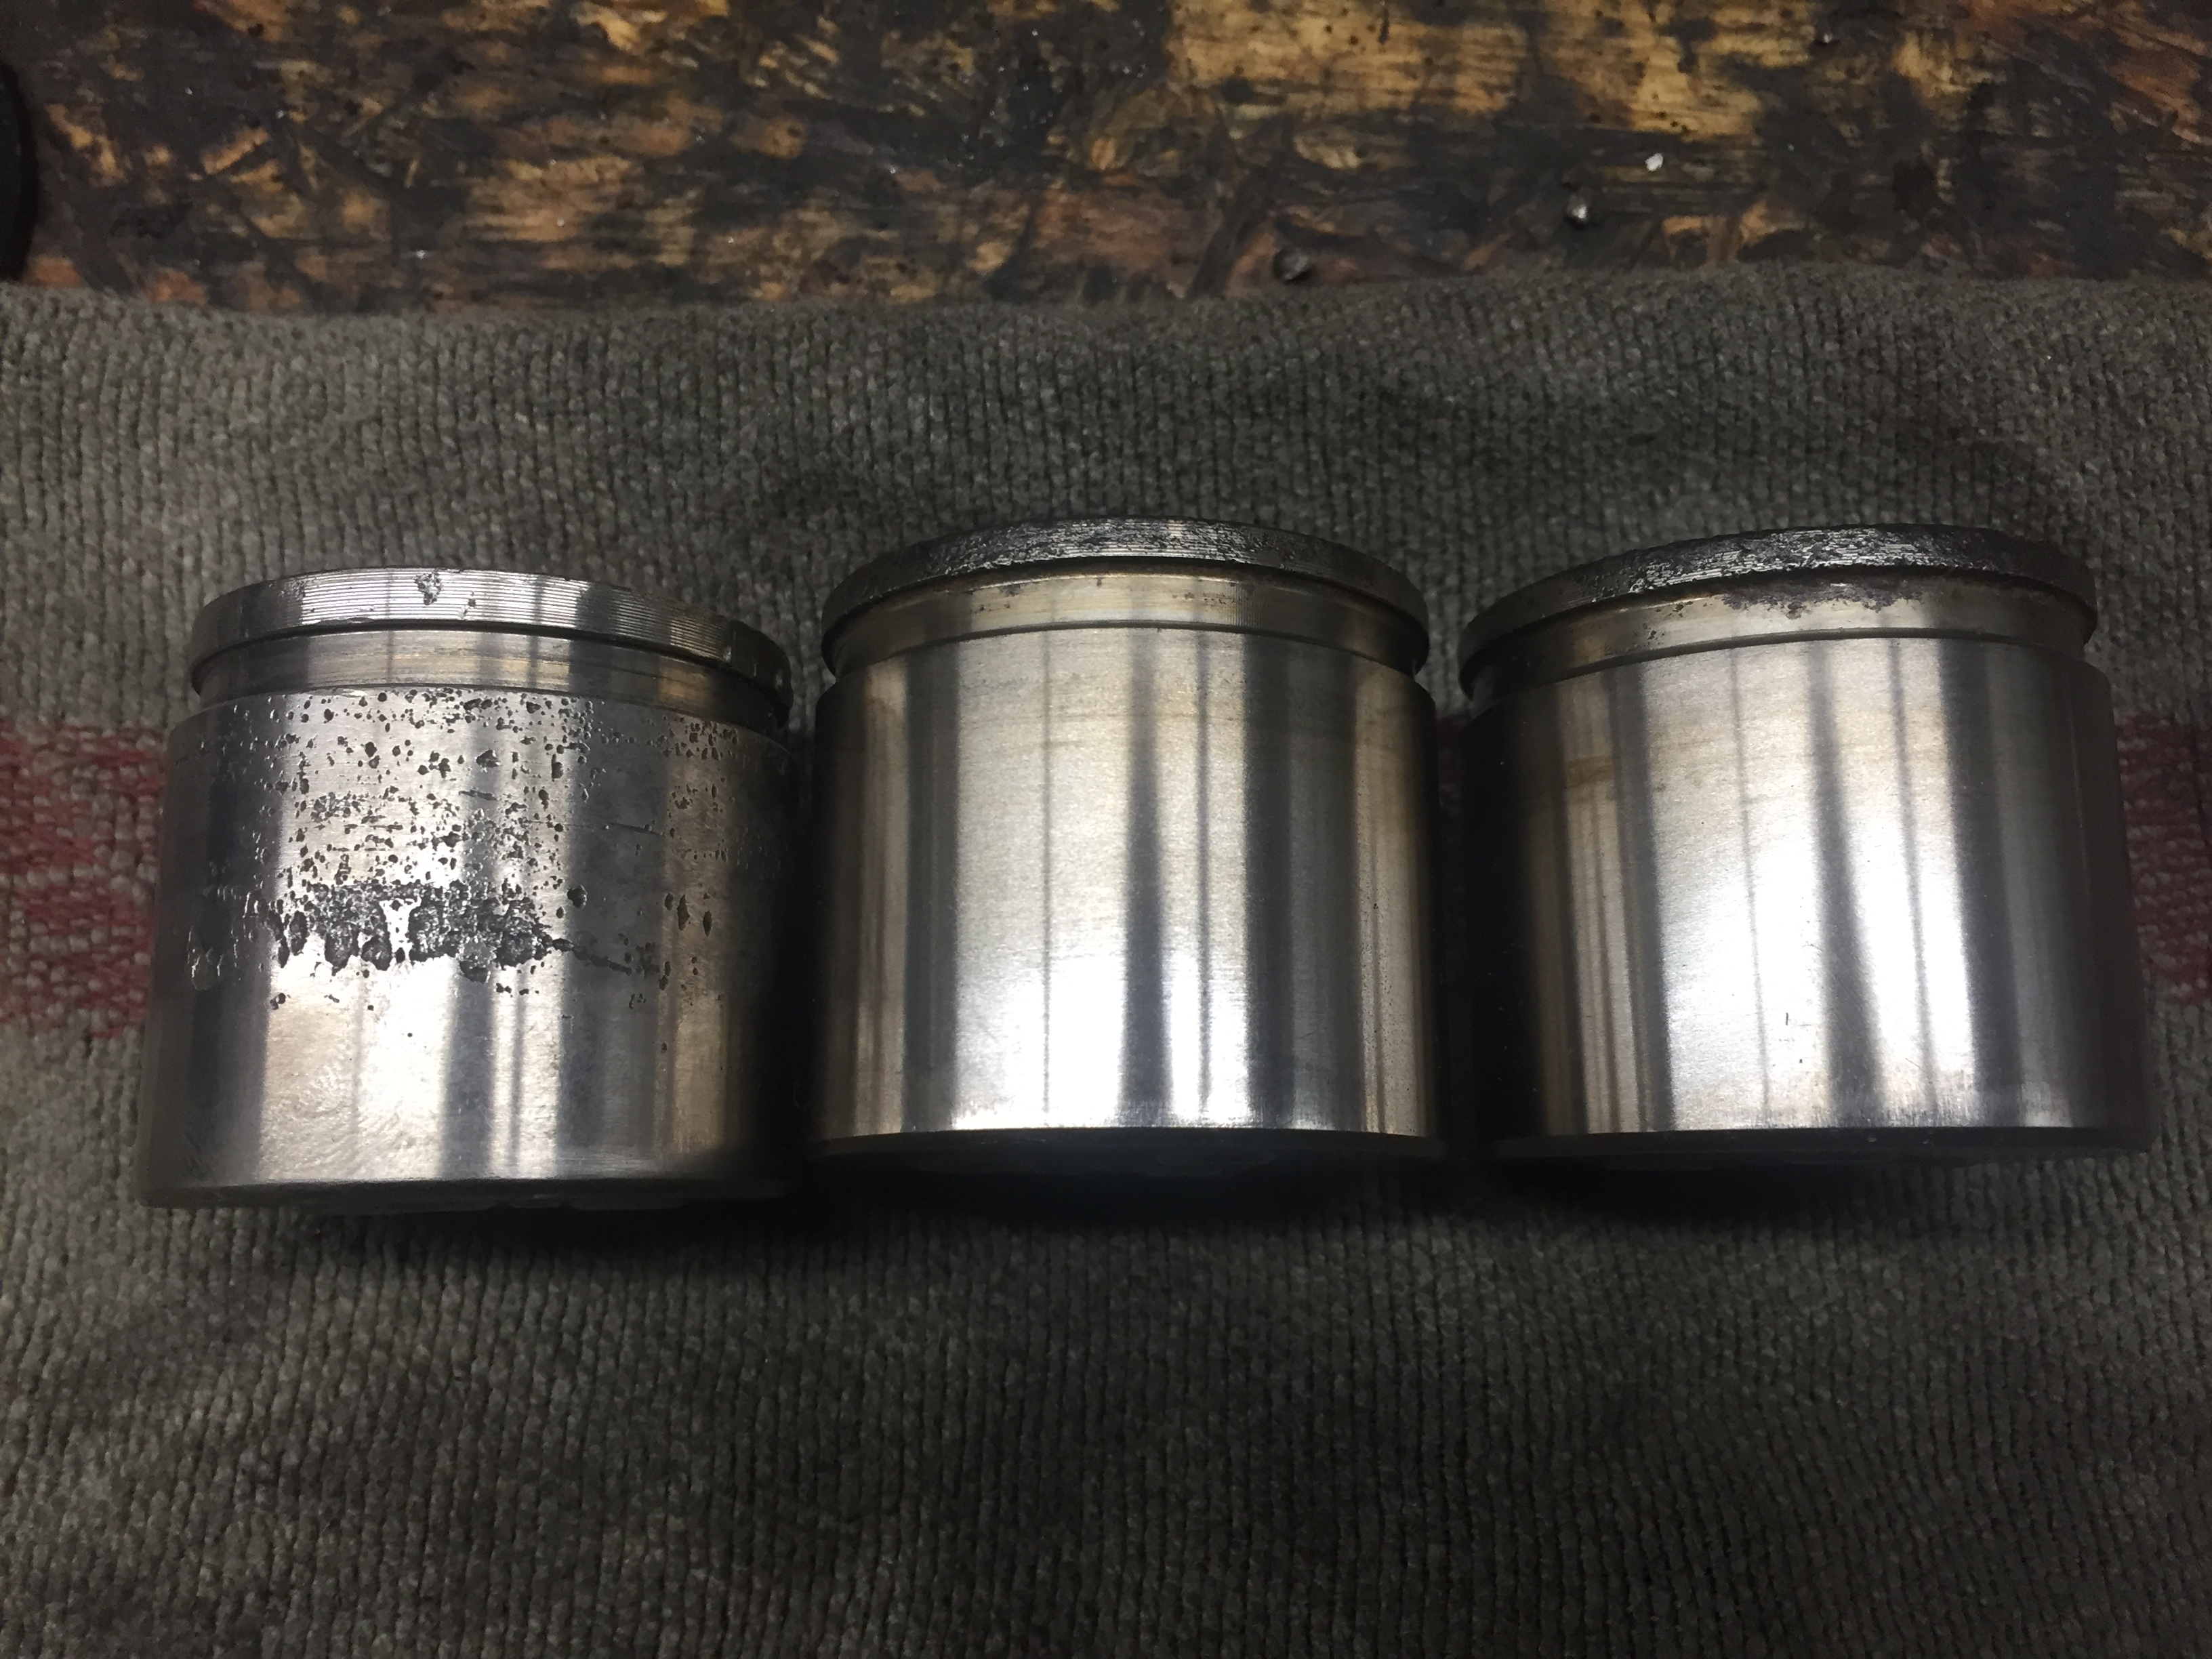
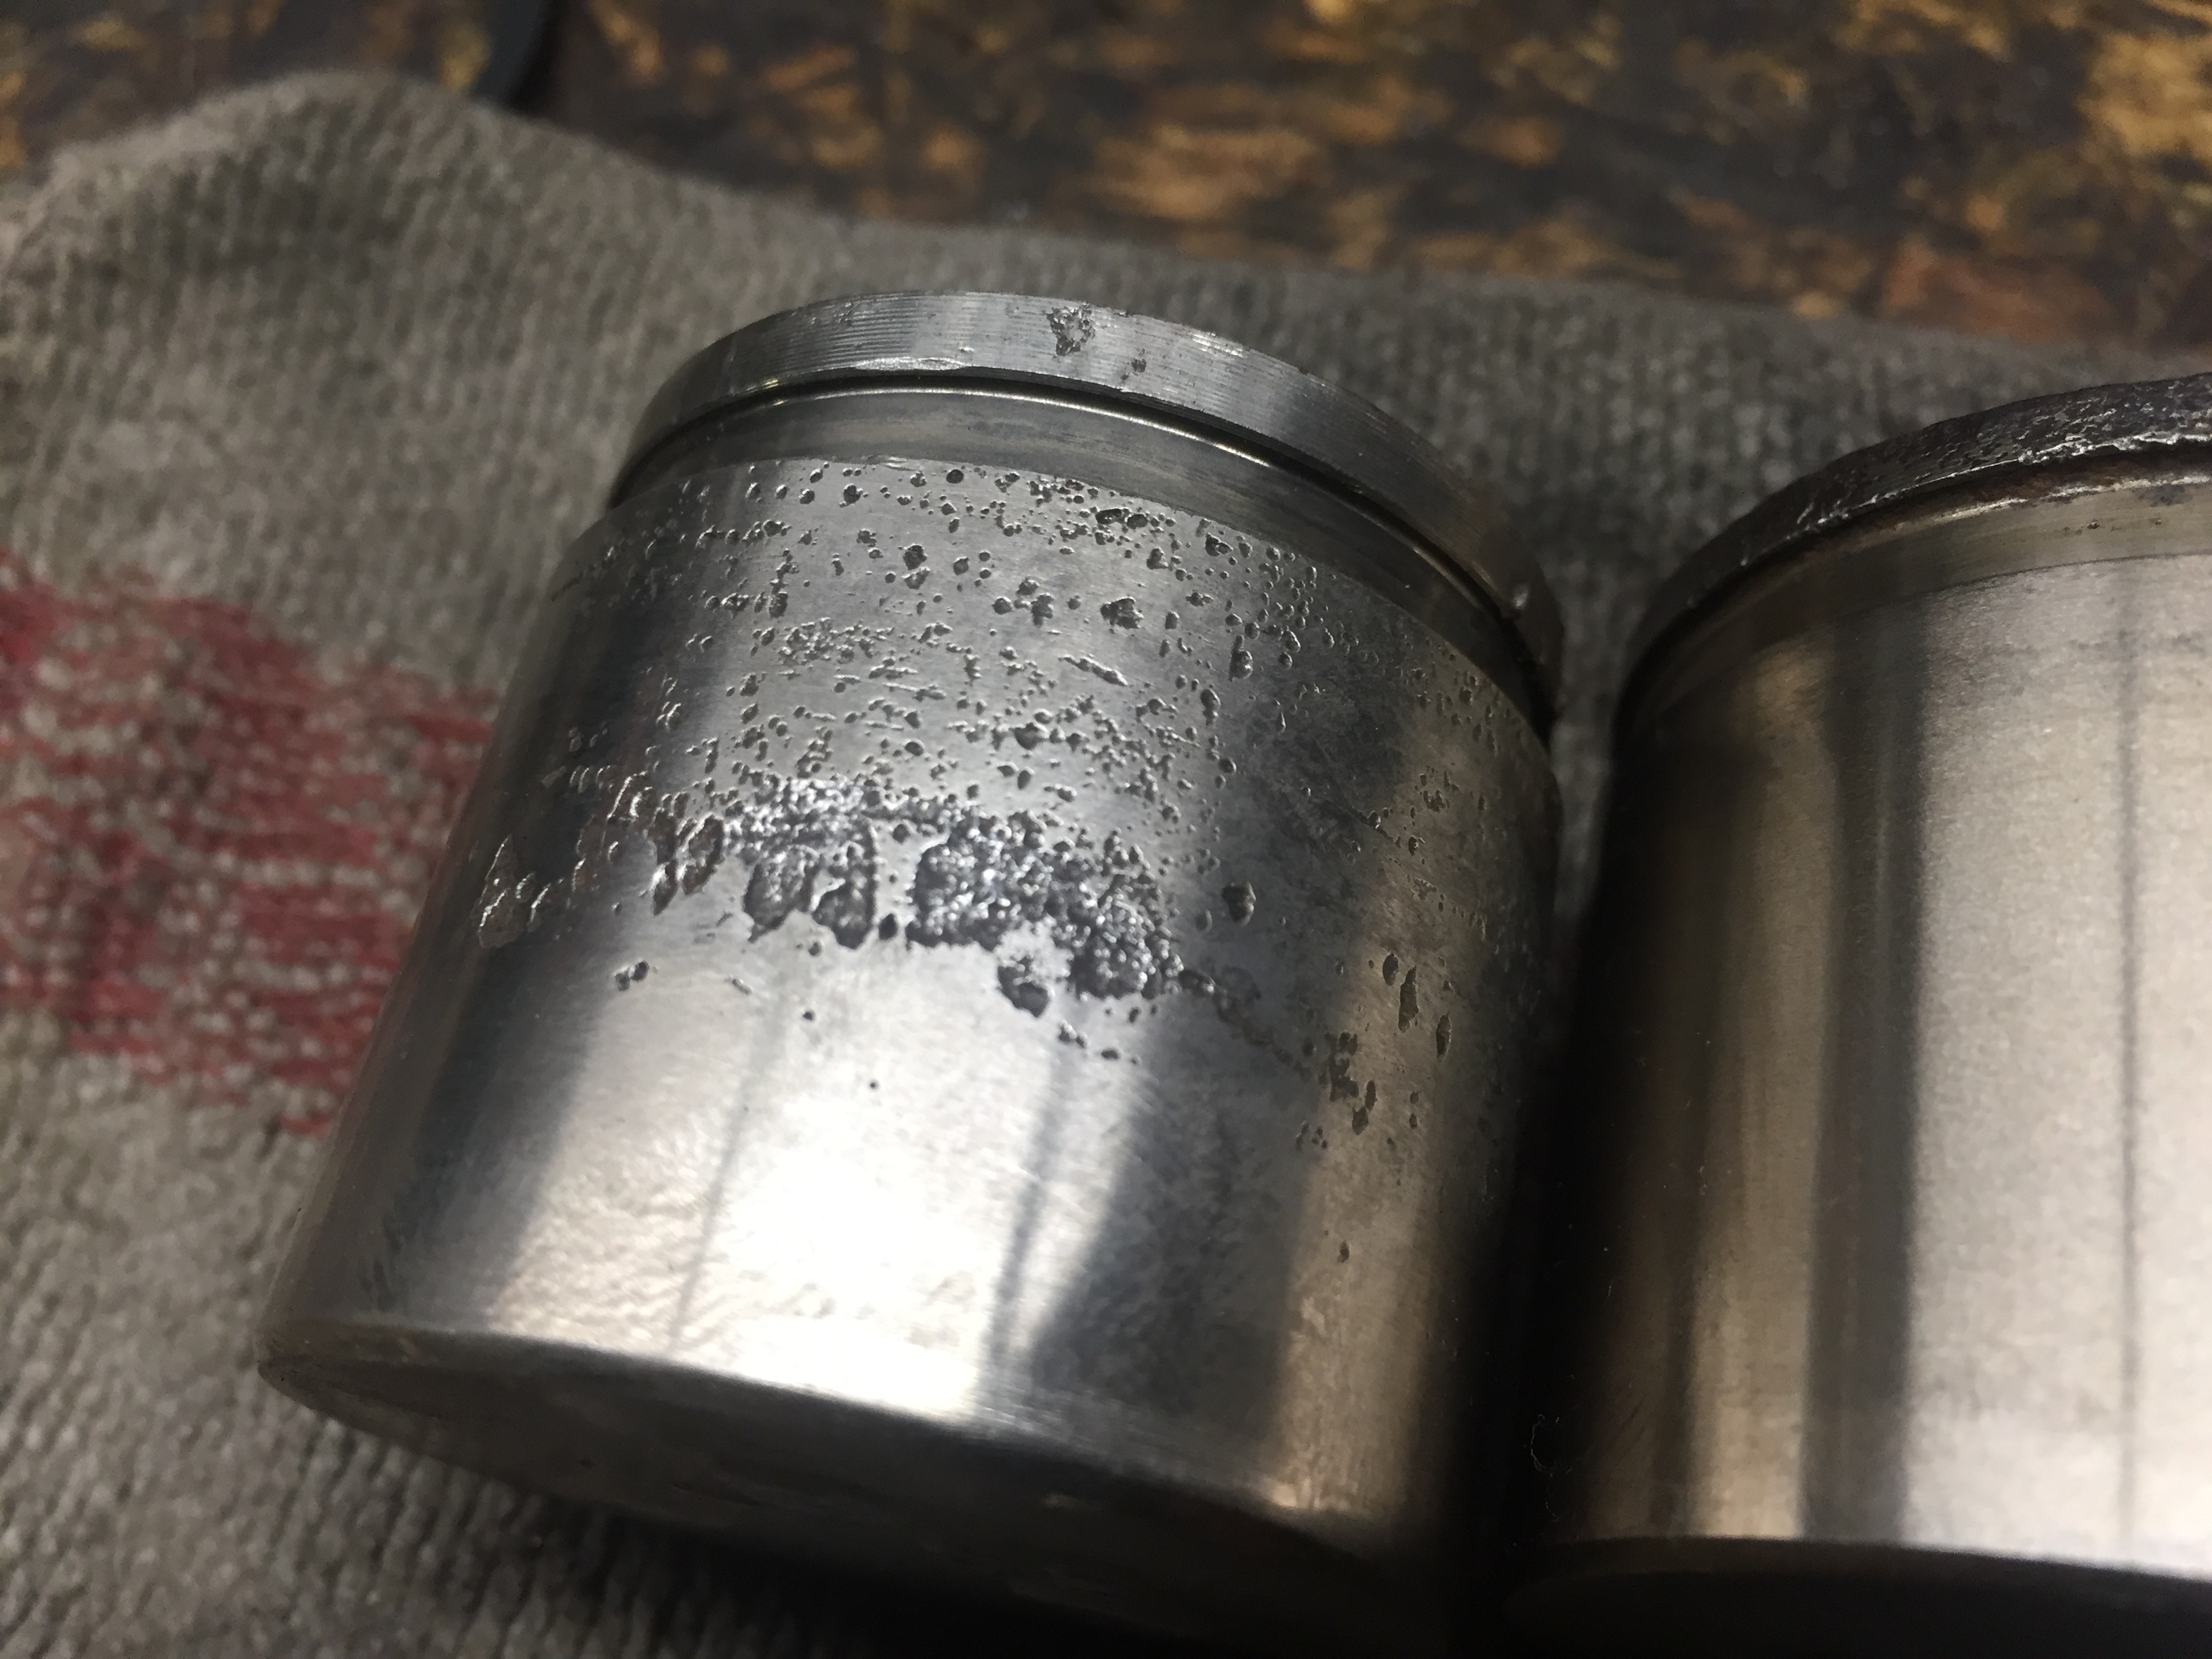
I’m really surprised about the condition of the pistons.
For reference i grabbed a piston i took out of a caliper recently for a different build i’m working on.
On the left is the piston from the other build and on the right are mine.
I decided to remove the fog light from the bumper and put it in place of one of the 2 reversing lights.
Hopefully i get that done tomorrow. Then all that’s left is to fill the hole in the bumper and get it painted.
The reason for relocating the fog light is because i’m unable to find the bezel surrounding it. The dealer can’t get it, the wreckers don’t have them and it’s useless trying to find one on eBay and other second hand stuff sites.