Thanks, Im glad you like the build! I’ve seen these braces before but they don’t have anything for the M1 Sirion, I’m planning on building a copy of the D-sport brace for the lower control arm mounts, and I’ll rework the strut brace, maybe add some arms going forward the the radiator support. Otherwise I don’t think I’ll do much more than that, I’ll try to keep it subtle and keep the weight down, I might do something for the rear trailing arm mounts but the location of the tank and tail shaft presents a few challenges. And thanks for the picture regarding the wrap! Unfortunately it’s not what I was looking for, there was a build on this forum (I thought) and the car was wrapped in something a bit darker, not quite maroon nor pink but kind of a rose, it was a matte colour and I liked it a lot, but haven’t been able to find it again 
The pic was a bit of fun, not a wrap, glad you liked it. 
You can get a bit of an idea of colours from website photos, but there’s nothing better than an actual sample of the material. (I’ve worked in the Sign/Graphics Industry, which reminds me of a Honda CRX Race Car graphic I did years ago… with Mugen and Honda Logo Decals. He won best presented car! and $800.00. I was so happy, when he eventually paid me too!
I had stretched the lettering for H O N D A, along the sides, which made it more readable at speed! You could read it when it was on the other side of the Racetrack too! My secret to lettering visibility is what I call “The Squint Test”…If you can still read in when you squint, you’re probably OK. Try it! Contrast is another key to lettering visibility too.
3M may send vinyl samples via their website, which also has a Colour Modelling Feature, and a search for 3M accredited installers. If you know someone local…they might have swatches.
There’s other Brands out there.
I’ve only used 3M Black Carbon Gloss.
I was going to attempt it myself with the help of a few work mates, we’ll see how it goes I guess
For anyone interested the 35mm mx5 calipers fit the applause brake saddle and will work, I confirmed this today. The only difference is the handbrake cable, so the calipers need to be mounted on the front side of the disc.
Front mount (room permitting) is where I’d rather have the weight. I guess the handbrake eccentric shaft is fitted 180deg forward/backward.
Yeah it will be a tight fit, when I have some free time I’ll remove the drums and backing plate, do a mock up and I’ll share my findings
So guys, bad news…
The mx5 calipers are a no go on the awd rear axle
Maybe they could work on the 2wd rear axle, but I couldn’t say for sure.
There is no way of mounting them that wouldn’t result in fouling with the diff, trailing arms or shocks, even if they did fit you would need to do some crazy ass shit to even get a working handbrake.
The 30mm applause calipers will fit, and it looks like that’s the way I’ll go.
I was also disappointed to find that the brackets do in fact need to be modified to fit, the holes are out by a few mm, something I missed when measuring the bolt pattern the other day.
Anyway what feels like a setback is actually a step in the right direction I guess, now I know what will work and what won’t, and what I need to do 
Not much has happened lately, ordered San aluminium light weight crank pulley and found a way to swap the ECU without having a denso ds-21.
One must simply remove the EEPROM chip containing the immobilizer code (only involves de-soldering 6 pins) and solder it into the new ECU.
If it all turns to shit I’ll just swap the ECU, immobilizer and key barrels with the blue car. I am hoping I’ll have time this week to do it, and I’ll share my findings 
Please document with pics on this one if you can. I’m sure it will benefit heaps of people. Good luck 
Will do, the thought hadn’t crossed my mind before but then one of the guys on the German daihatsu forum said he had done it that way once before. Worth a shot I guess
Been a while guys, not alot been happening other than trying to beat the winter blues…
I have done a few small things lately though, reworked to short shifter, raised it a few cm and lengthened the lower half another cm or so (now approx 4cm longer than original) and got rid of the shitty idler bearings and made a much nicer more compact system that uses 22mm x 8mm ballbearings press fitted. Now the shifter handle is a few cm higher thus closer to the steering wheel. Feels great and looks much nicer underneath even though nobody will ever see it lol.
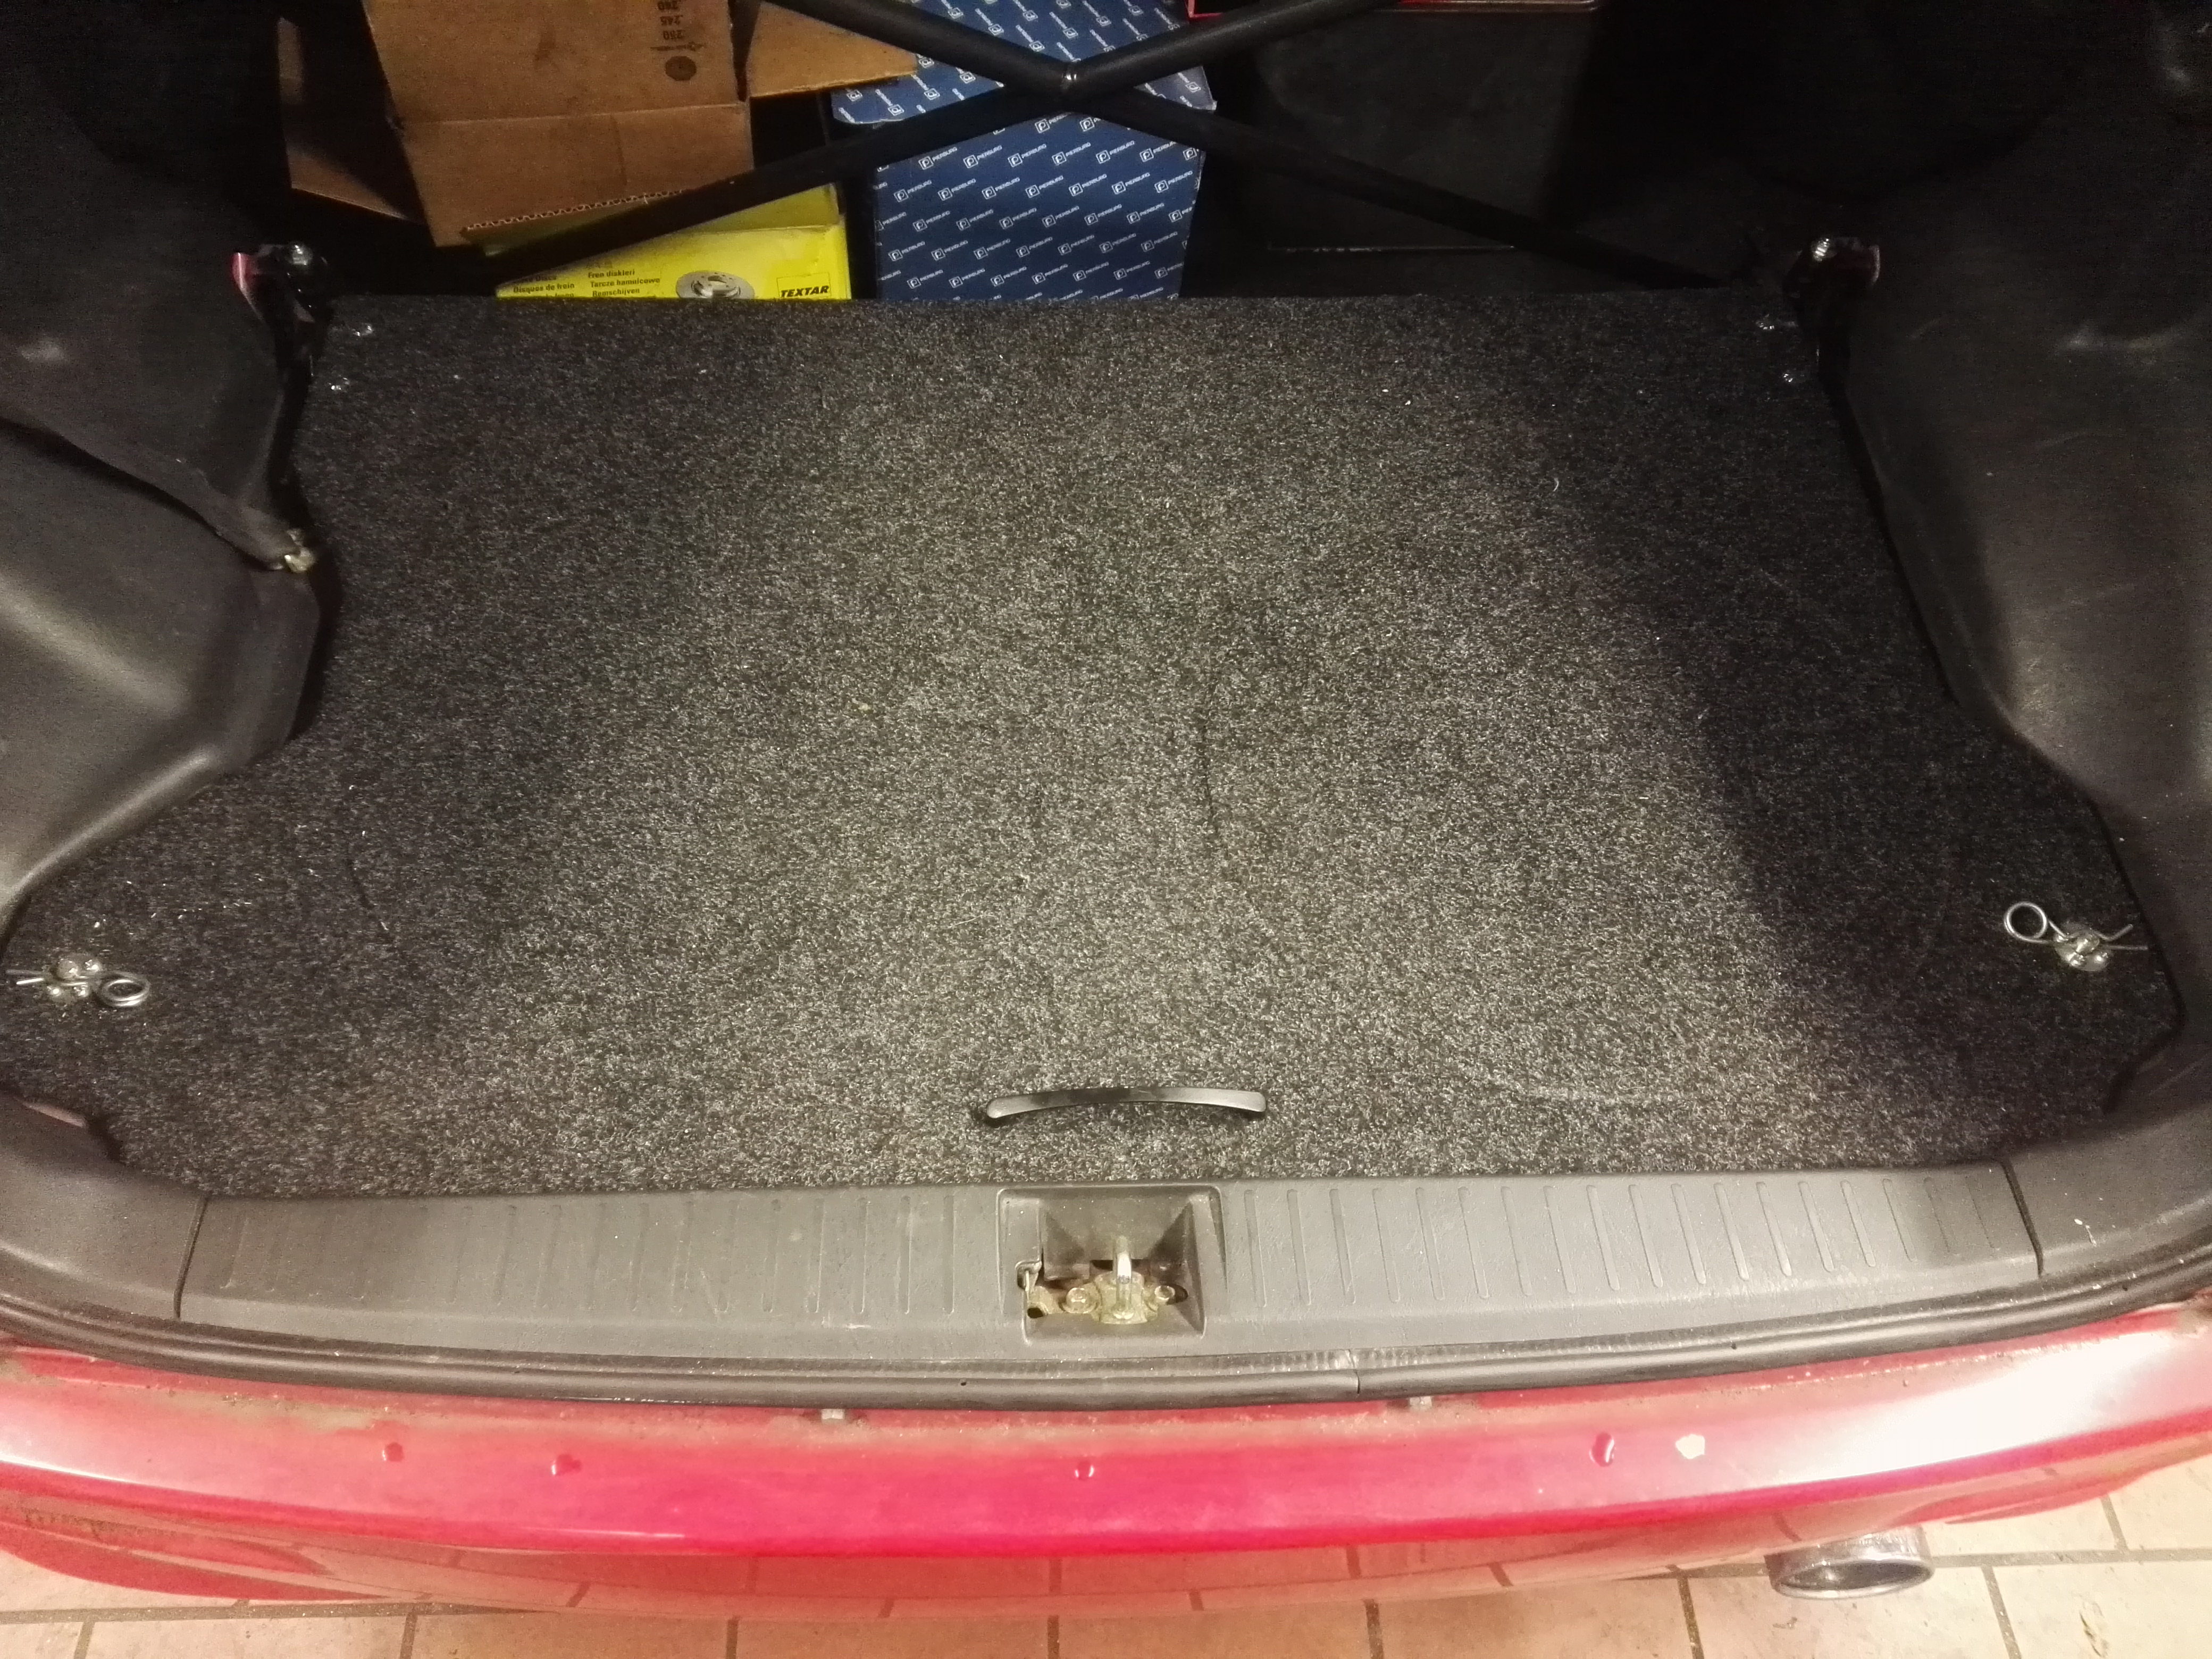
There was a false floor in the back over the spare tyre that the last owner made, so I made some mounts to bolt it to the rear seat hinges and made some bonnet clip style latches to hold it down, looks nice and adds some security when driving normaly in the sense that there is something between the spare tyre/tool kit/jack and myself in the event of a crash.
Been in contact with bilstein regarding the front struts and it looks like their inverted monotube inserts will work, just waiting on more information.
Finally on a negative note, ordered a lightened flywheel before Christmas and the package has gone missing in transit, Hermes is looking into it but its not looking good. If it does arrive then engine/gearbox will come out and lightened flywheel, alloy crank pulley, rally cam, and timing chain will be going in. Please pray to the car gods for me, I hope it shows up…
Sucks about the flywheel! Really hope it turns up!
Yeah it is painful, I spent a week just trying to get some sense out of them and kept getting send around in circles, finally found someone who is helping track it down and they have asked for 10days, and if it cant be located they will reimburse me the cost of the flywheel. The problem then is the dude I bought it off doesn’t have any more, I can send him my spare for machining but its a pain in the ass shipping a flywheel to england and back again.
I also forgot to mention ive found rear springs, the new fiat 500 has rears the right size with a 300Lb/in rate, can order OEM from febi bilstein for about 80€ a pair. Im not 100% sure they will fit as the ID is about 5mm larger than the sirion springs but im going to give it a shot probably next month when I have a bit more cash.
Hey guys, passed the TÜV inspection!
Now I need some help to choose number plates, the plates start with HB for my district then im allowed either 1 letter followed by 3 numbers or 2 letters followed by 2 or 3 numbers.
The following combinations are not avaliable:
M-111
MS-111
RS-111
Basically everything with 111 is gone, which sucks because I was hoping for M-111
Anyone have any ideas?
congrats on the TÜV inspection! 
not sure about the number plates, M111 would have been perfect. You could go M112, although I think thats the JC-DET.
thanks!
Yeah m112 is the storia x4 I think its a jc-det, but m112 is also unavailable.
QM-112 is available but im not sure if I want it, im trying to come up with something else relevant to the car but im out of ideas 
Awesome news.
Did a comp test today (should have done one before I used the motor lol) got 125psi on every cylinder dry and 135-145 psi on every cylinder with a wet test. The motor is also arse cold at the moment probably around 10°c so I think its definitely in good condition!
Im just curious how this compares to other k3-ve2’s, if someone could let me know wpuld be great!
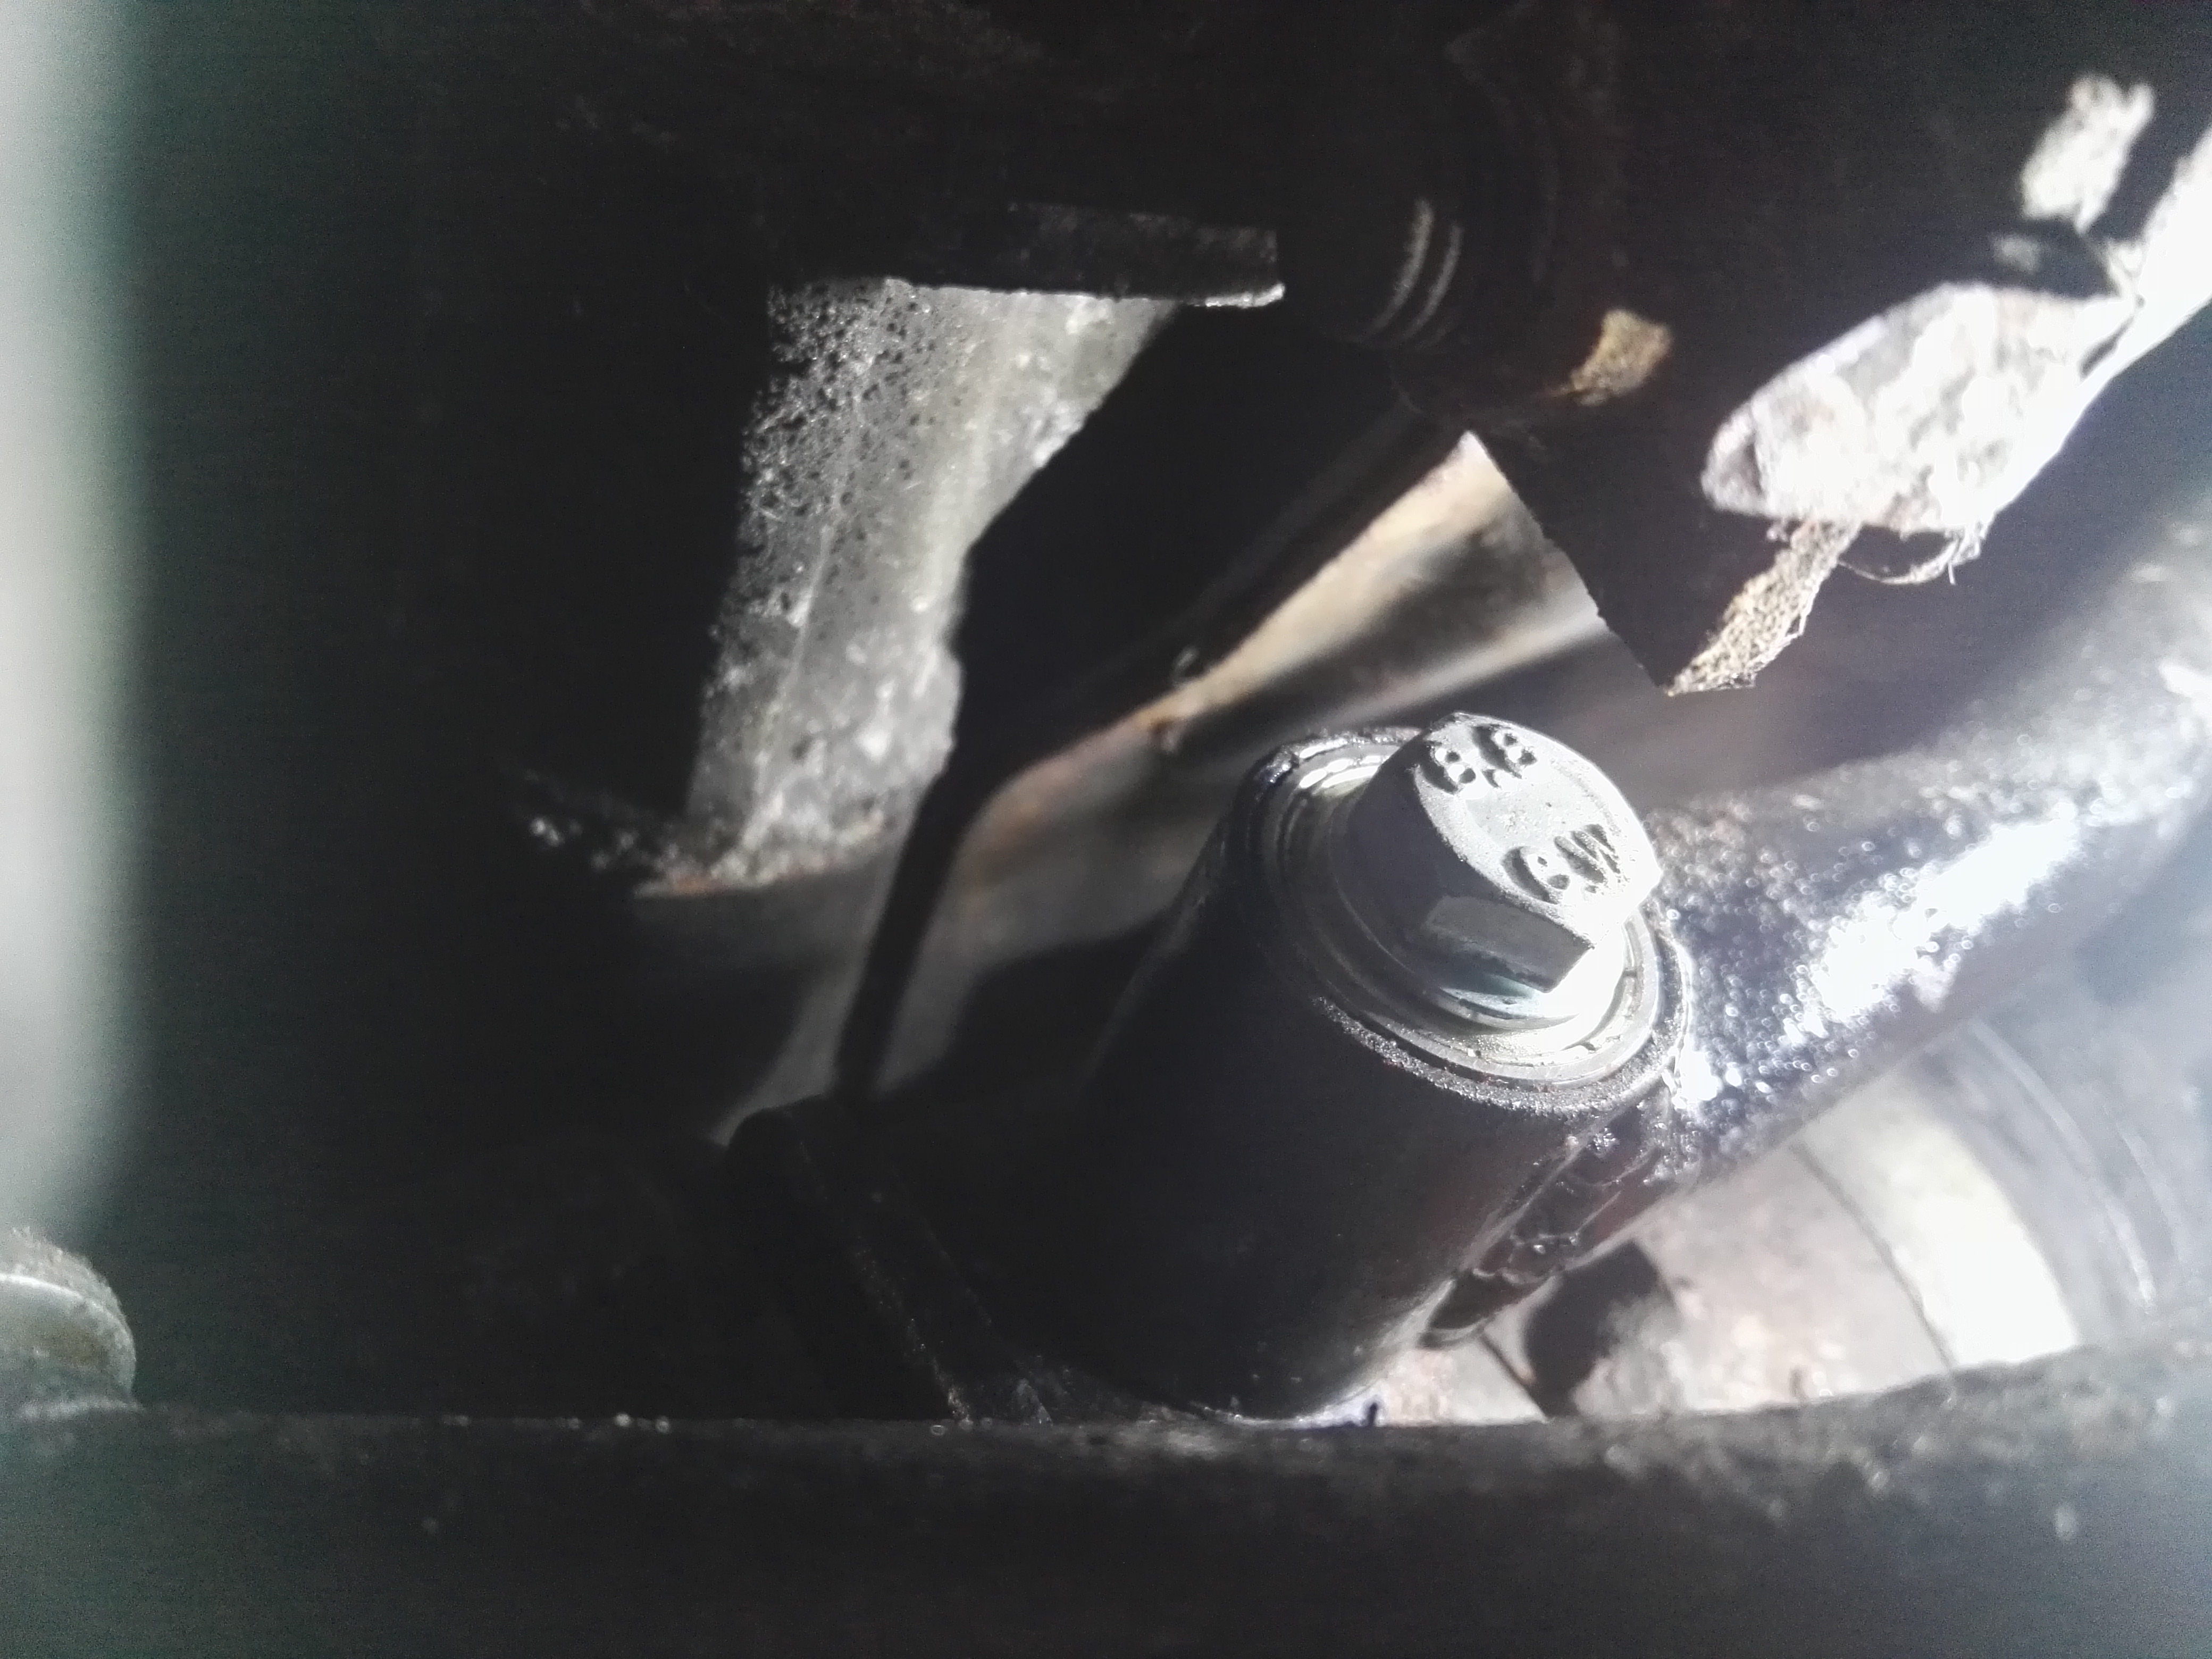
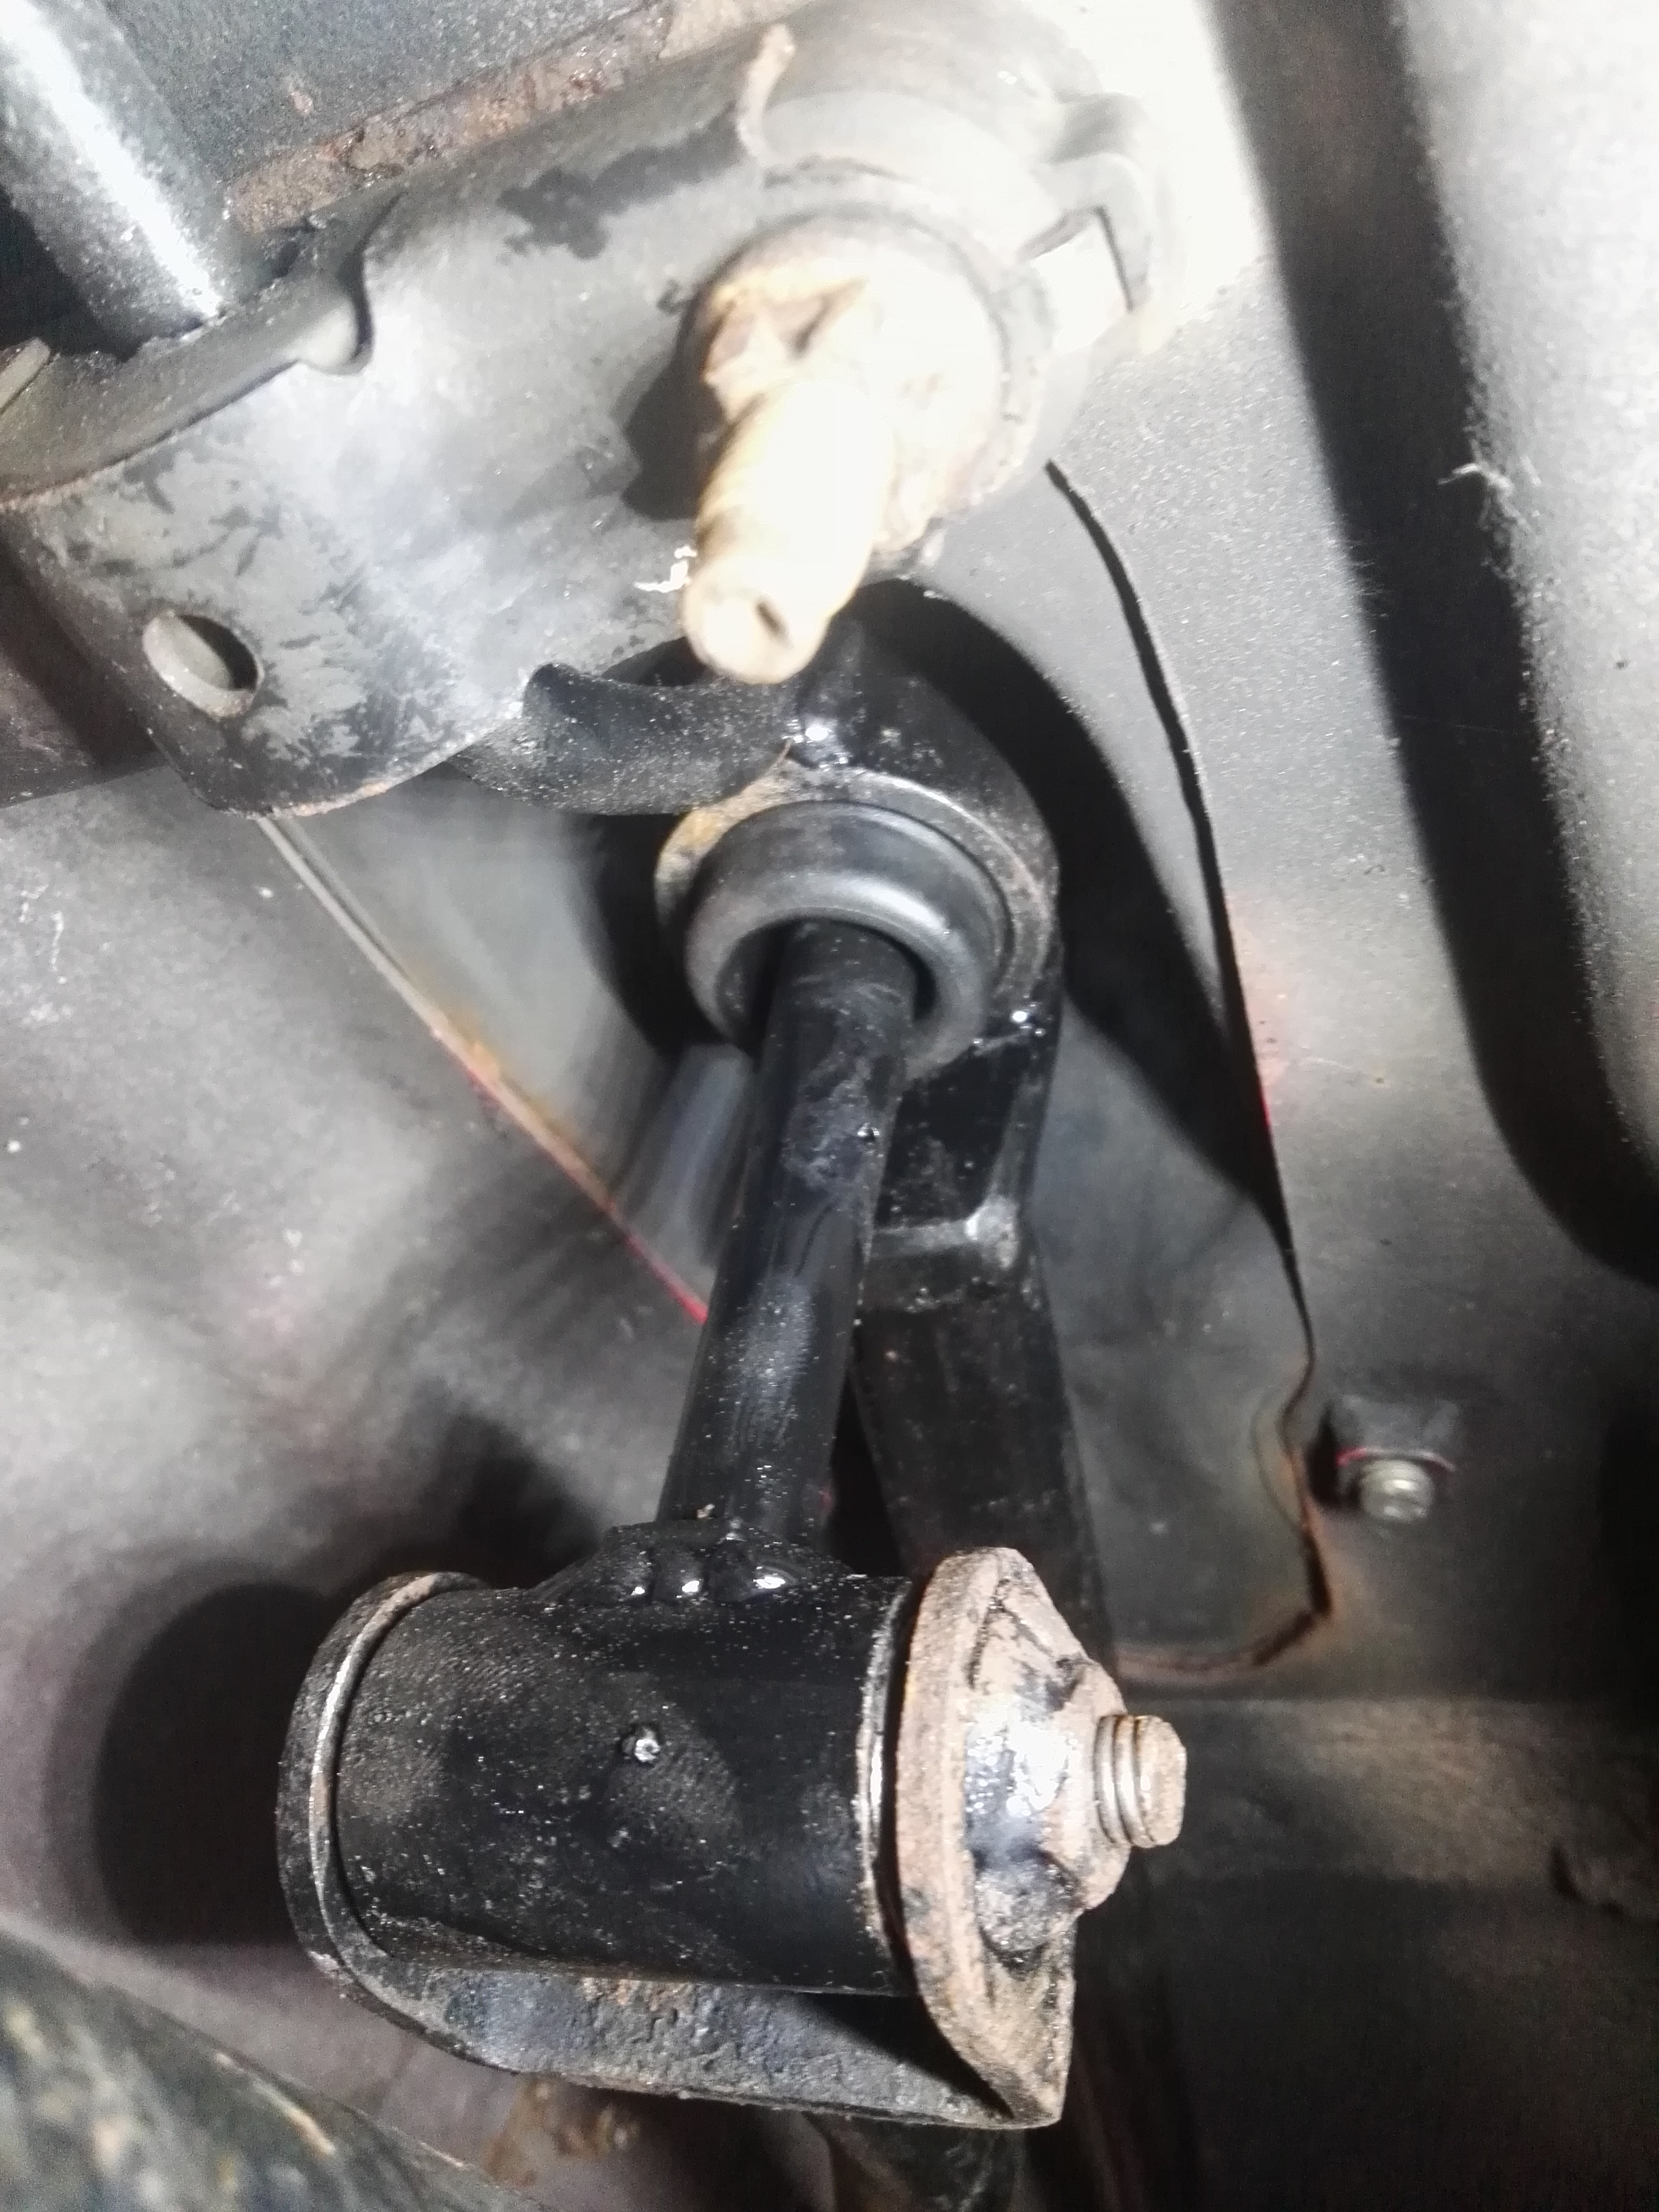
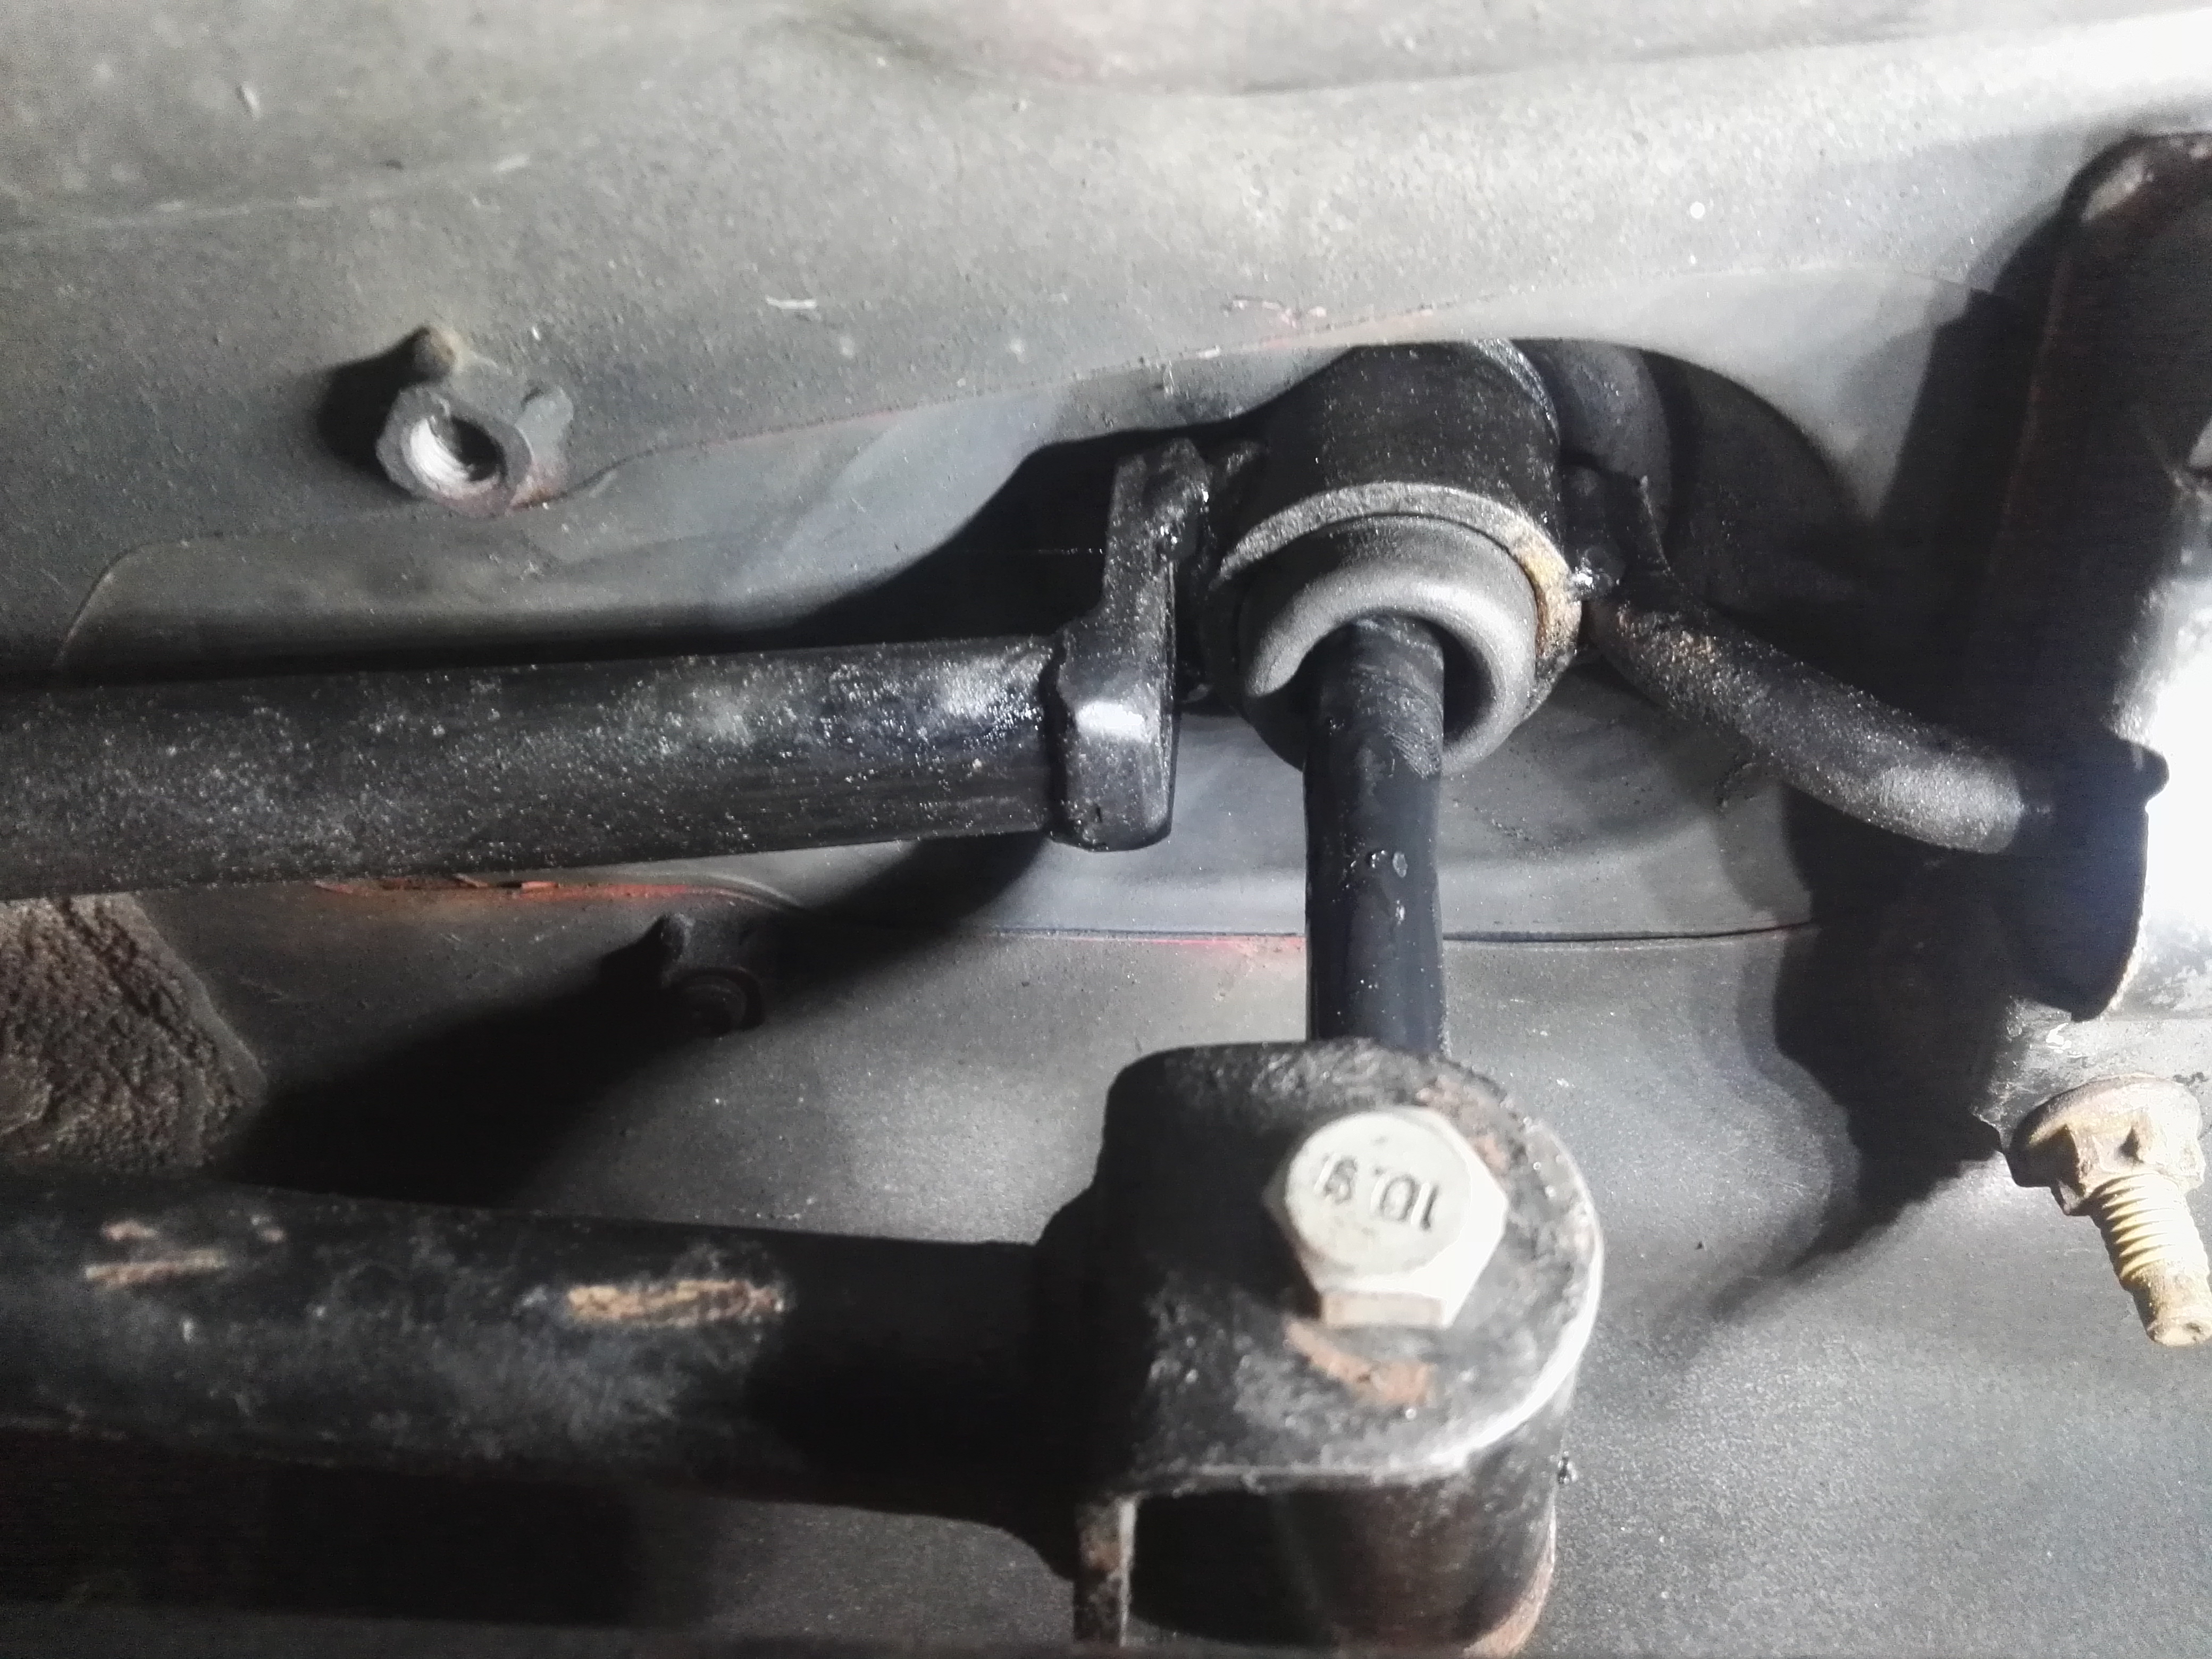
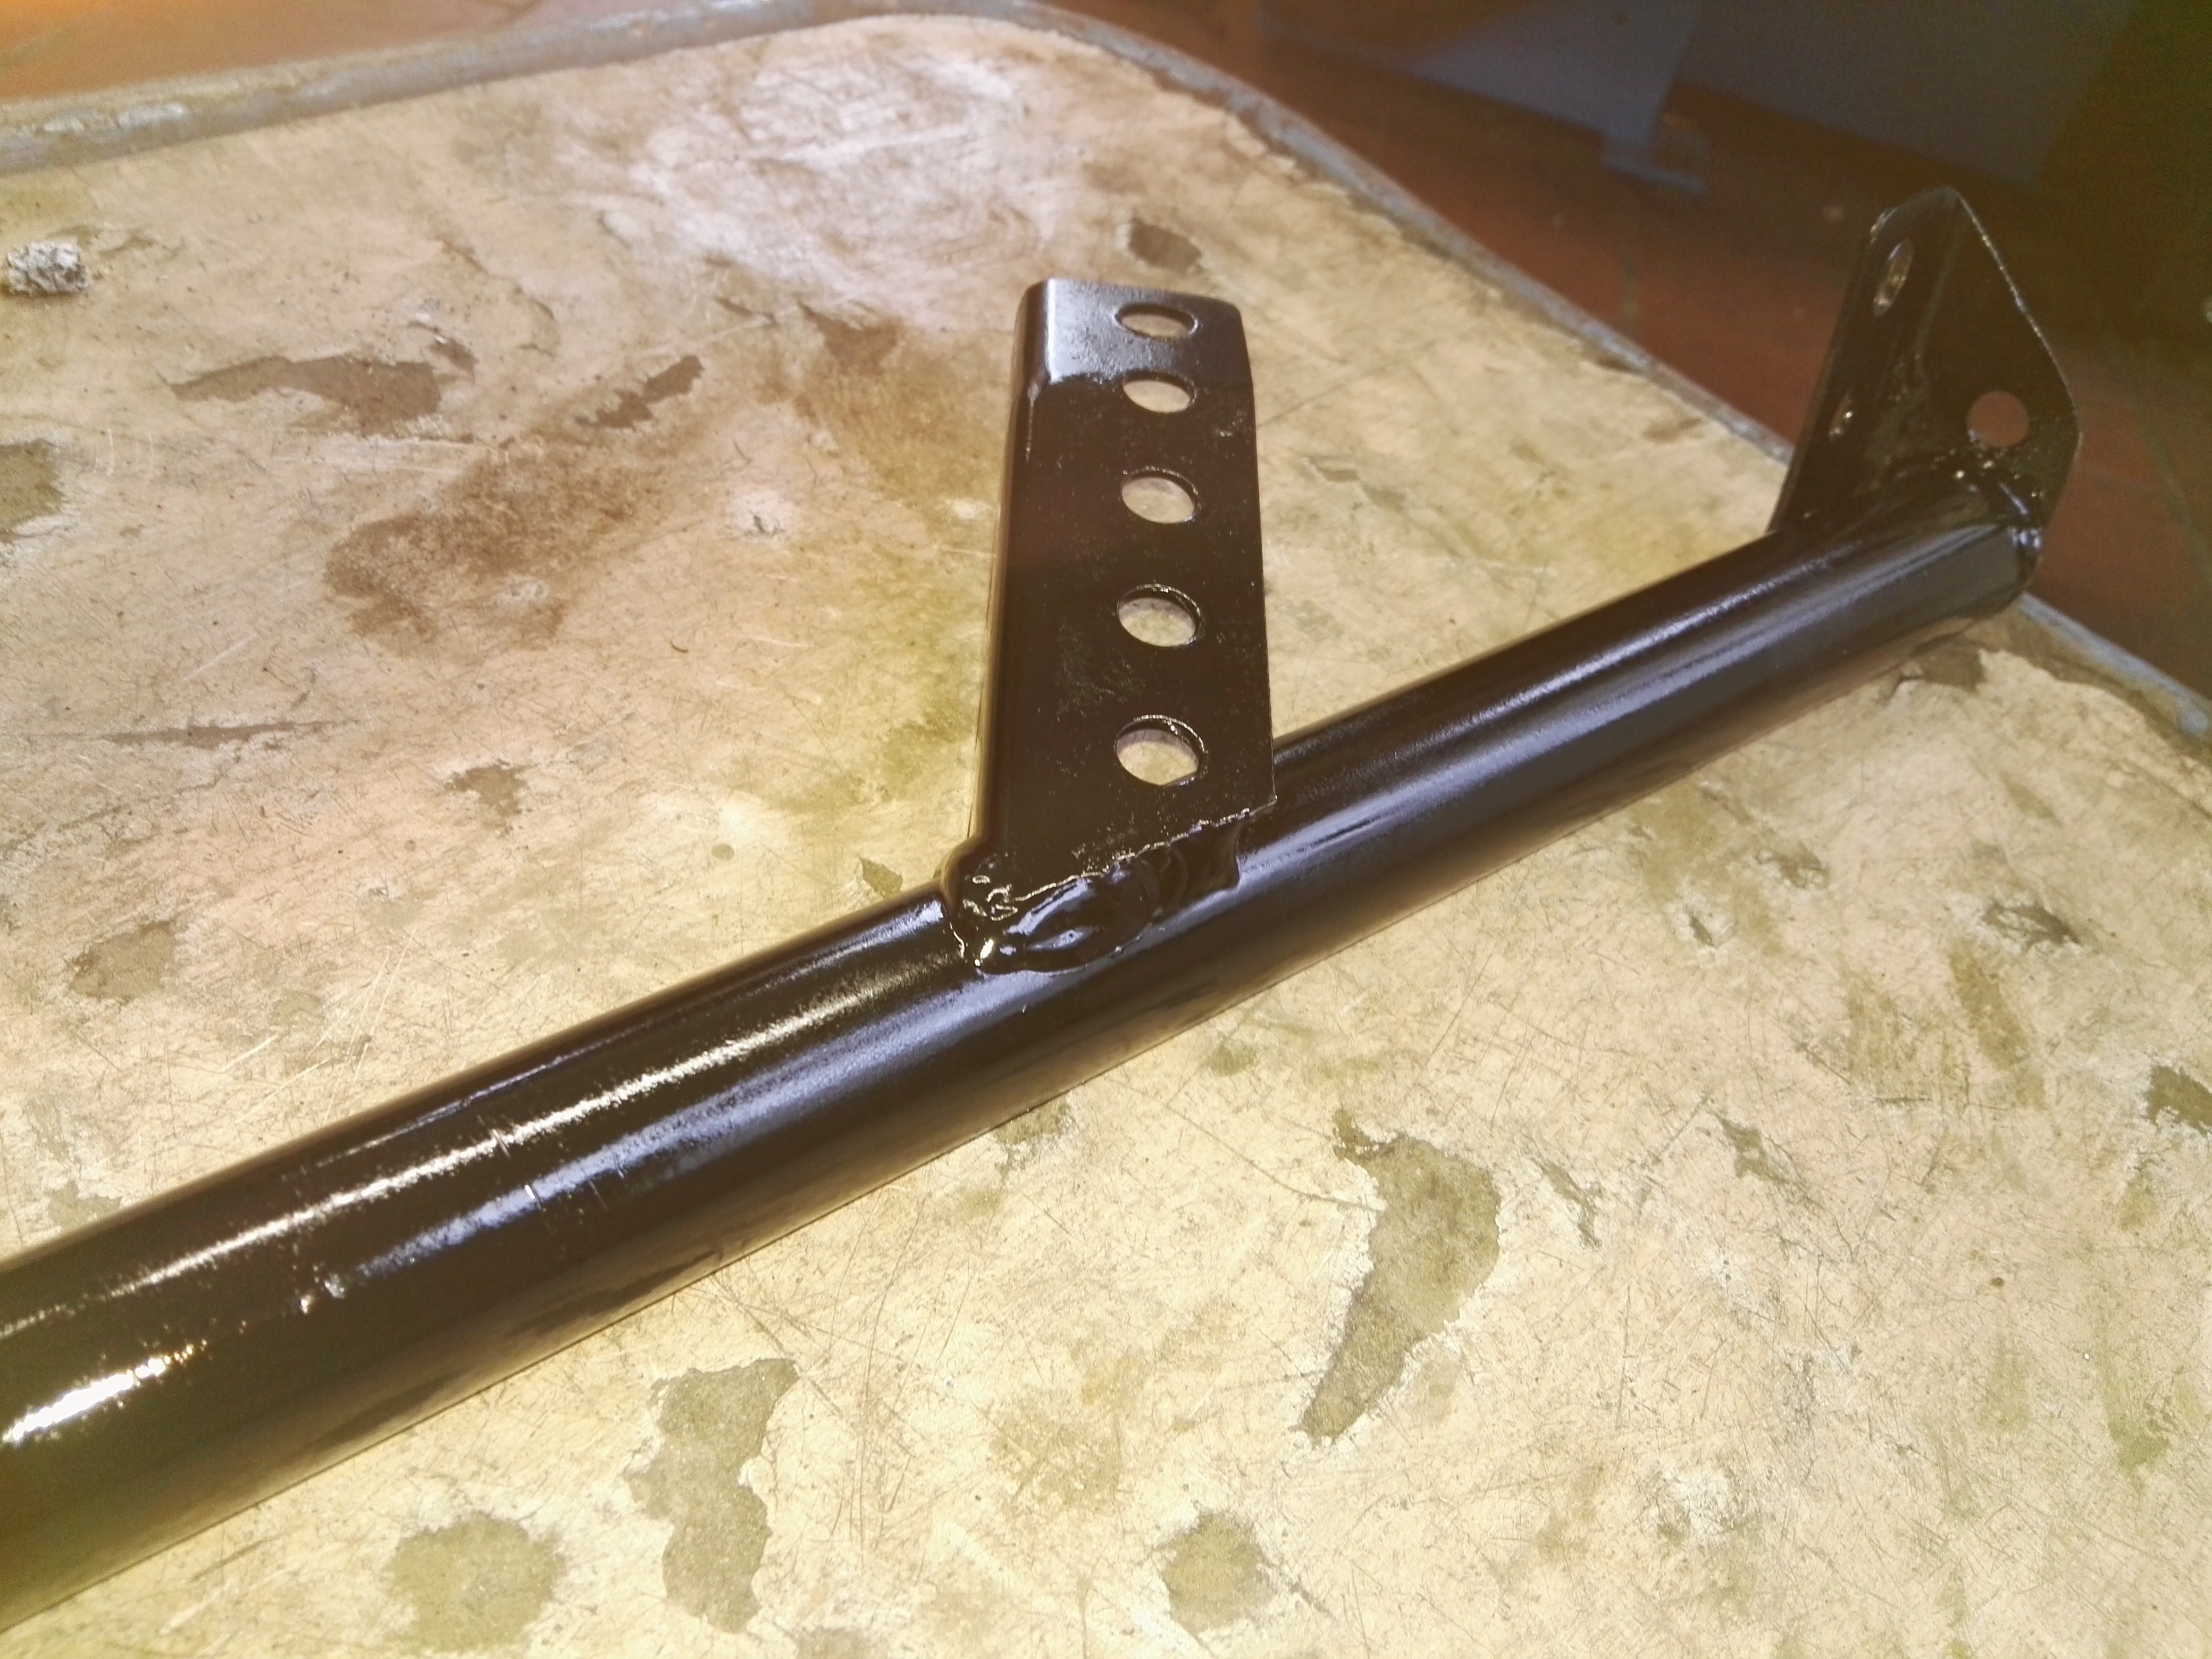
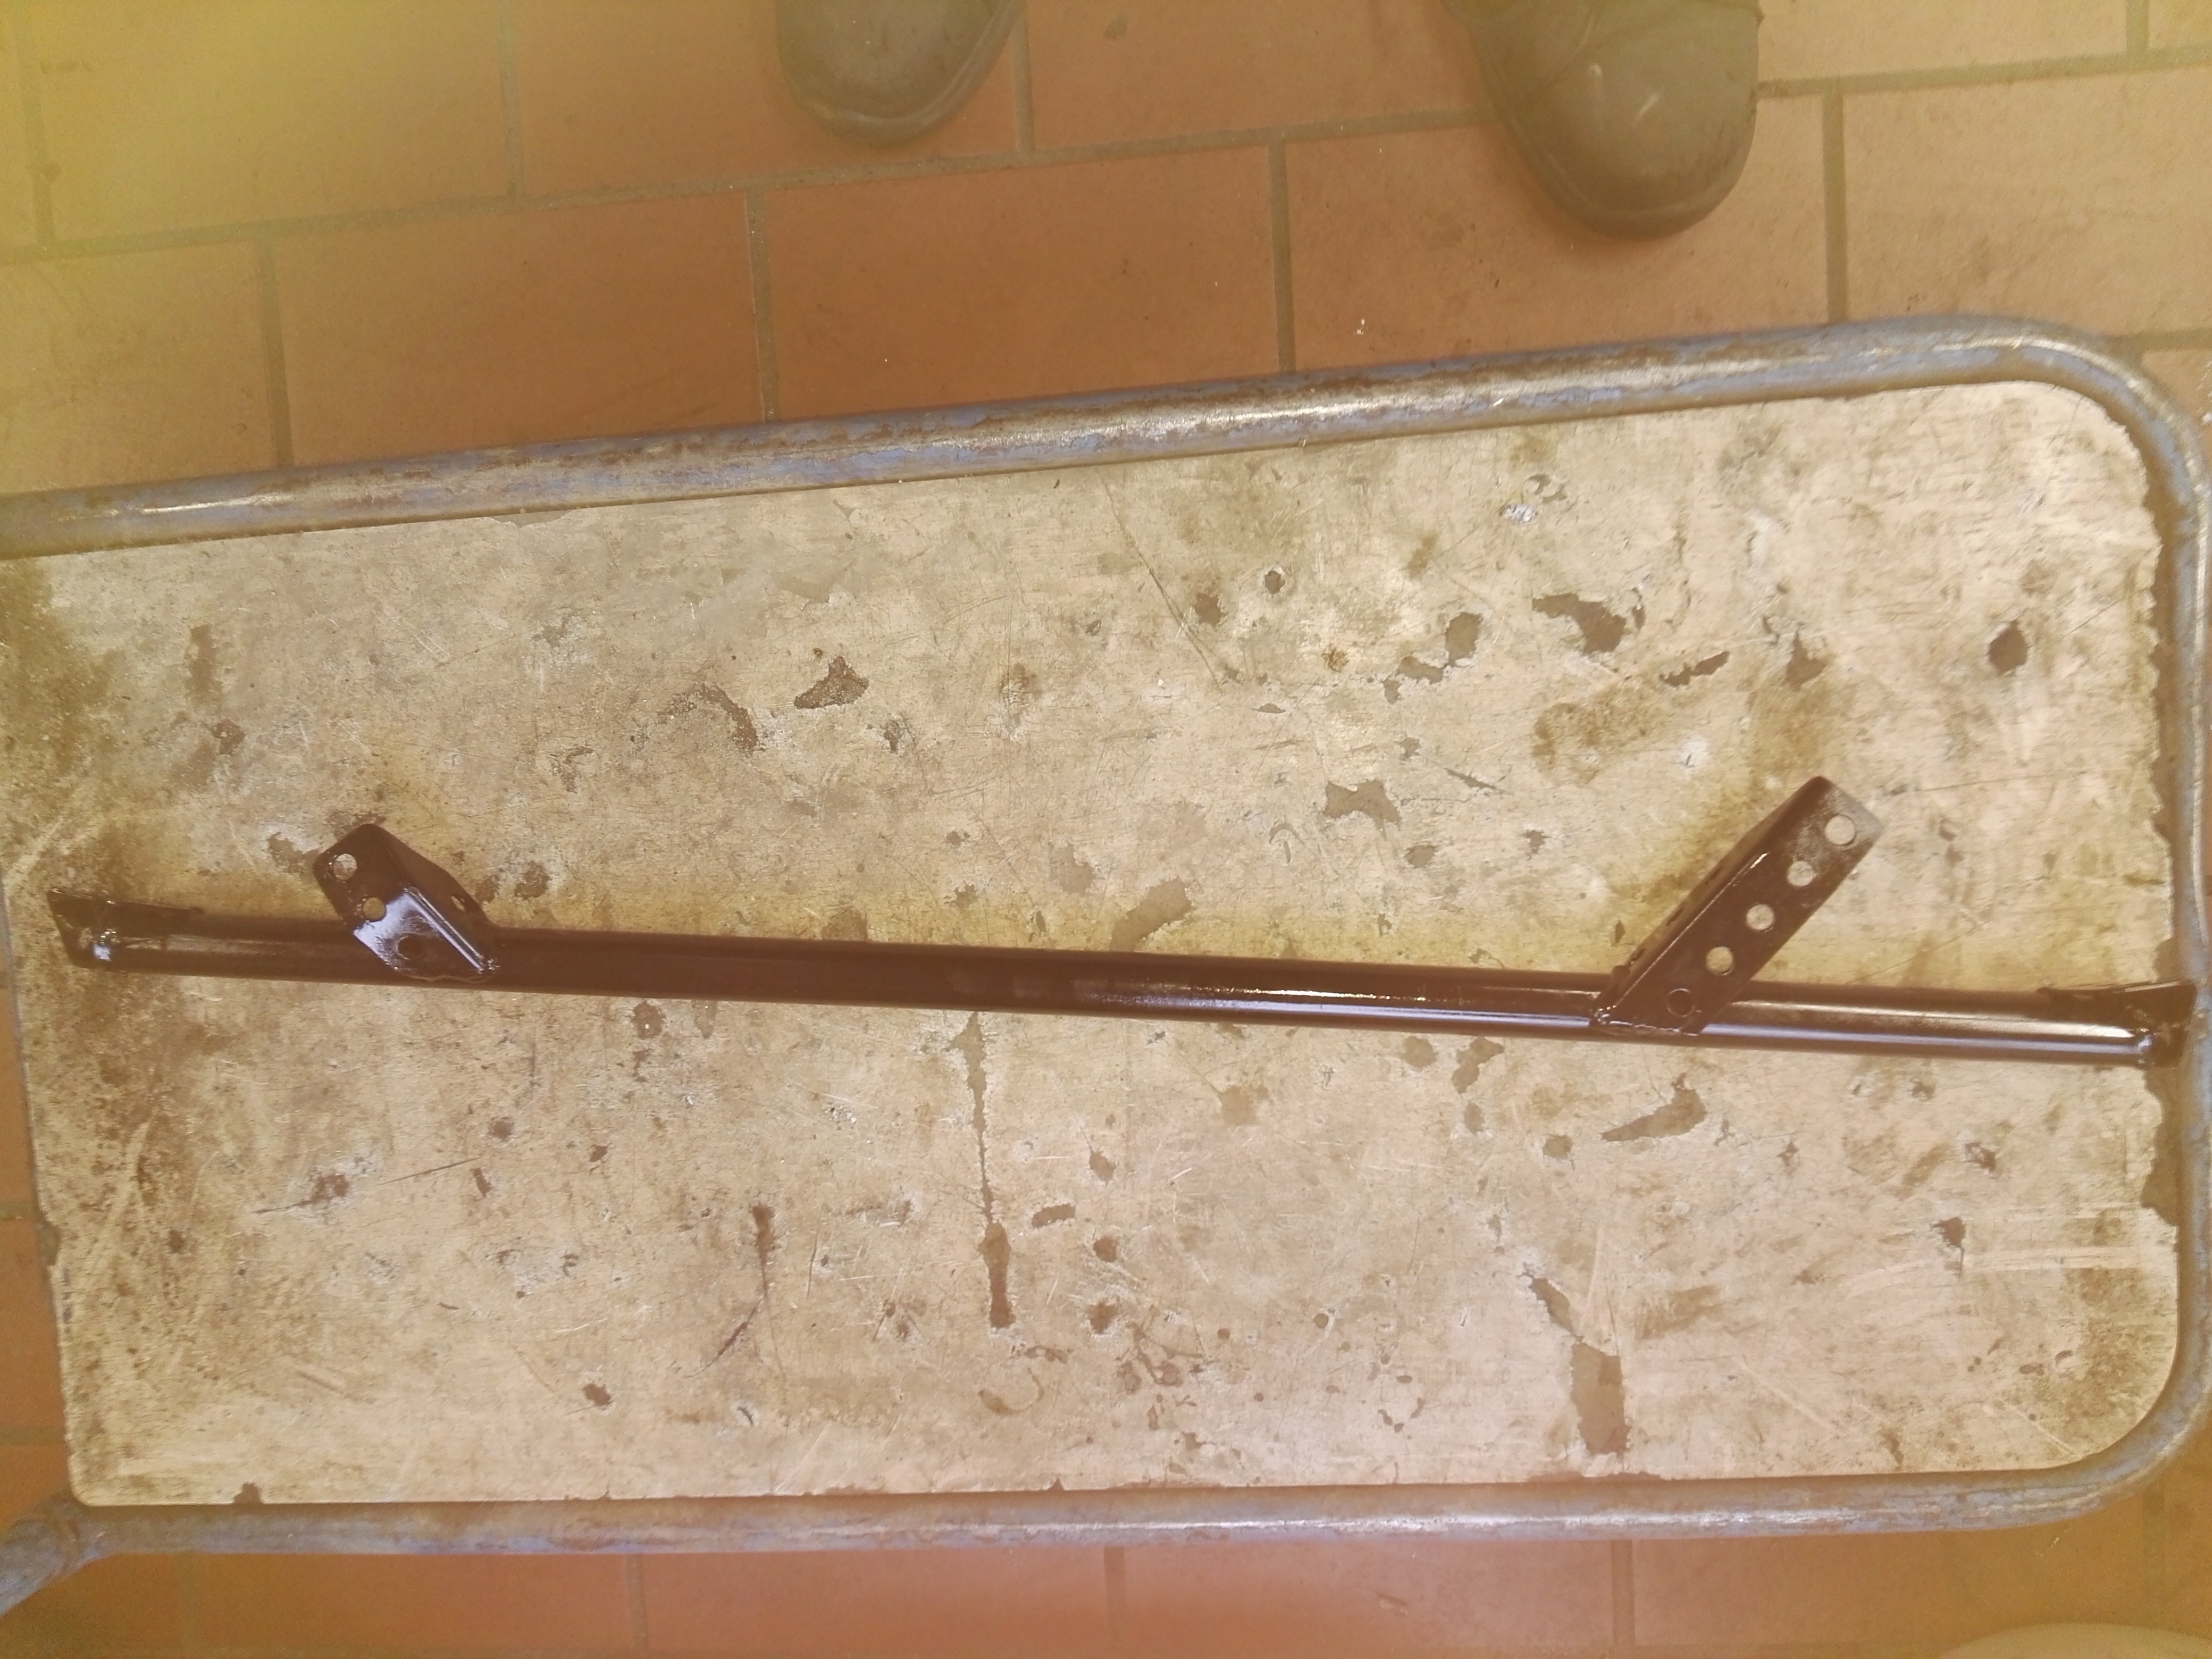
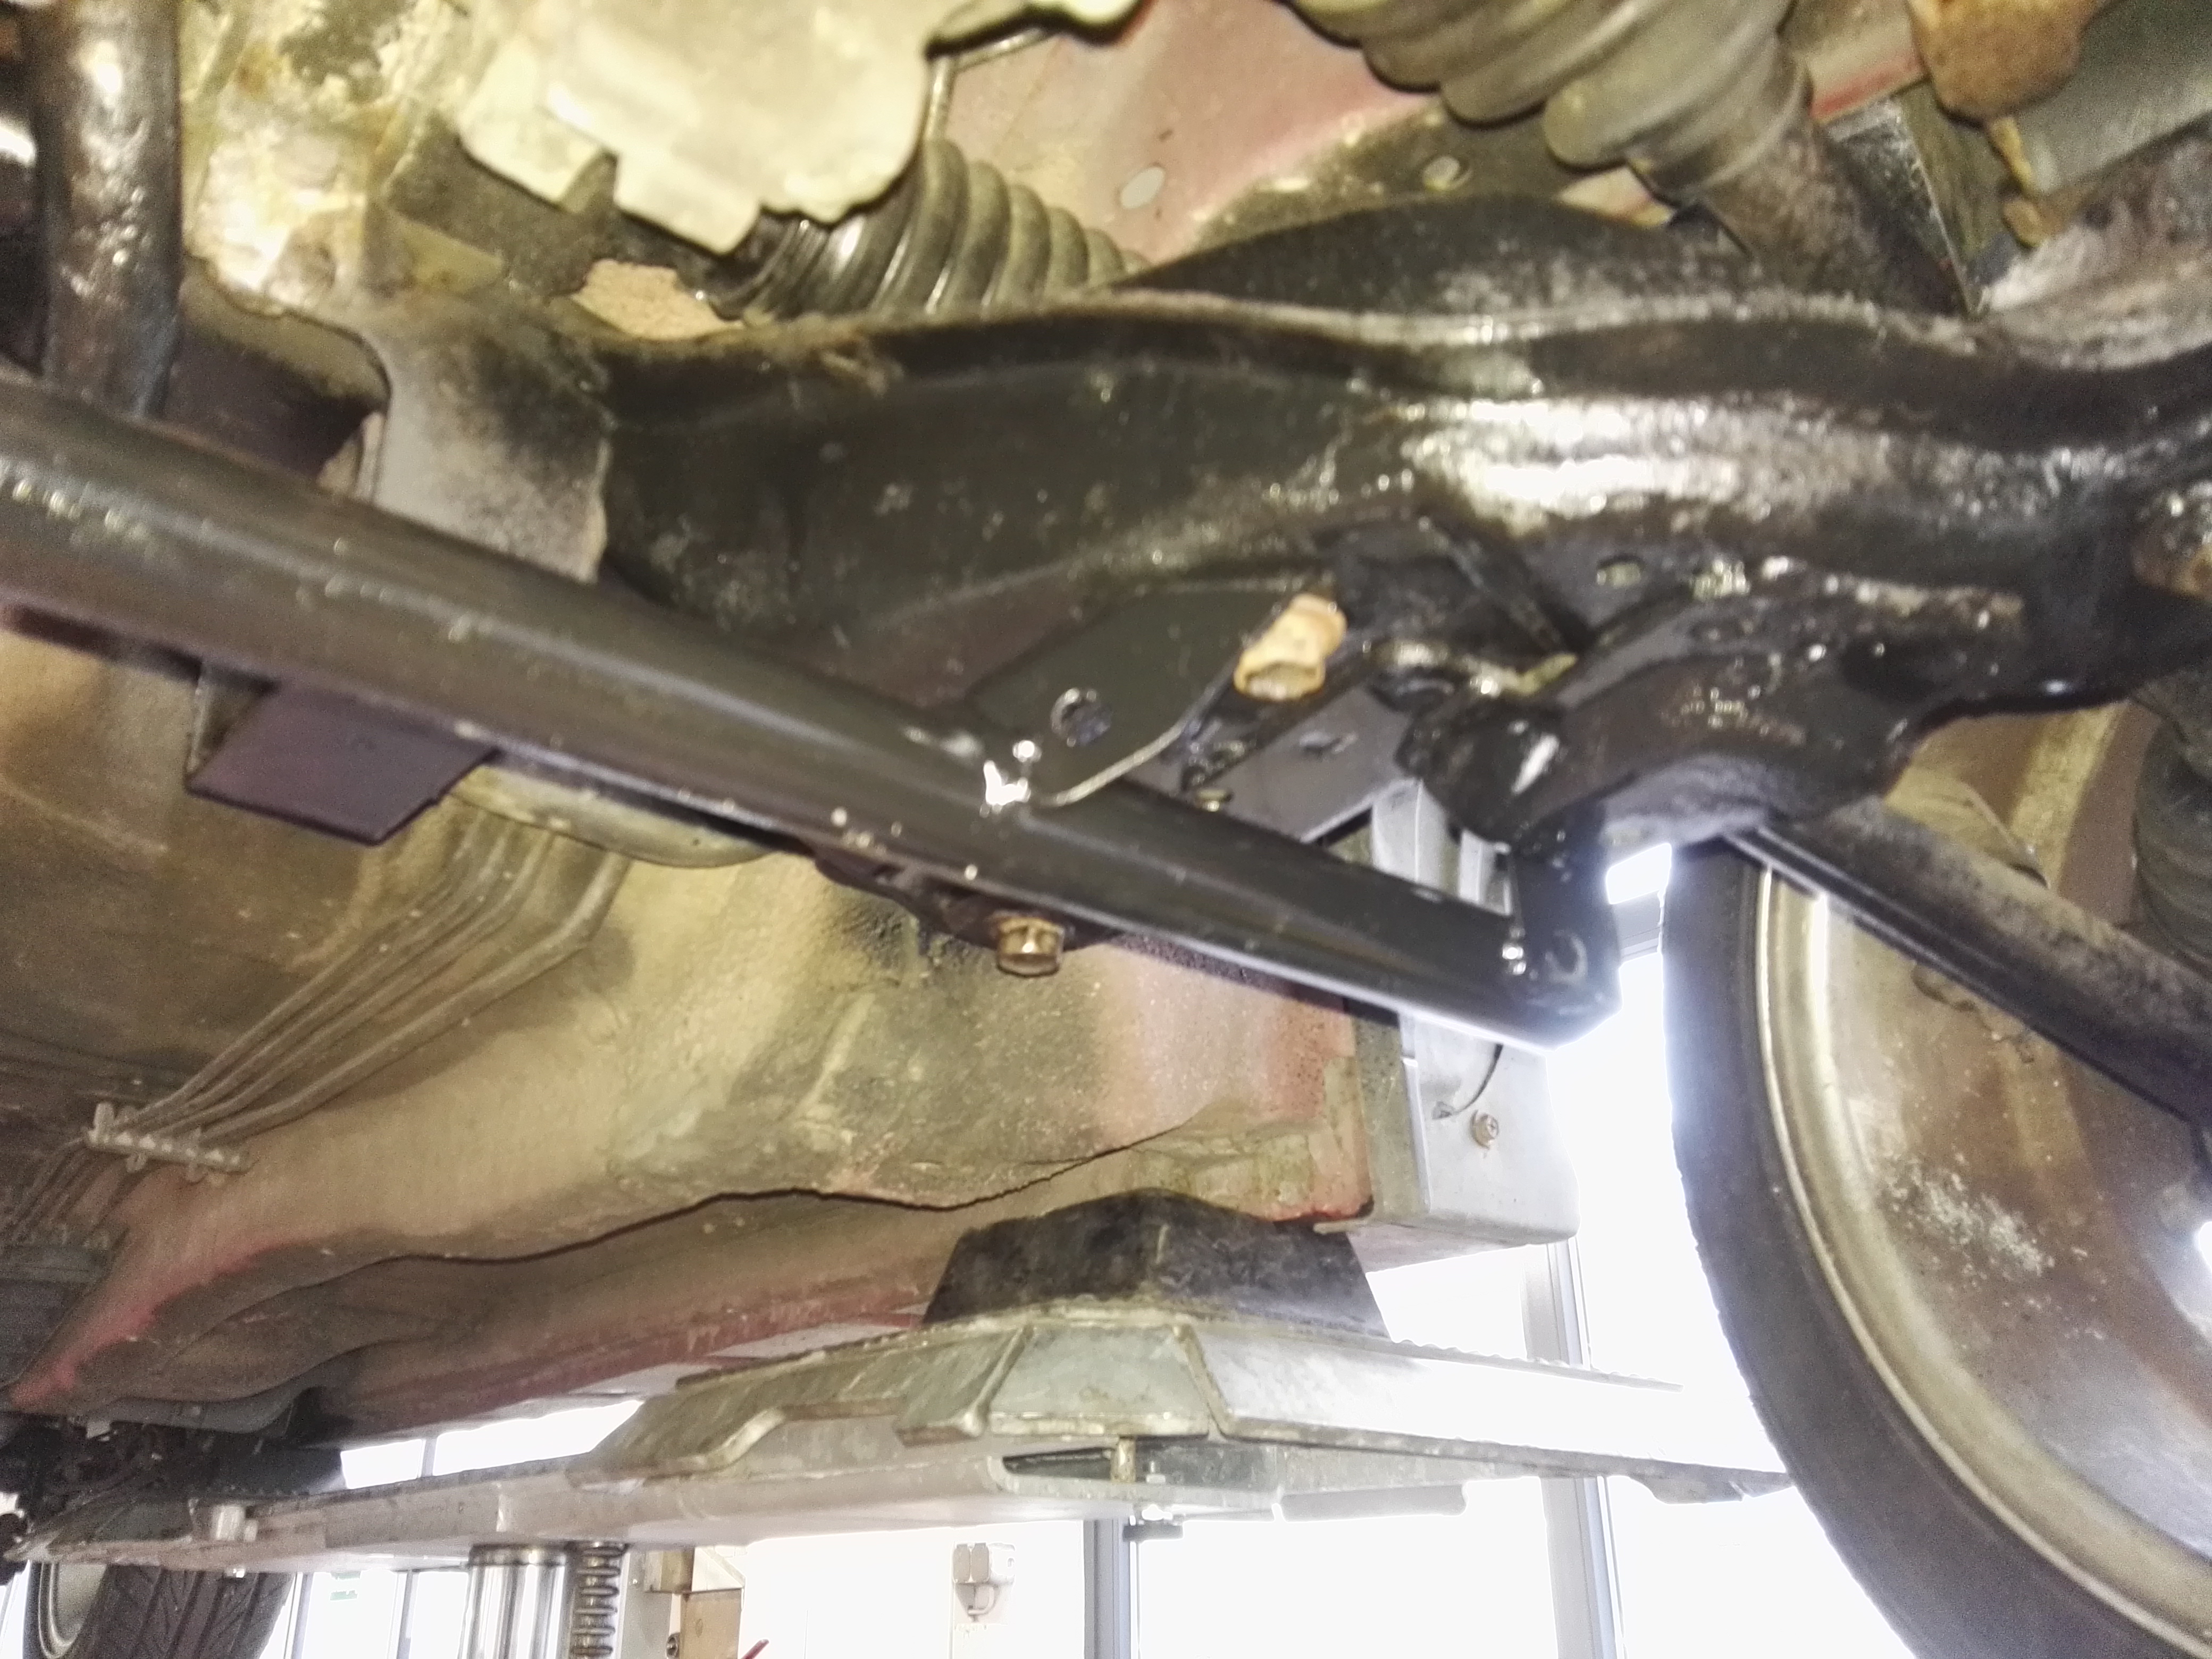
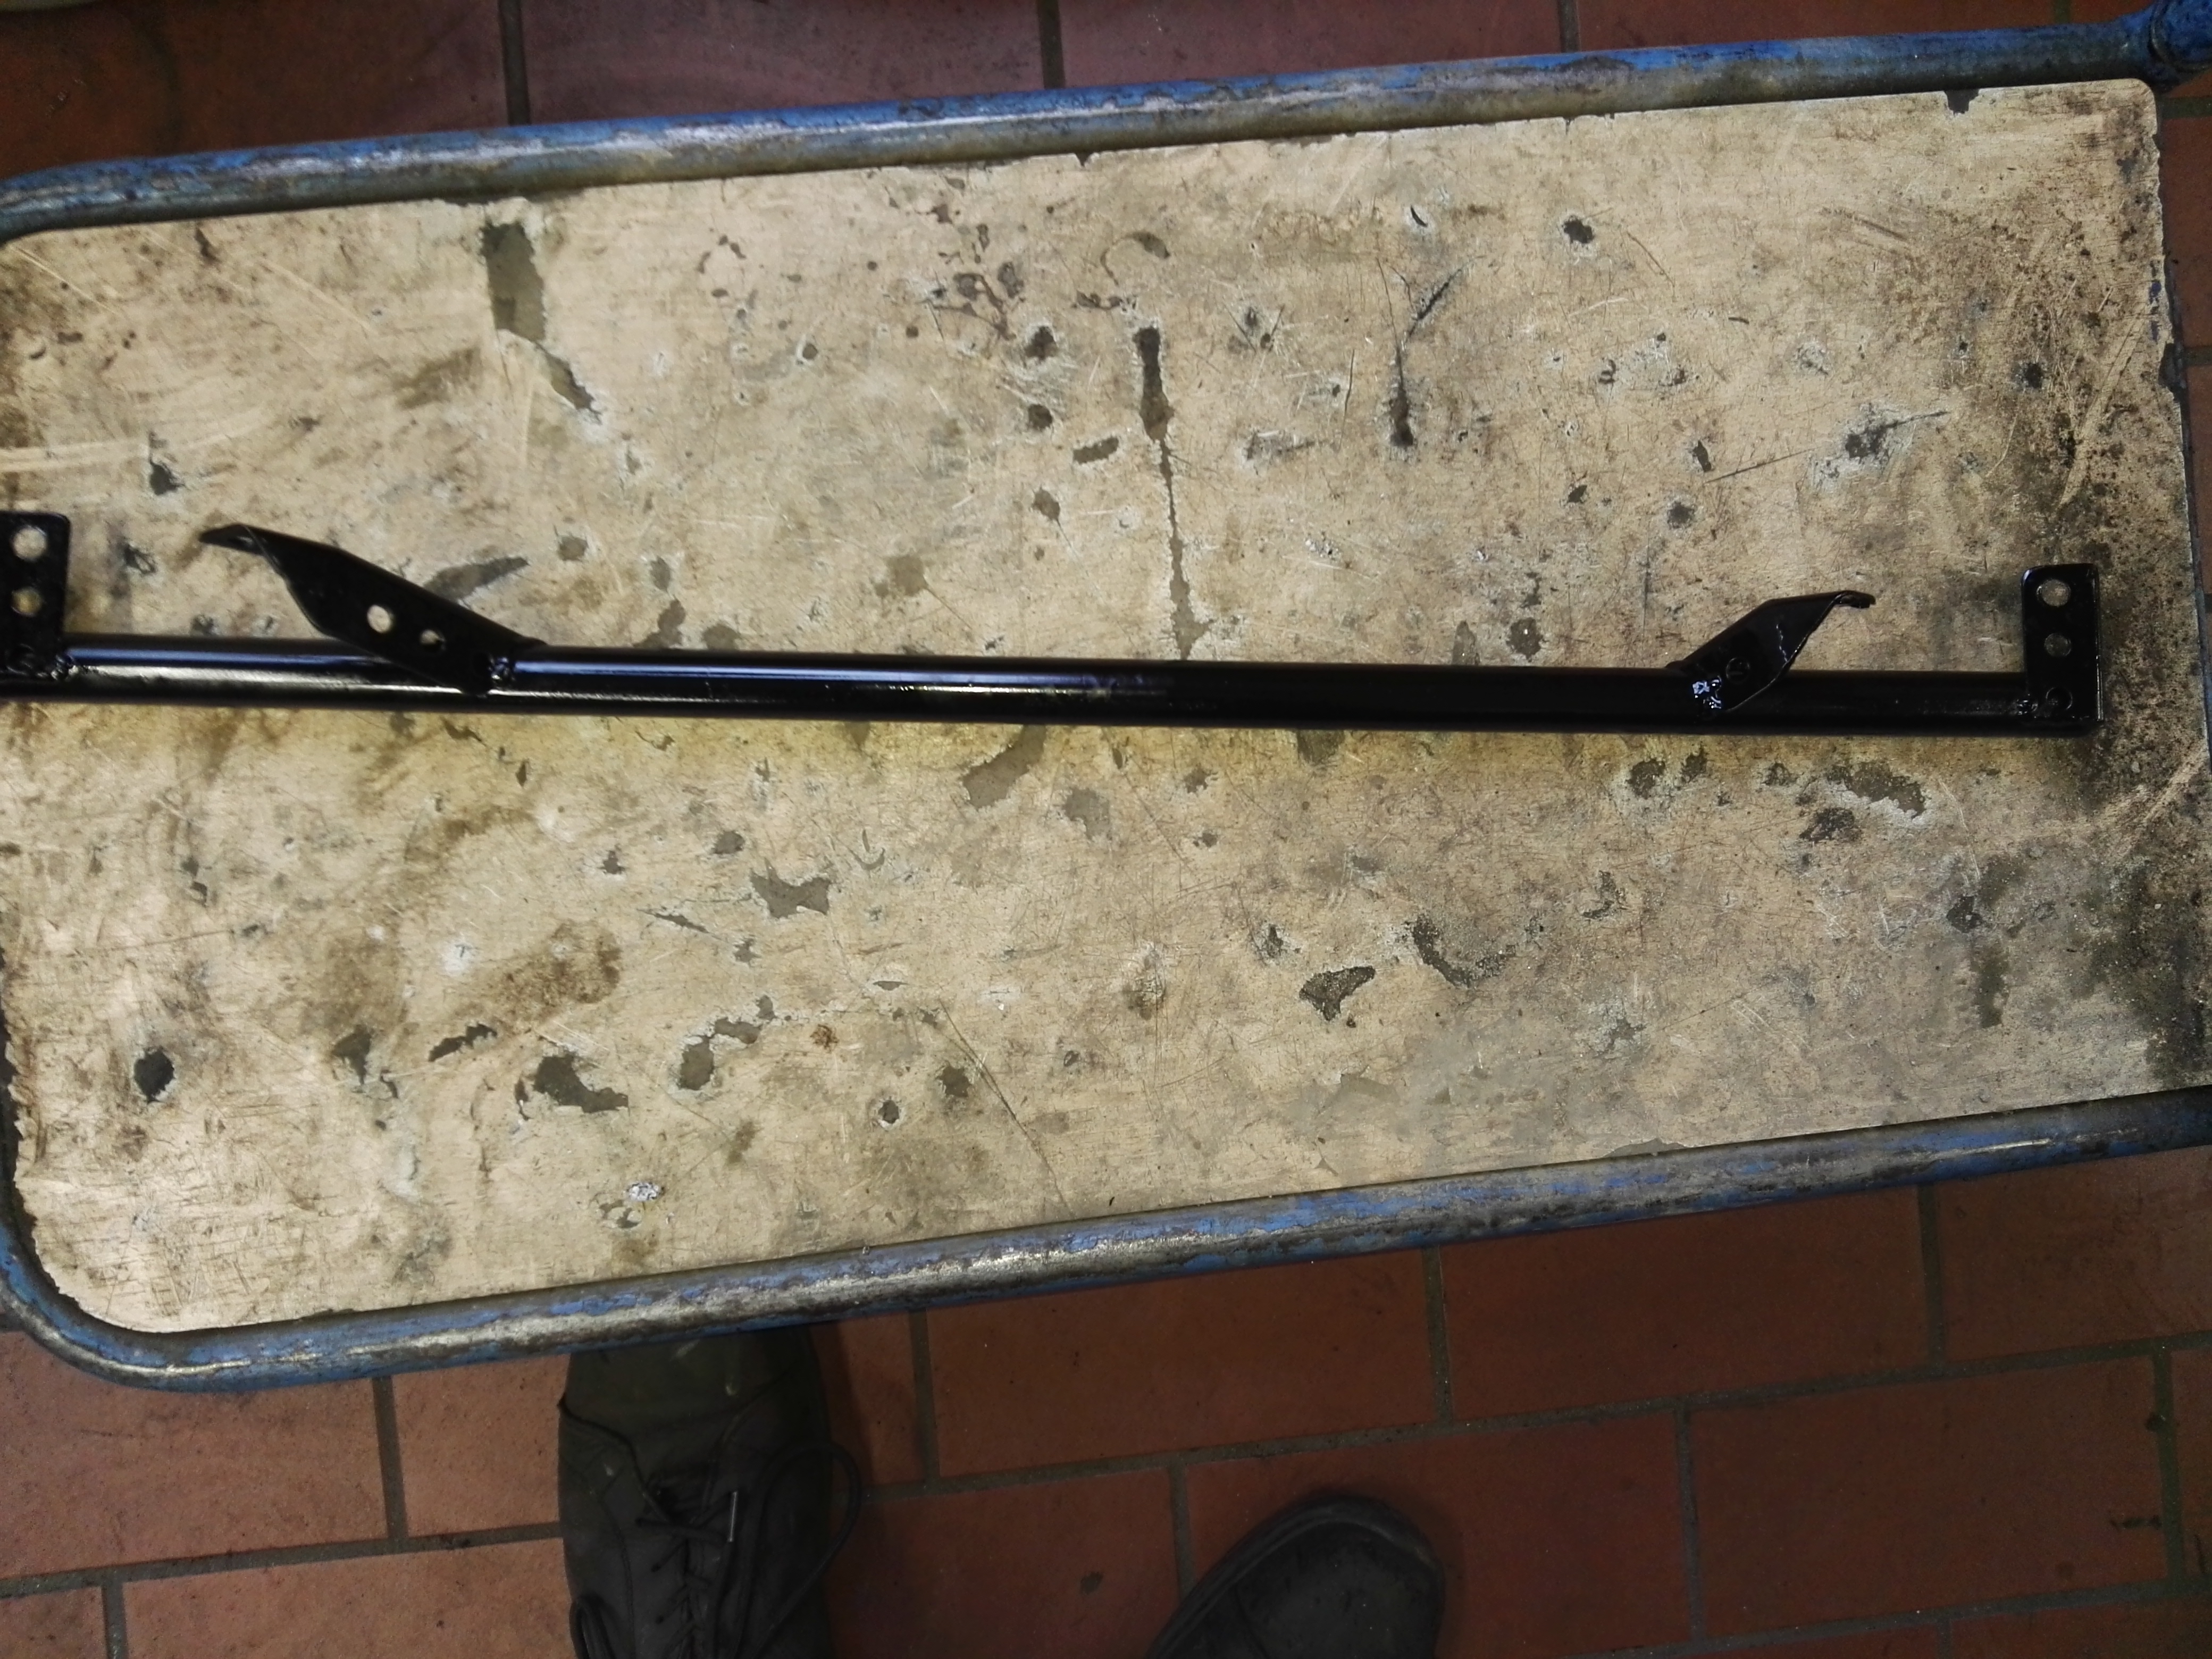
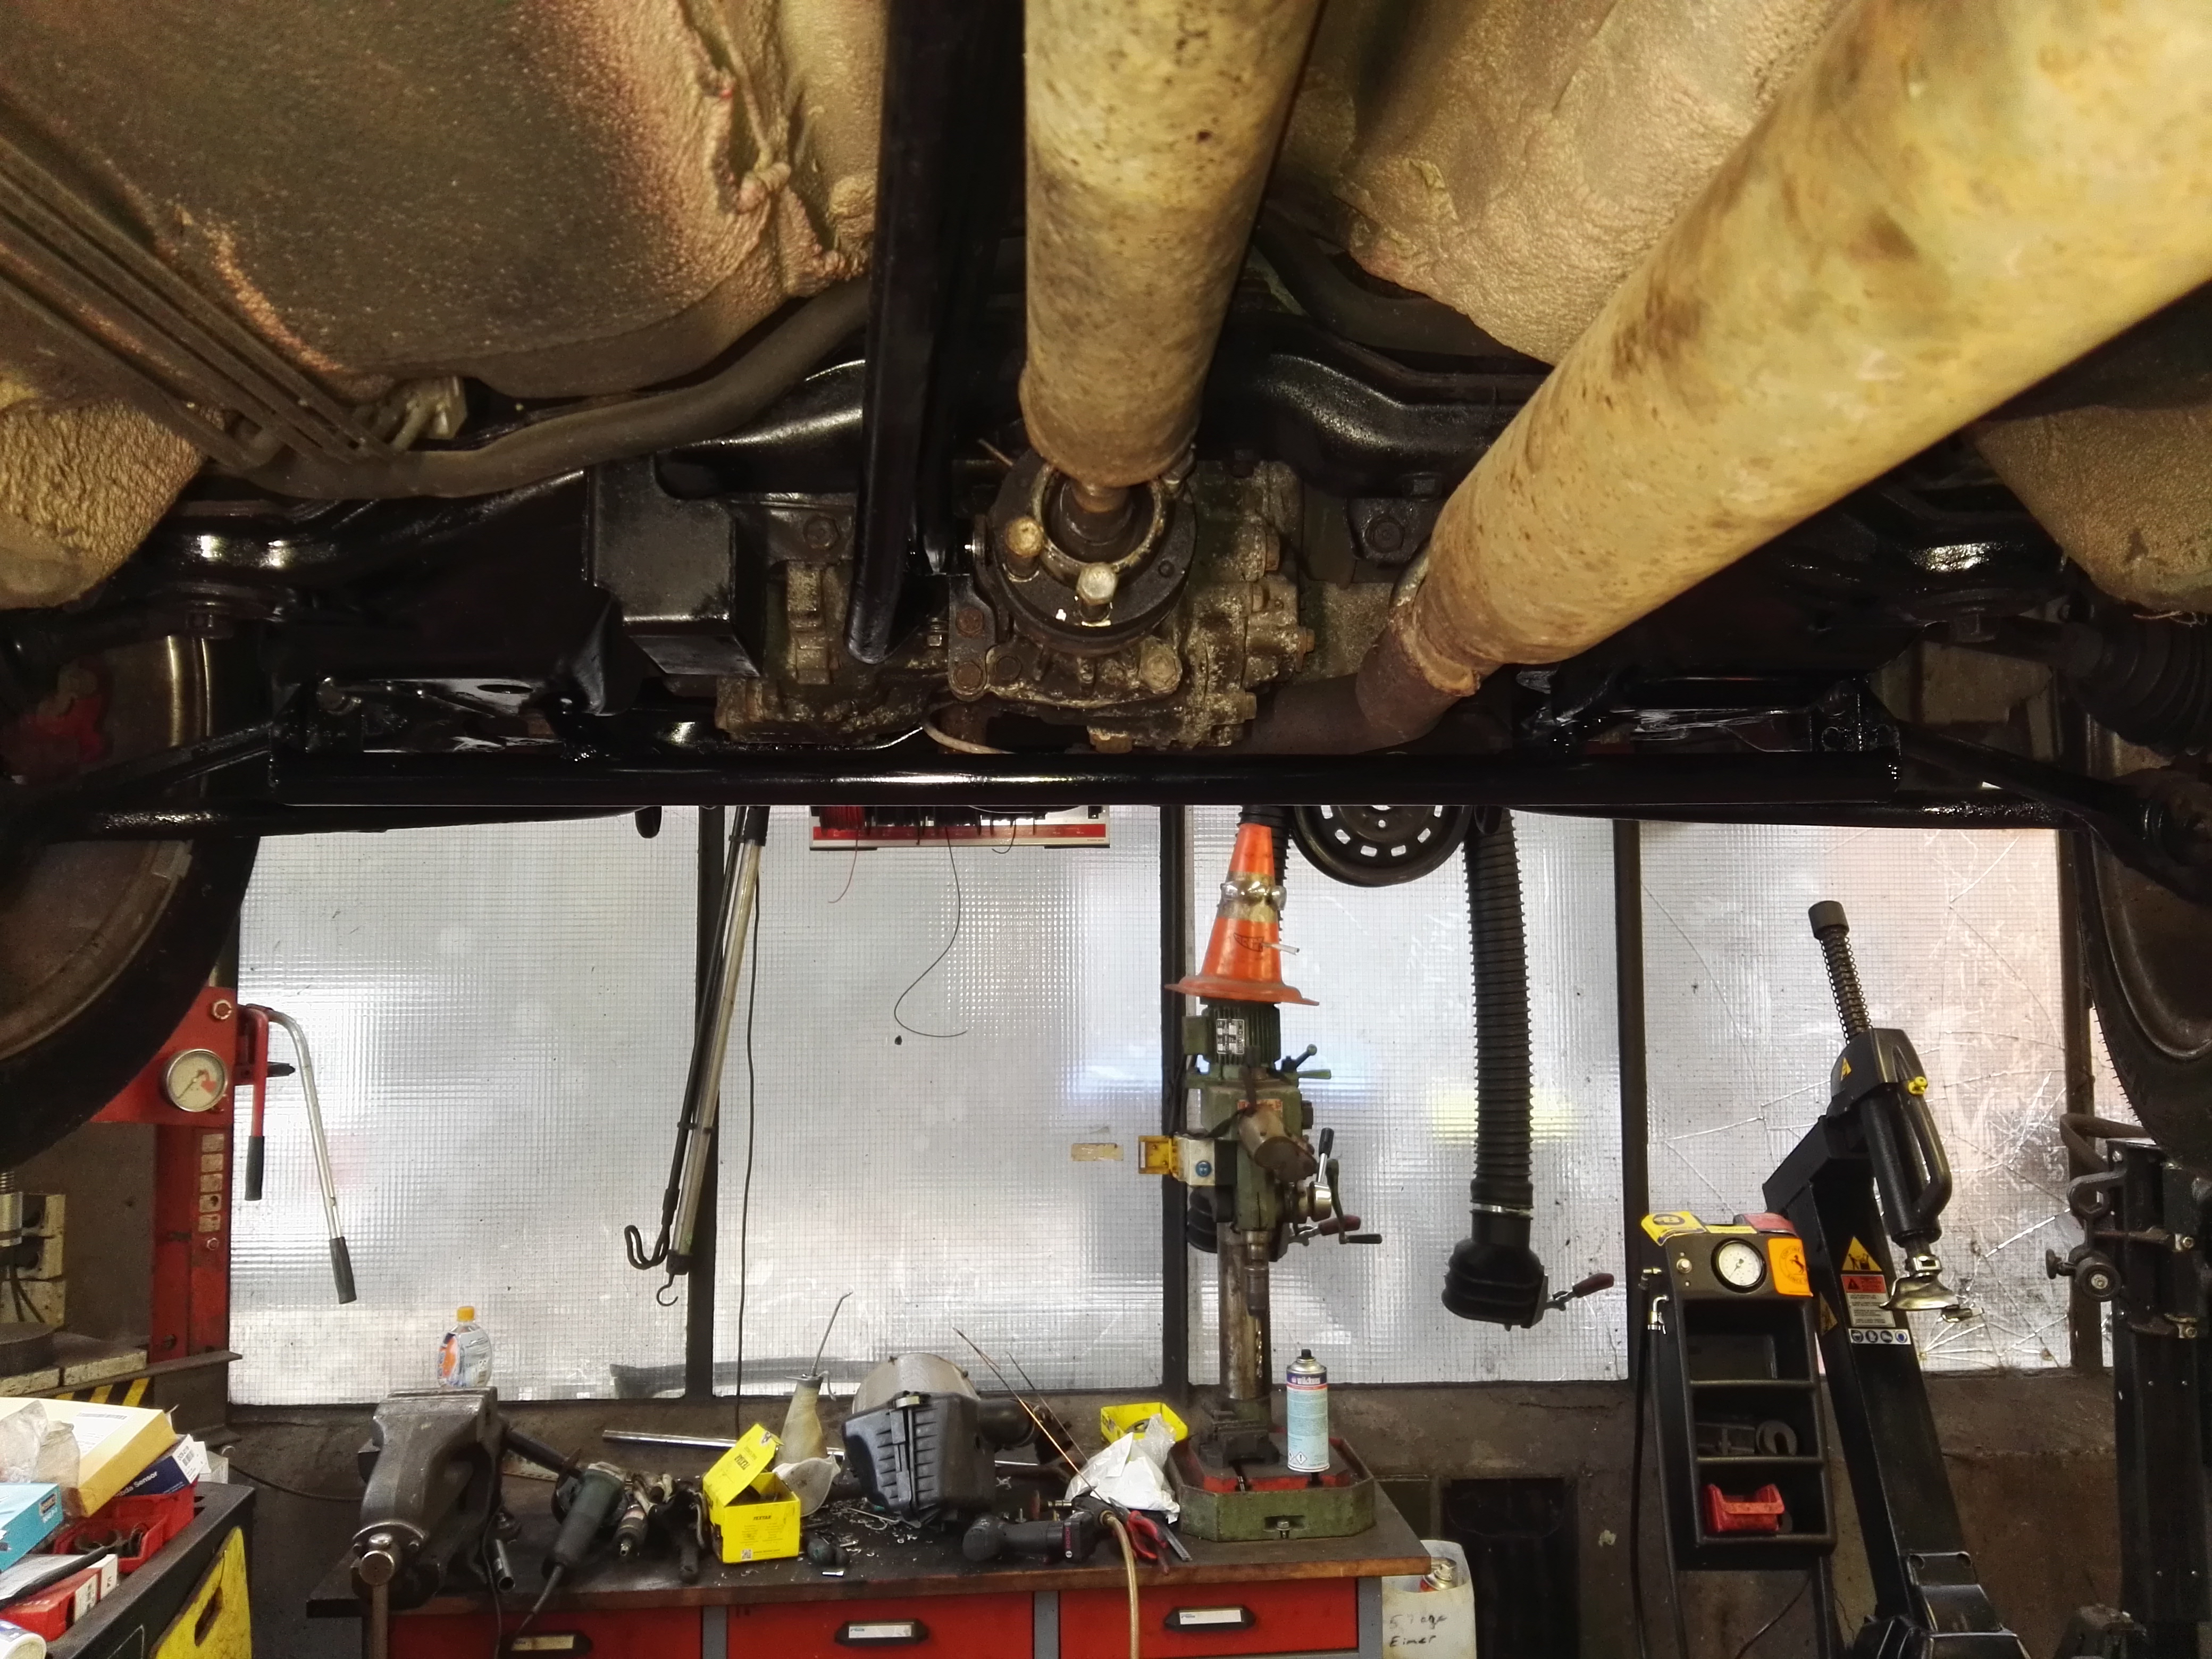
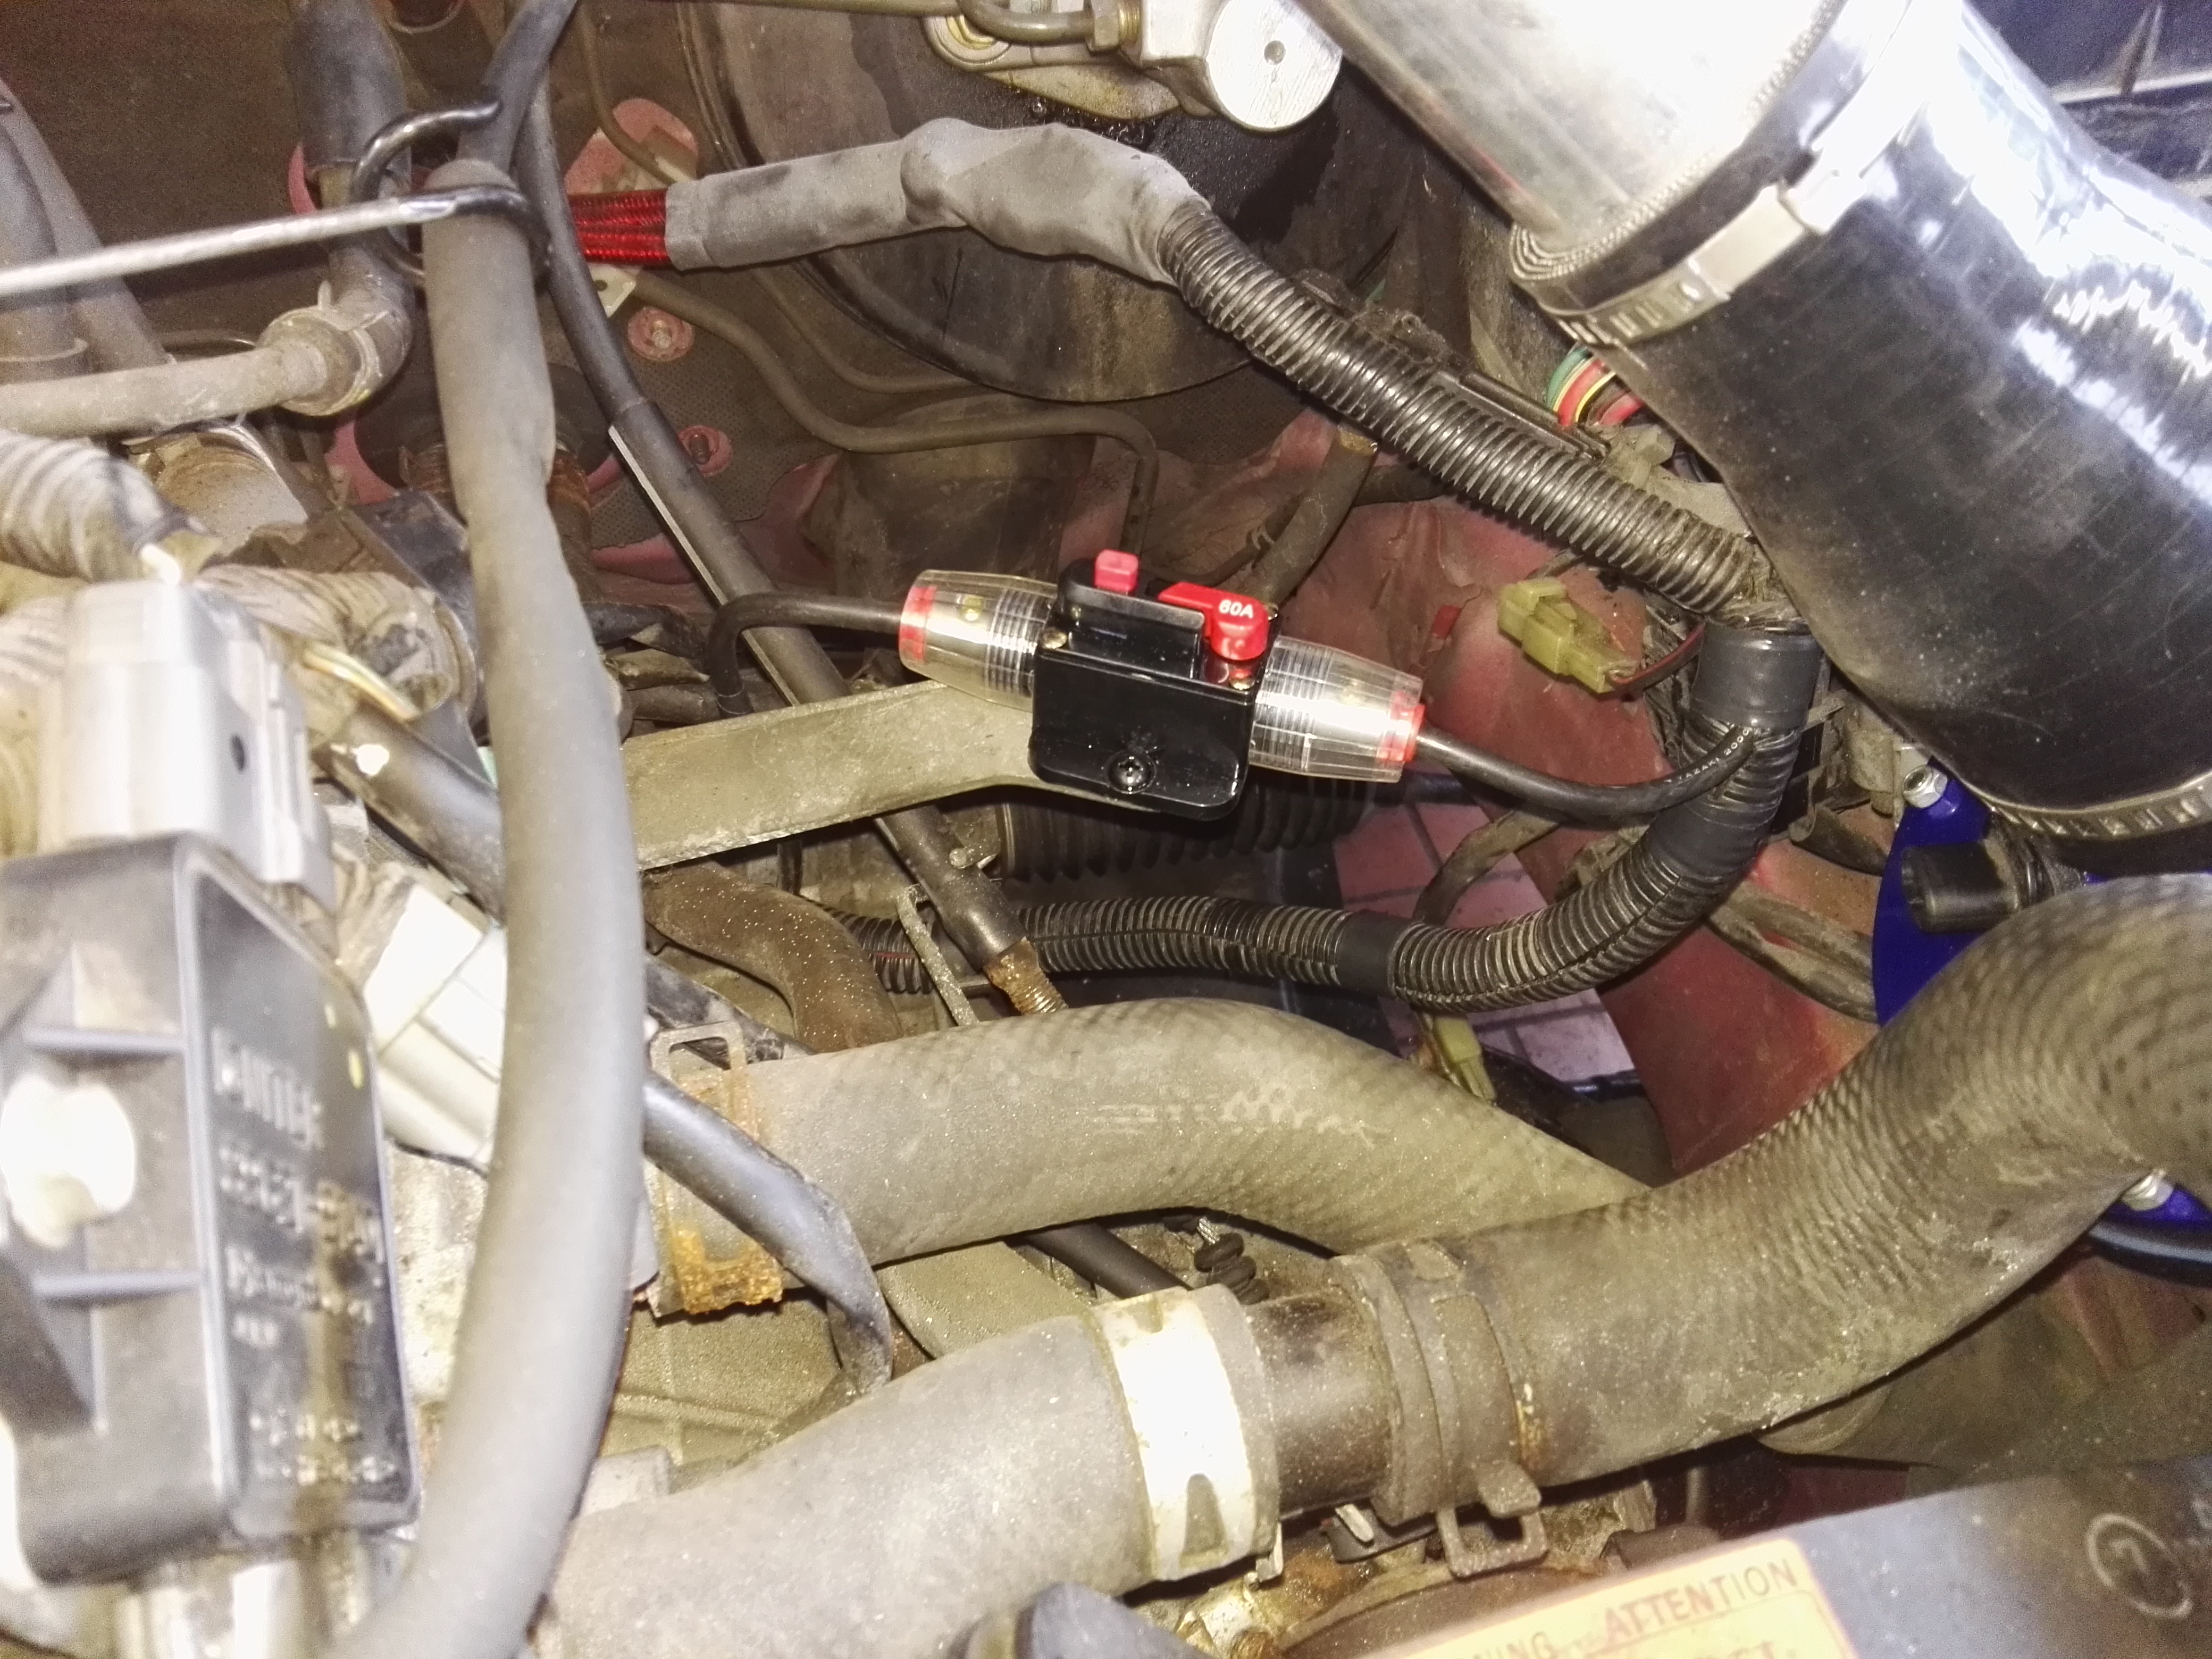
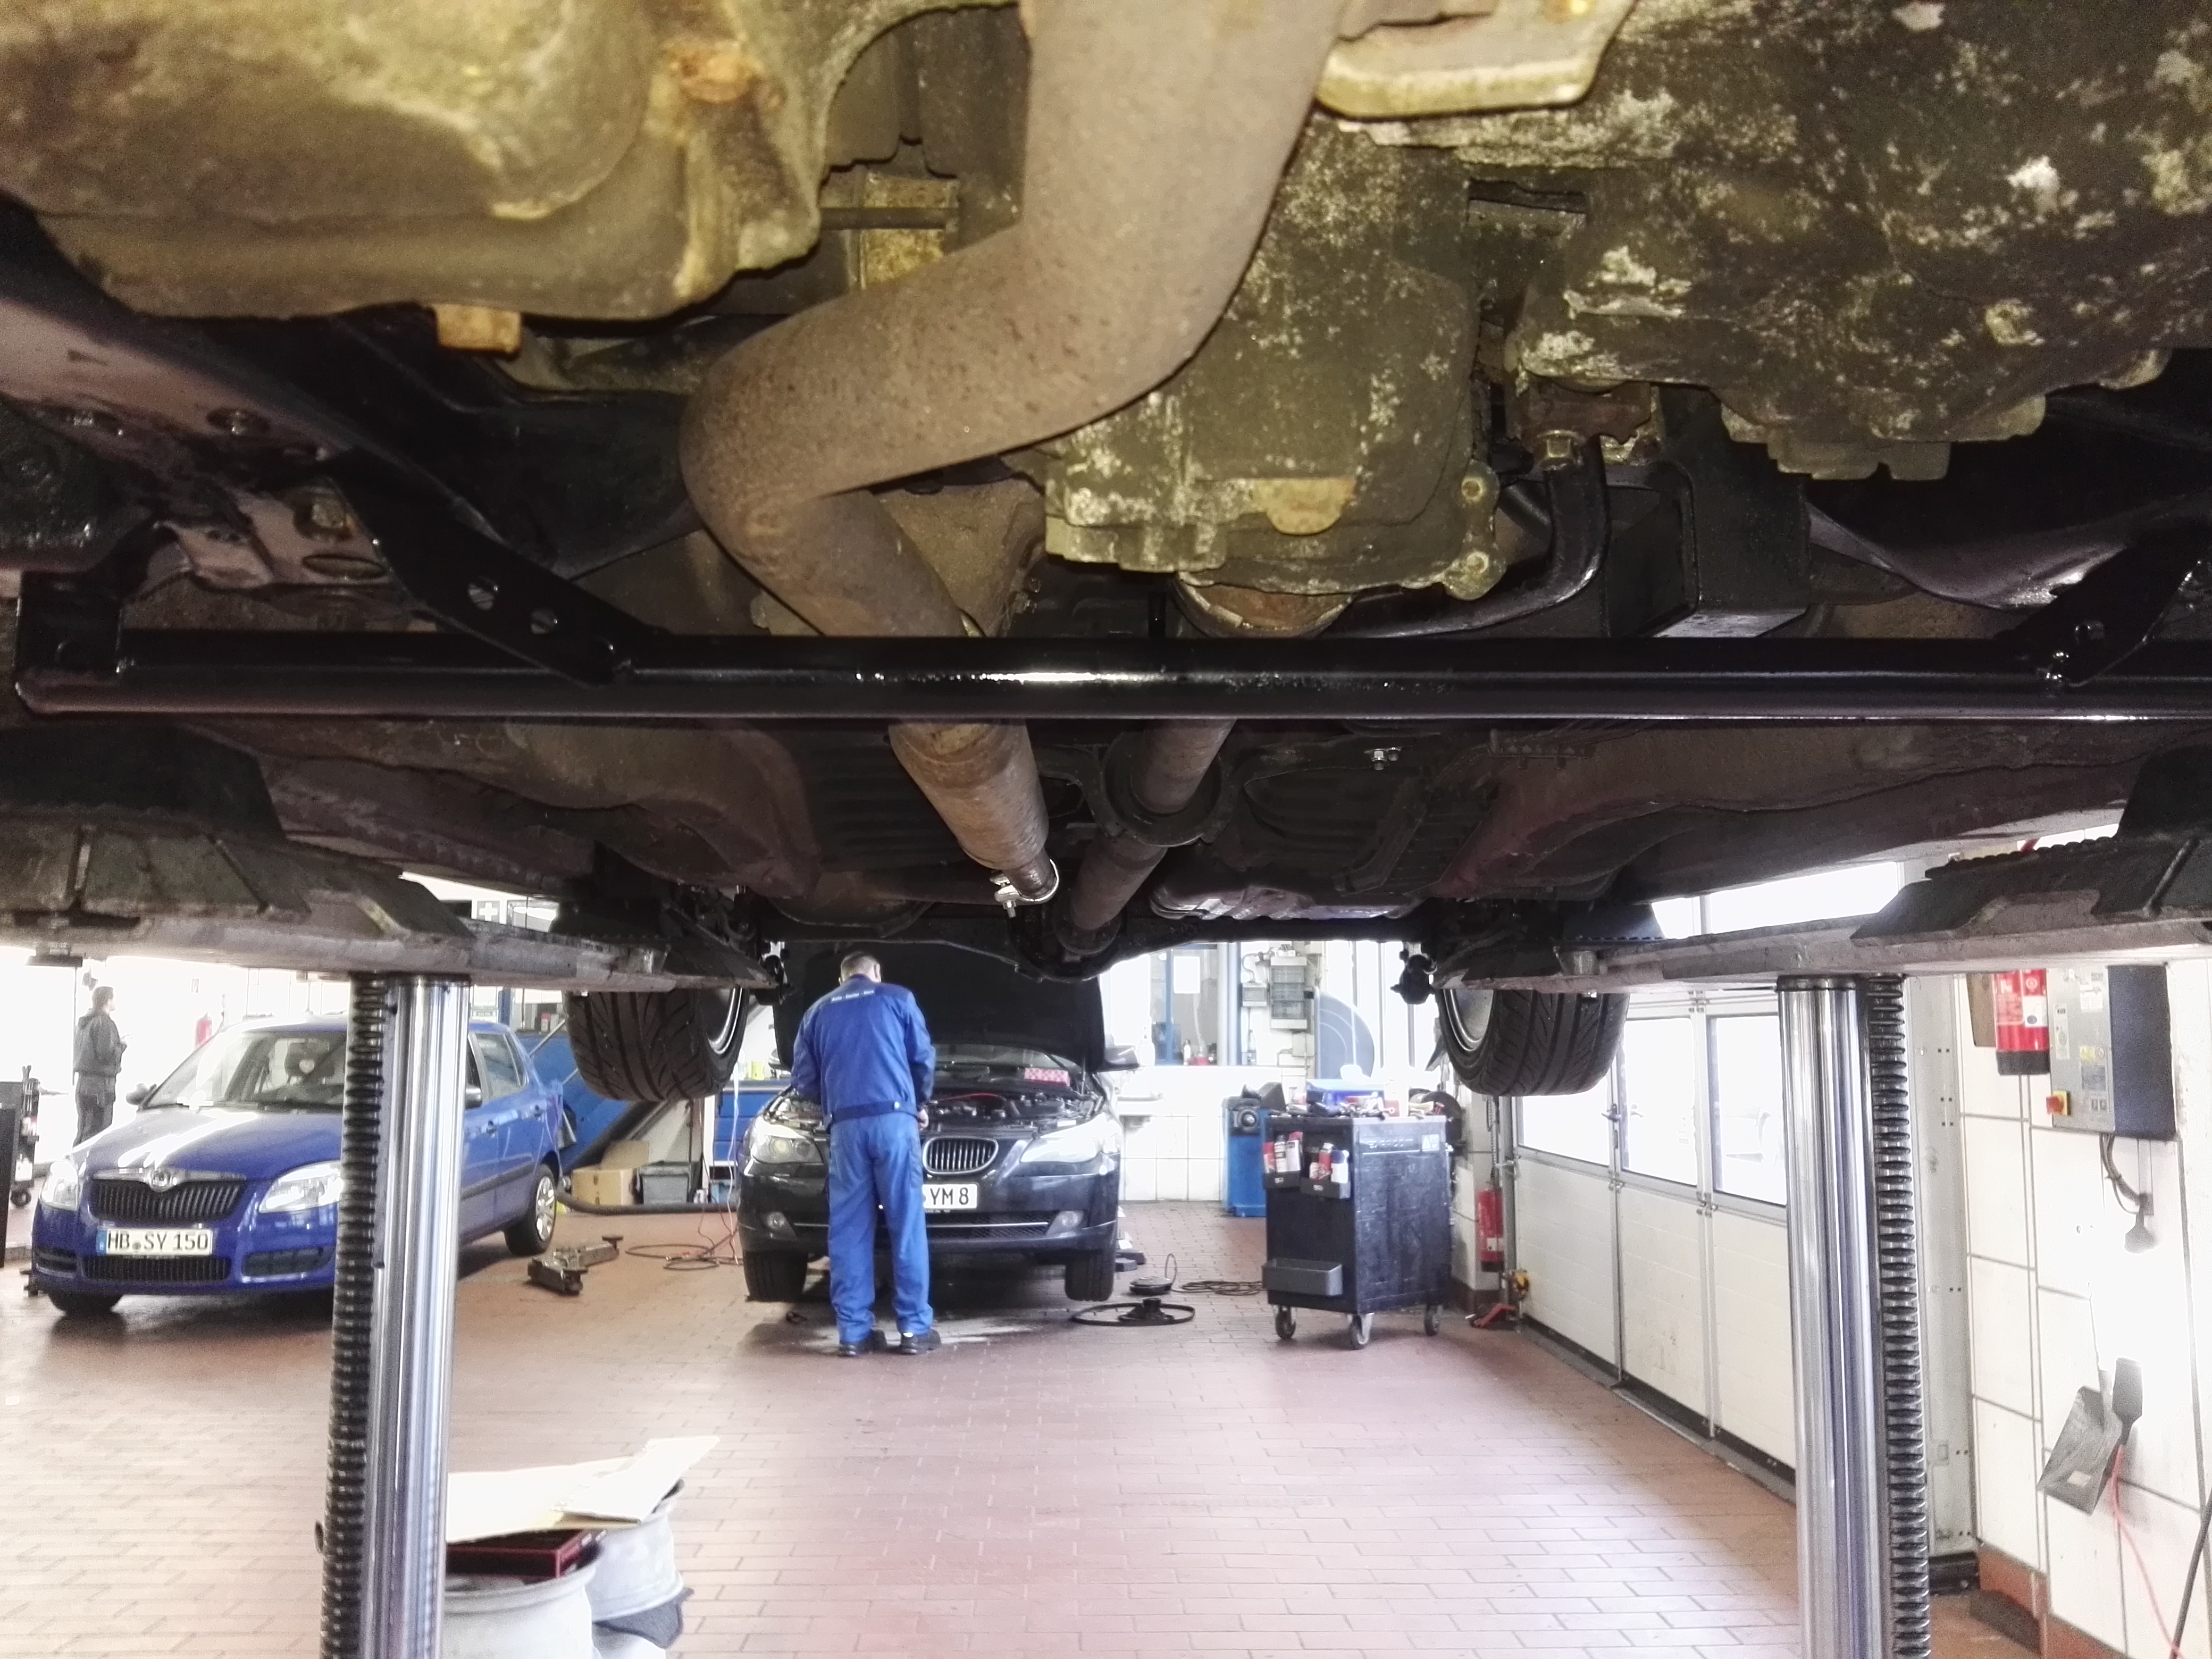
Got a bit done today, control arm brace and circuit breaker for alternator.
Hey guys, so yesterday the cam, timing chain and crank pulley went in. Sorry no photos, I had plans to measure the old cam and new cam with a dial guage and degree wheel and map them out, and take heaps of photos, write a how to guide and all that but I got in the zone and was so focused on getting the job done all that went out the window lol. Anyway I dropped the whole motor again to make it easier but it was a long and tedious job setting the valve clearances, each time haveing to remove the cam and swap buckets to eventually get it right. I had a bit of a dilemma regarding what the clearances should actually be, on the underside of the bonnet there is a sticker from daihatsu with “tune-up information” that says valve clearances should be 0.20 intake and 0.25 exhaust, but in the workshop manual (all though the manual was not specifically for the VE2) it said the exhaust clearances should be between 0.27 and 0.36. Anyway I thought 0.36 was a bit excessive in my opinion, I opted for 0.25 as I figured this was information provided by daihatsu specifically for this engine. I hope I was right lol. So armed with 3 sets of buckets from 3different engines and a size chart correlating the number stamped on the buckes to their actual thickness, and the set of shims from @b_hoves I went to war with this thing. It started to go ok bet then I started getting some strange results with the clearance not being what it should be after swapping for the correct bucket, thats when I realised the shims were not all exactly the same size. Anyway after removing and intstalling the cam about 100,000 times using different combinations of shims and buckets I got every valve spot on at 0.25 except for one which is 0.22 because I didnt have any number 58 or 56 buckets left  anyway got everything back together and the motor runs great and I will check the clearances again after a few hundred K’s after its settled in and re do it if necessary, and the good thing is the clearances can be done without dropping the motor again (that part was essentially to make the chain an easier job). Whole lot motor out, cam, chain, shimming, ect ect motor in again took about 9 hours, but hopefully it was worth it.