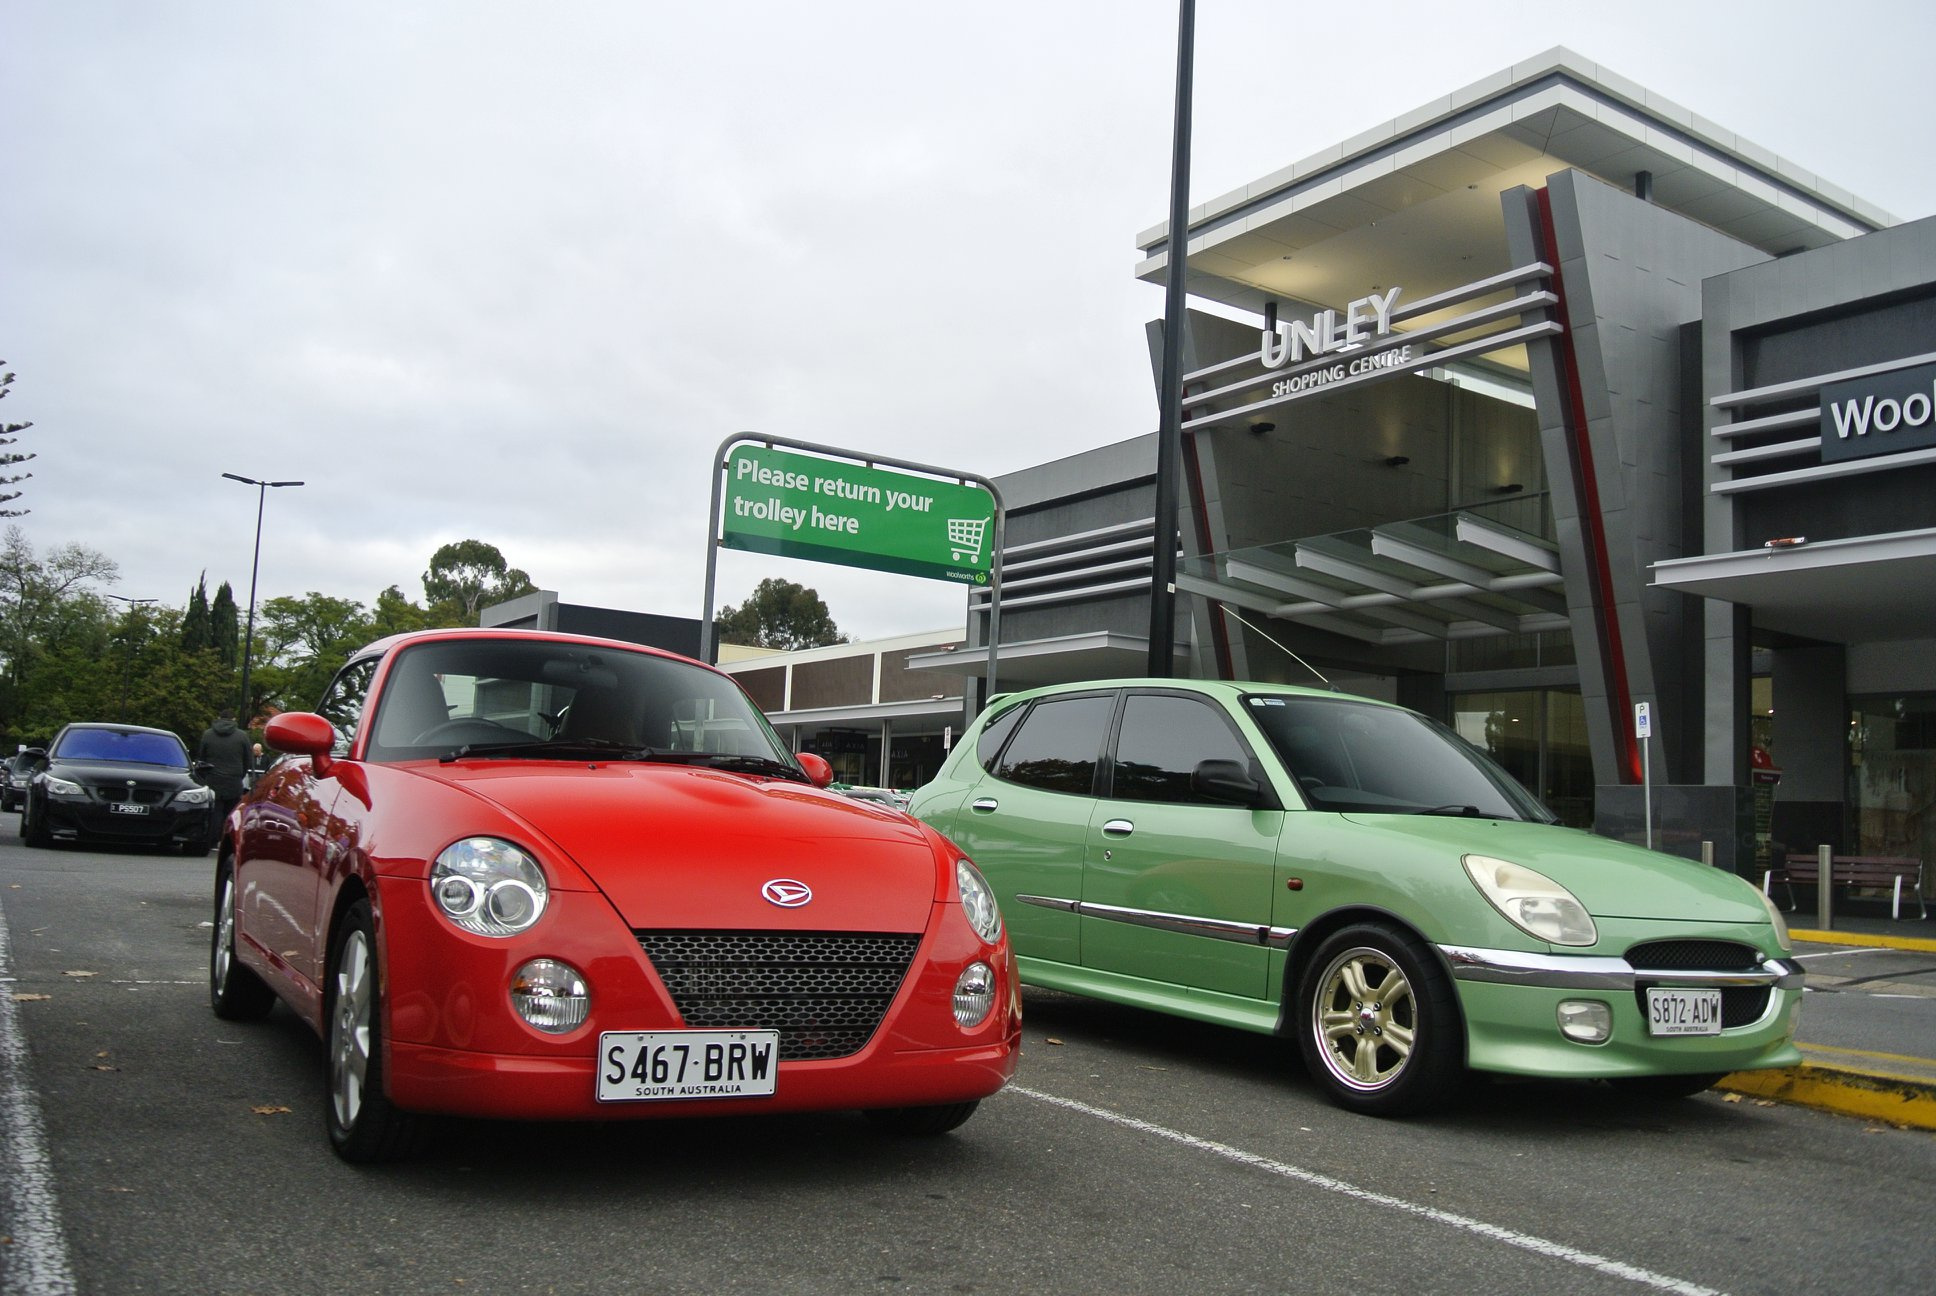
Haha I don’t mind at all. I’m just amazed to see another set let alone on another sirion. Do you have all the matching centre caps and valve covers?
If you don’t mind me asking how much of the folding stuff did you part with to get these bad boys? I spent $750 in total delivered to my door. (the rims only cost $170 of that)
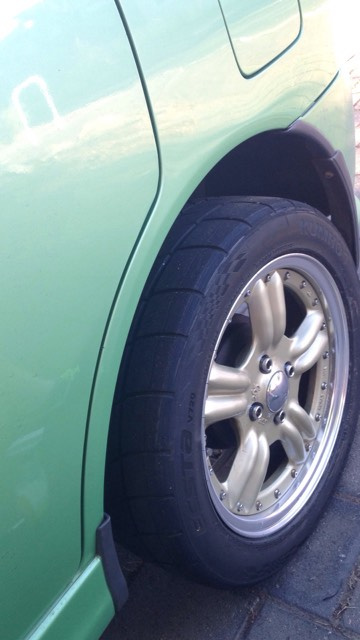
I also notice you have a pre facelift model, I am finding that a few parts are not interchangeable between the years. Trim pieces and the such are a few mm here and there but make the parts unusable. wonder if its because of these little changes that I can fit the ssr’s with no spacers? My tyre size is also the same.
They appear to be the original centre caps - the valves are the right-angle type and appear to be original. They have some marks etc and surface rust bubbling under some of the paint, but all-in-all they’re ok condition - chrome rim is near flawless so i’m happy about that (perhaps re-barreled?)
They were $900 to my door, but came from within Australia - so there would’ve been two freight charges in there. So a similar price more or less. Kind-of excessive for such a low-price vehicle, but thought they looked great on yours and so it was hard to pass them up.
Yeah the 4WD Sirion rear axle/beam is slimmer apparently, so perhaps they did have a re-design between the years?? The joys of not having a hugely supported vehicle!!
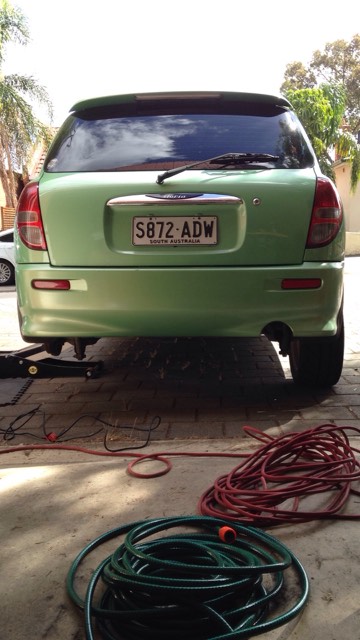
Found some time to jack up the Sirion and take to it with the angle grinder.
Was relatively easy, if not time consuming, but managed to remove enough of the rear beam to be able to run without spacers at all. Gives me a bit more confidence that there is more thread for the wheels nuts.
However, the outside of the tyre still rubs on the wheel arch. Not sure if this is more due to aged suspension than the sizing. It is starting to feel that over large bumps there is practically no suspension at all and could be hitting the rubber stops. In any case new suspension is coming to sort that out.
The other thing i’ll look at is removing the black plastic trim around the wheel arch and either cutting that or removing altogether - and also rolling the guard lip on the inside. After the rolling, perhaps re-stick the black wheel arch trim to tie in the black end cap on the sideskirt and the rear mud flap (or put on some red rally mudflaps taken from our evo…hmm).
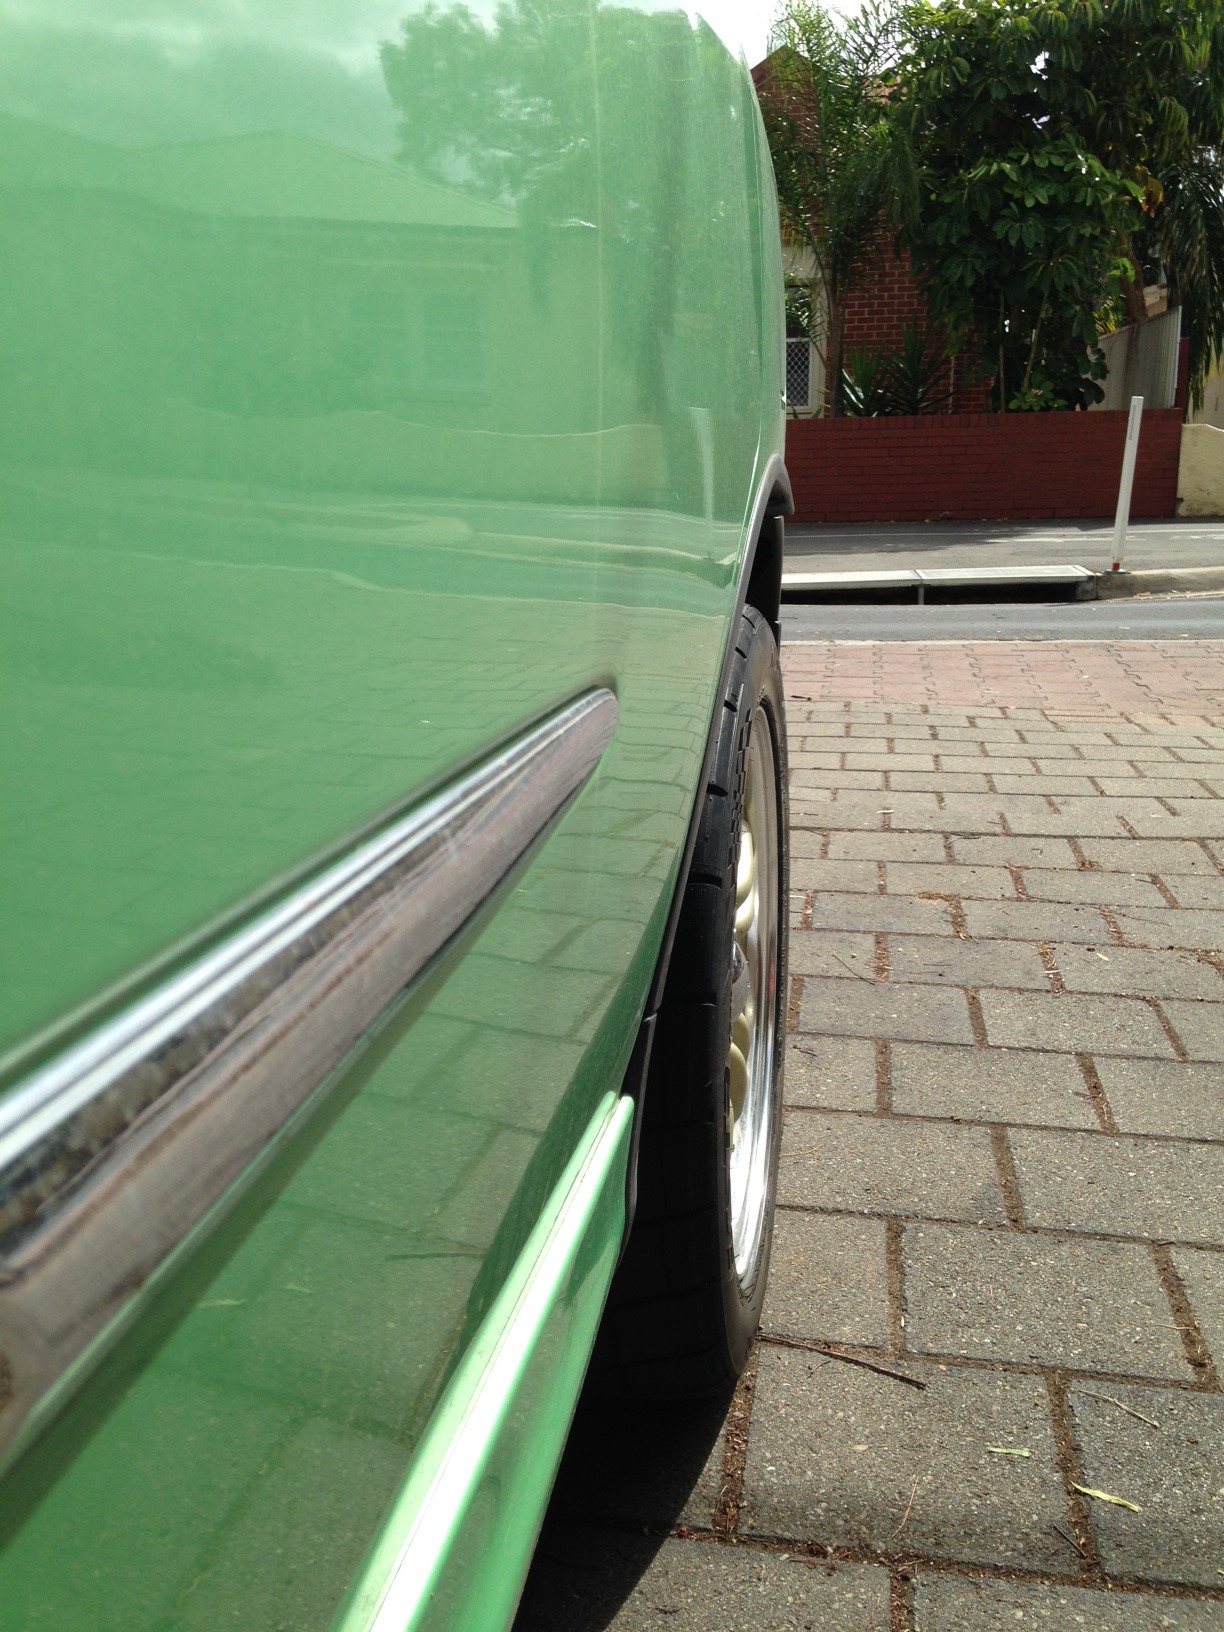
Small changes still ongoing to get these wheels fitted and scrub free.
Looking to roll the guards, so wanted to take the black plastic moldings off.
A mate spoke about a ‘rubber wheel’ to get old glue / goo off without damaging paint.
It was a quick ‘proof of concept’ and to see what the paint was like under it (pretty good tbh). So at a later date i’ll be removing more of the trim and to roll the guards a bit.
if you remove the black plastic wheel arch lining. Dont drive on an gravel or loose surfaces.
The lower body trim packs with gravel then pushes it off the body
I won’t be removing the inner wheel well lining, just the arch trim that the earlier GTVi’s have. Although with the black end caps on the sideskirt it does look a bit odd, and I’ve not removed the front ones yet. Additionally the ‘caramel wheel’ doesn’t work so well on the plastic bumper to remove the double sided tape residue it basically marks the paint as it rubs over it. But I tested it behind the mudflap trim, so no harm done. Plus the paint under those has been marred by rubbing for the last 18years anyhow, so I can’ run without the mudflaps as it will look pretty bad.
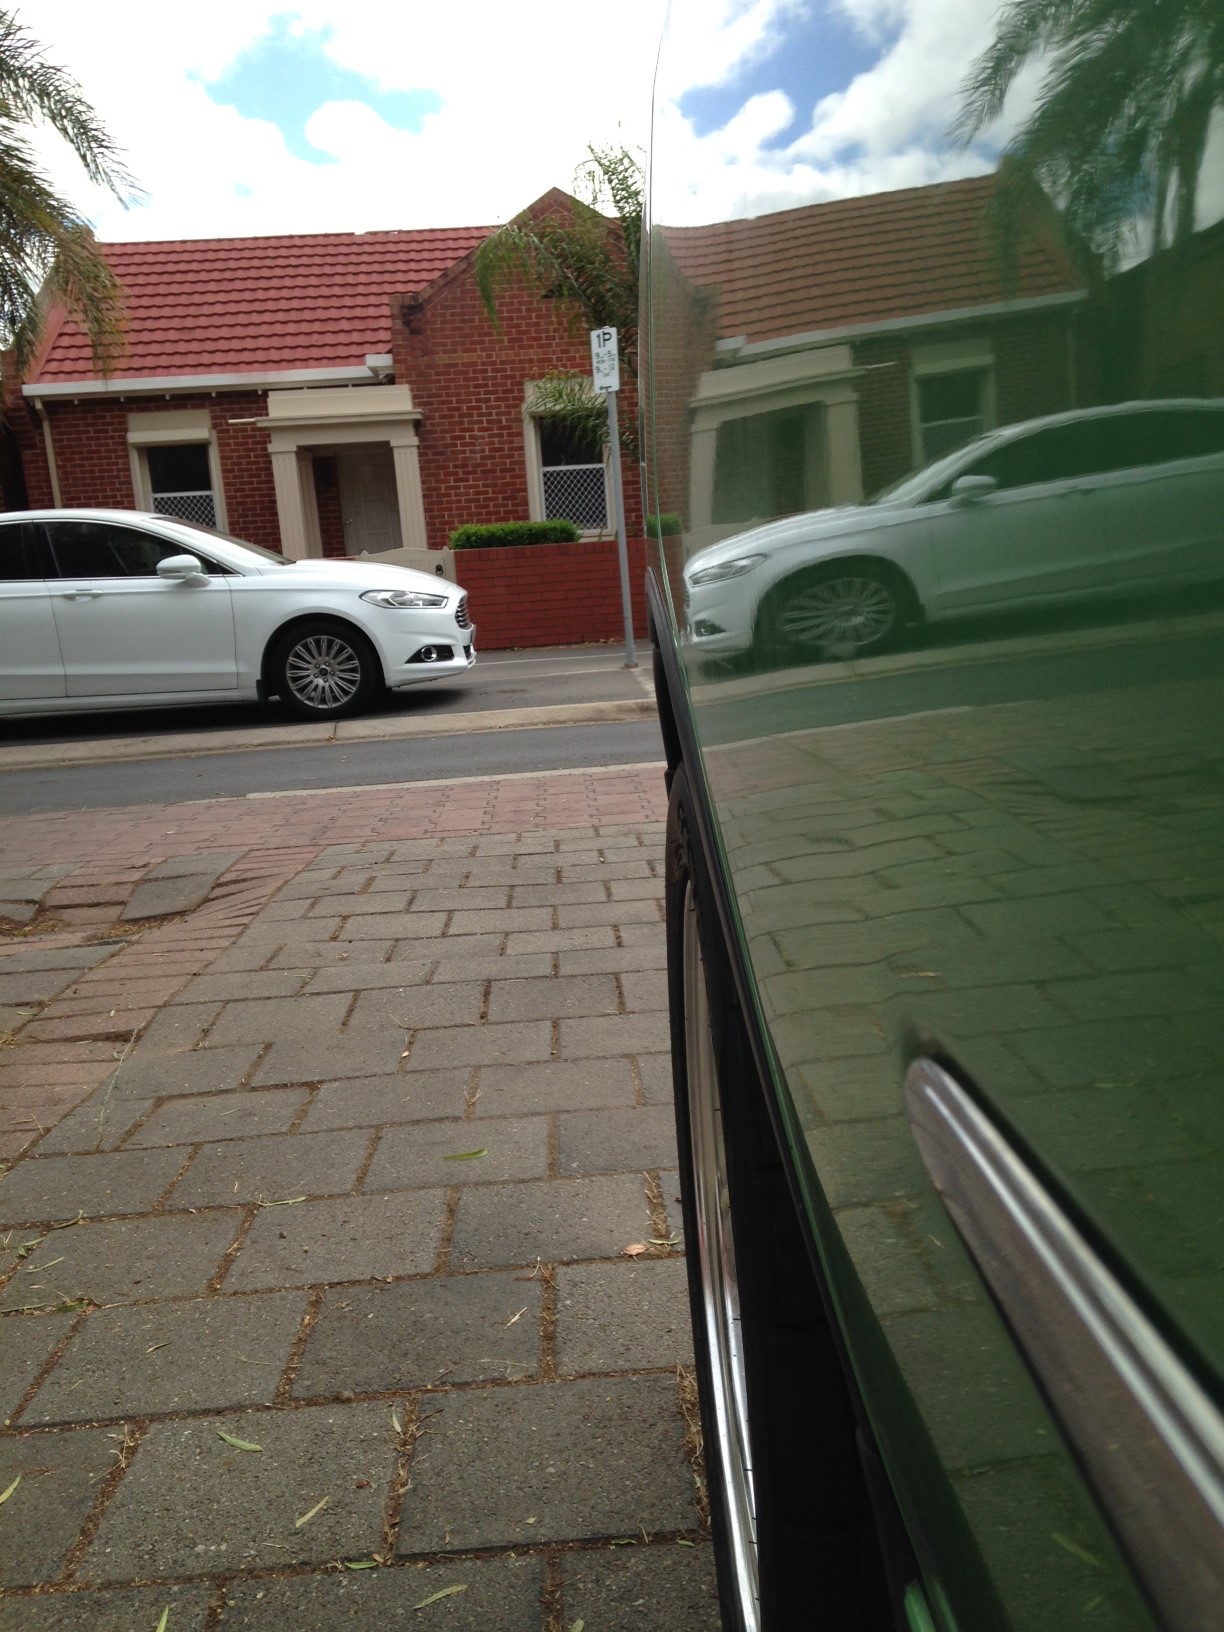
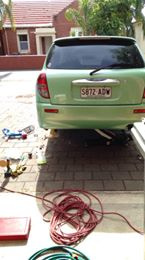
Over the weekend I installed the final components of the suspension. I went with the BC Racing coilover setup for the M101 Sirion. Turned out to be quite straight forward. I haven’t finalised ride height yet, it’s sitting somewhere between 590mm and 610mm from ground to guard at various corners. I also rolled the rear lip/guard flush which has helped gained the clearance needed.
From a brief/quick un-aligned drive, it all felt good, much more solid. No doubt helped by just the fact they’re new components (old shocks could be compressed with next to no force at all).
So next up is;
set ride heights
send off for an alignment (possibly get some camber bolts in the interim).
I believe so,
It isn’t true coilover in the rear - still separate shock/spring combo with a threaded collar on the spring for height and adjustment on the shock. I’ve not played around with the rear shock adjustment much, but given it’s location i’m dubious it will do much. But you live and learn. It was off the shelf and allows me to play with ride heights compared to just a lowered spring/shock combo. Which was a concern of mine with the tyre/wheel combo I have.
Plenty of scope to go MUCH lower and enough to raise it where I want to be.
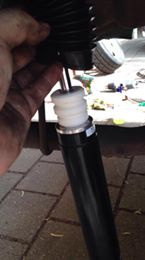
I removed the lower bump stop on the beam as the shock has a bump stop in it.
Not sure if this is right or if i need to replace it, or need to trim it down, run an after market one. Good thing is the spacing of the coils means i can reinstall that bumpstop without having to drop the suspension.


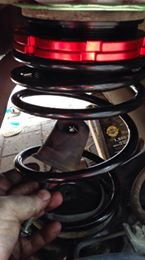
 I was curious to see how the spring looks