Namby pamby Monroe mumbo jumbo…
Been watching some vids on how to fit koni inserts into factory shocks - interesting, not something I had considered previously.
Namby pamby Monroe mumbo jumbo…
Been watching some vids on how to fit koni inserts into factory shocks - interesting, not something I had considered previously.
Inserts are the simplest solution. Effective but you loose some travel. I stuff around and do wet inserts. That means finding a strut insert where, after the insides are pulled out, they will will go inside the old strut. Often I cut the old strut down and lower the spring seat so it is just off the tire. The next step up is making one strut from two. I cut the bracket off the bottom and turn the bottom of the leg round. You have to make a new bottom end/disc to match the shape of the Koni and weld it on (the shape will let the foot valve sit in it and allow oil to flow). On the other strut I cut/bore the bracket out. Slide the one leg through the other so the tube will sit 6-7mm above the cv boot. Doing all of this maximises travel. A bit of measuring and mucking around can mean being able to lower but still have bump travel. The top bush on some Konis are held in by tapping the top of the tube over to pinch it in place and some need a thread. More mucking around but I’m okay and in my happy place setting this up on the lathe. The thread is easy, holding the strut to turn it is not. Another way is just to make new legs and turn the threads on a new tube and add external threads for a coil over collar. Okay a bit of a ramble. I’d pull your strut out and if there is a glare nut on the top undo it or else about 2/3 up the leg drill a 10mm hole as far through as game without breaching the inside (if they are a gas strut put a big rag around all because it will spit - no need to put gas back in as it is only there to stop the oil foaming when hot). Punch the remainder of the hole through. About a 1/3 of the way down on the opposite side do the same but with a 5mm hole which will be your air bleeder or pressure hole. Bleed and pump the strut until you have 200-300mm. Measure what comes out. Use an air blower if you can on the small hole. When you are sure it is empty I’d plug it with a rubber stopper and put a band clamp or some like that around it. Use a syringe to fill it through the top hole. Cycle the strut while you do this. I’d probably start with 20wt or even 30wt. This is not a long term solution but some test and tune. Get the oil from a moto shop, 20wt is less common these days and it or higher is normally for older bikes. You may now some of this already but I thought I’d put all on my mind out there to share.
Sit down Bastabus. Of course I wasn’t going to roger you, this isn’t a Catholic school.
Hey Jason, I’ve just replaced the shocks in my race car so the old set are up for grabs, if you’re interested?
They’ve still got plenty of life in them and I only pulled them out to test a brand that I was looking at selling here.
The old ones are Koni yellows that have been pulled apart and re-valved to be suitable for tarmac rally / circuit work. Rebound adjustable with castor plates in the front and camber plates in the rear. Custom lower brackets fabricated for around 2.5 neg and 1.5 neg camber, front and rear respectively.
I have a few spring options to suit
If you’re interested then flick me a message  these are the shocks I’m using in all of my YouTube clips
Thanks Tim - I will be in touch.
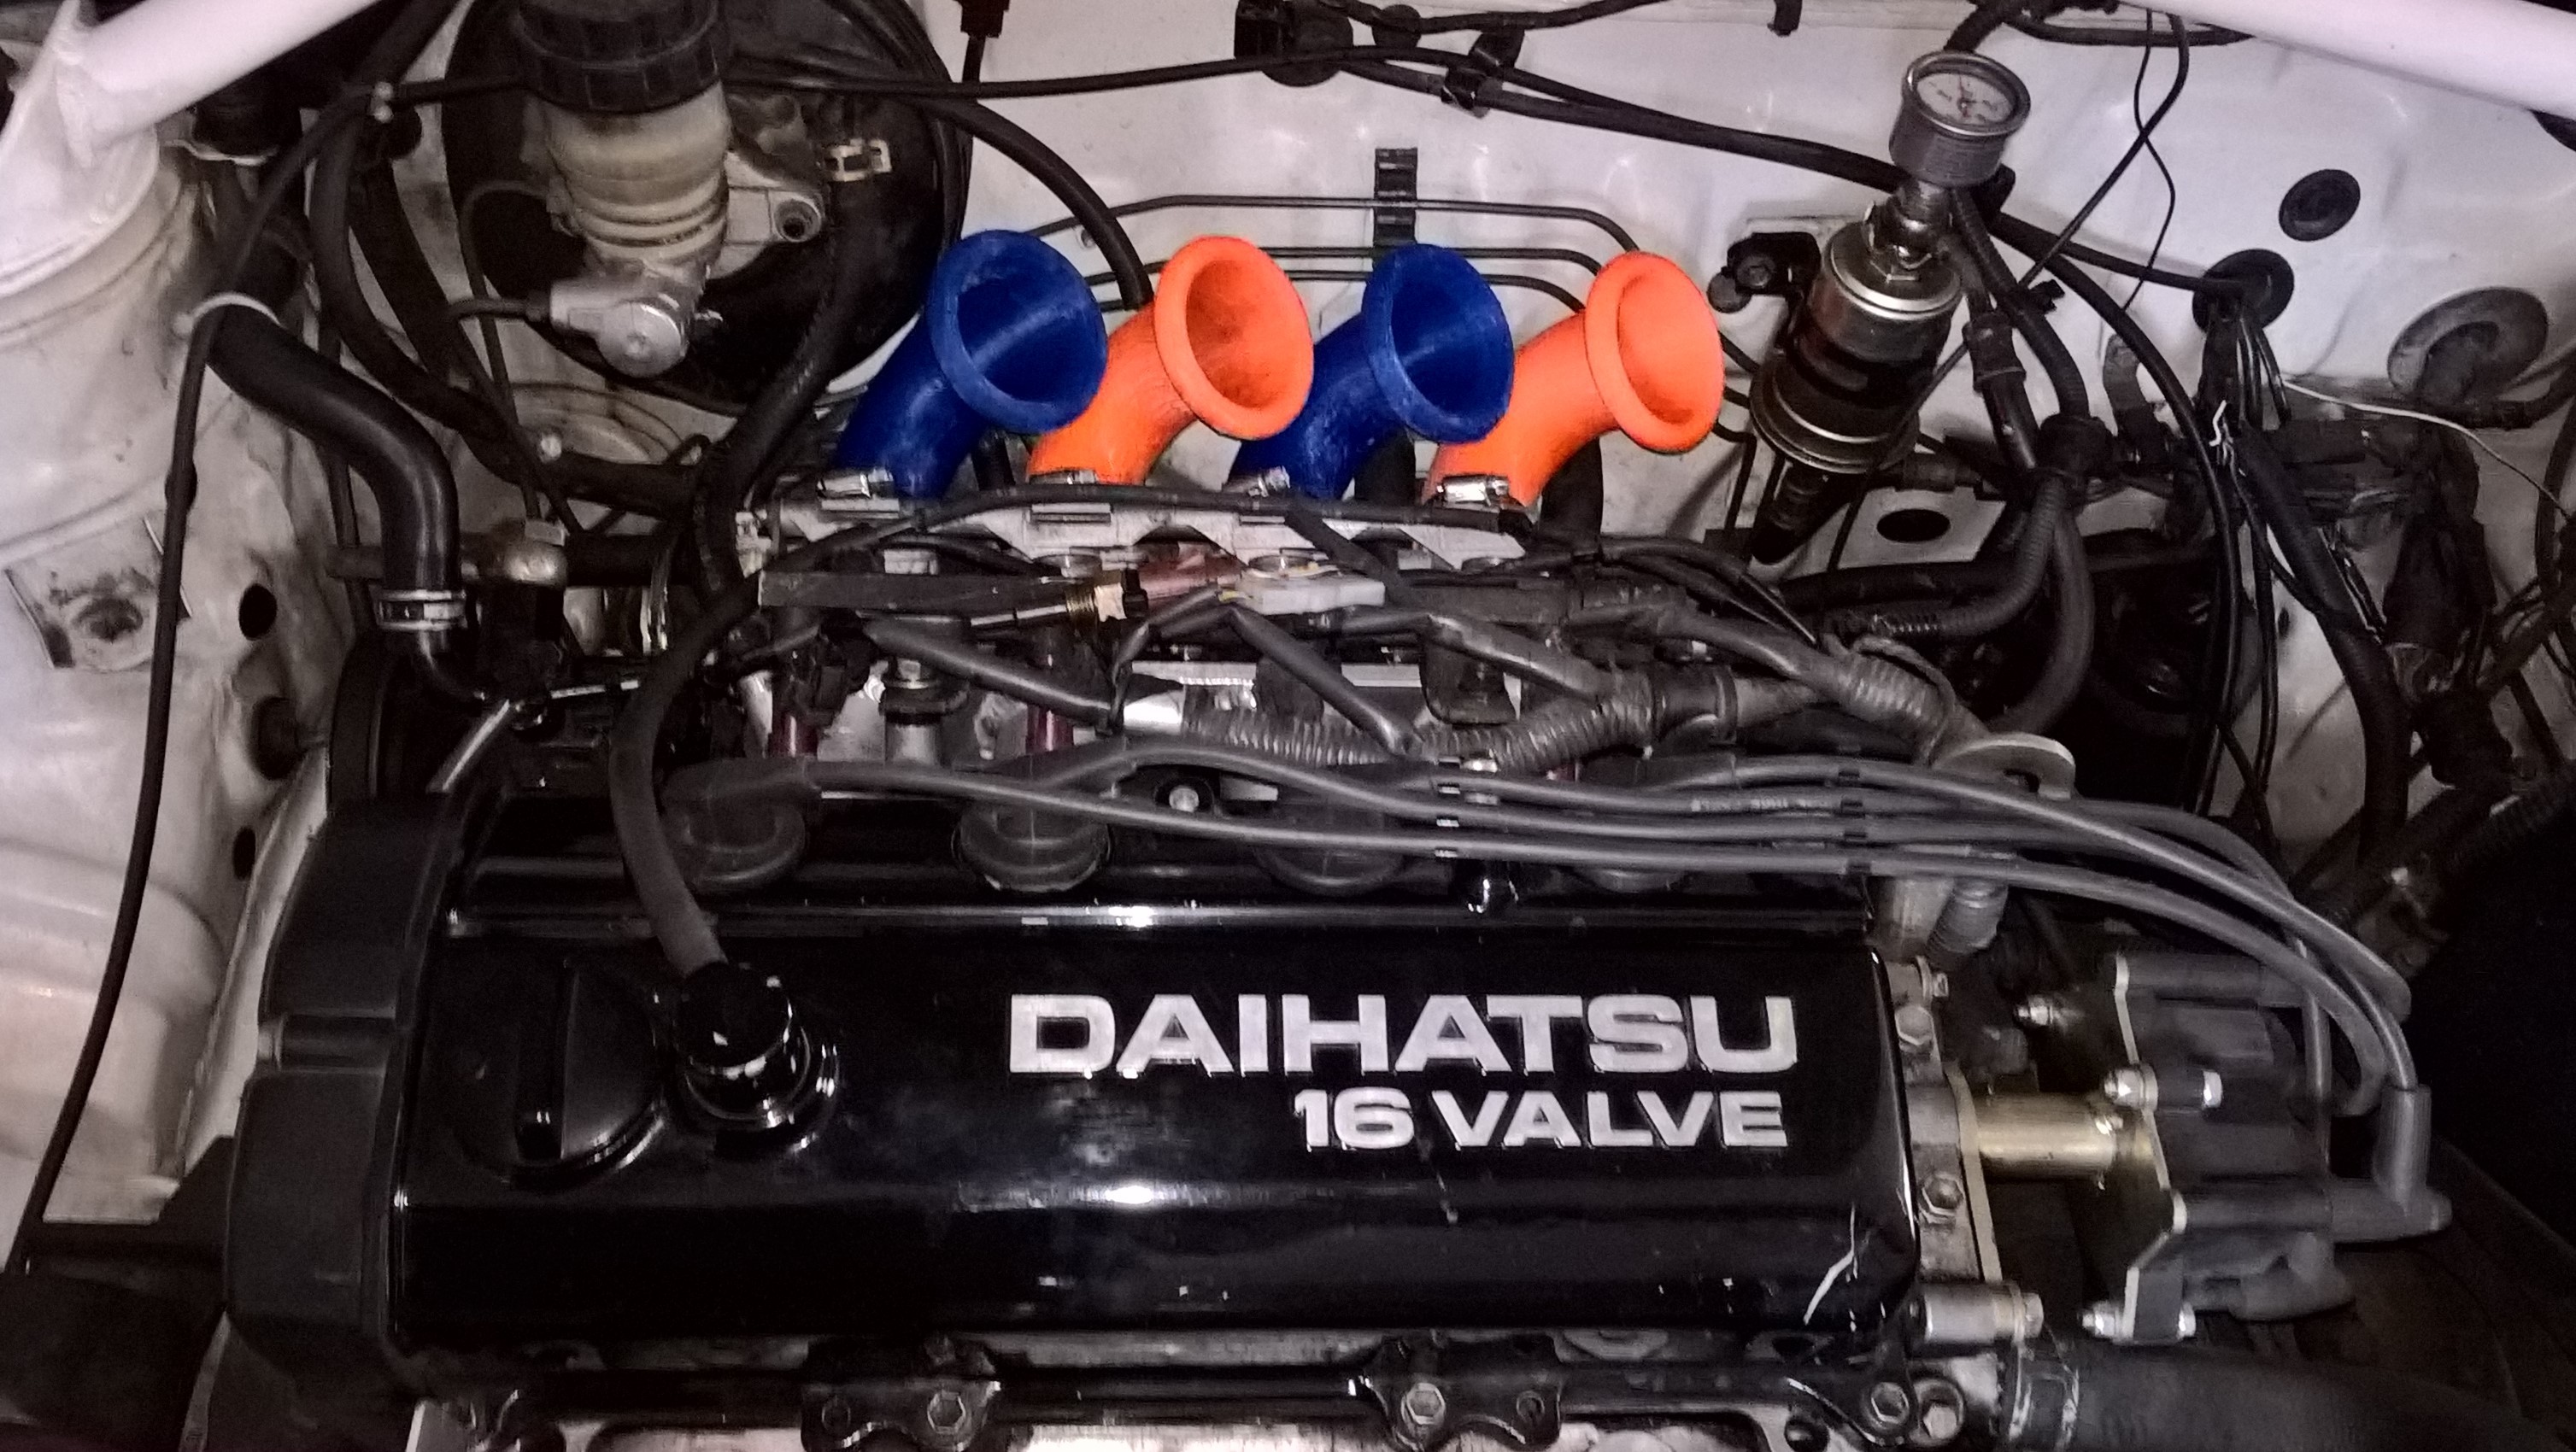
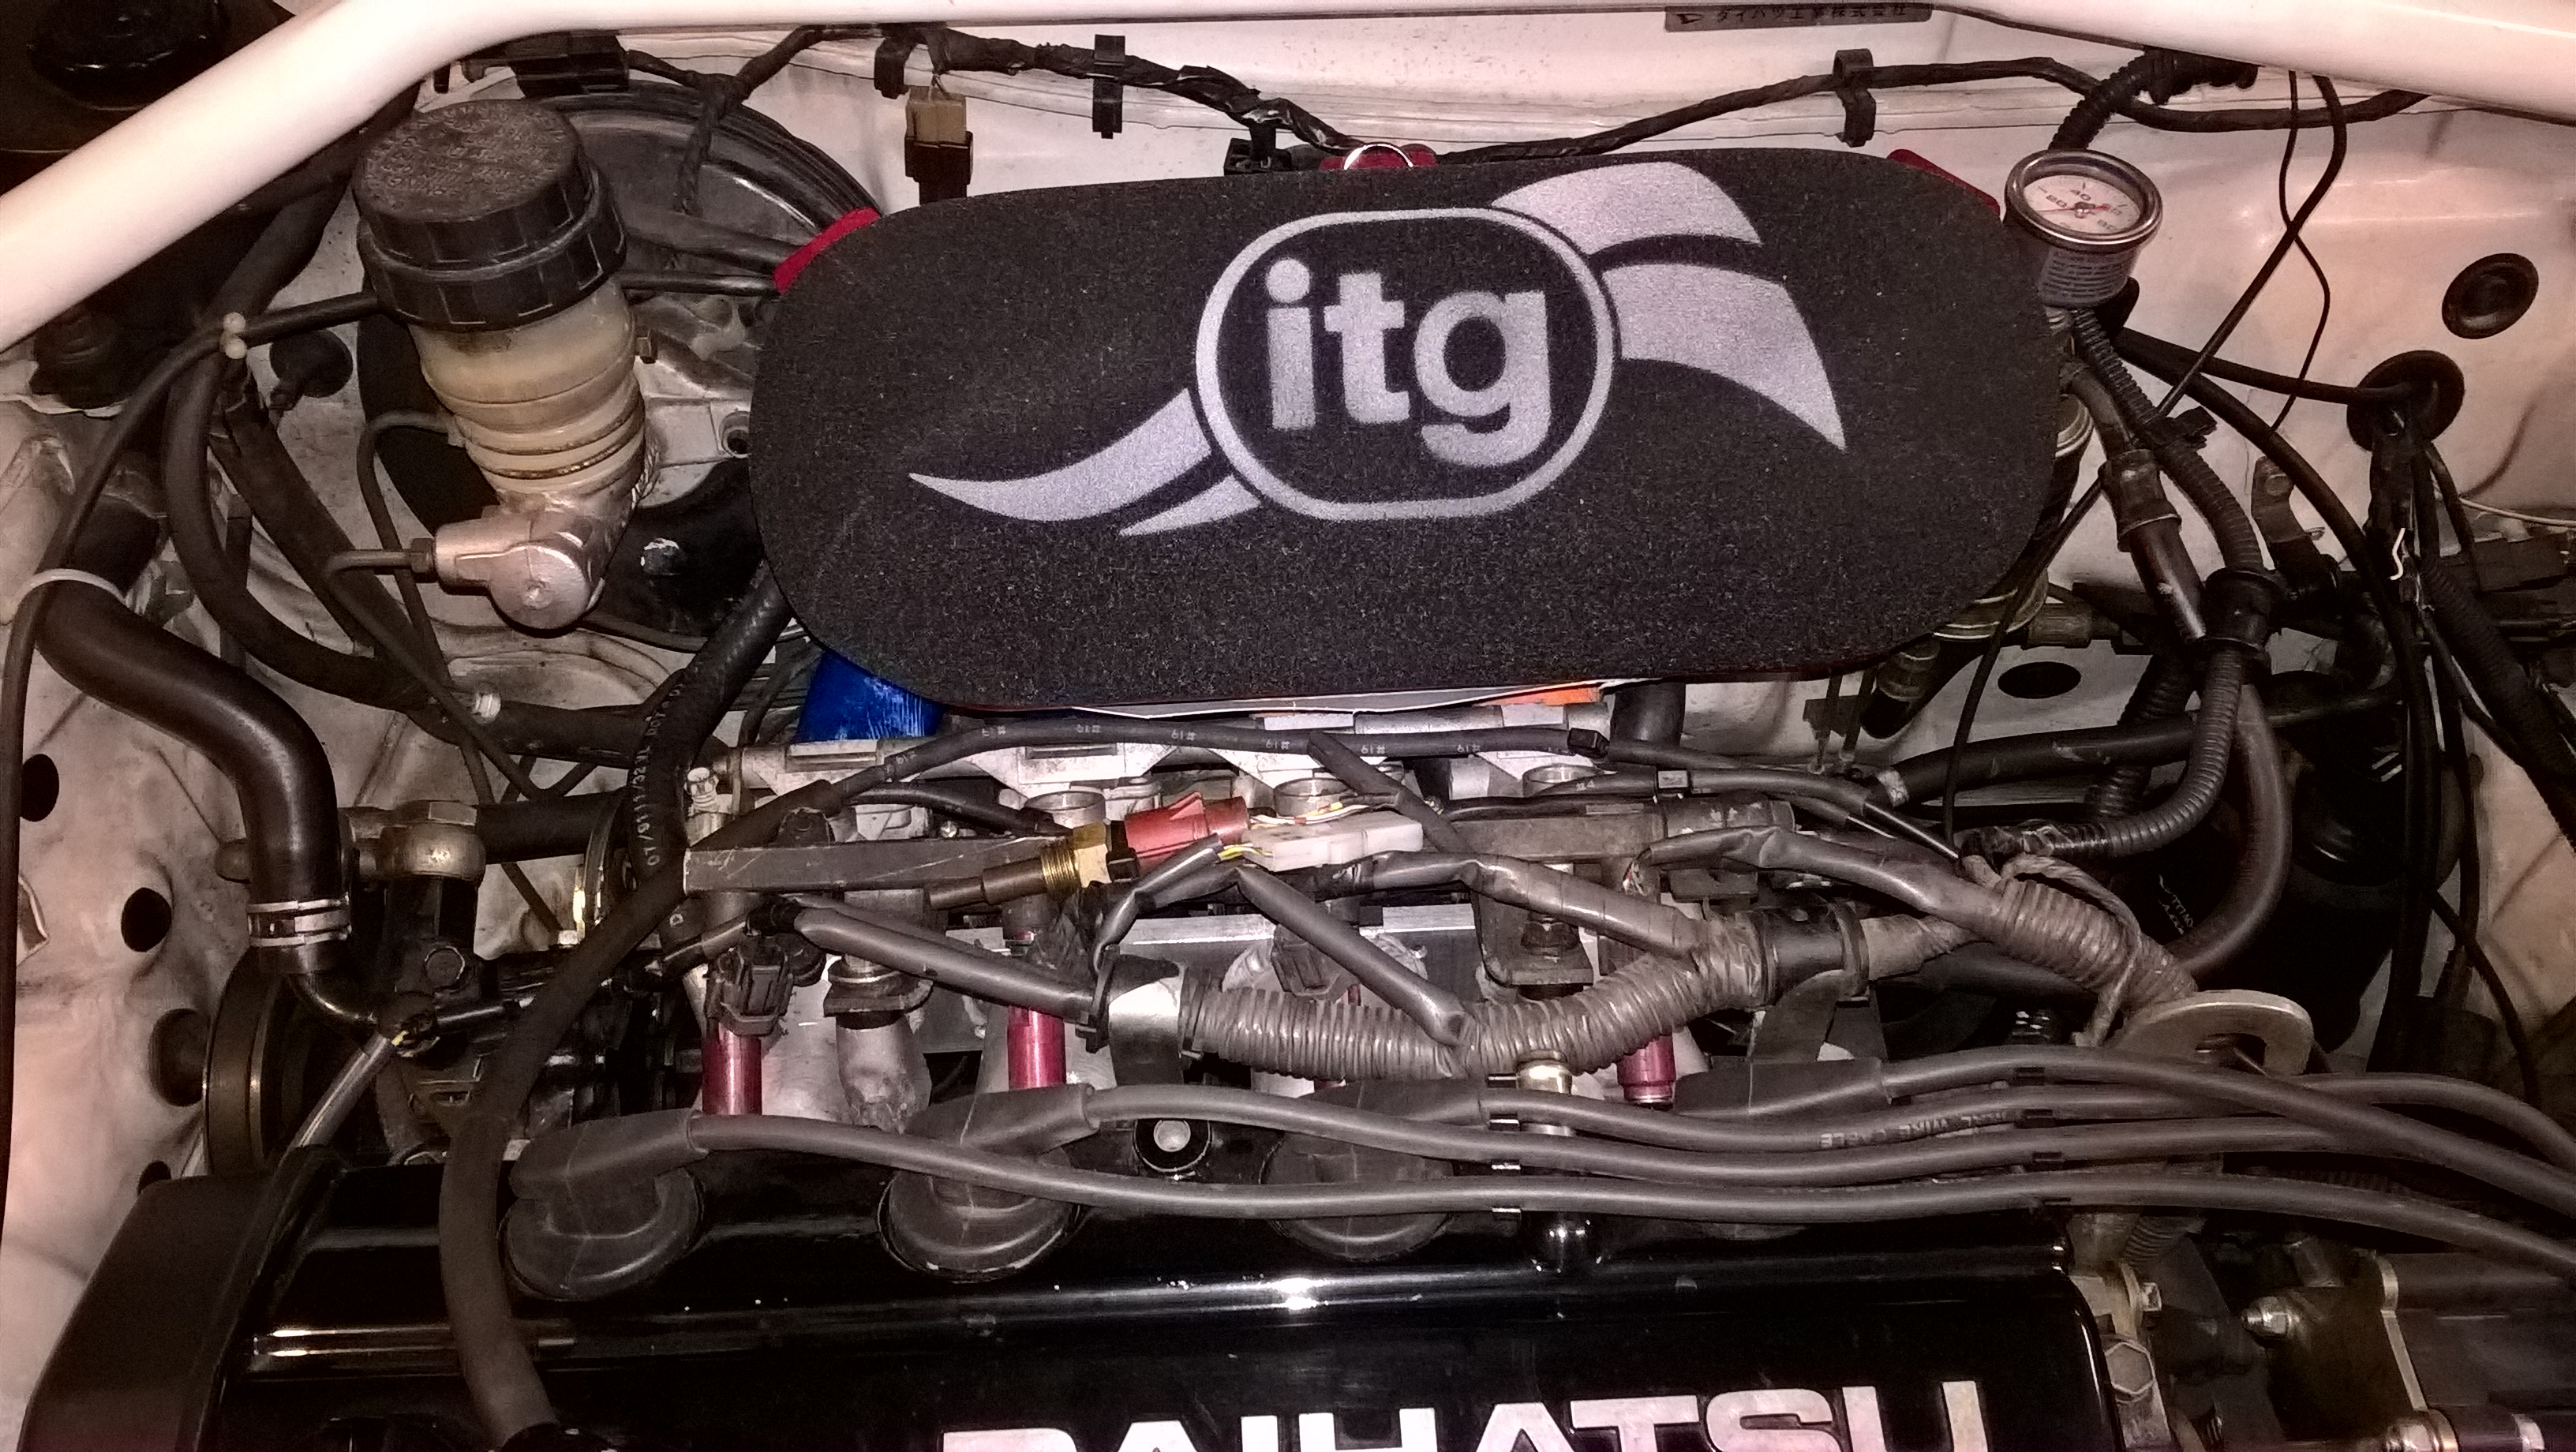
Enough suspension talk, now I am back to my happy place - engine mods!
I managed to convince a work mate to print me another 3 of the shorter trumpets to complete my set. These are made from a an easy to print non-fuel resistant grade, but are great for quick tests.
I took it for quick spin - these are awesome, still got the mid range but now it pulls to the redline (set at 7K) like I always imagined it would. The overall length (valve to trumpet face) is now 385mm.
Next is to get a set of nylon (fuel resistant) made, work on an airbox to suit the shorter trumpets and then its off to get it dynoed.
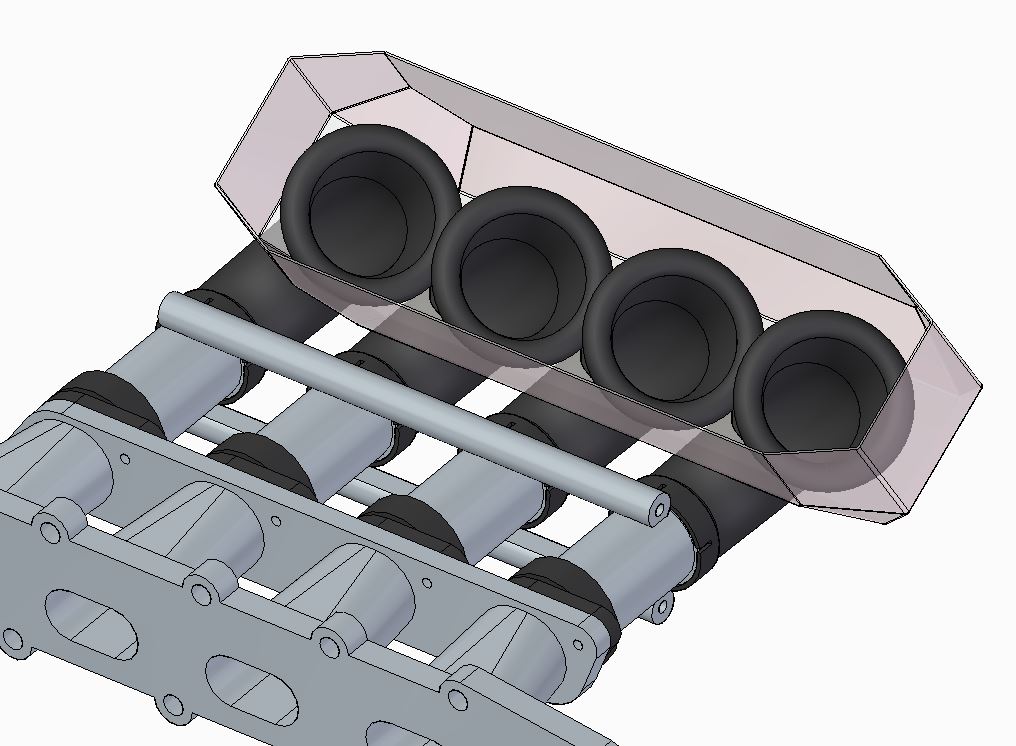
Spent time looking at an airbox design. I used my 2 favourite types of CAD - Computer Aided Design and Cardboard Aided Design.
First I modeled up the shape I thought I needed on the PC.
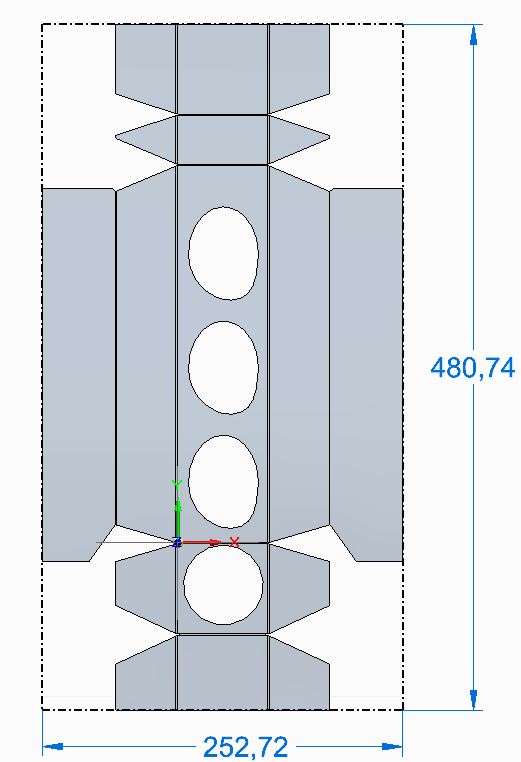
Then I used the CAD program to flatten out the shape - which I then printed out.
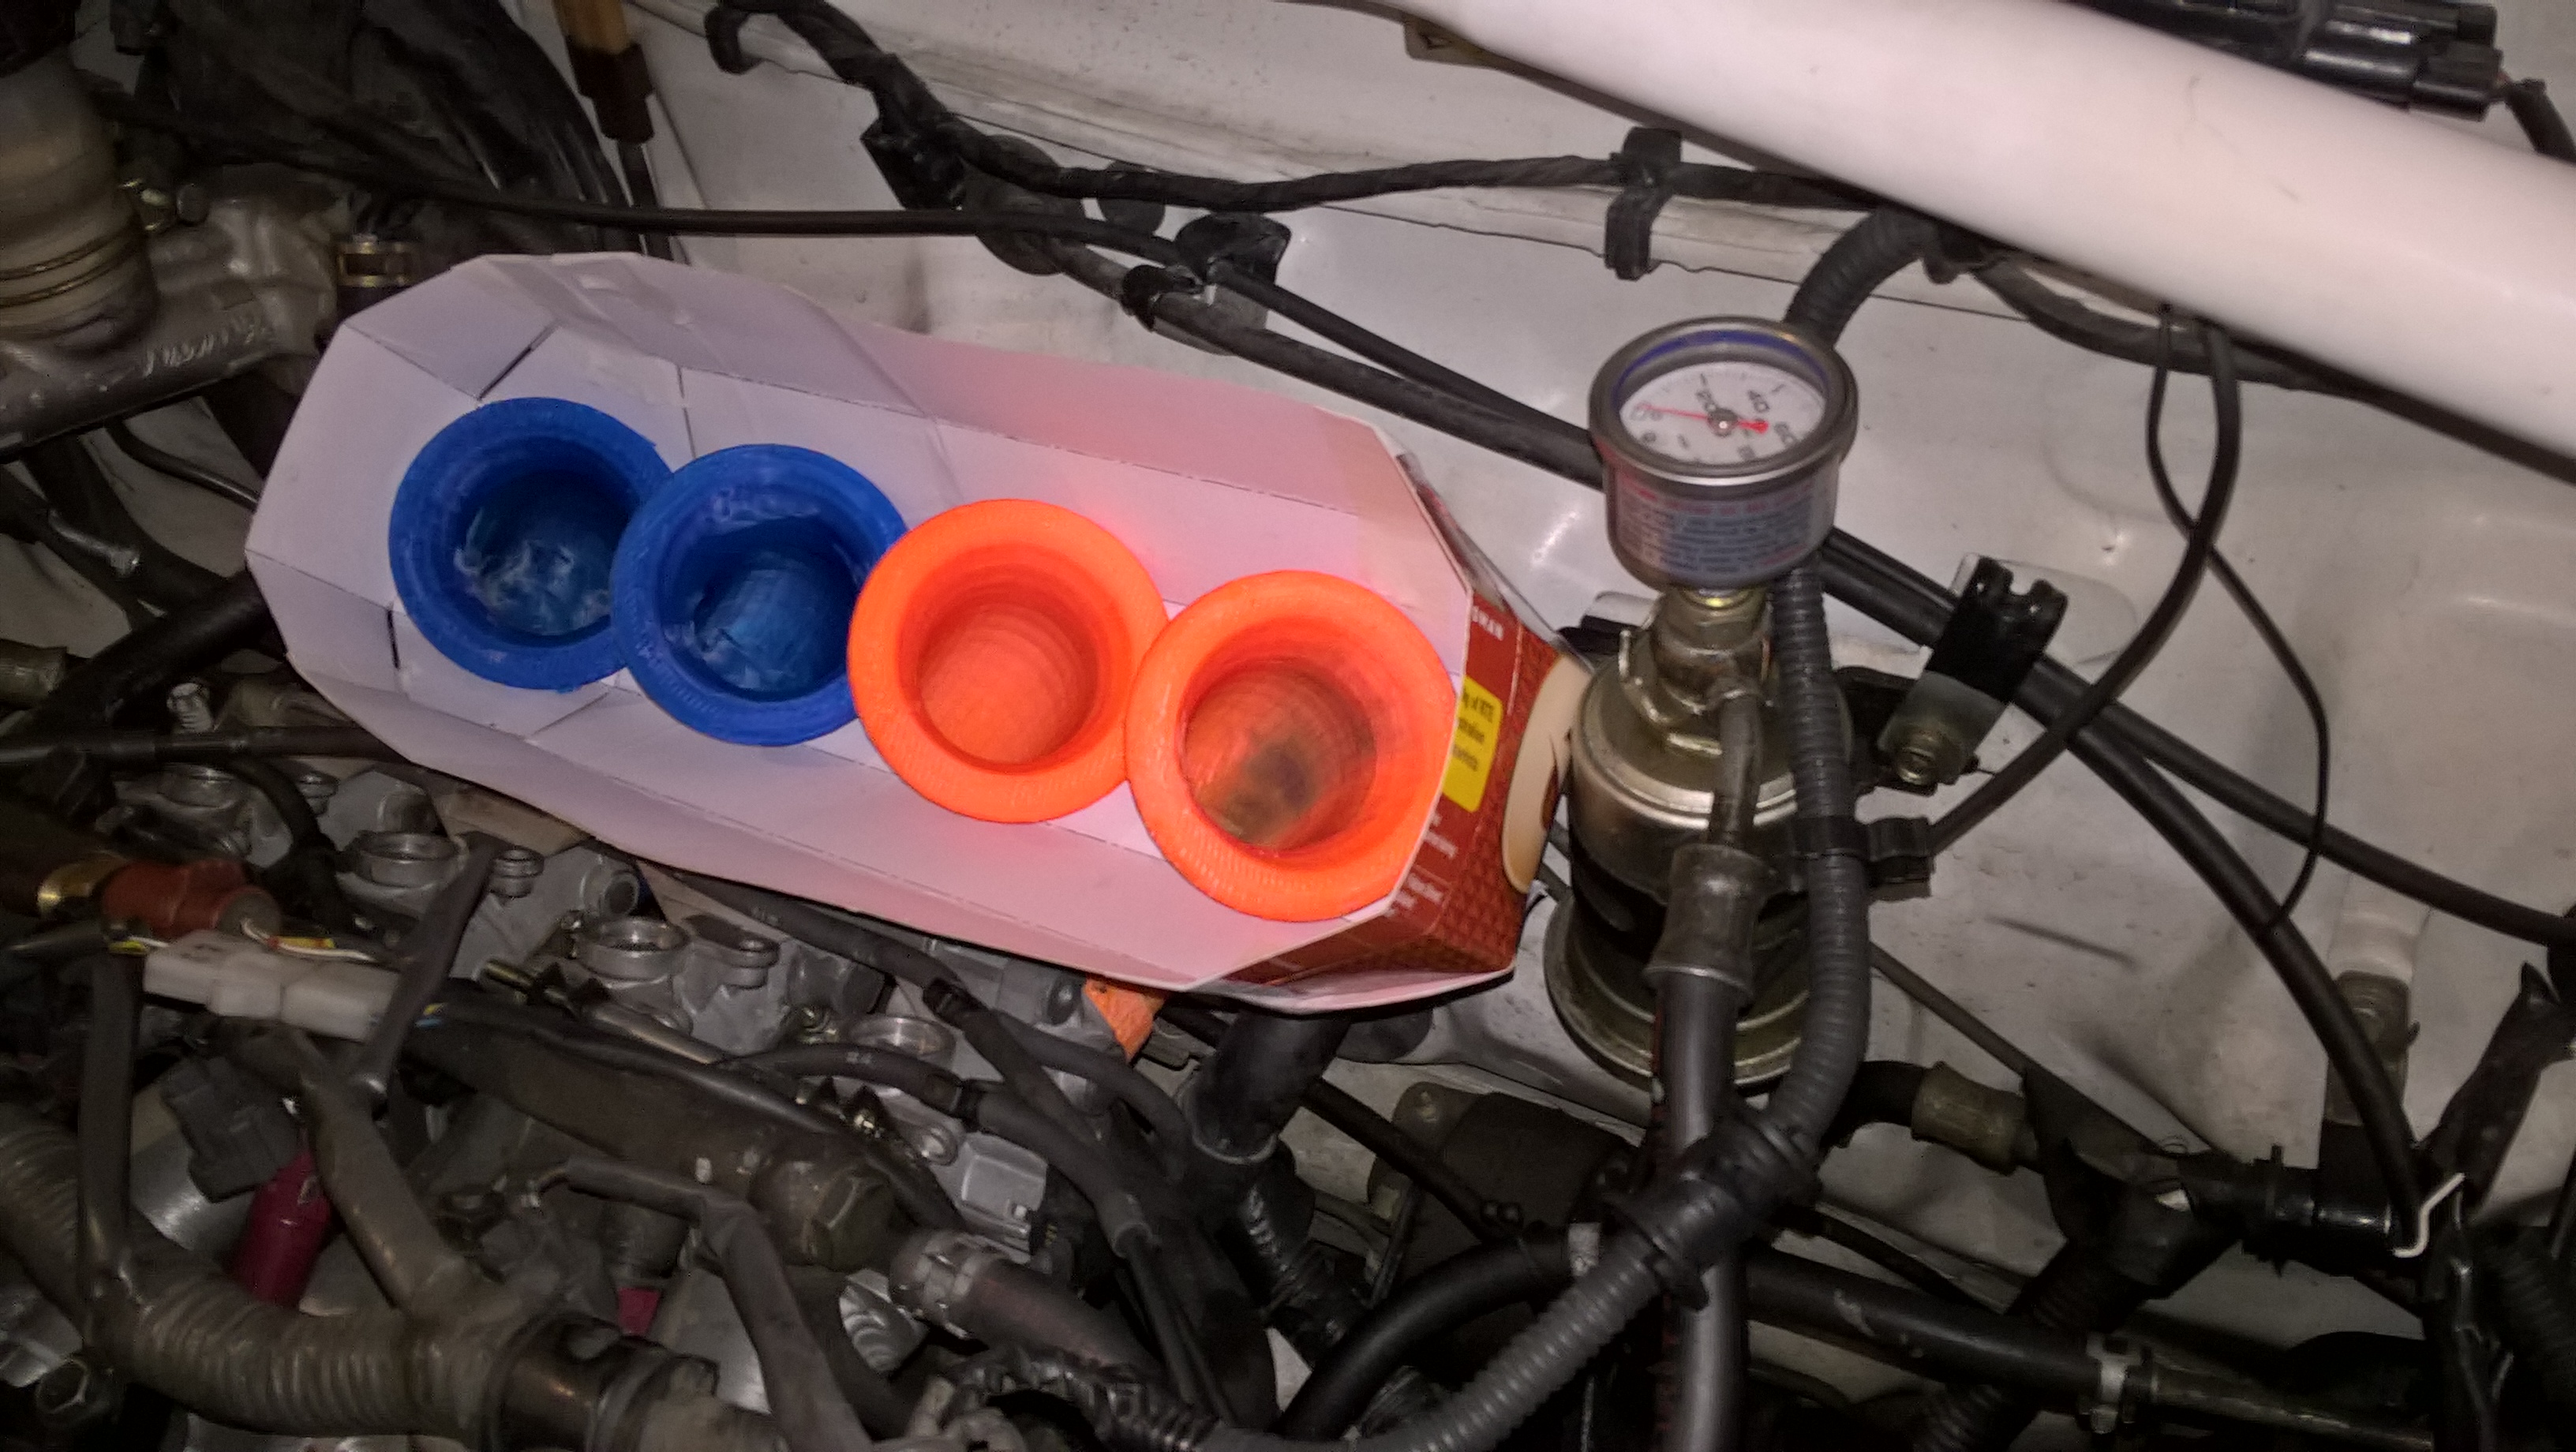
I stuck this to an old cereal box and folded it up to check it was going fit in the engine bay:
And the filter is nicely positioned too!
Now I don’t spending a bit money on getting it made properly.
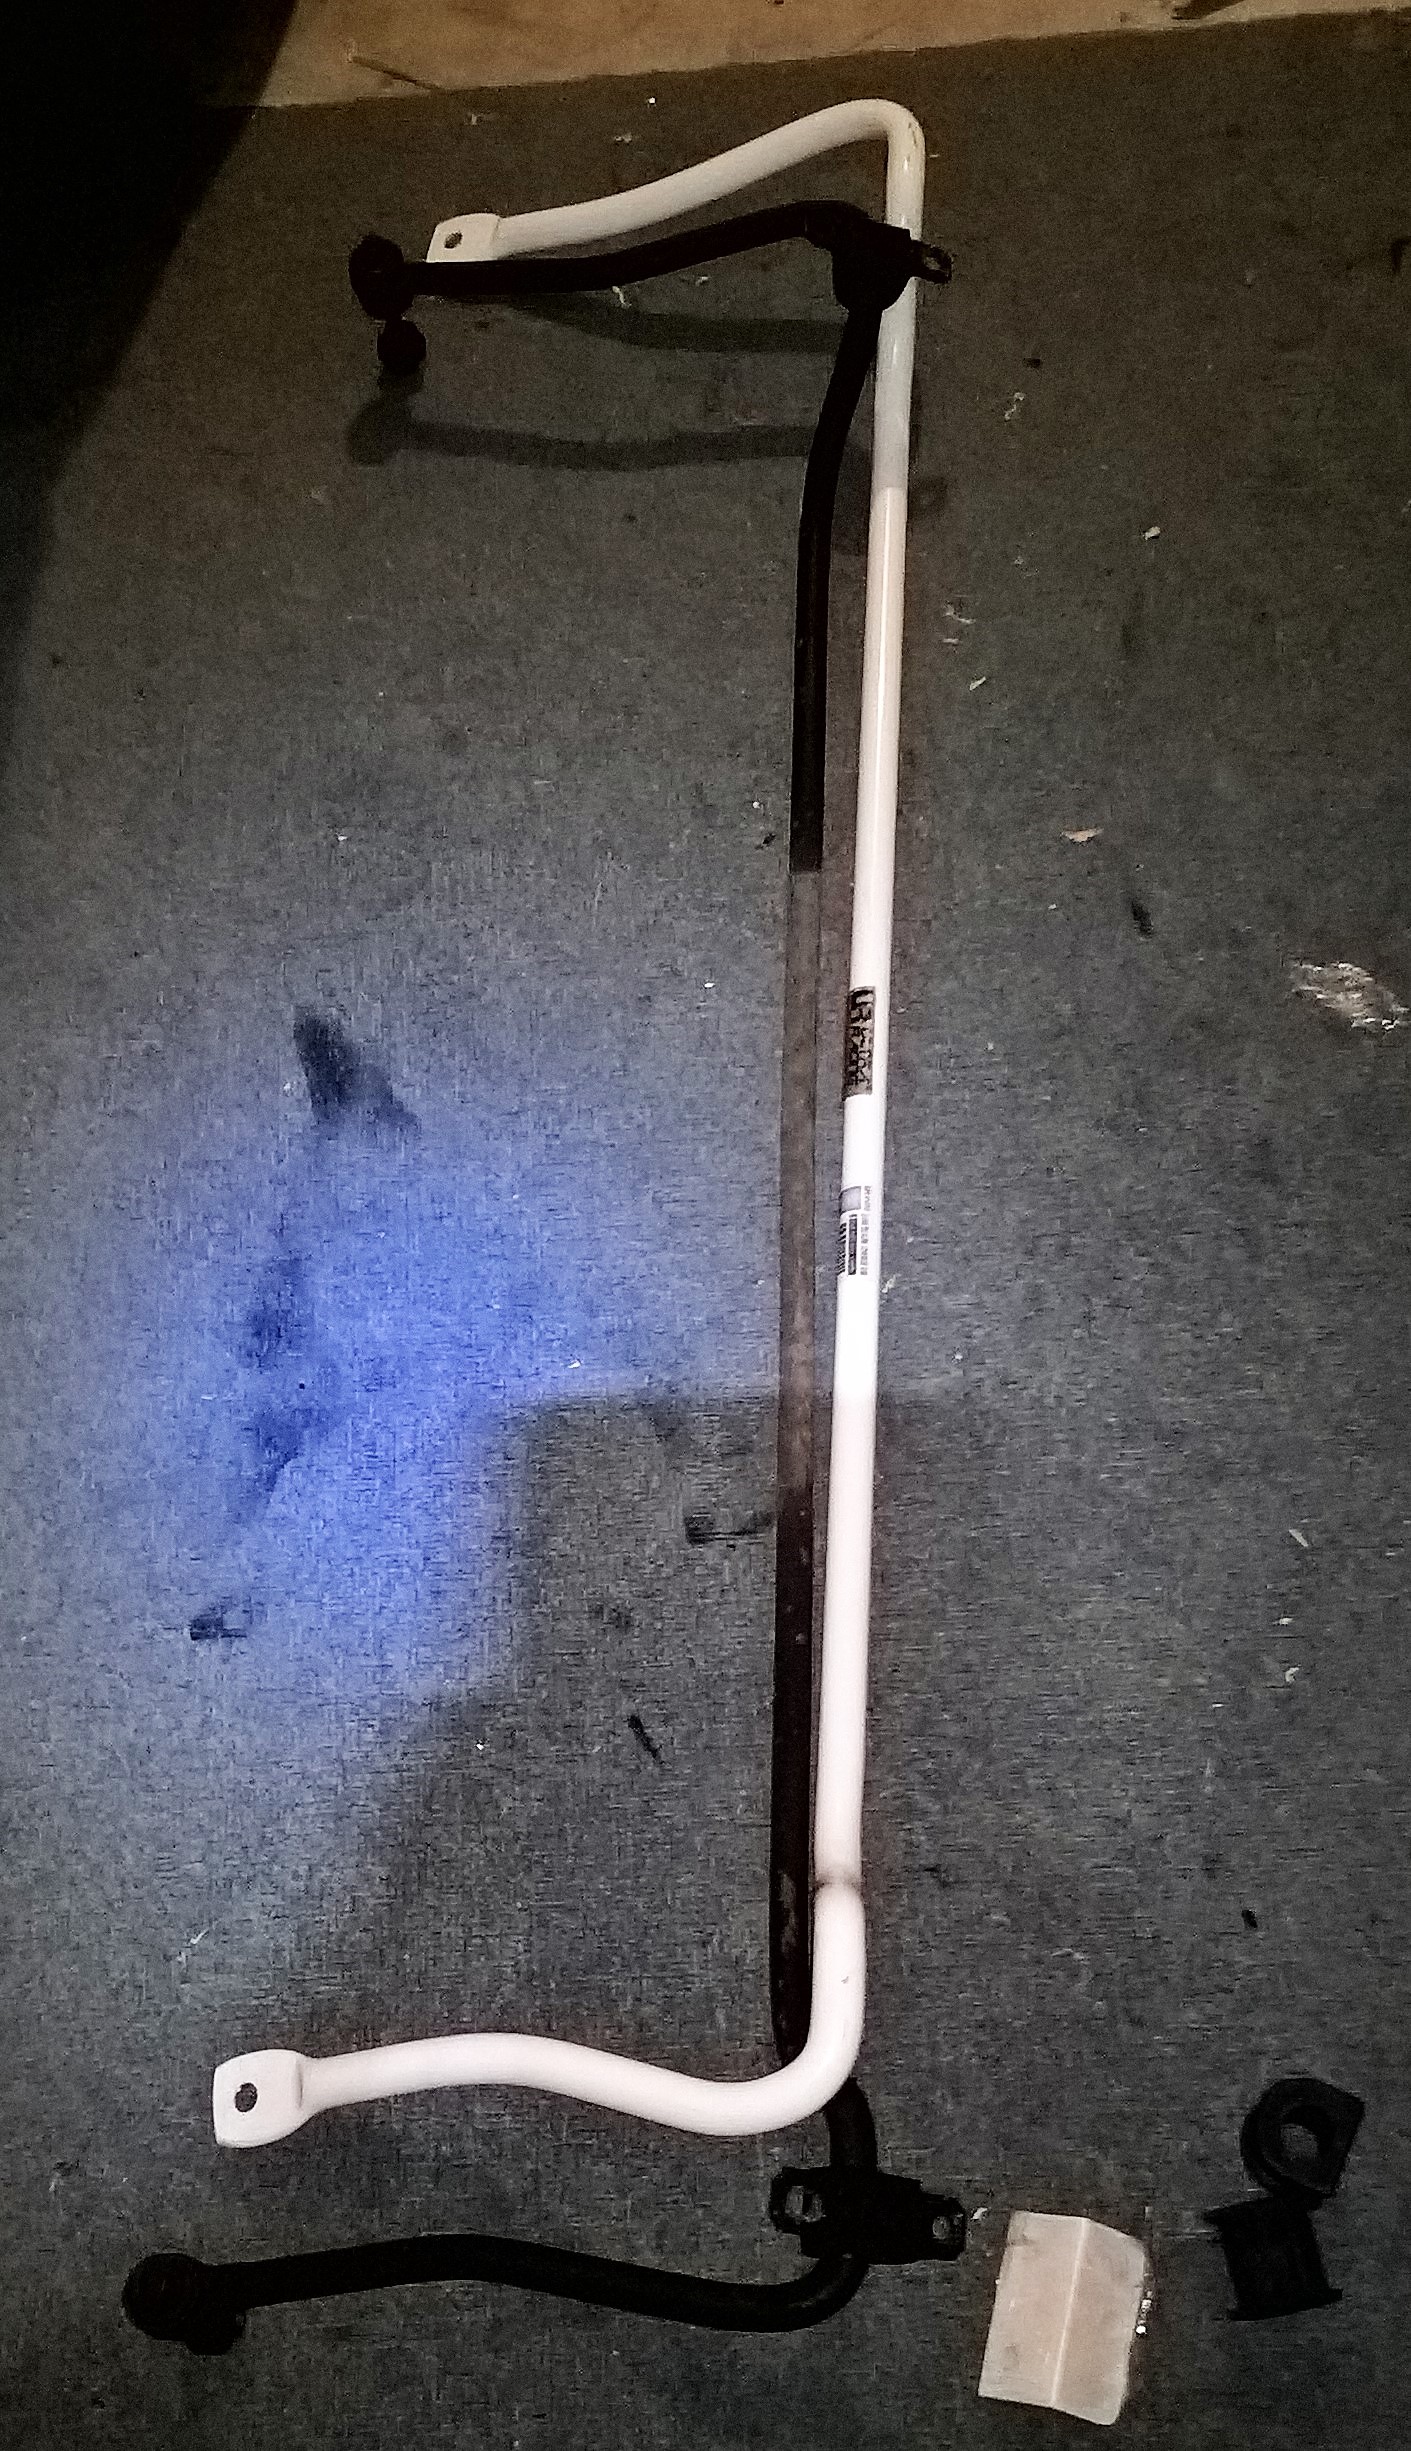
Got a 20mm rear swaybar to replace my 16mm one - definitely helps with body roll, it remains to be seen whether it will turn my car into a Peugeot 205 style lift off oversteer monster!
interesting… is this an ultra racing bar? at first glance I thought it was whiteline but I’m sure they have stopped making charade parts??
if this one doesn’t seem beefy enough for your liking, I’ve just got my hands on a front bar from a M300 Sirion, courtesy of my brother, which looks like it’ll fit nicely in the rear of the G100 with some new drop links and perhaps machined up nylon blocks for chassis side
It’s an Ultra Racing bar - the NZ agent is next door to my work so it was an easy purchase. Quite happy with it, its made quite a difference to body roll. Will see how it goes at the next Autox in 3 weeks time.
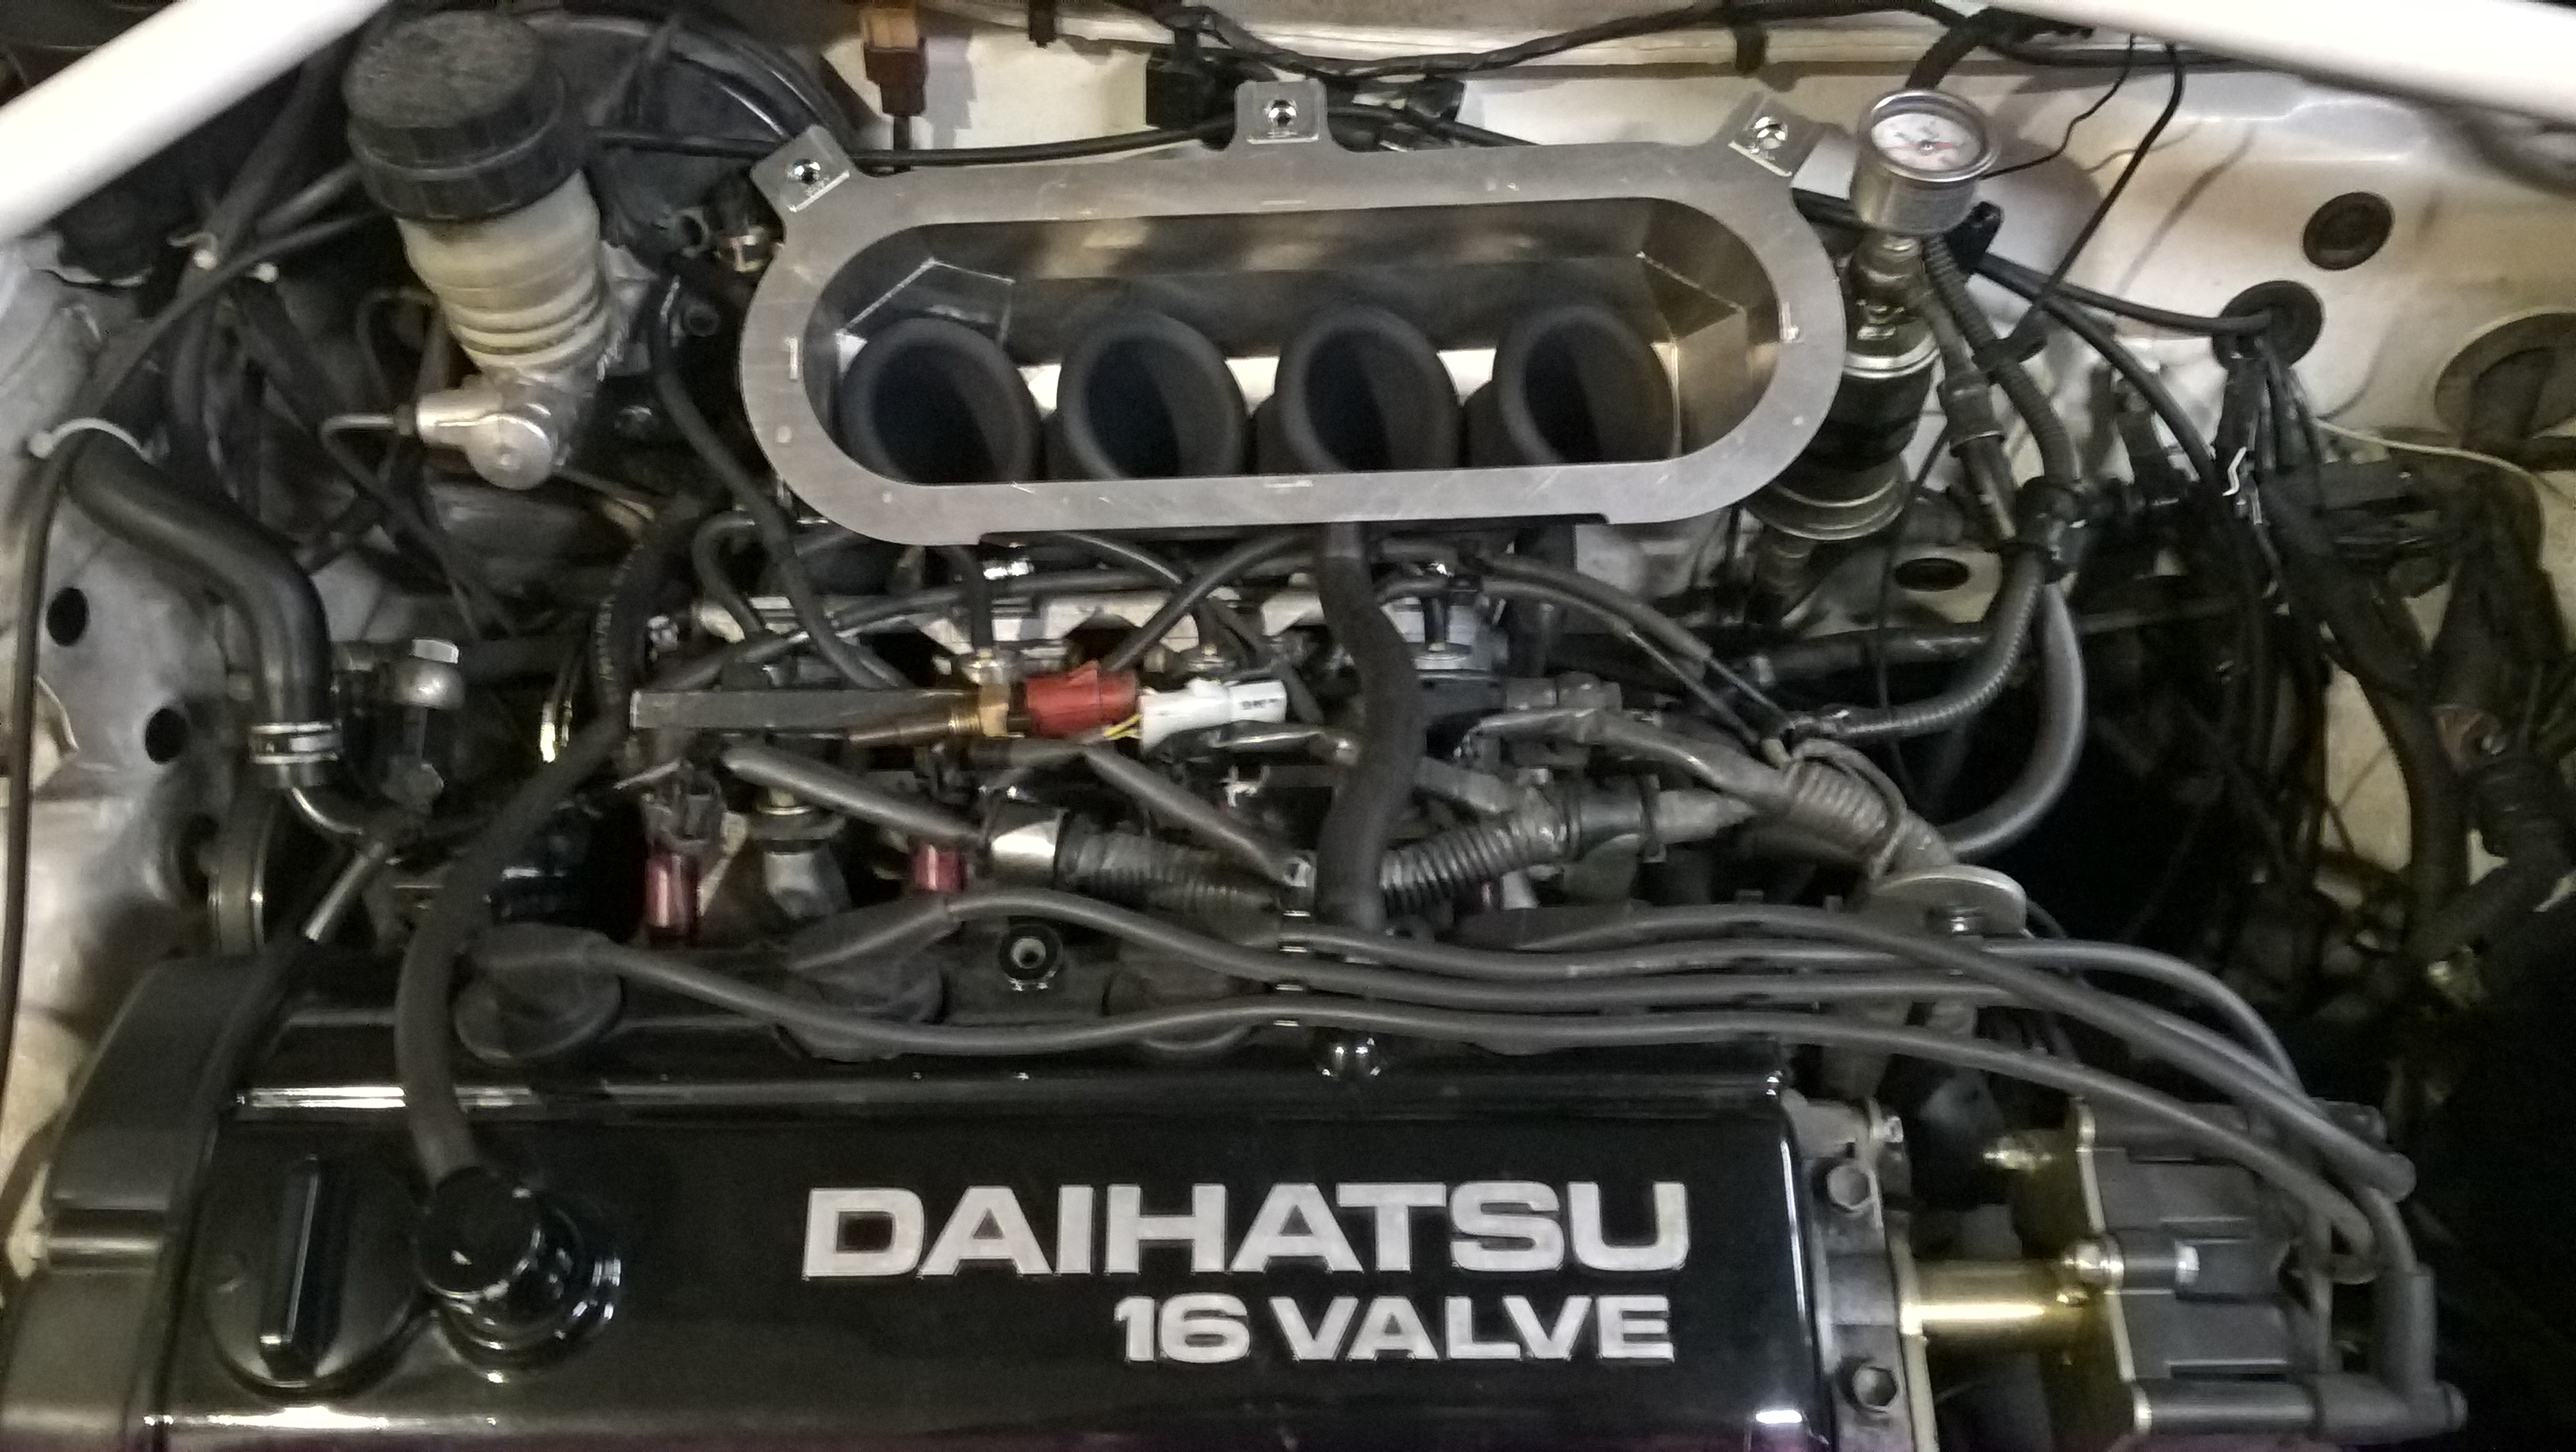
New printed nylon trumpets (intake length now 385mm) and aluminium airbox are in, very happy with how it went together. Also plumbed in a air bypass circuit for idle control when cold - like factory!
Some dyno time has been booked for 10 September.
Looks great Jason! where did you get them printed? I assume they’re from a powder bed printer rather than FDM? glad to hear you’re putting it on the dyno  there’s only so much you get get out of a ‘seat of the pants’ tune, regardless of datalogging! looking forward to seeing the results
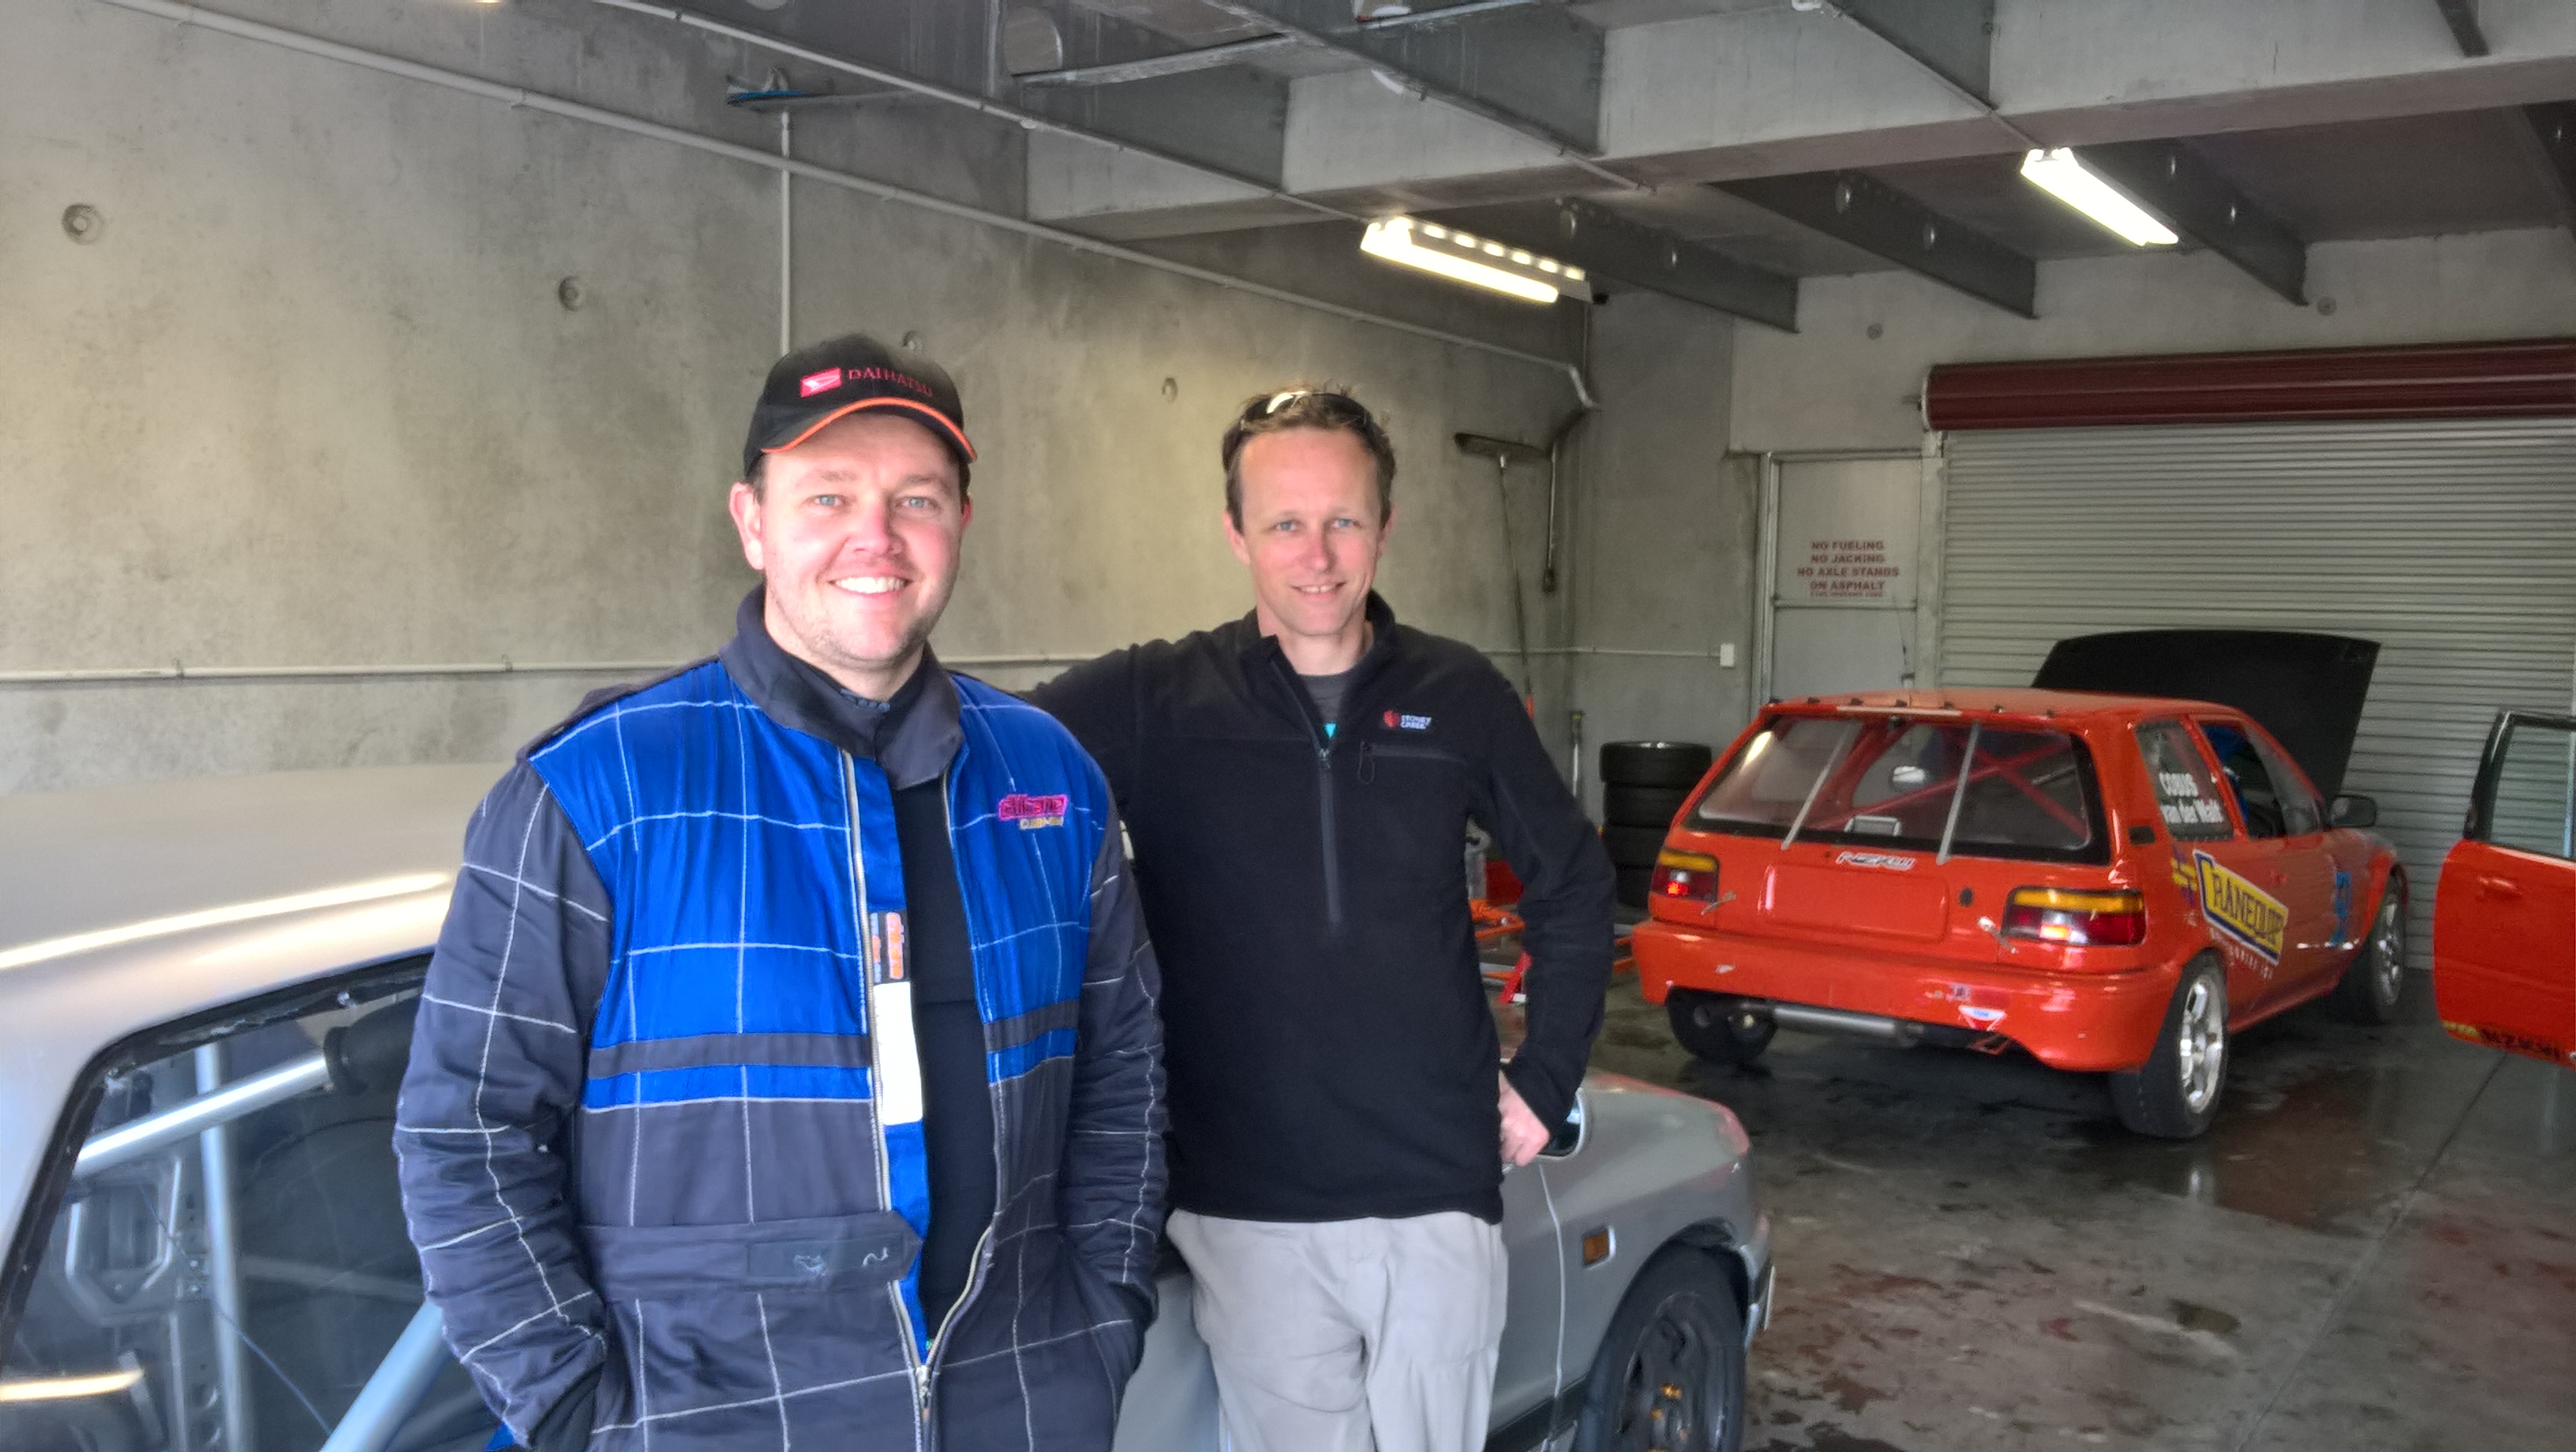
Some Dai guys accross the ditch - I got to hang out with Tim Hart at Hampton Downs.
The weather was bad, but the company was great.
awesome Jason! thanks for making the effort on that rainy Sunday to come and meet our crew I’m really sorry didn’t come and look at your Charade!!! I tend to get a little tunnel vision on race days and kicked myself on the way home for not thinking of it before you left.
was really nice to meet you!
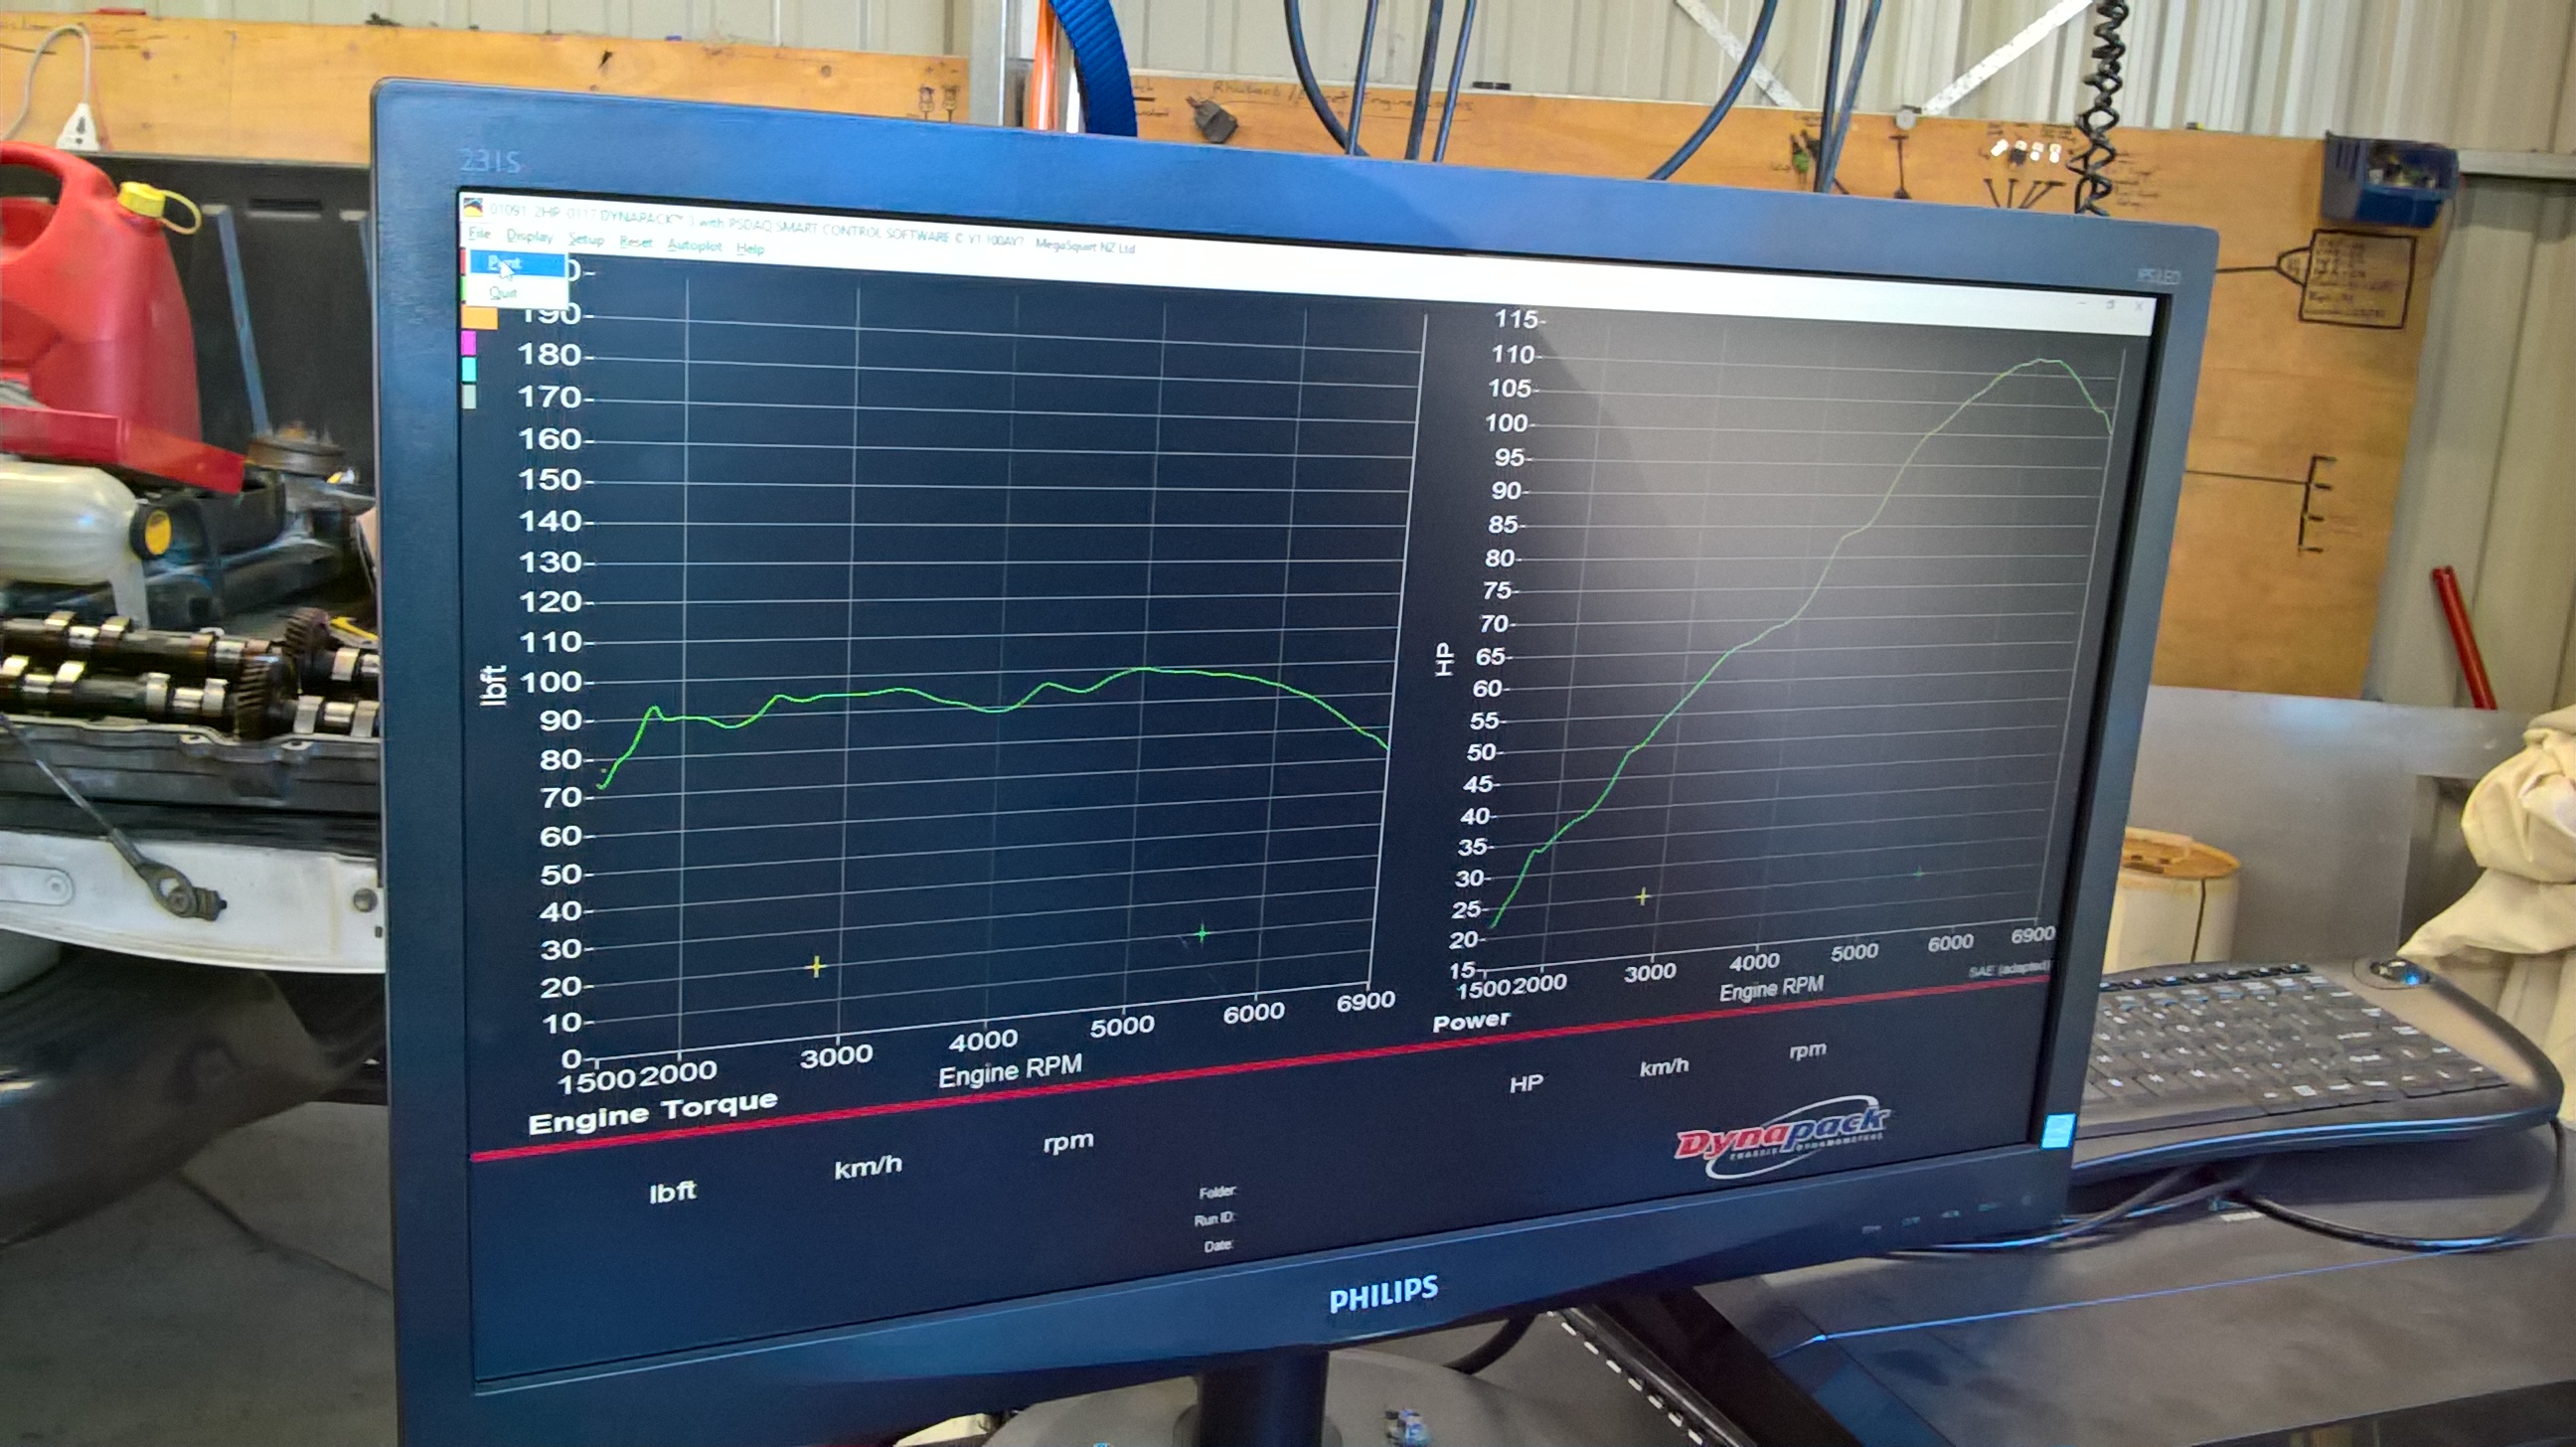
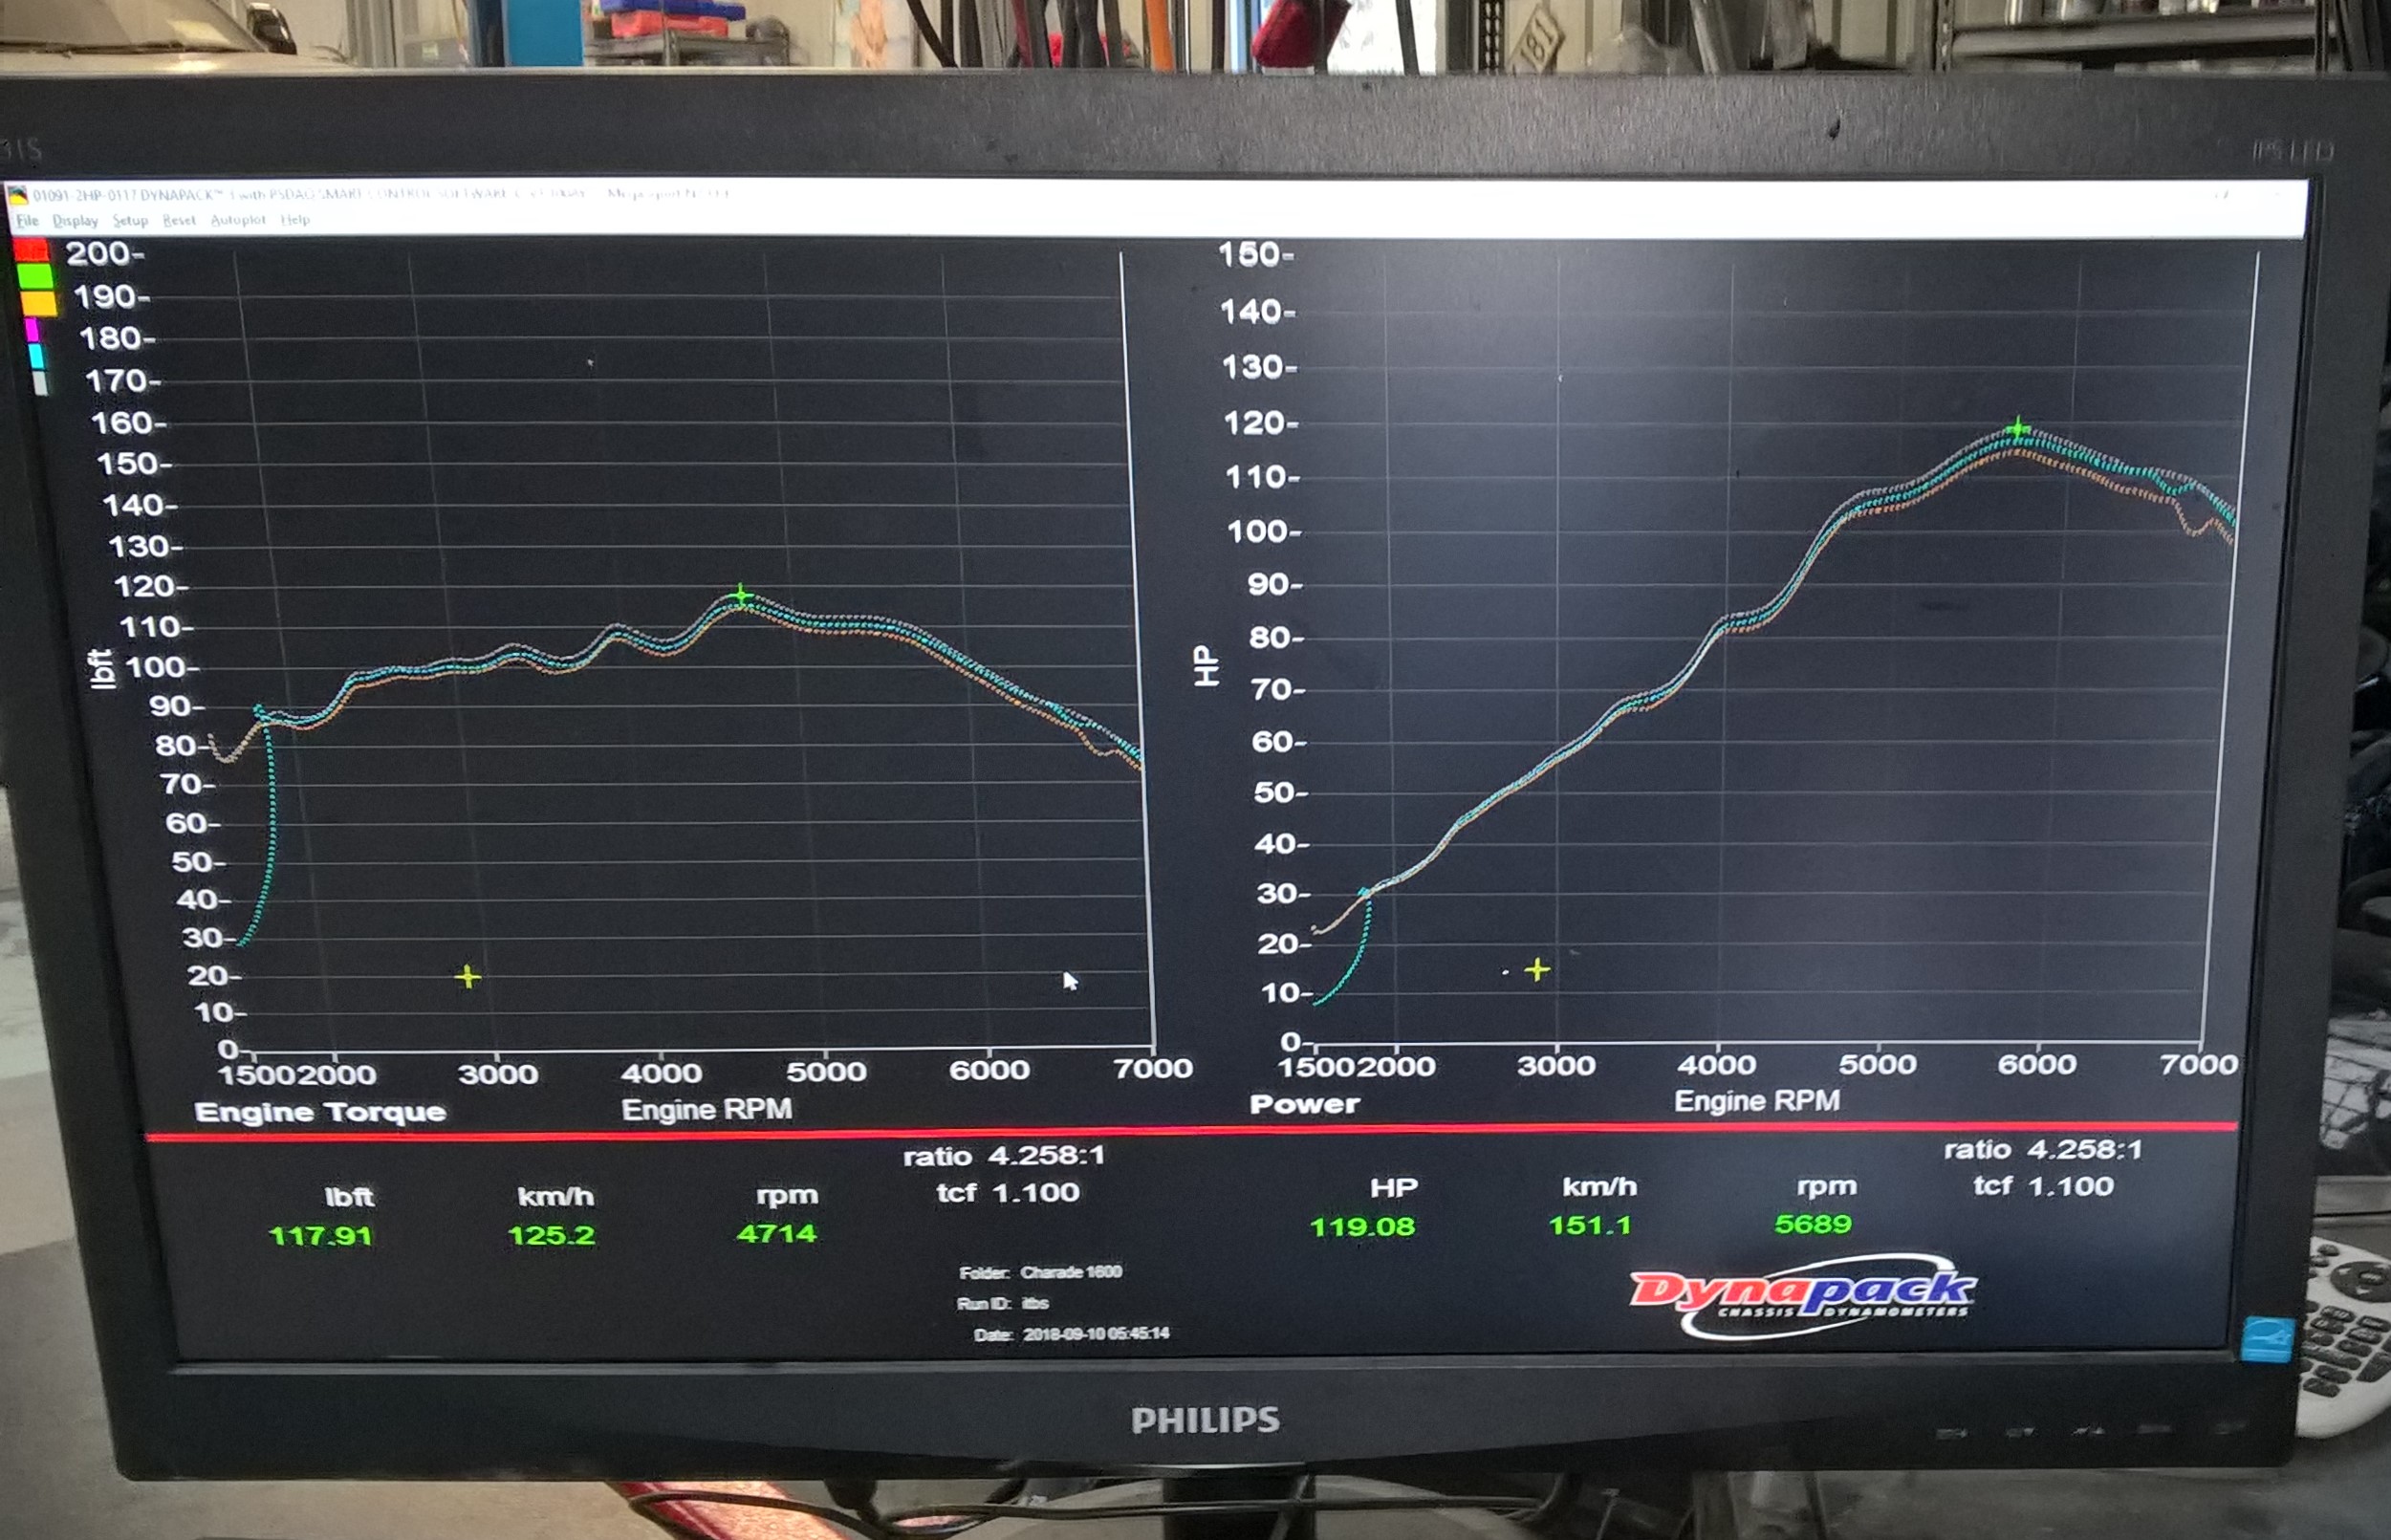
The day of the ITB dyno arrived - best run was 119 whp and 118 lbft of torque. Up 7 hp compared to the plenum intake on the same setup, and 19 lbft of torque. Big improvement in torque between 4000 and 6000 rpm, which is very noticeable on the road.
Video link:
Before plot:
And after:

Very nice, that torque should improve drivability greatly. What cam are you running on that setup?
It’s a Camtech Stage 2 regrind onto an Applause Cam.
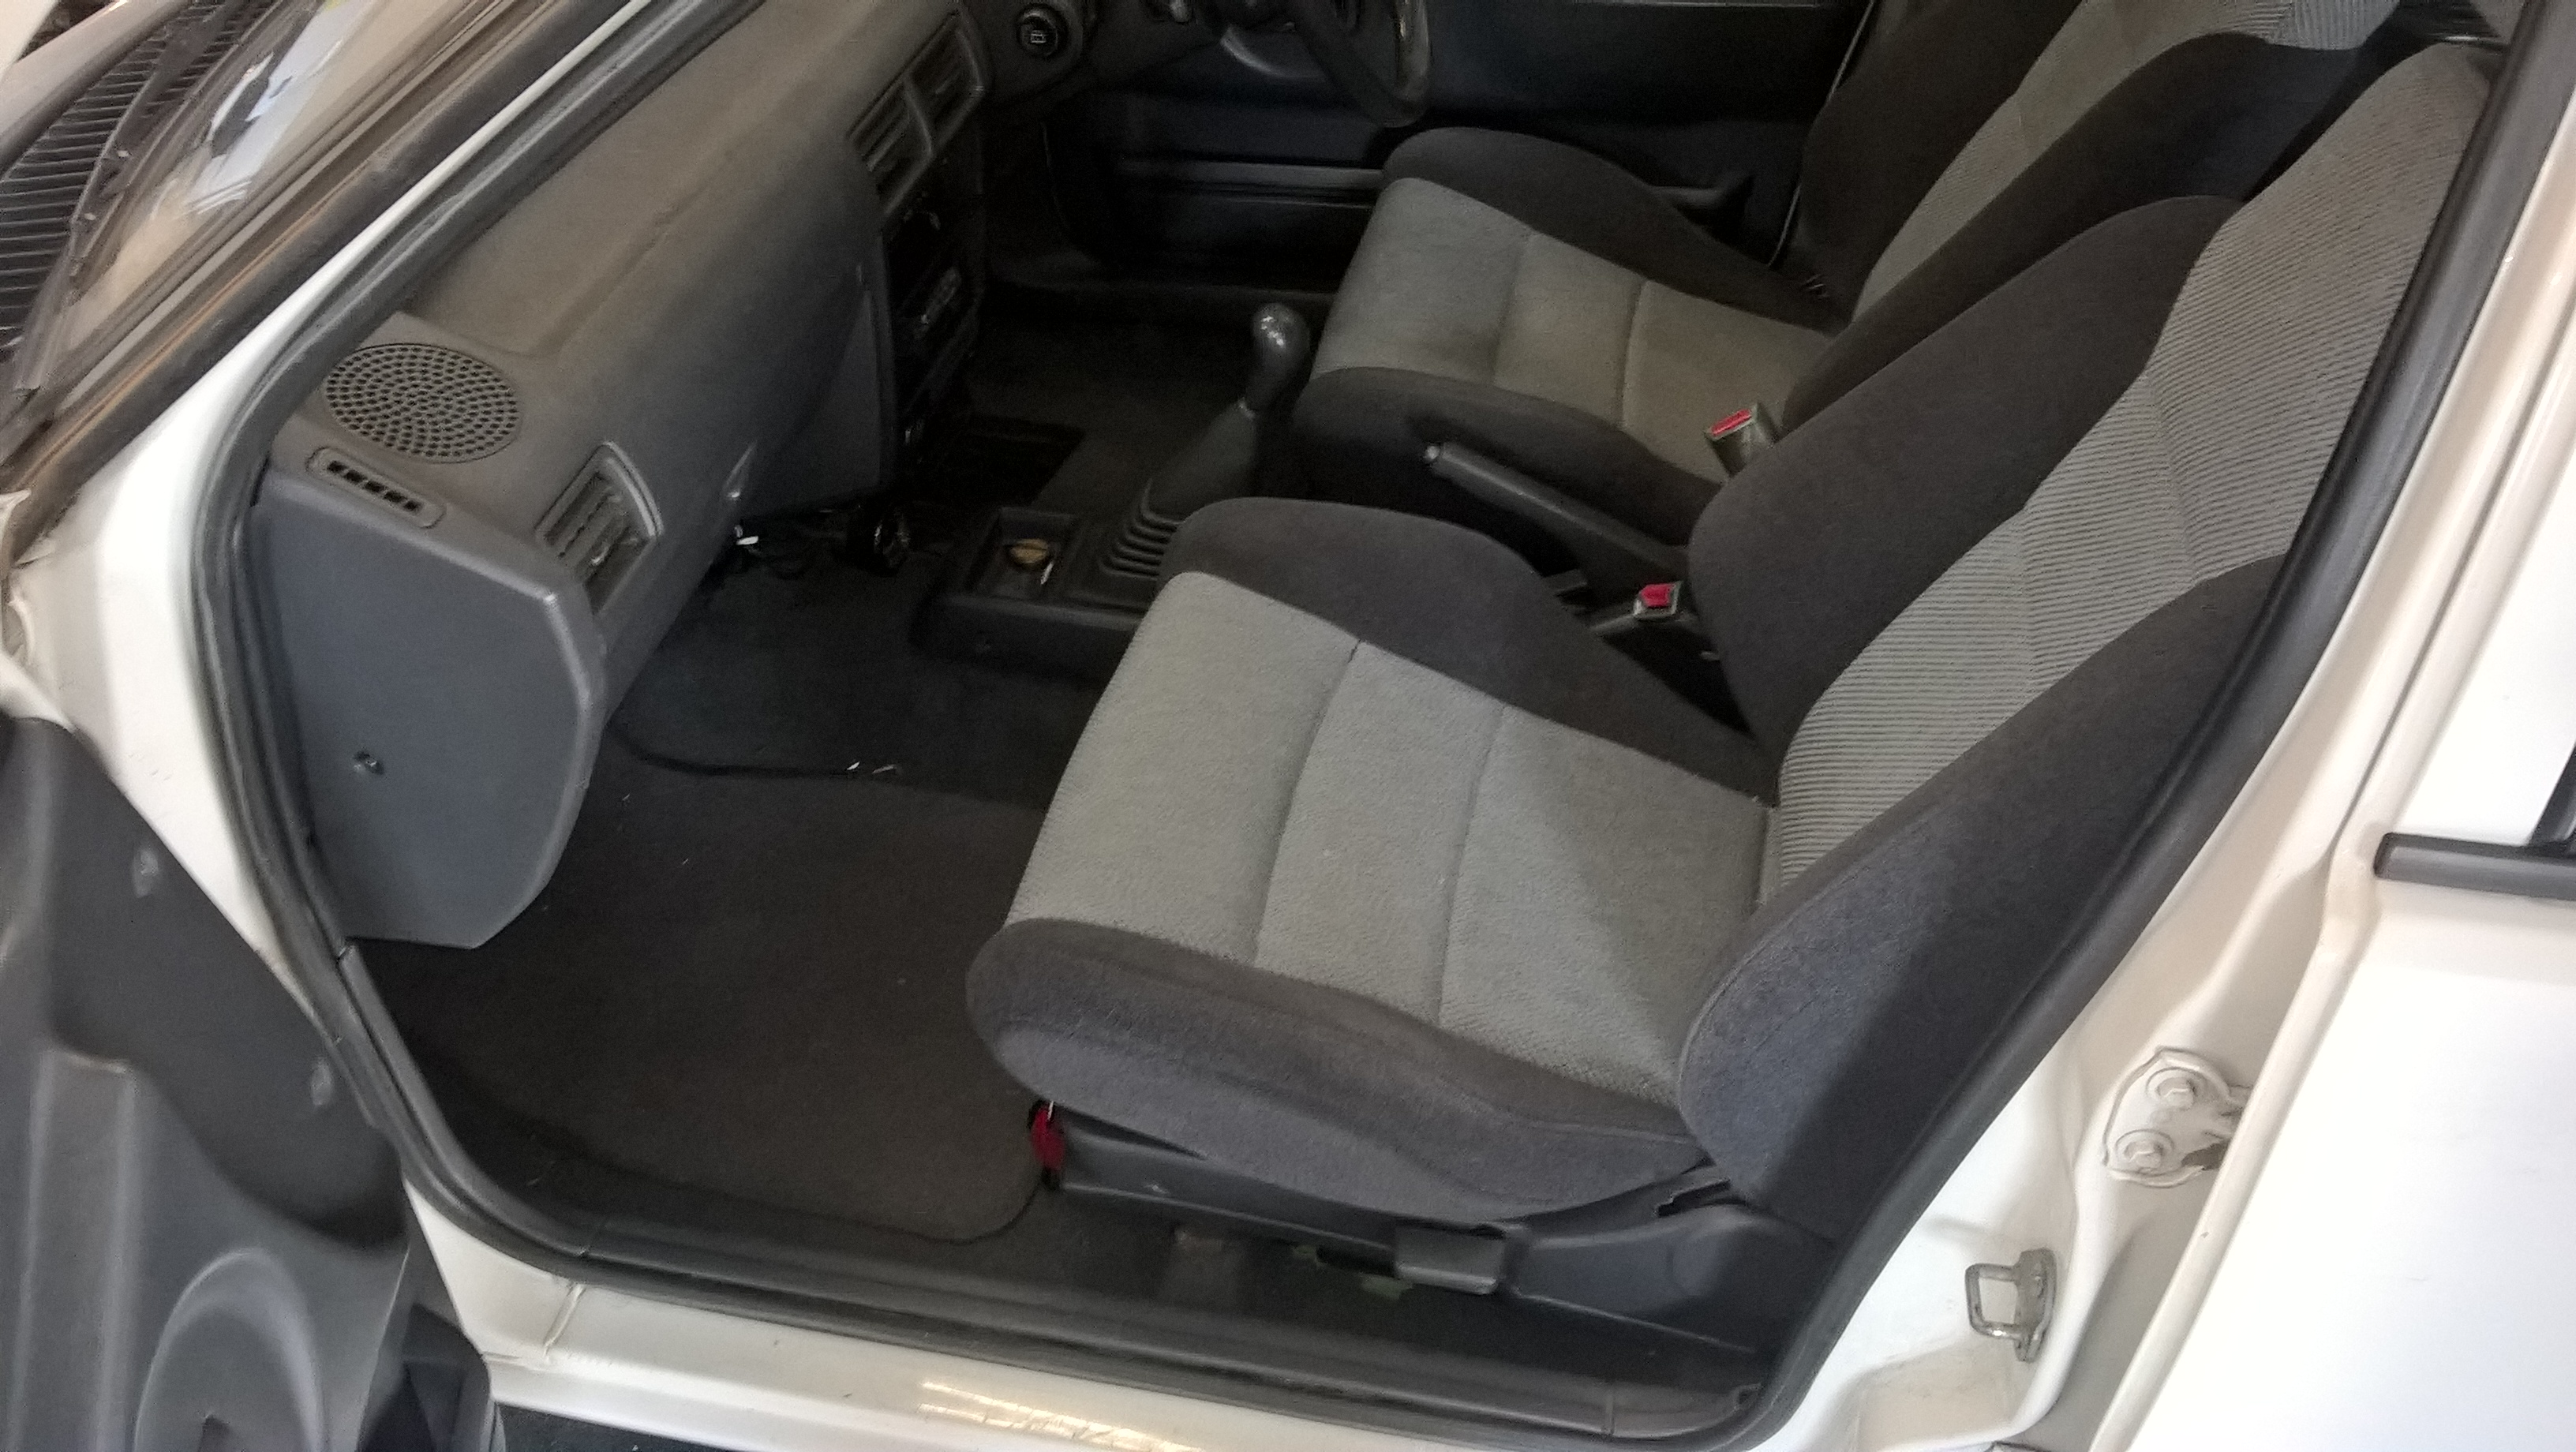
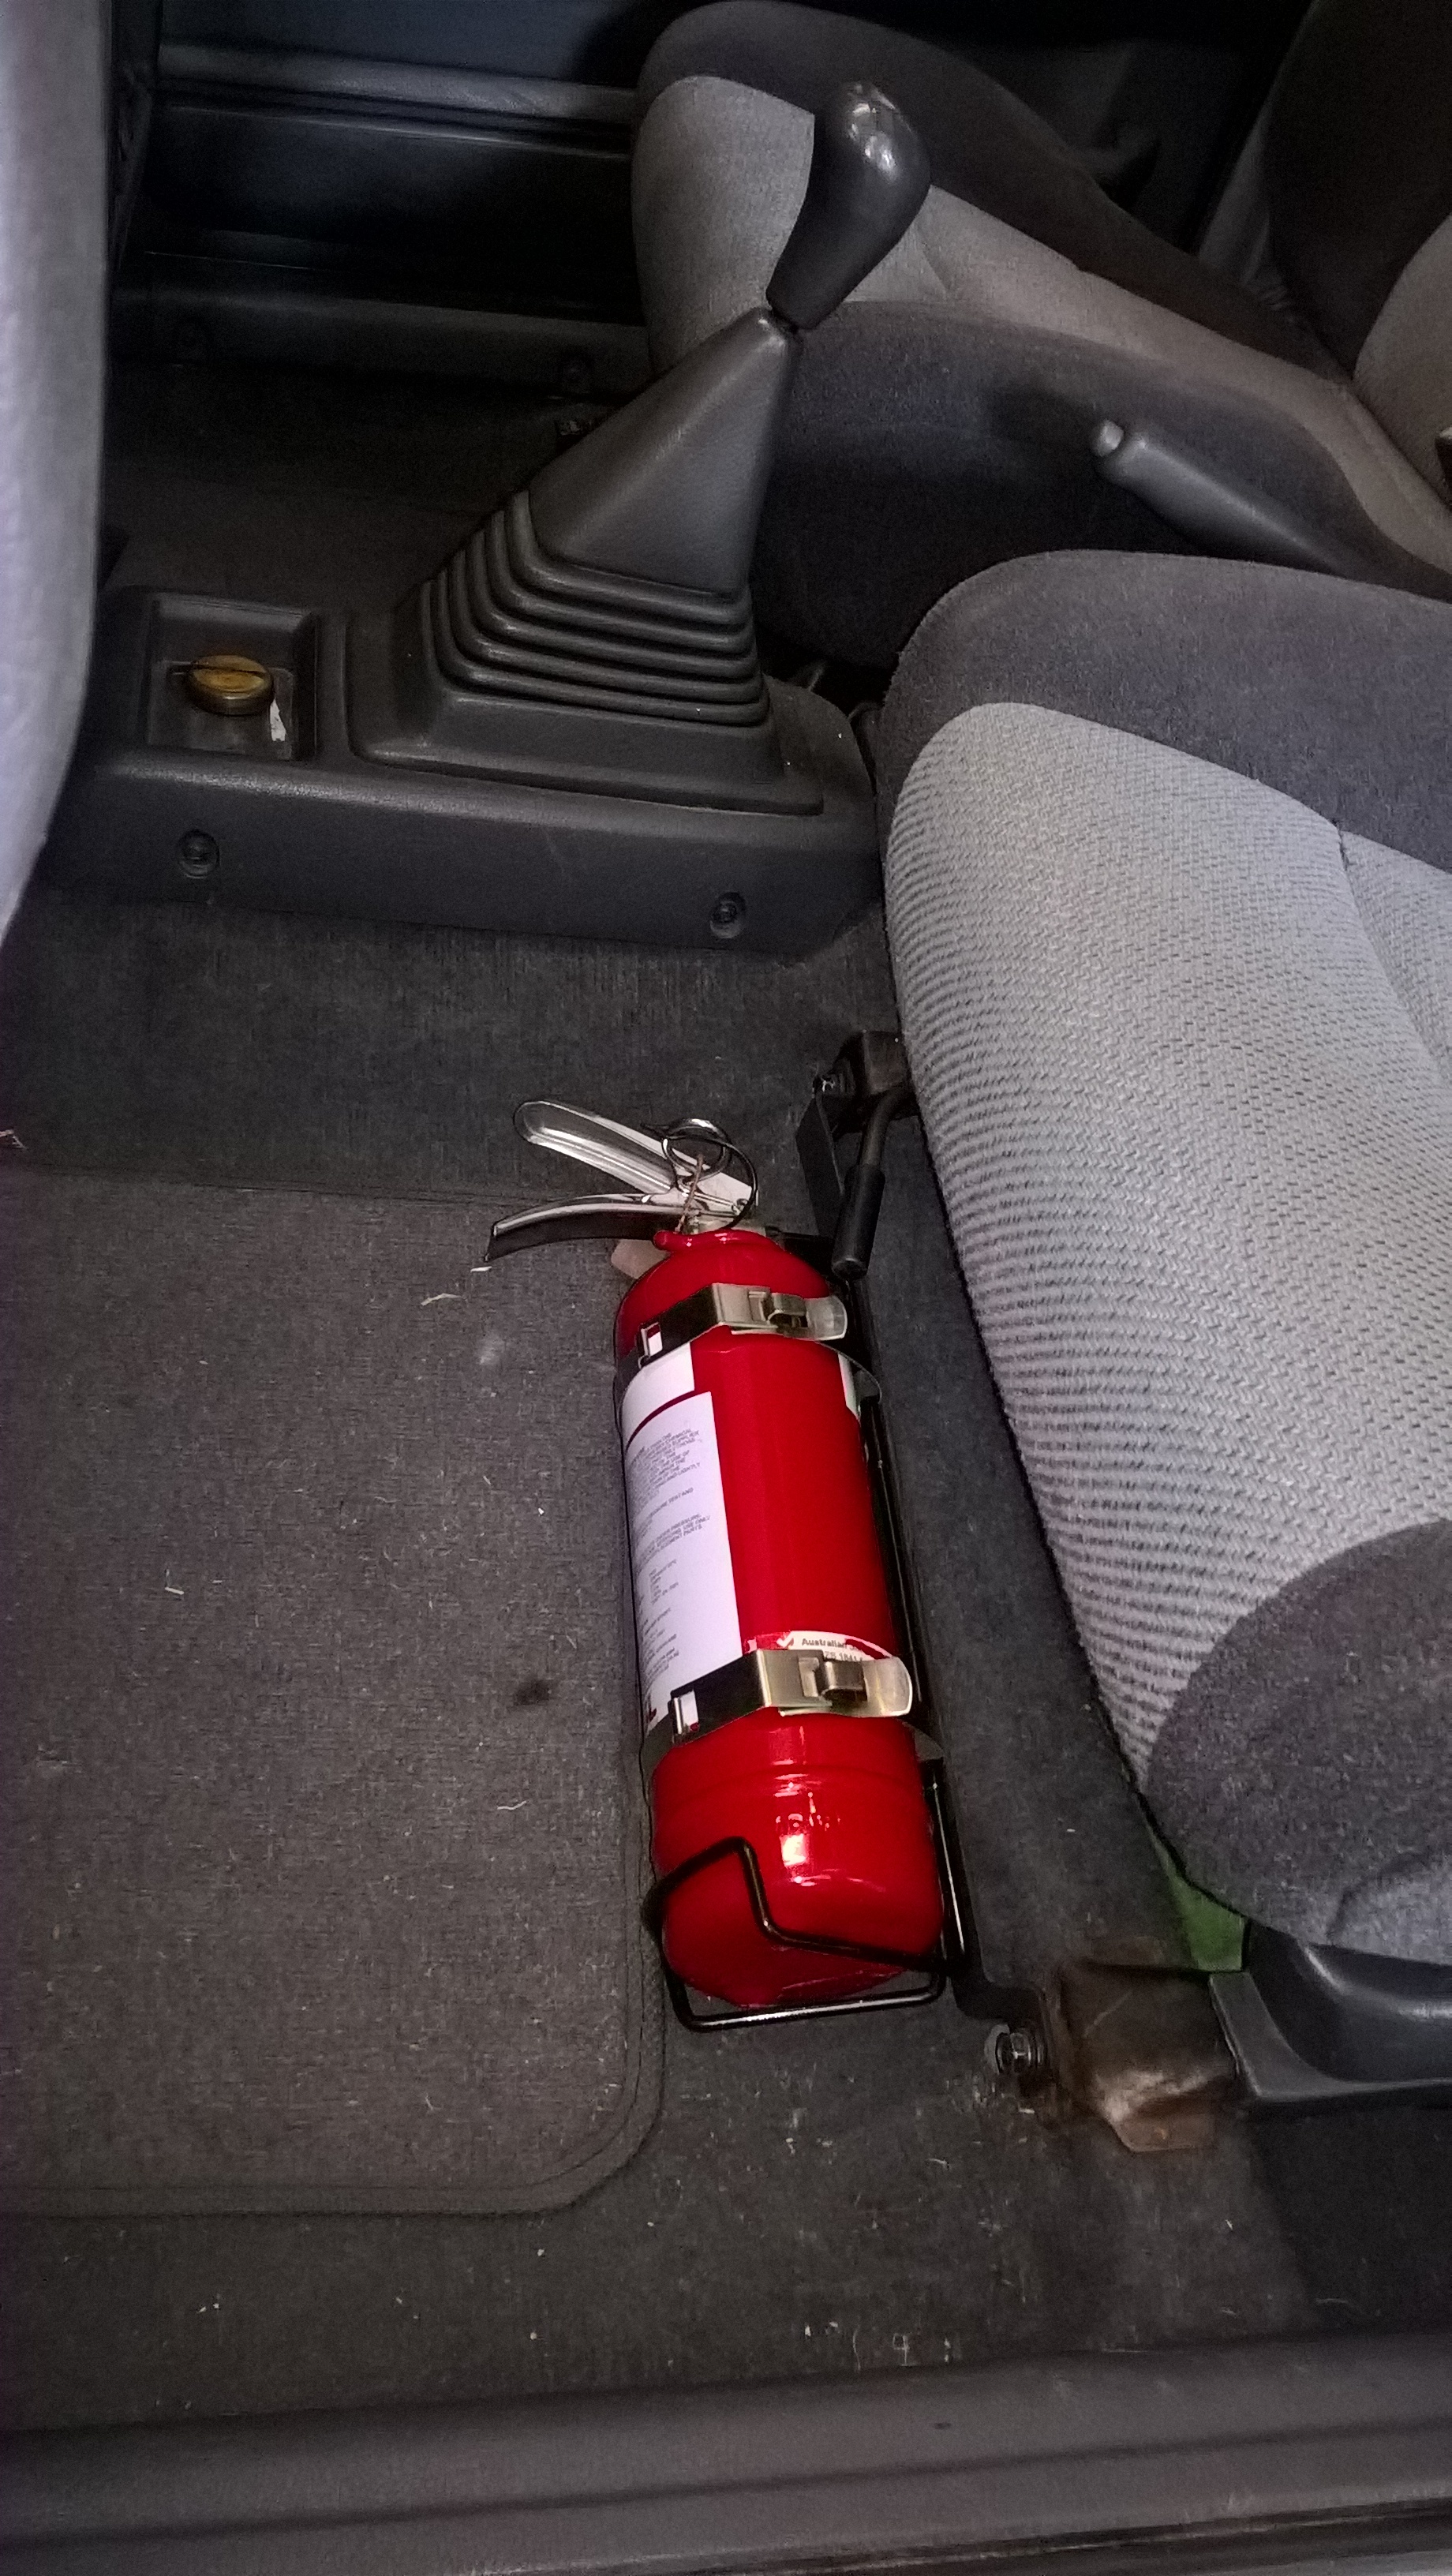
Not as exciting as a new camshaft or a track day - but a fire extinguisher is a must have for doing the odd motorsport event in NZ. Be nothing worse than watching all your hard work go up in flames.
I made a bracket that fits to the front seat mounts - with the seat is forward you can hardly notice.
Good to meet you at Hampton bro
Nice power btw!
Really like the extinguisher install too! super tidy!
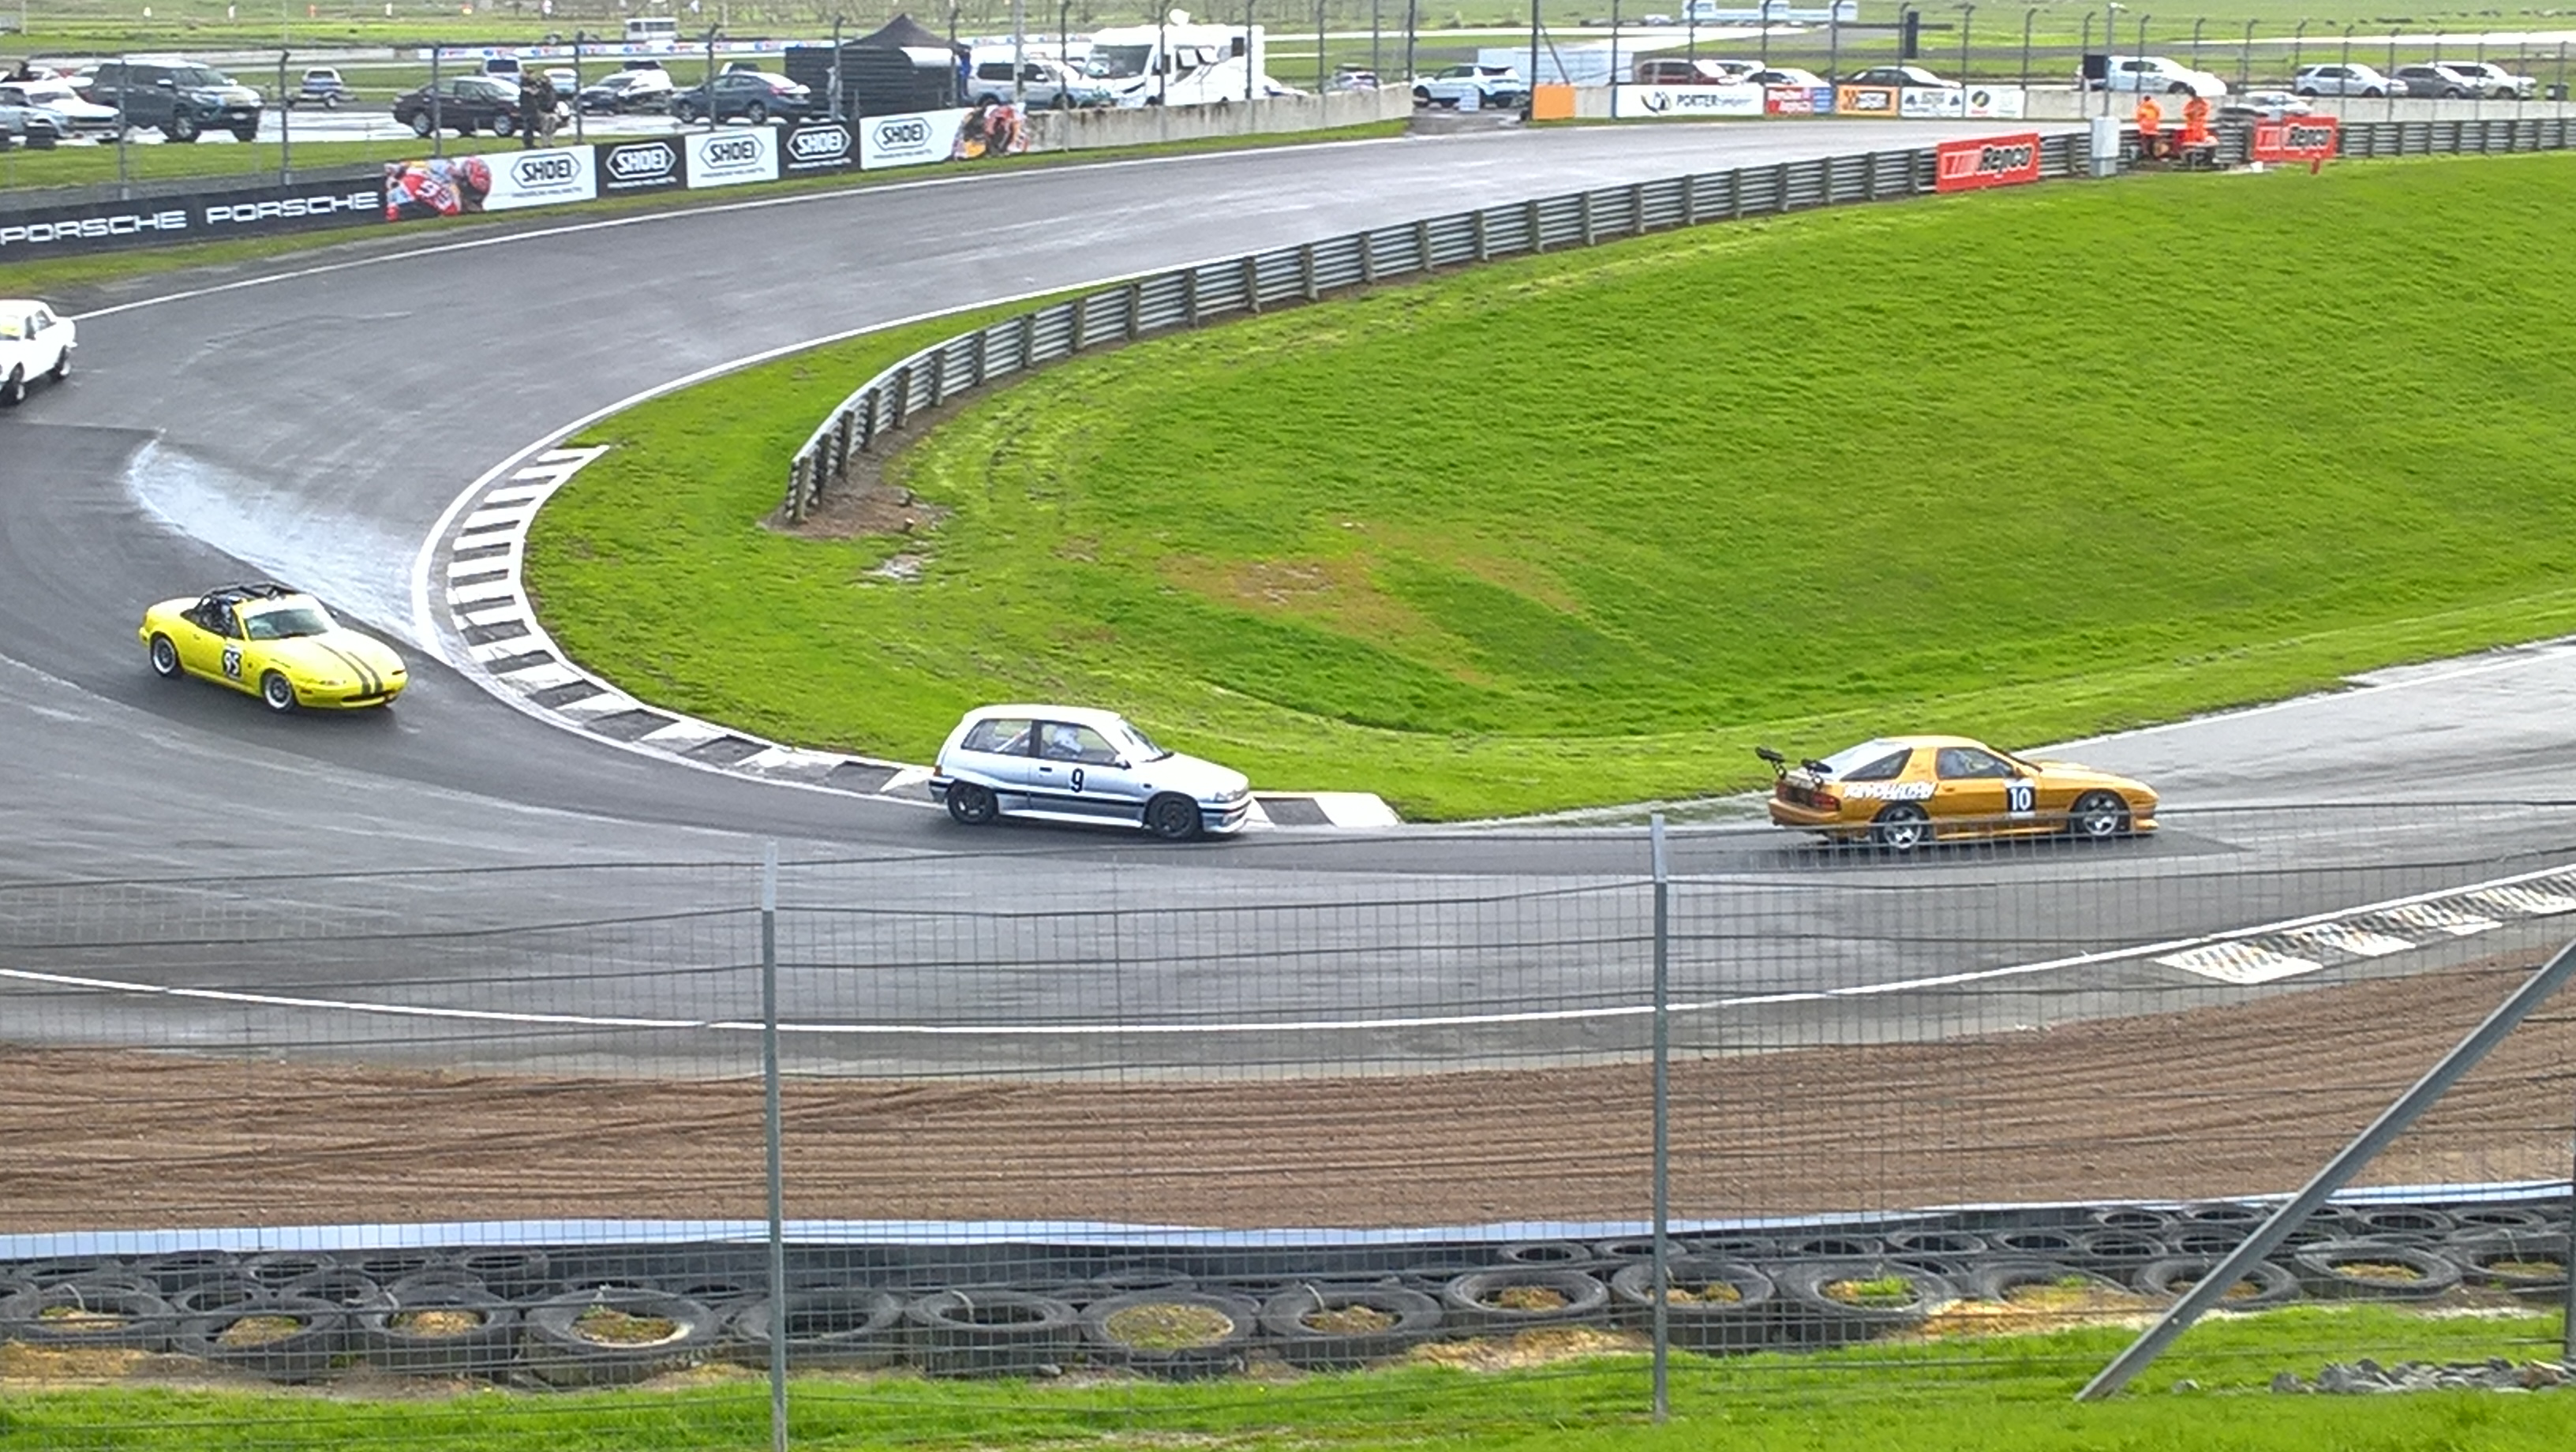
Finally got back to Taupo for a track day - and now running ITB’s of course.
The new rear sway bay, boy has that made a difference, body roll and under steer have been greatly reduced. Couldn’t quite keep up with the turbo Golf in the vid, but was pretty happy with how the car went.
And special section for Mr G - I was told by those who followed me that the car was on 3 wheels on many corners!
Looking forward to watching this when I get home.