Hey there,
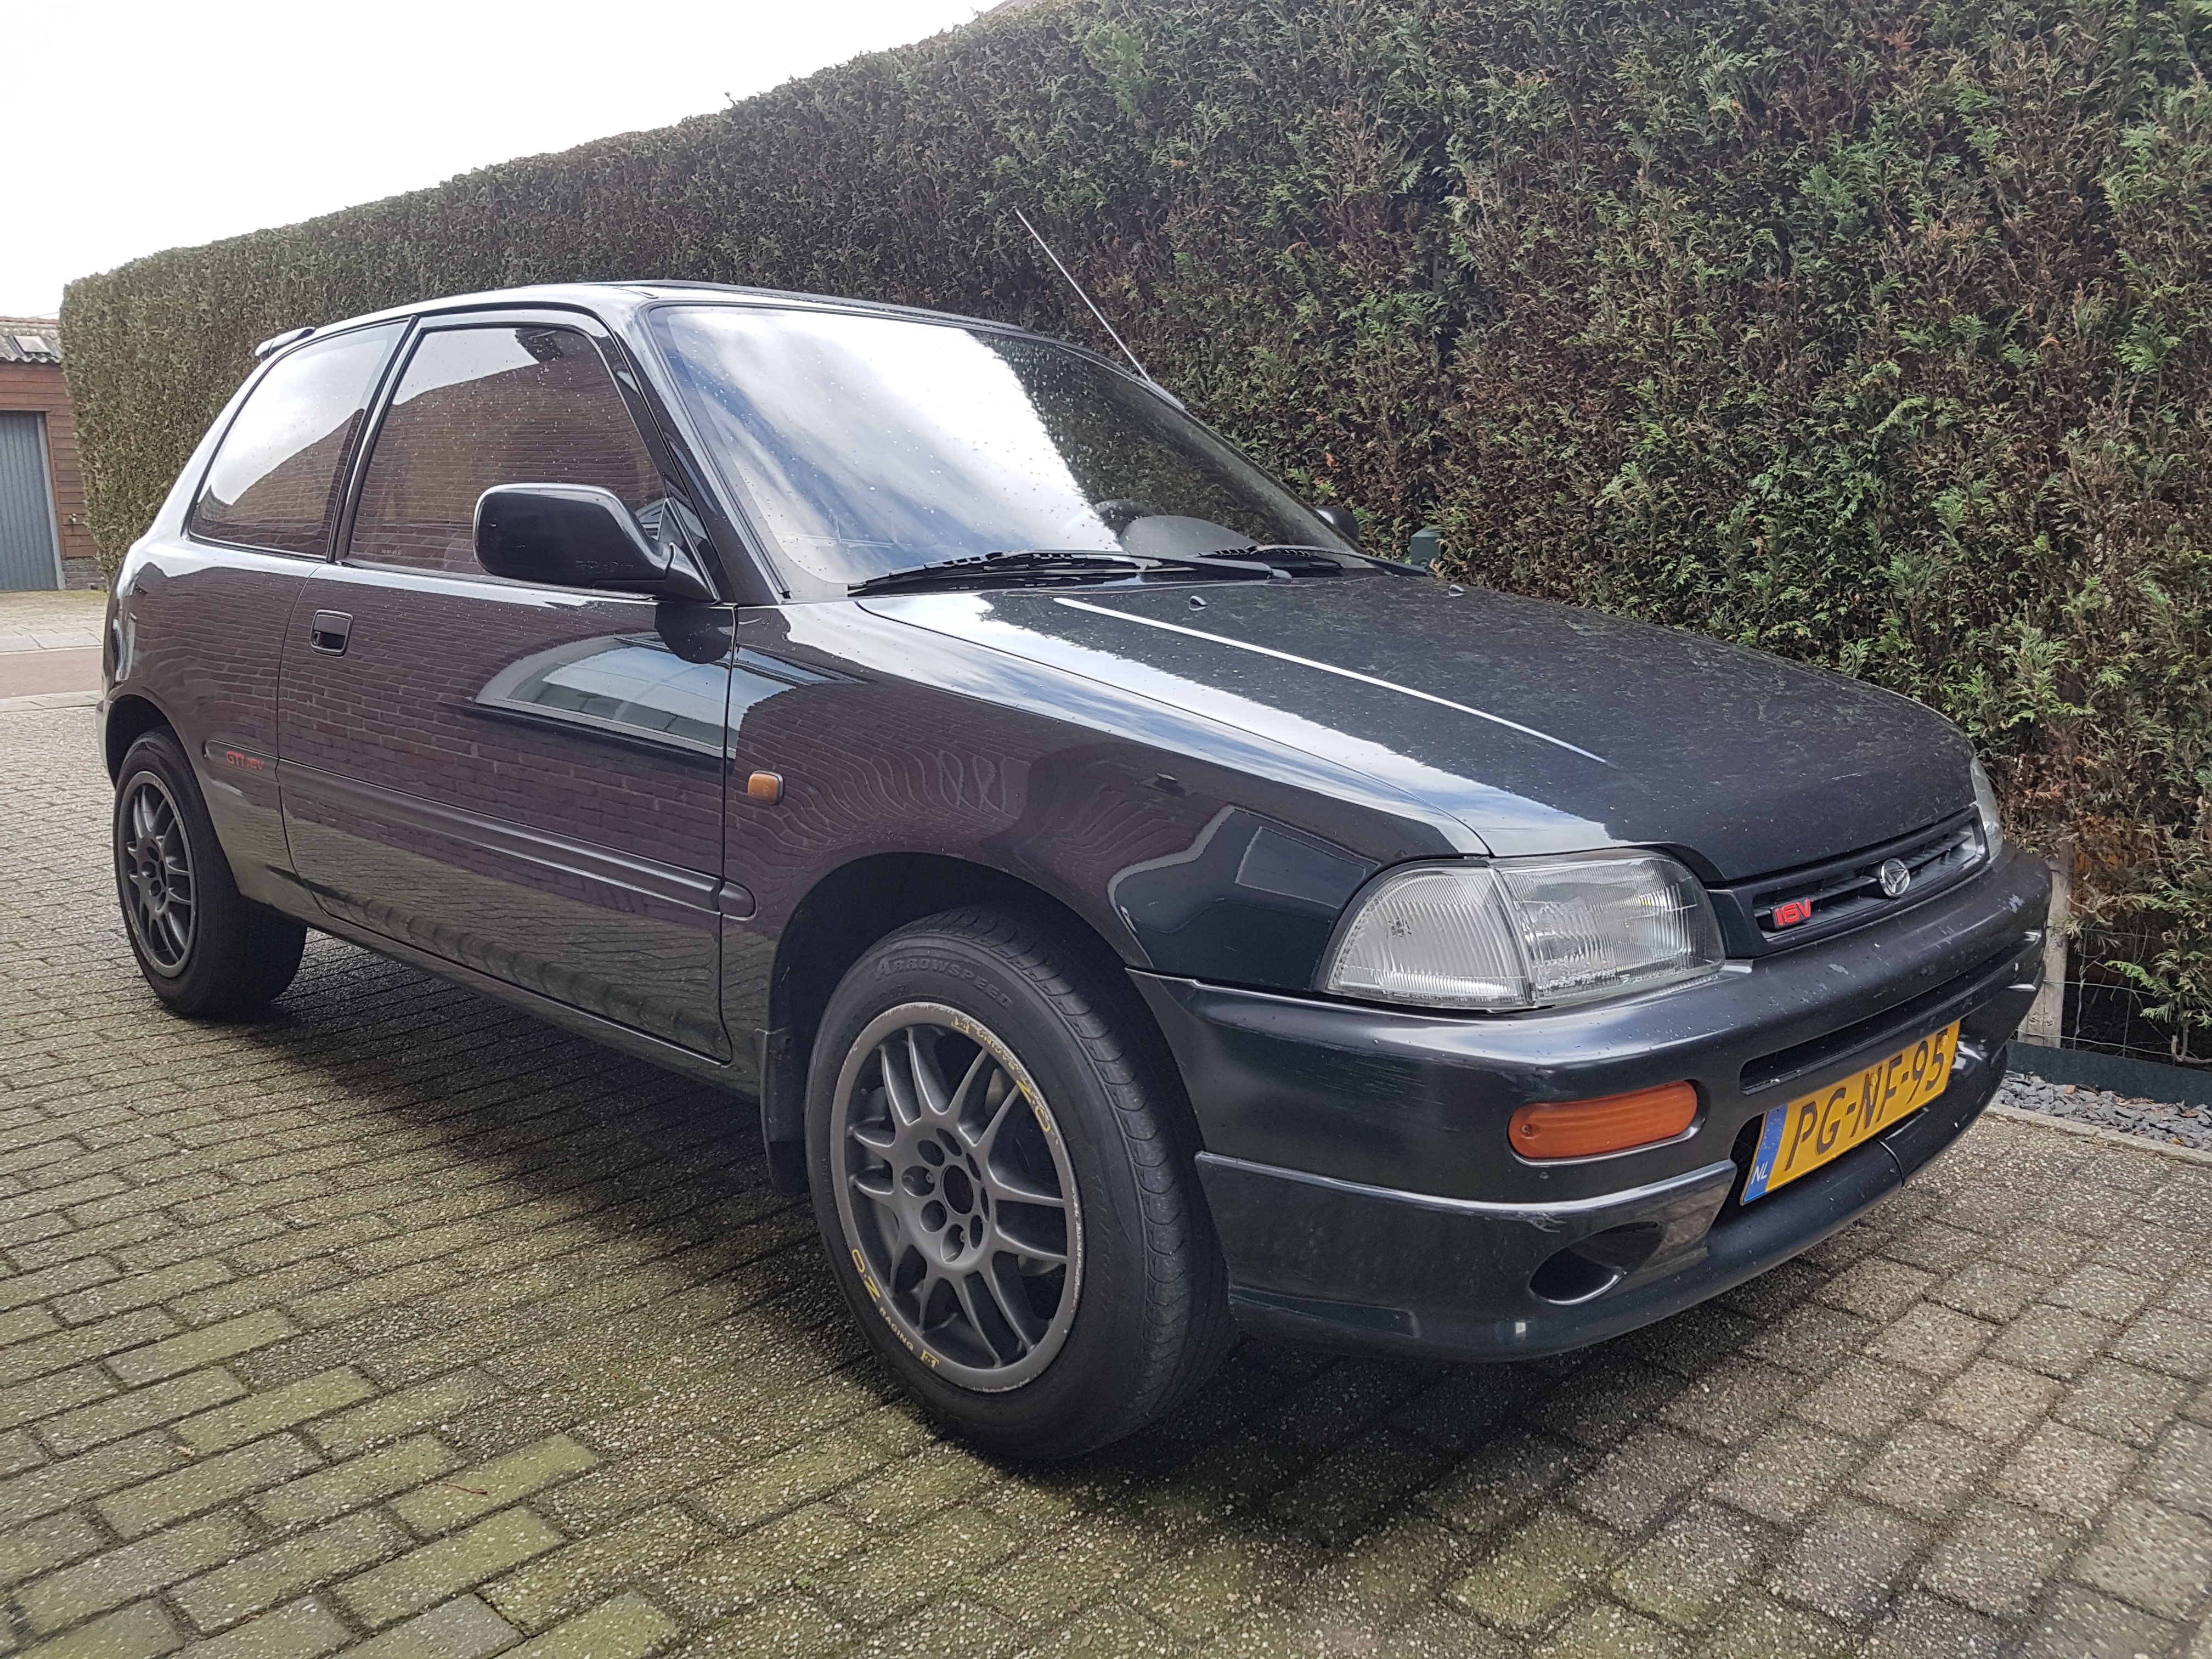
decided to open a thread for my Charade Gti.
What you are going to see here is mainly some basic stuff to make her roadworthy again.
Also started this as a request from @Mokeman
Hey there,
decided to open a thread for my Charade Gti.
What you are going to see here is mainly some basic stuff to make her roadworthy again.
Also started this as a request from @Mokeman
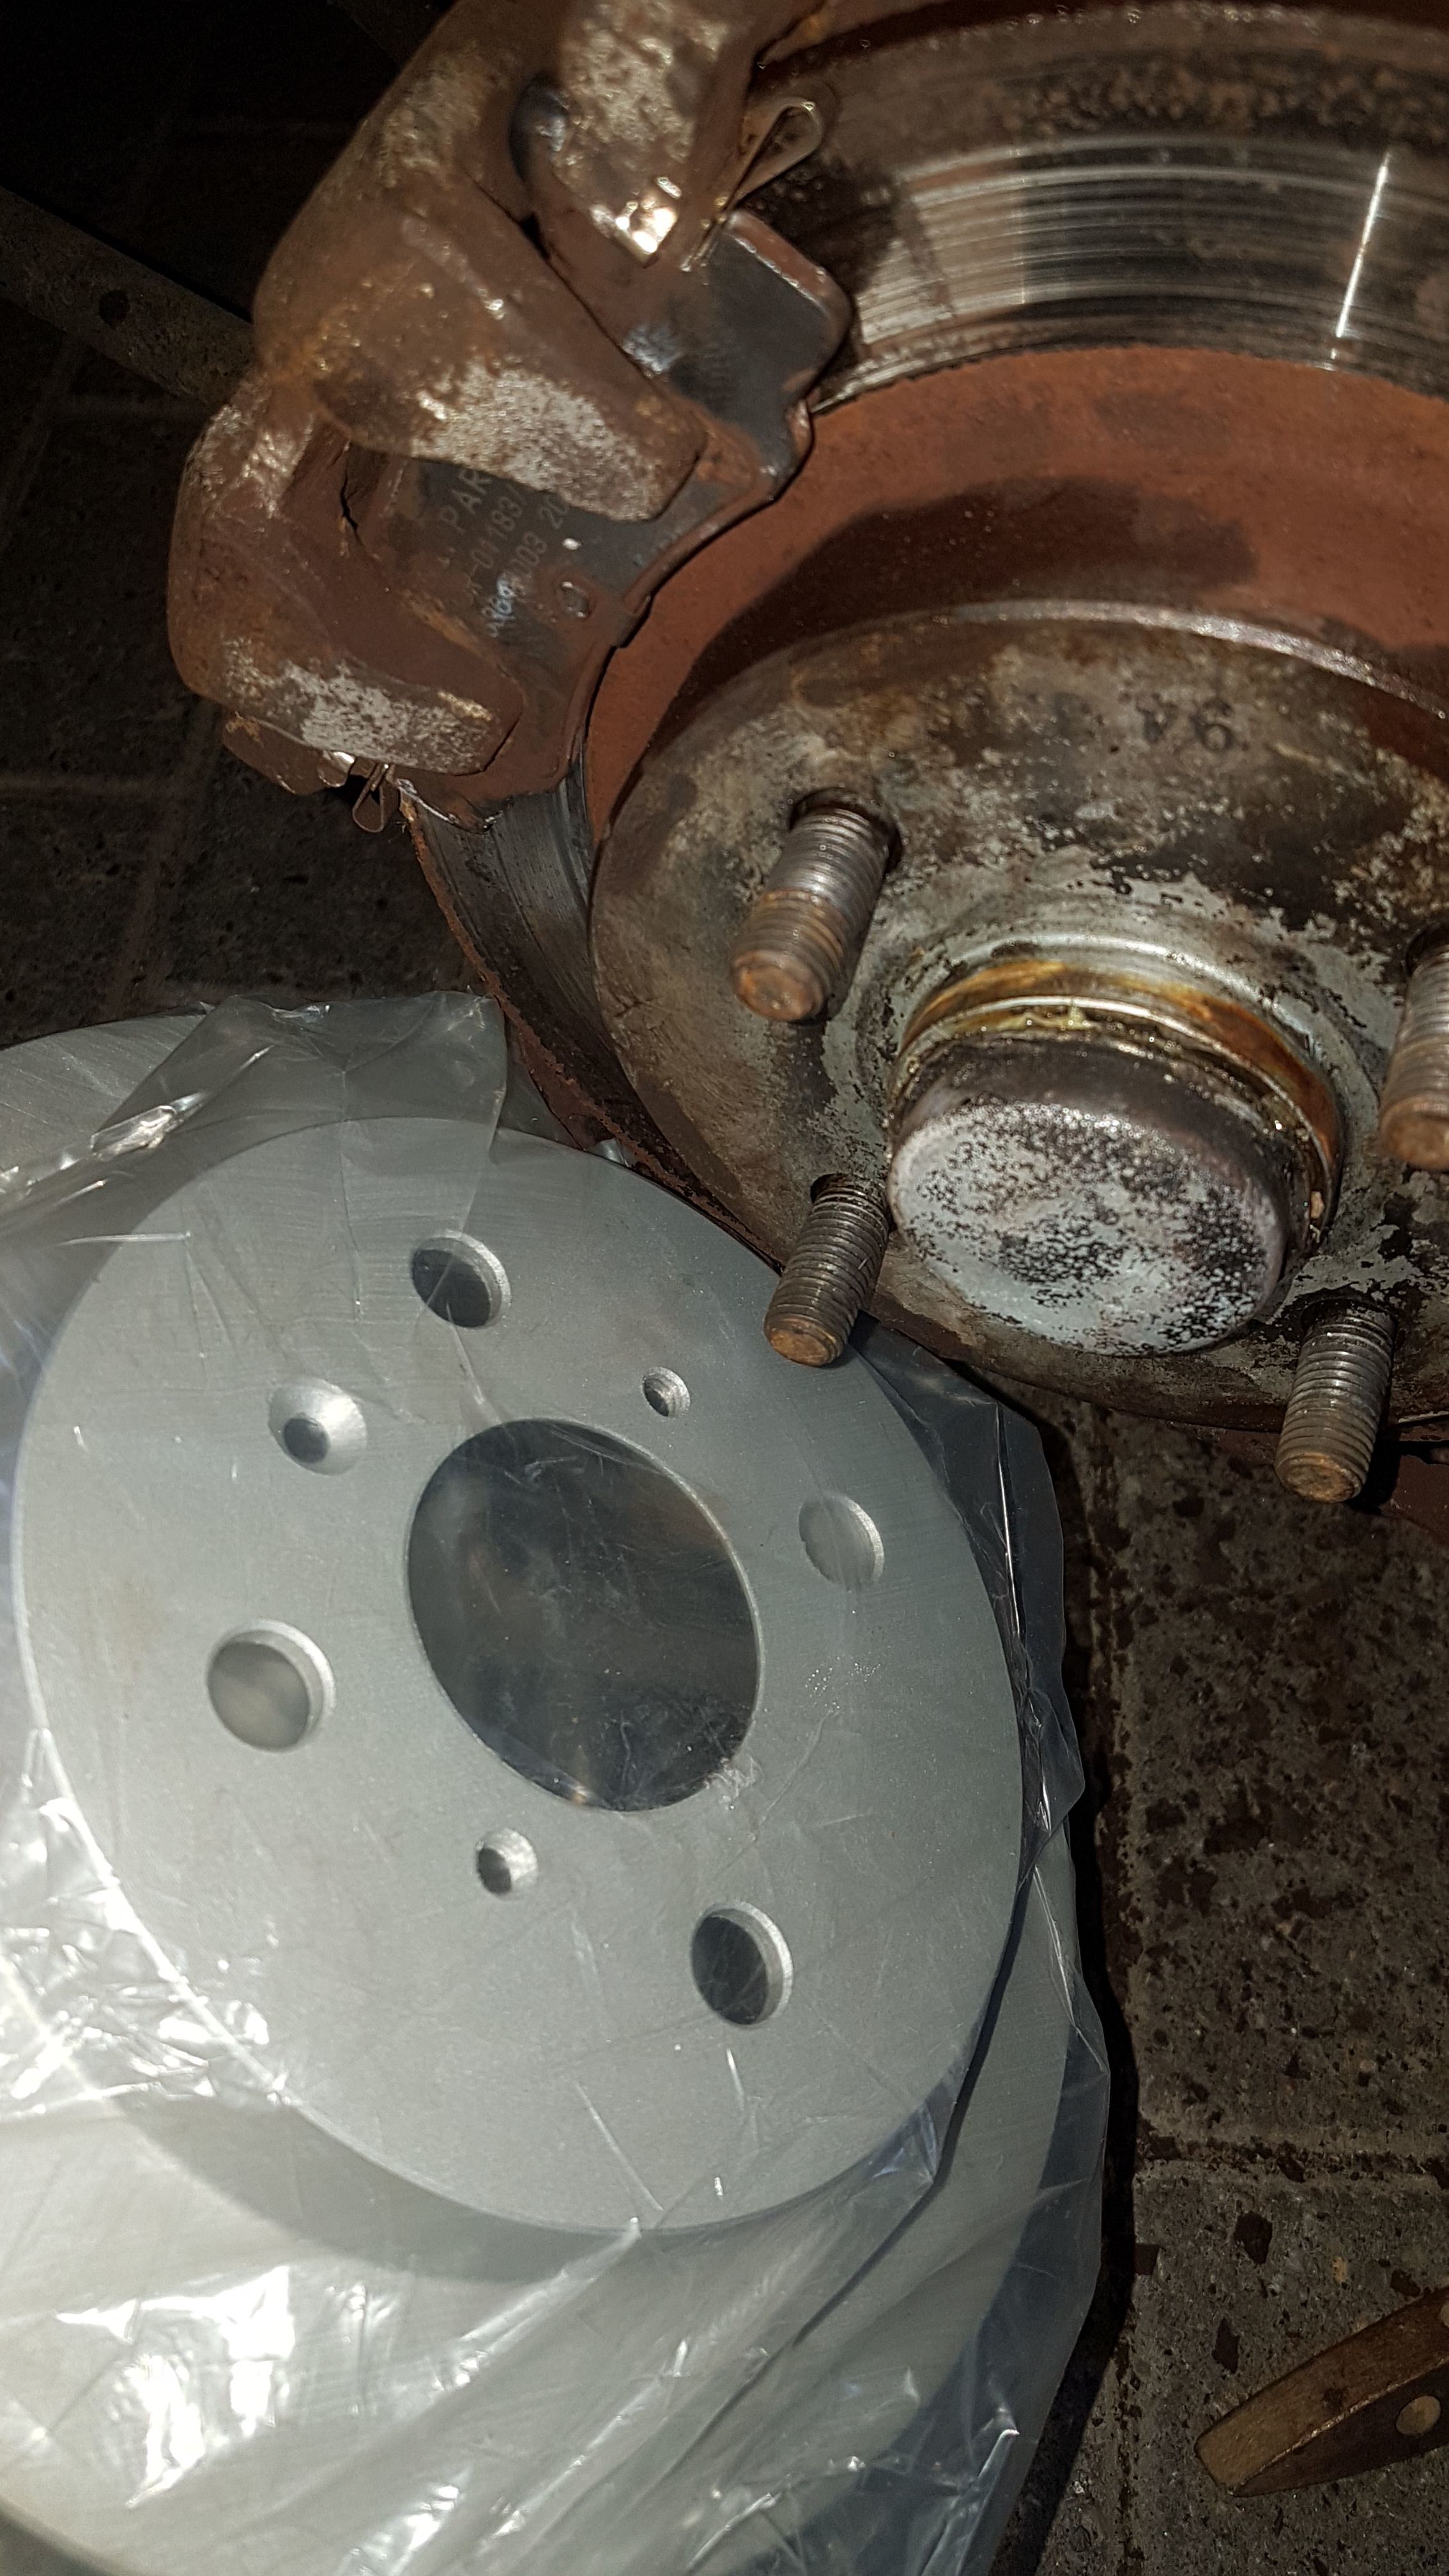
Replaced front brake pads + rotors yesterday:
But now I’m running into some serious issues for the rear break rotors, at the dealership they told me in whole Europe the brake rotors we’re not available anymore. The rear is a bearing, hub and rotor in one. And when you order this a an regular parts store you run into this problem:
Cool car! sorry I can’t help with the brakes.
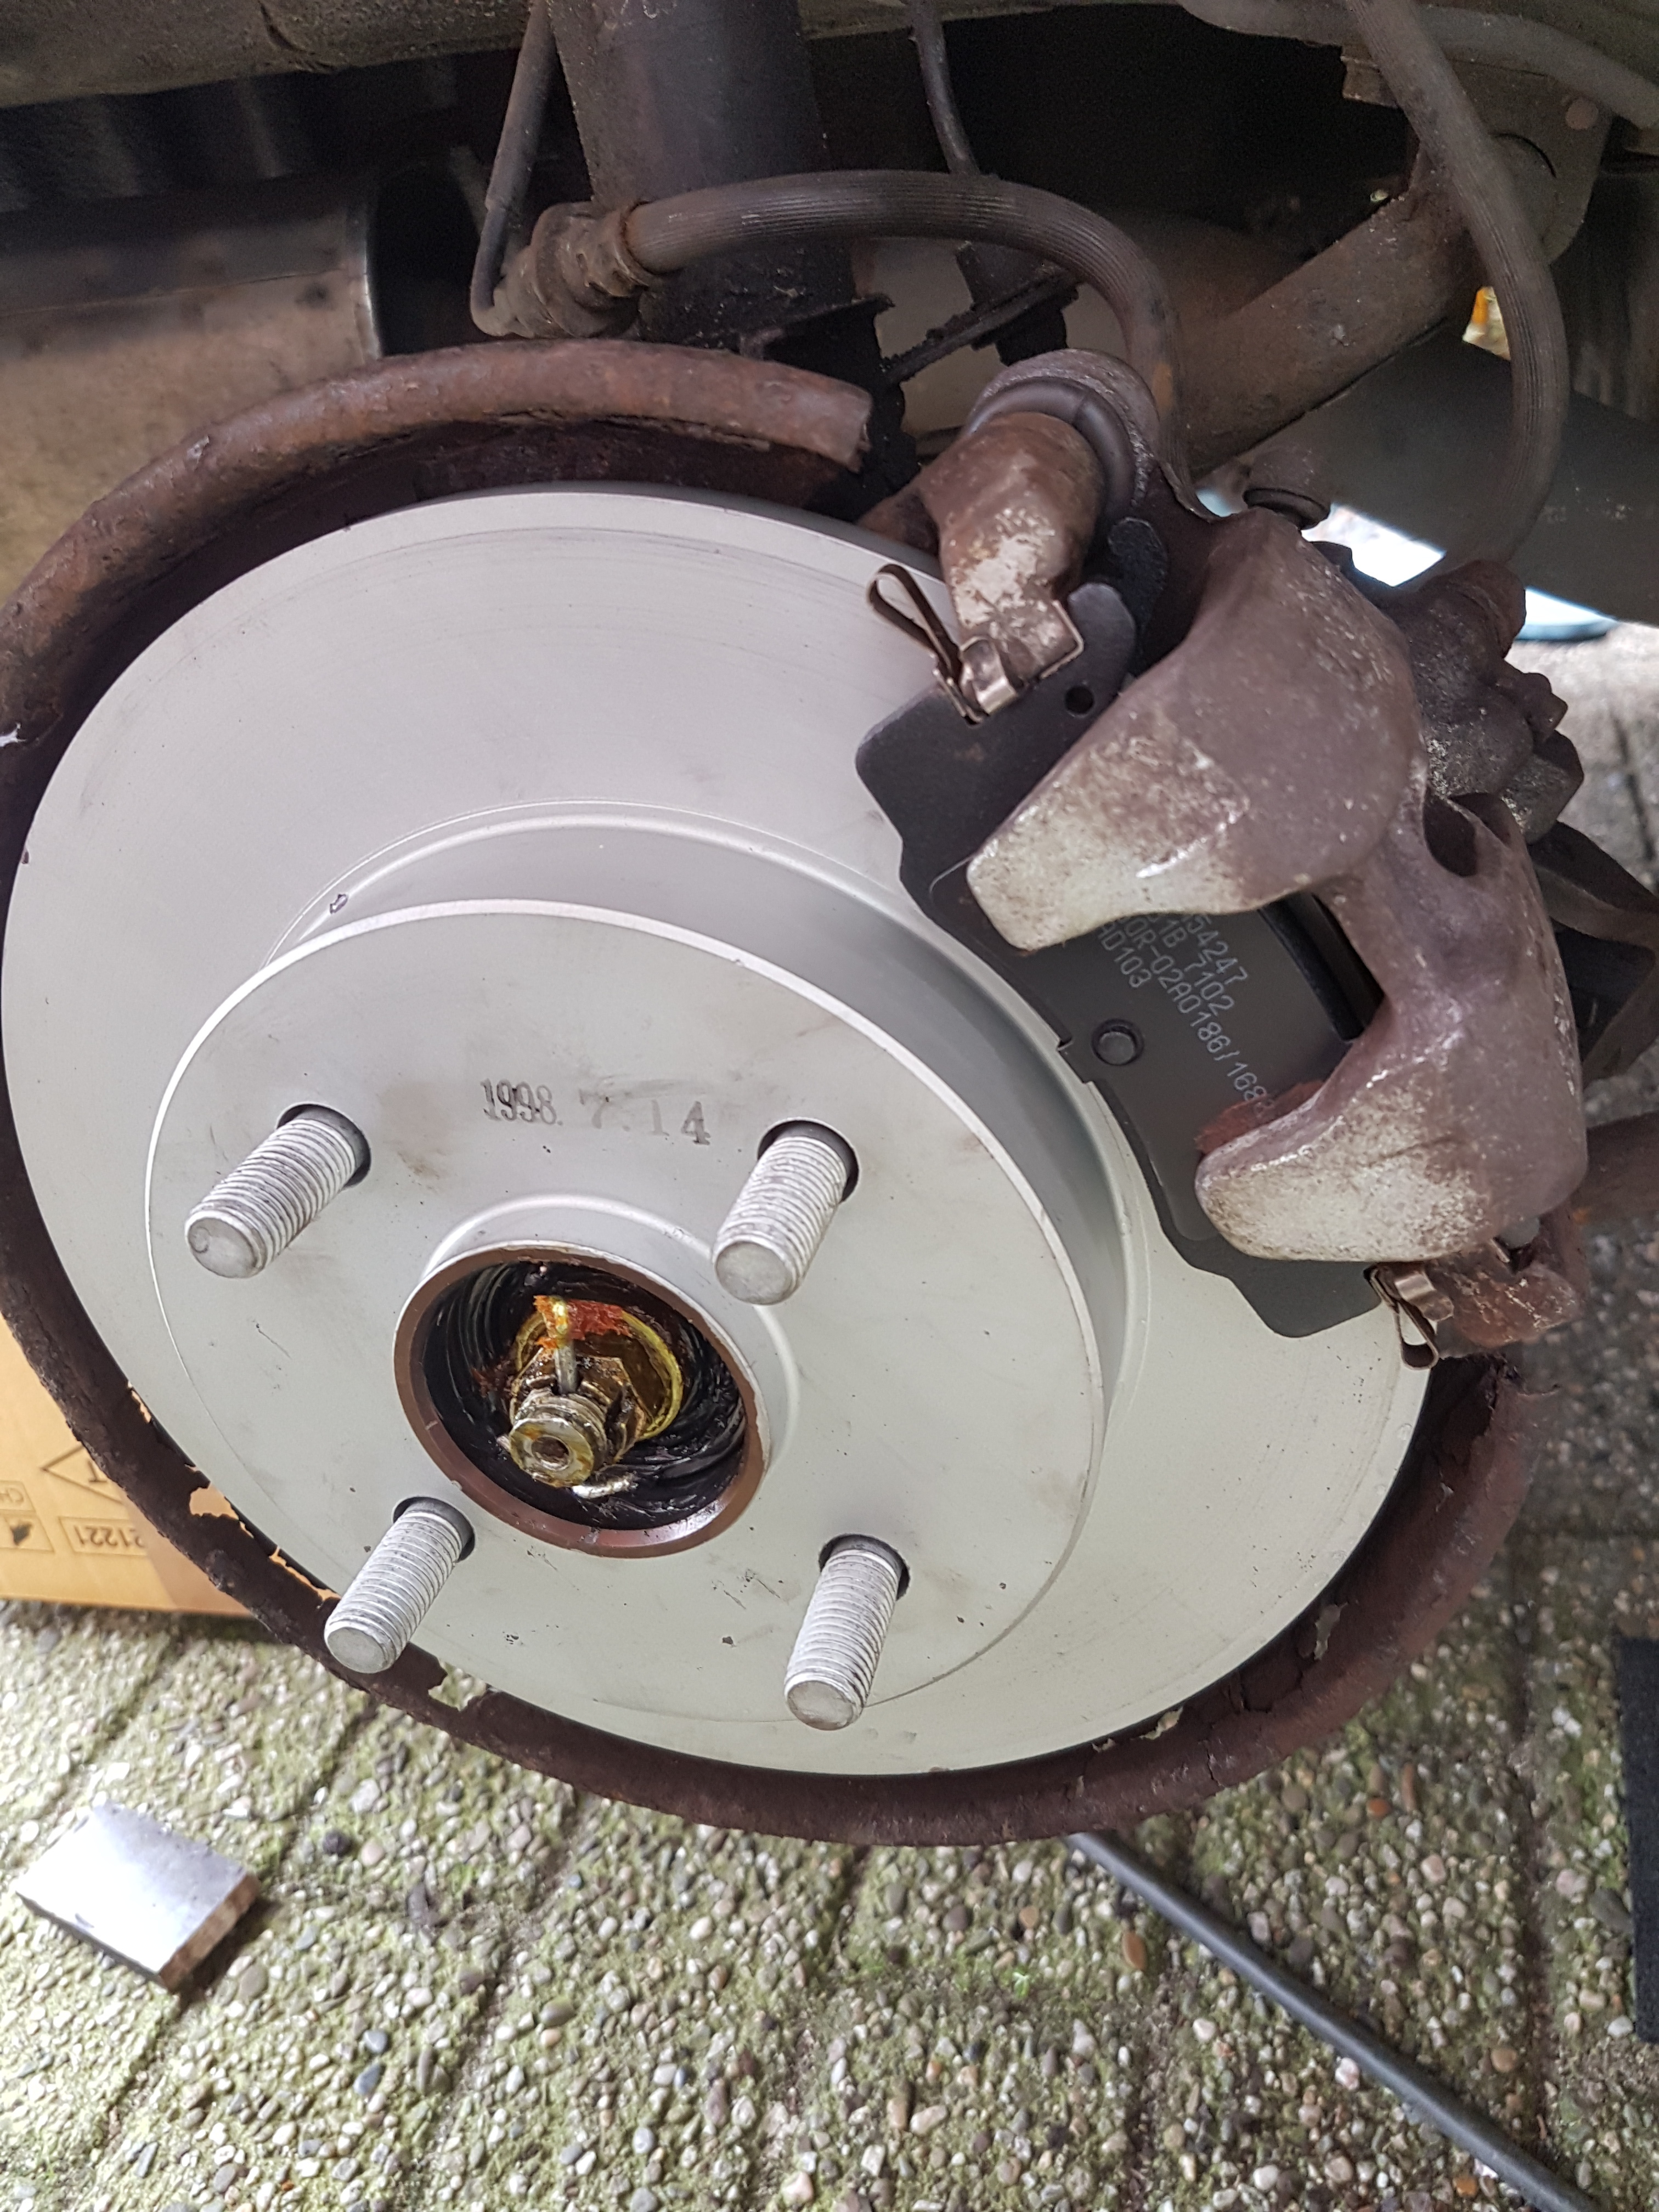
Back pads + oem rotors came in, thanks to Natan from the daihatsu performance enthousiasts facebook page.
If anyone knows the torque specs for the central nut please let me know.
It has been a while since my last post, so time for an update.
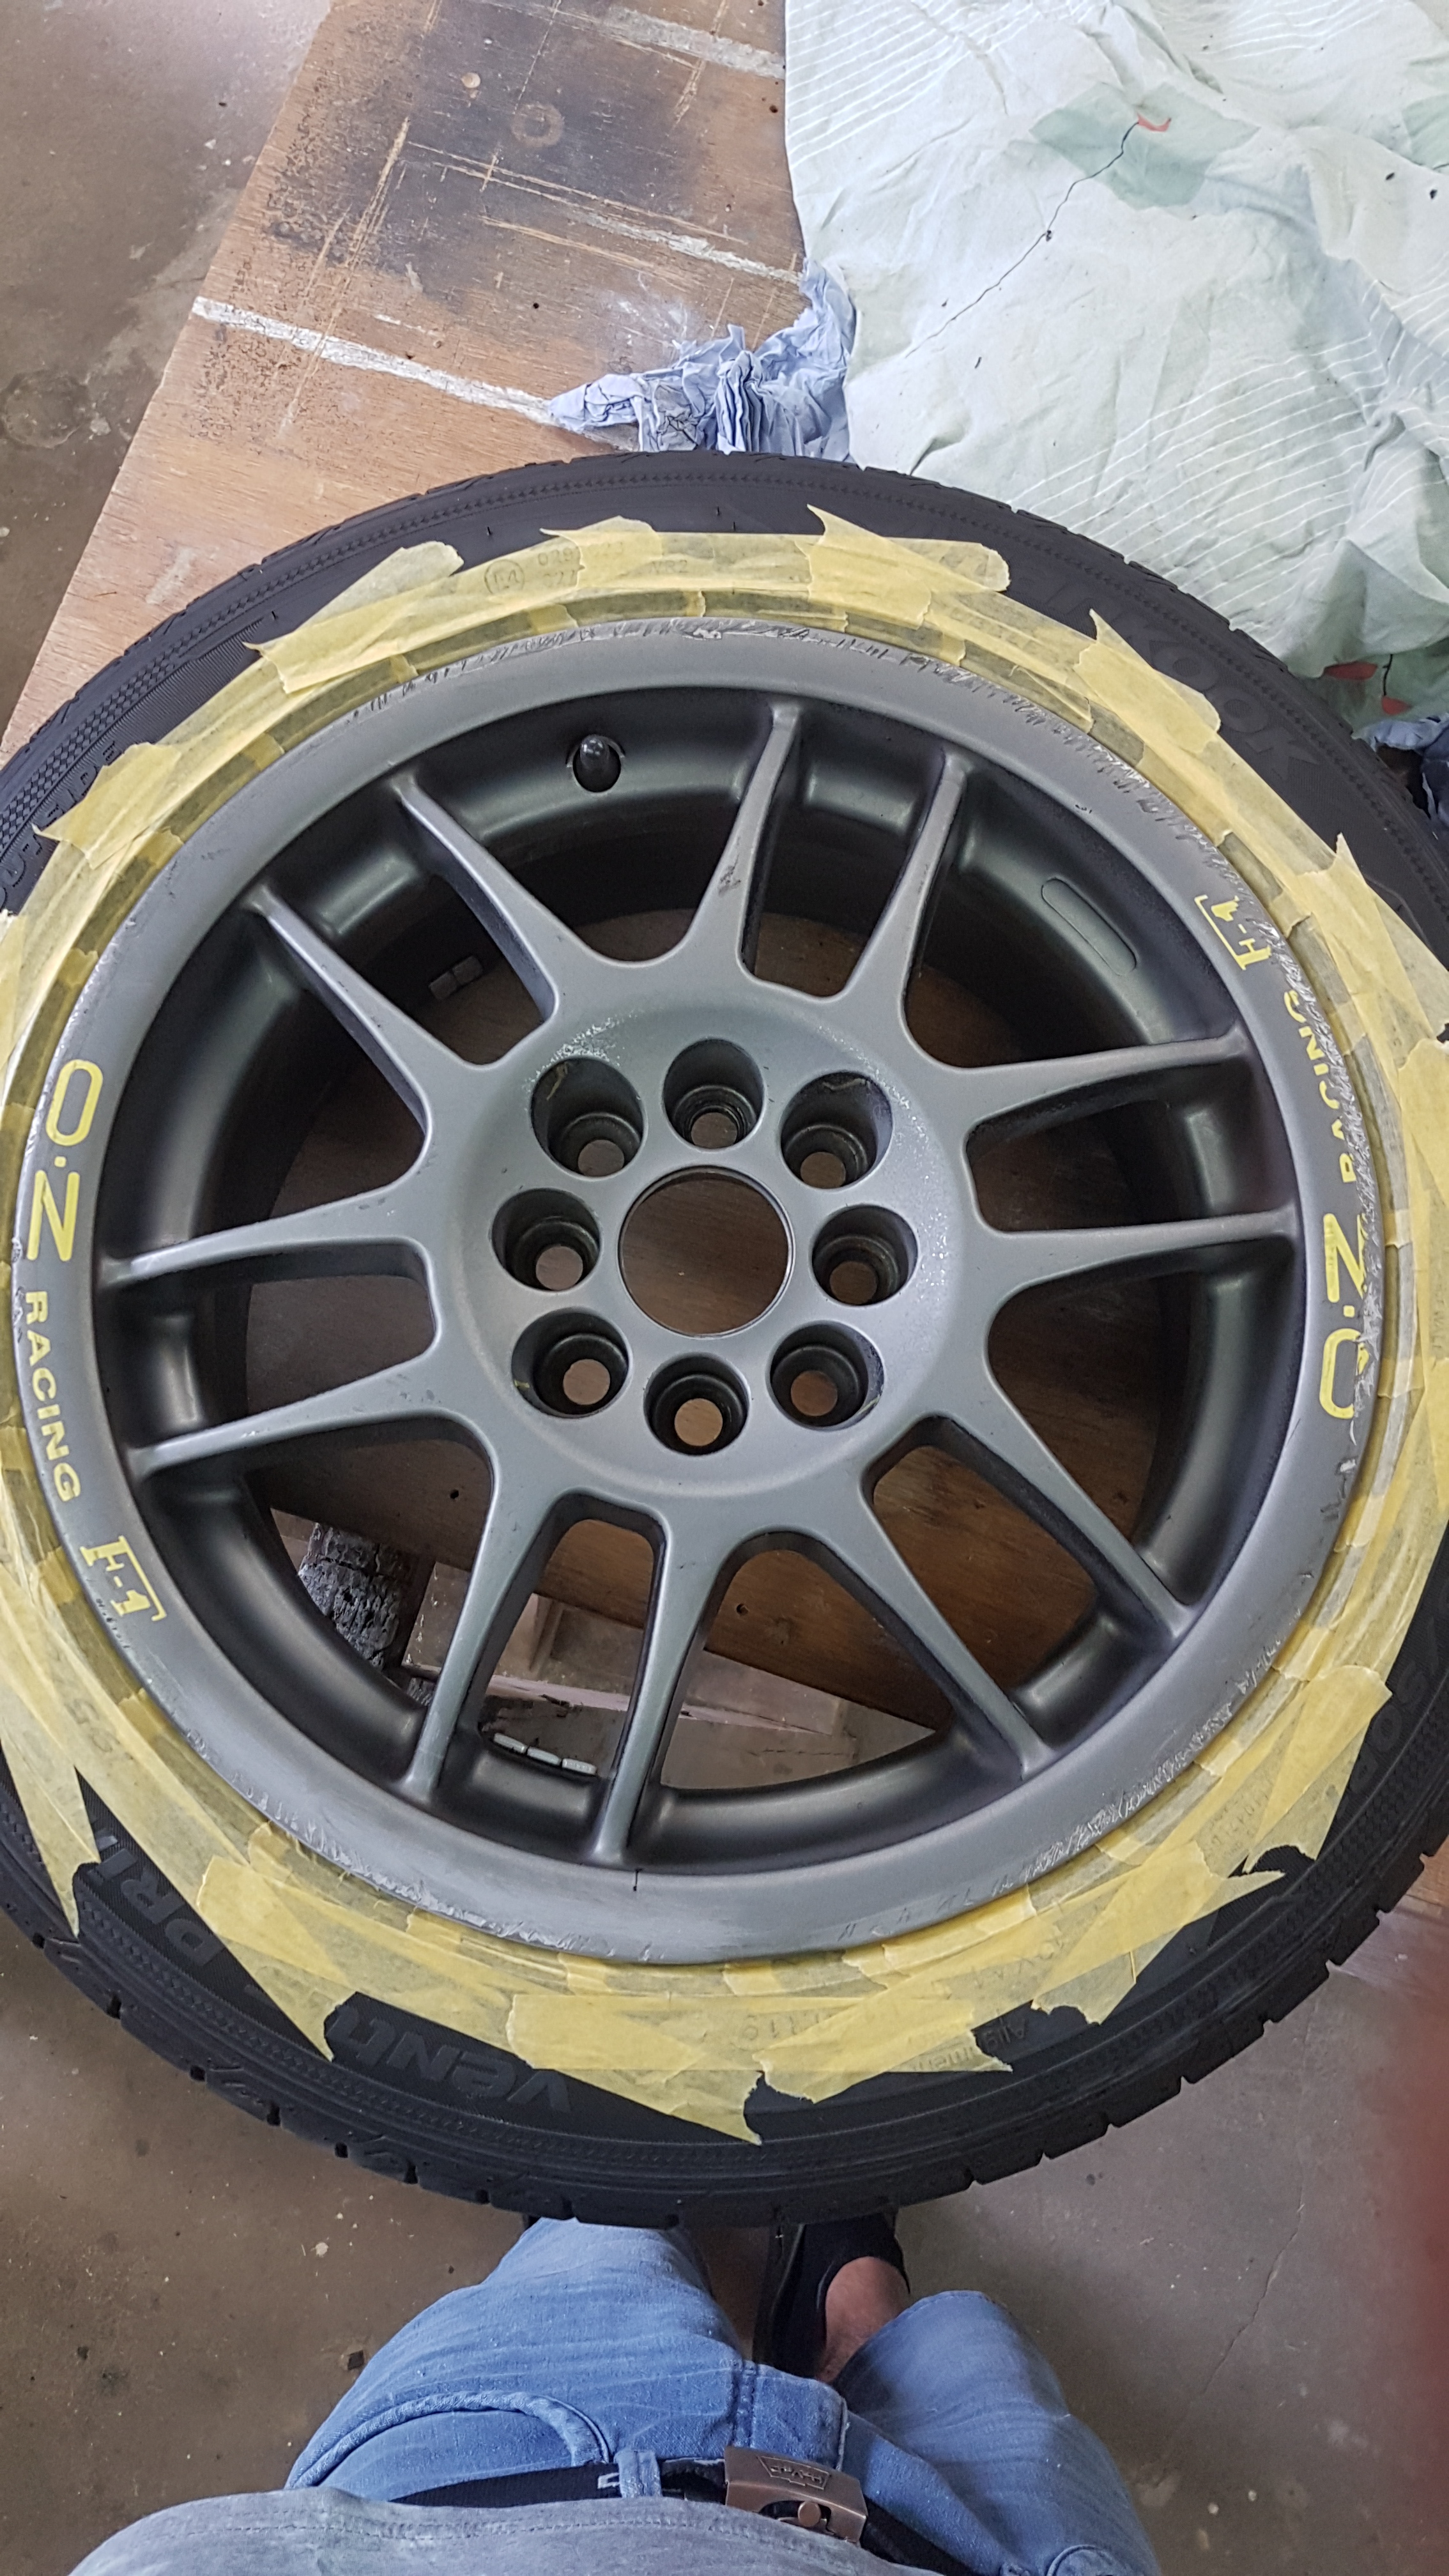
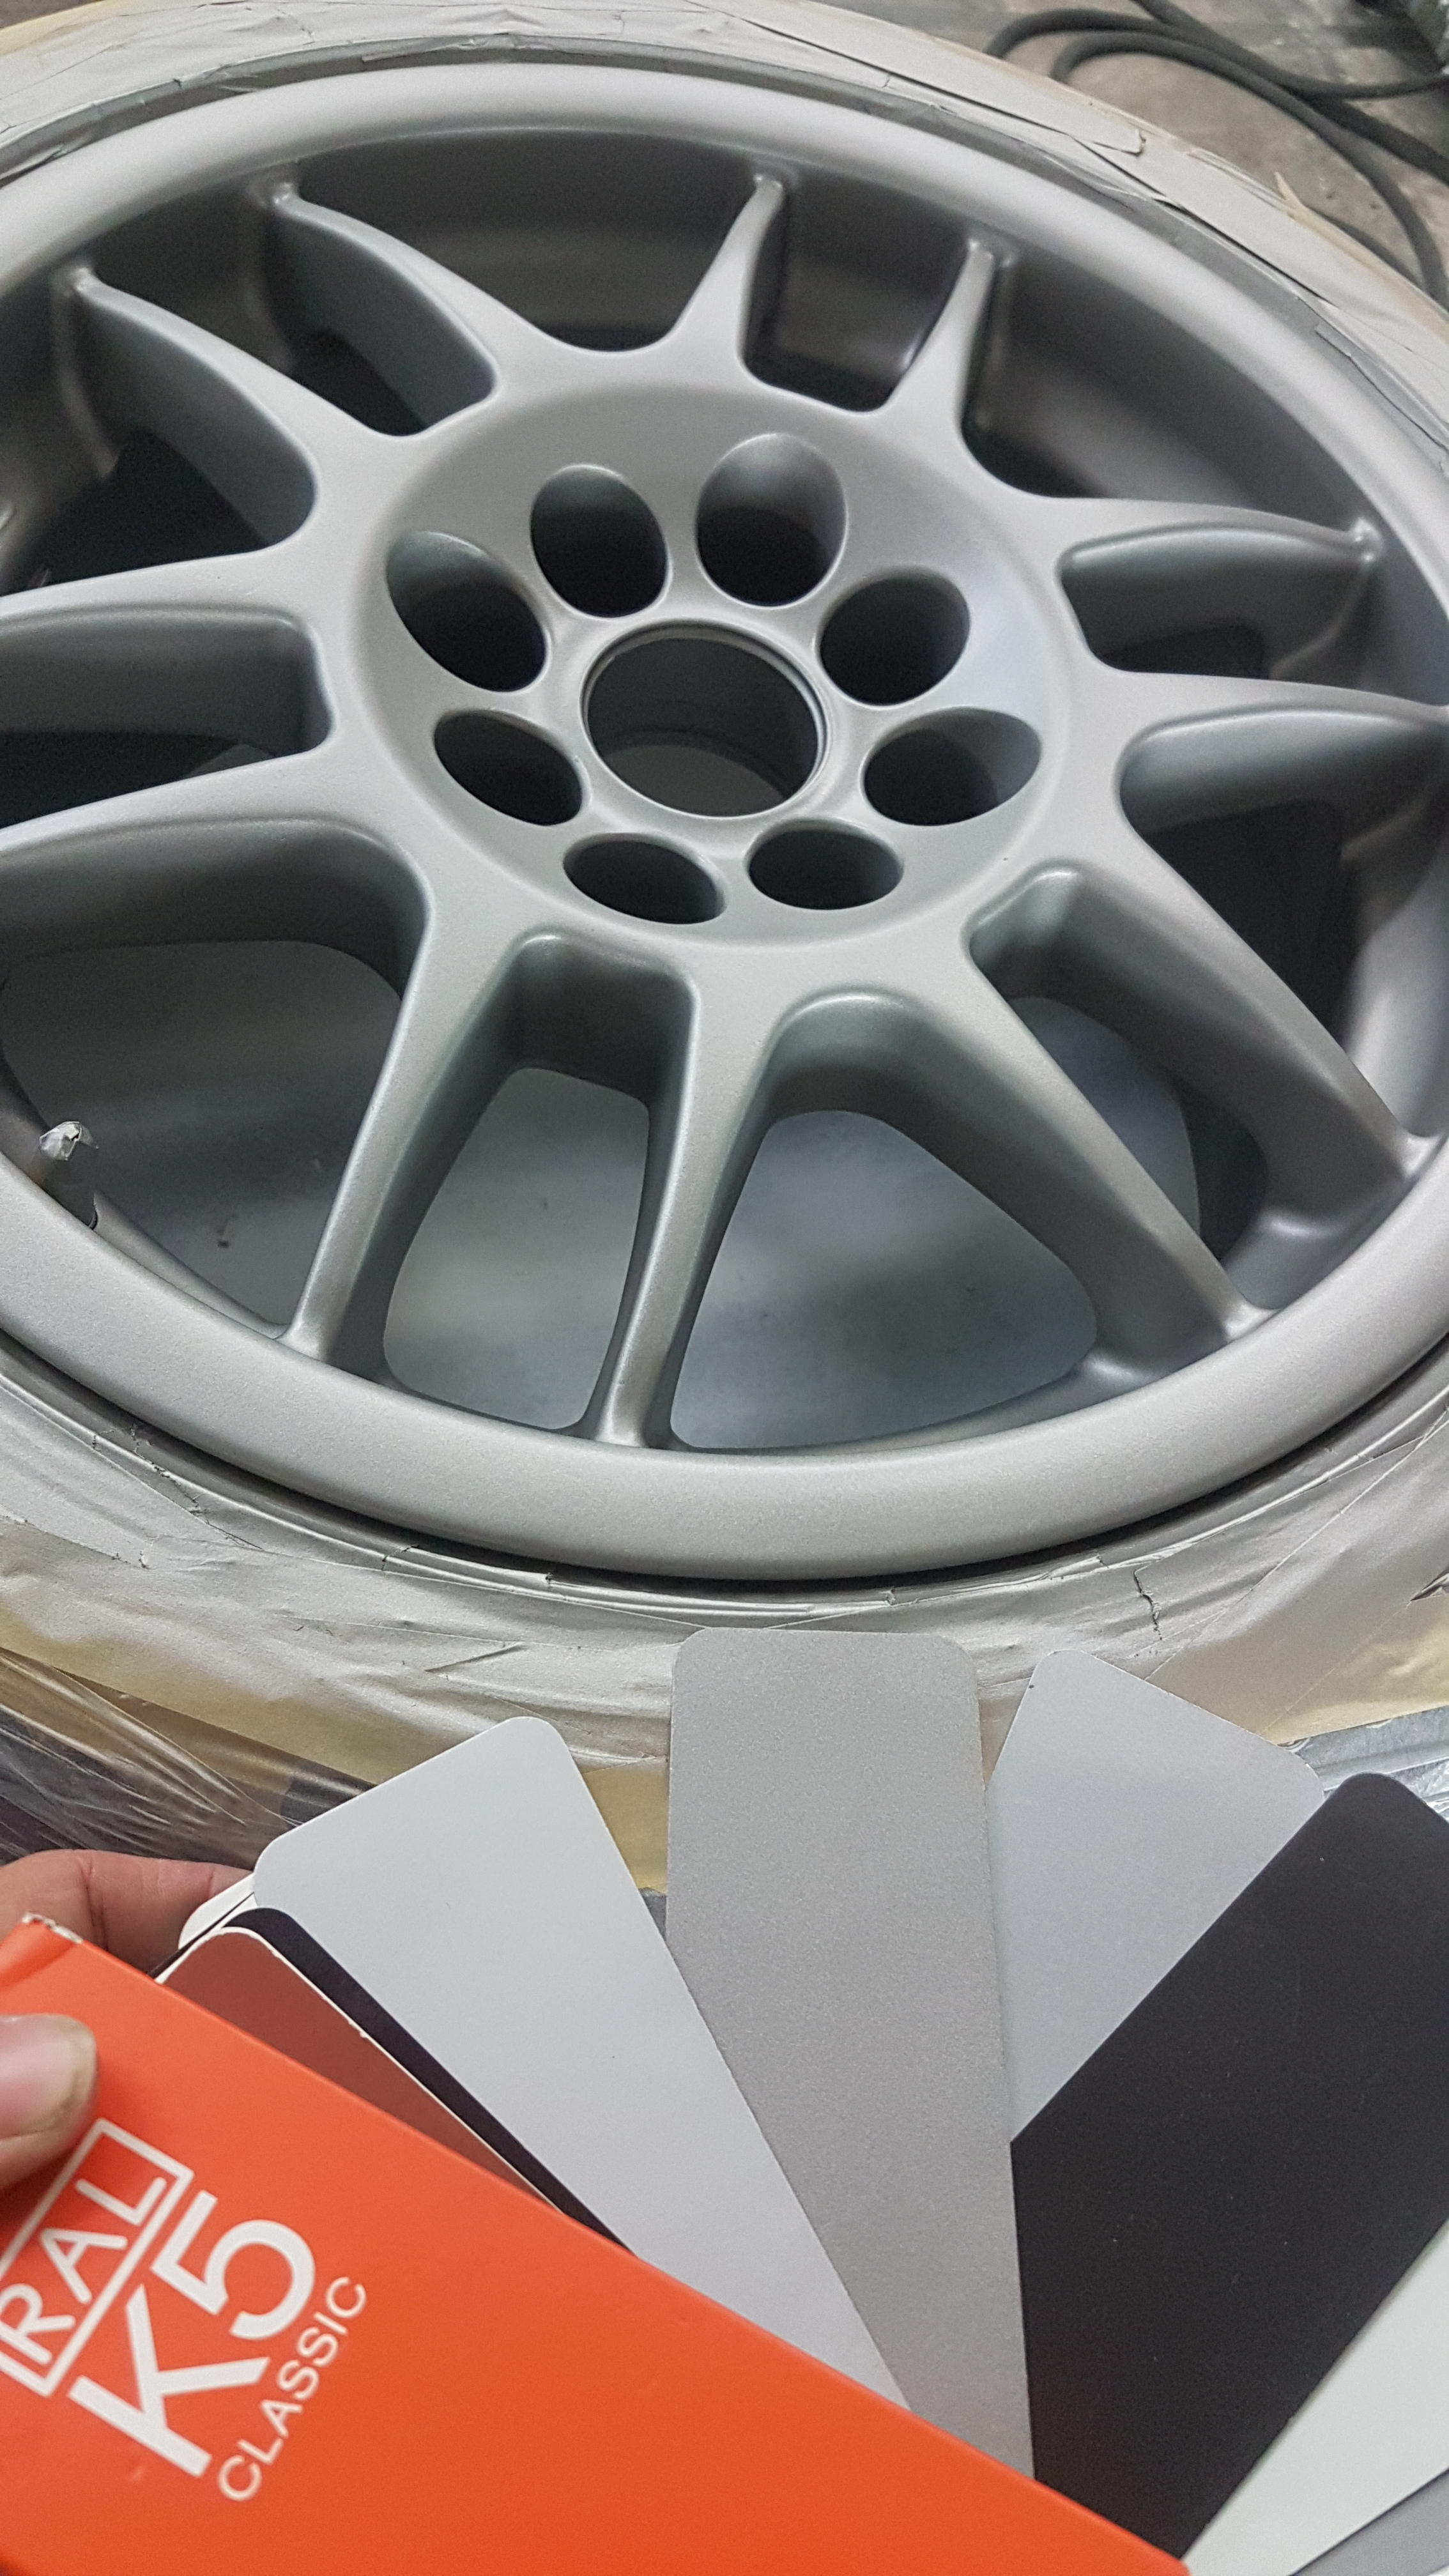
The OZ F1’s were a little worn so I started refurbishing them. All of them had loads of curb rash damage from their previous owner.
Started sanding with P180 and give them some filler. after that a p320 and some spray filler and p600 to make the surface smooth for painting.
I made the choice to leave the tires on, this because I have seen to many people taking brand knew rims to a tireshop en get them scratcht up.
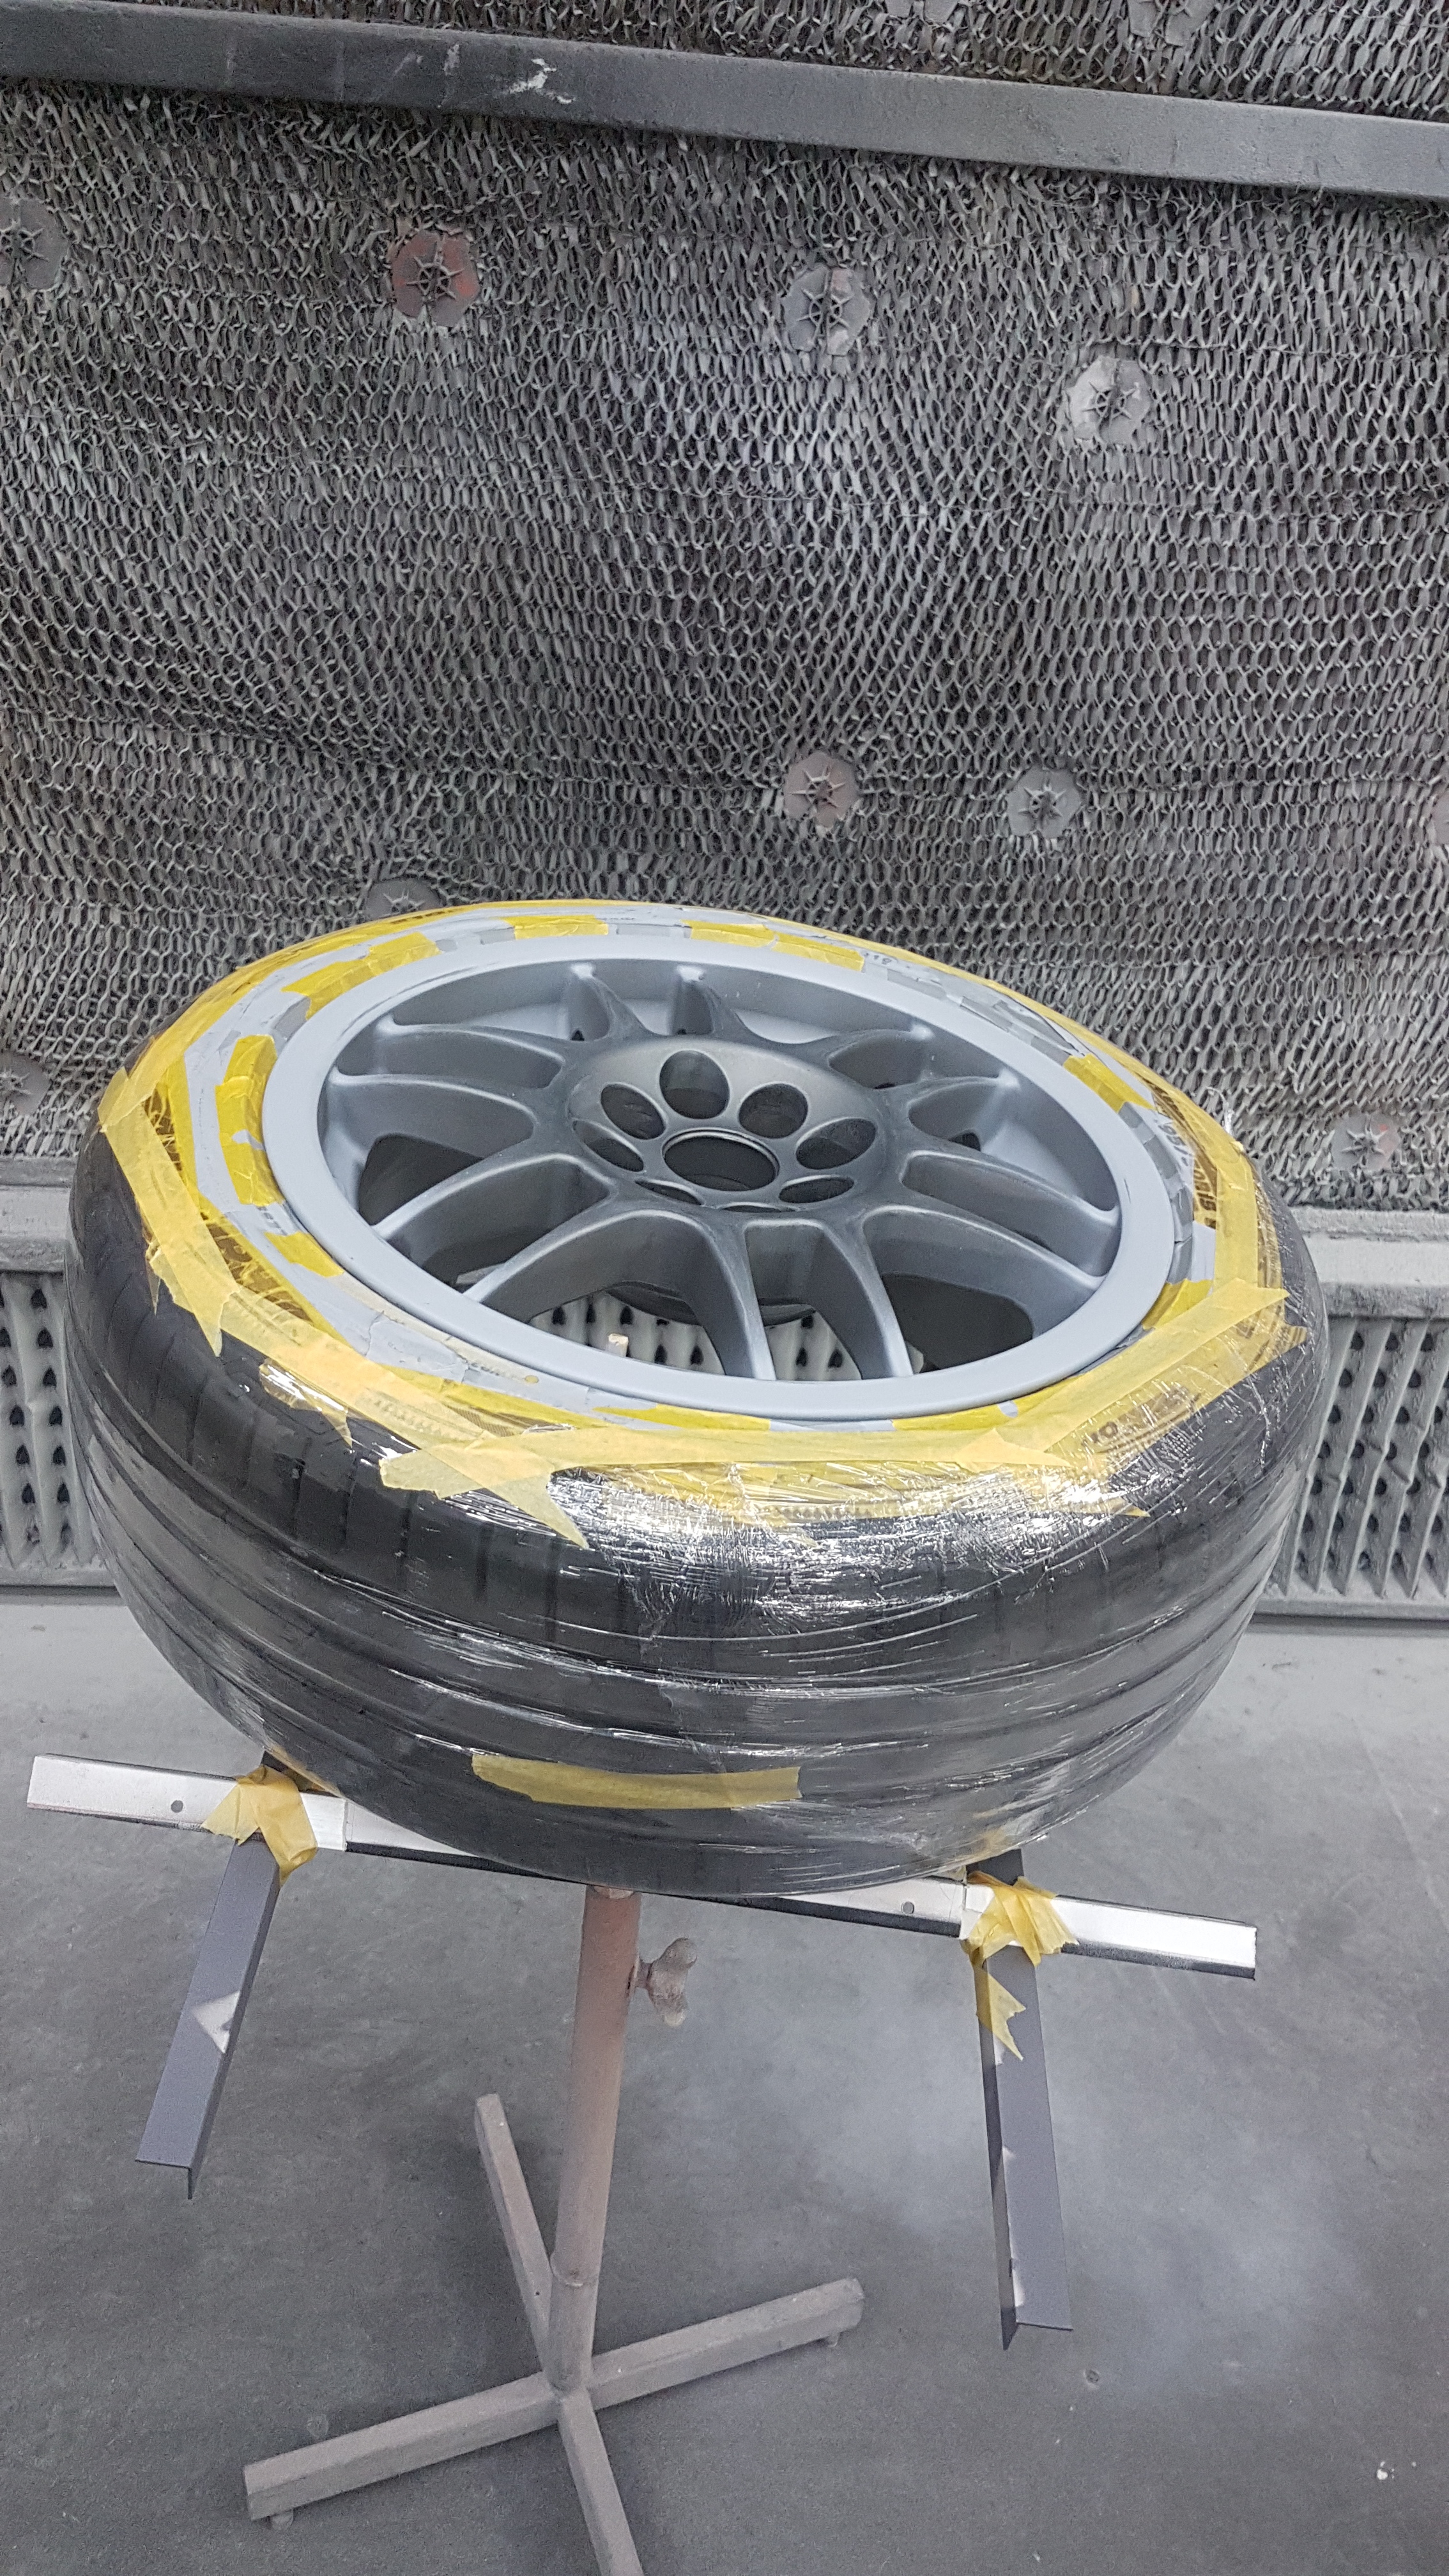
I wanted to give the rims a grey color that was just a little bit brighter than they were. So i chose for matte RAL9007
In the painting booth I was afraid that the colour was going to turn out bronze, but when I took them outside they looked absolutely amazing.
Nice job. Curb rash is a pet hate of mine, and you have a good point not taking the tyres off to save scratching them putting them on 
Thanks, it took some time but they are finally done.
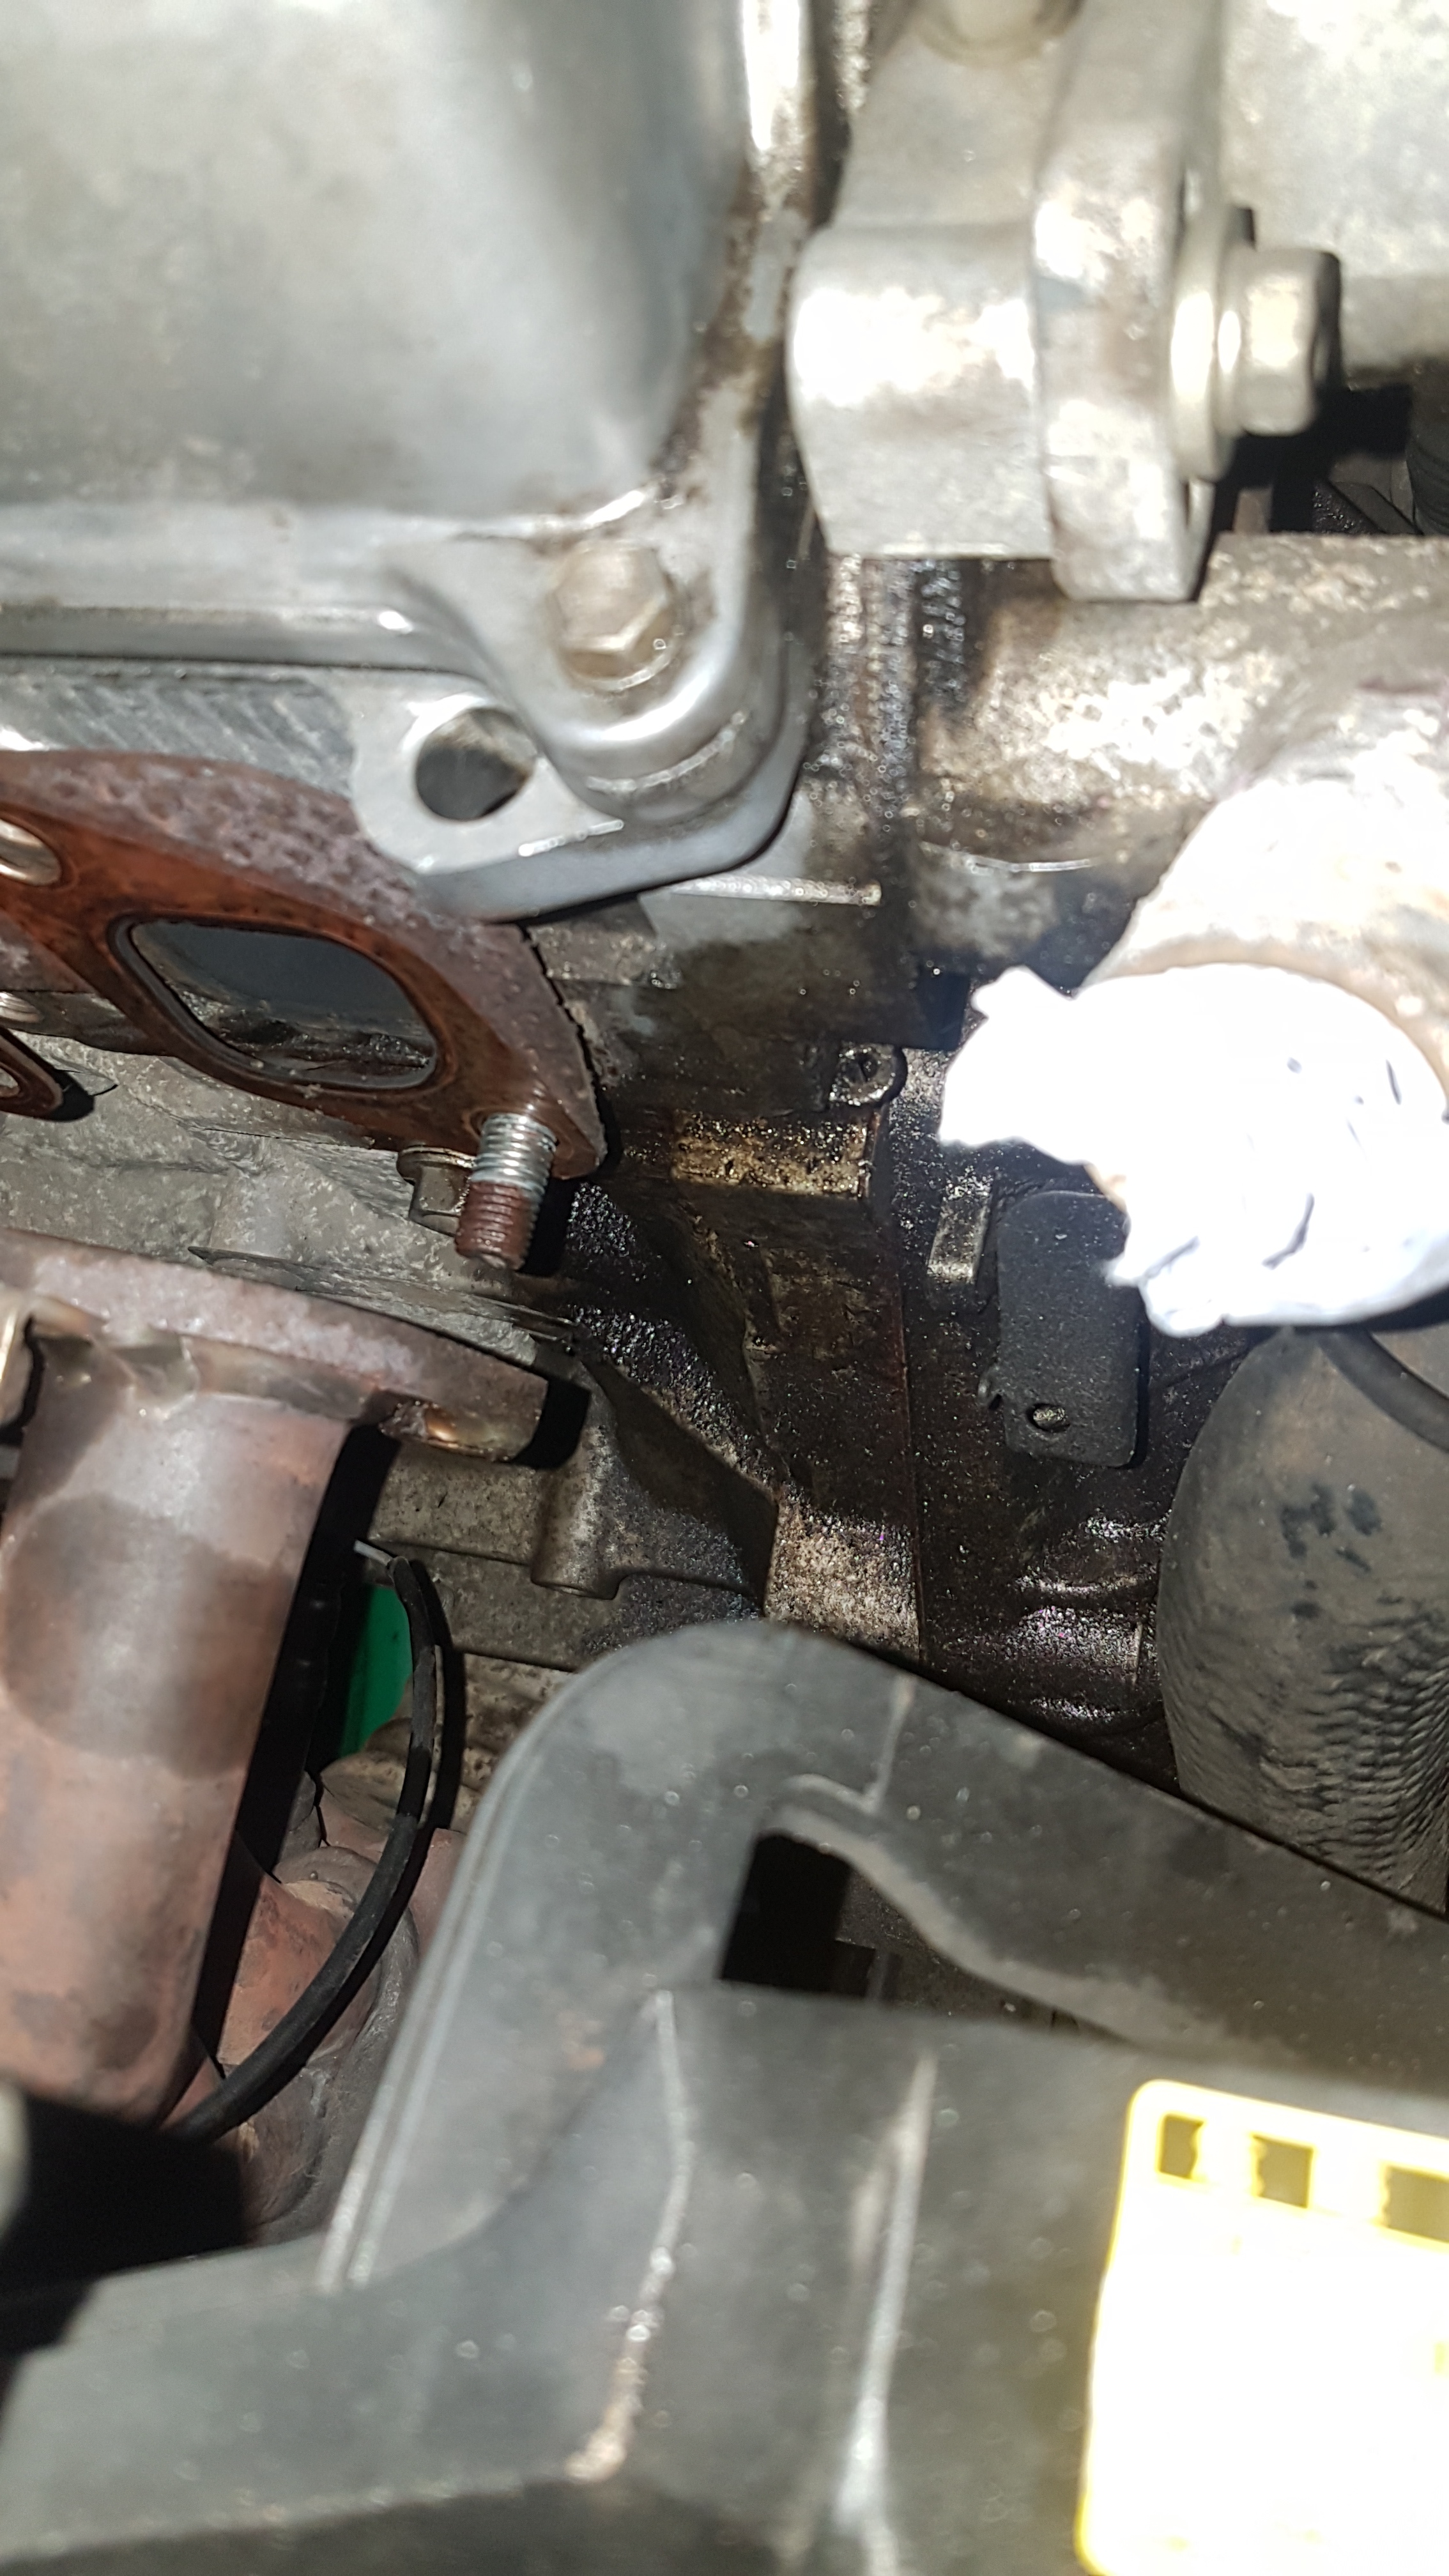
Well since I had always had an oil leak at the front of the cilinderhead, I finally gathered the knowledge to do a headgasket job al by myself.
My G201 also has power steering so i even had more stuff in my way, which took more time than i thought.
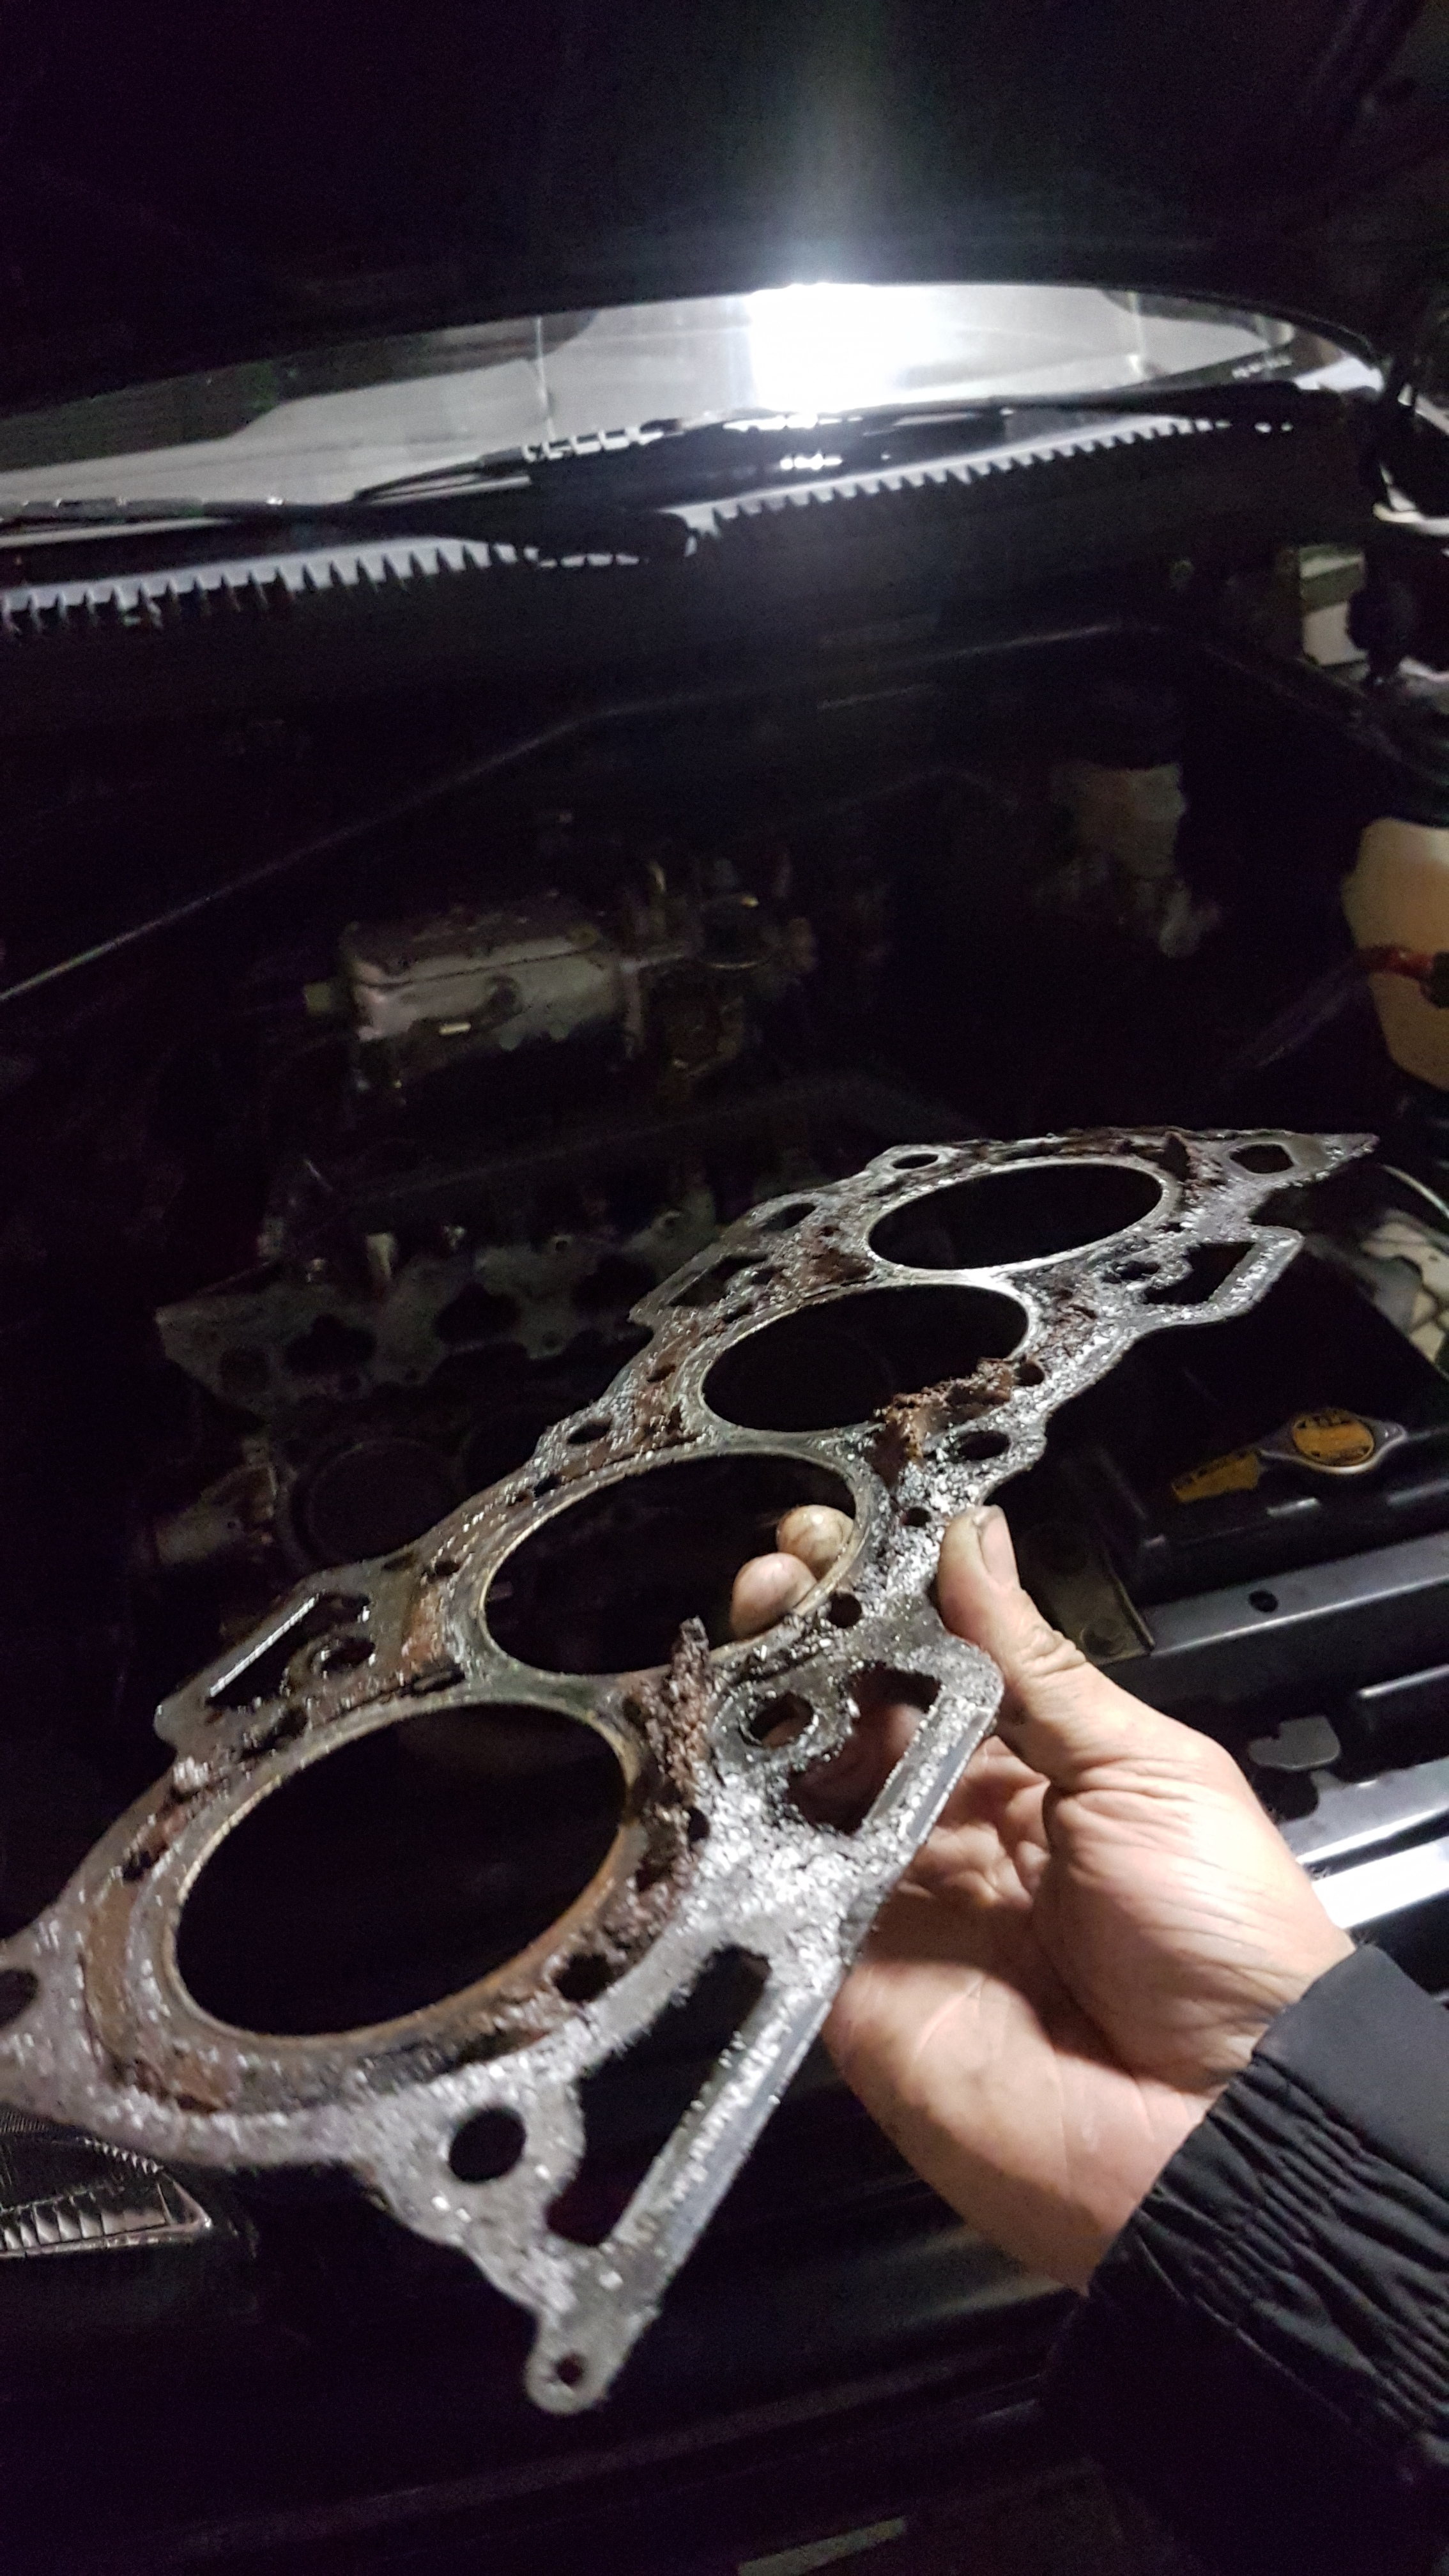
The further breakdown of the engine went pretty smooth. Except the intake manifold was a pain in the ass because of some bolts underneath it. When I reached the headgasket it became clear that it was falling apart. the previous owner told he used some “bars leaks”, yeah, you wouldn’t say so  . This shit was al over the place.
After some scraping and cleaning the head turned out to be straight (I couldn’t get 0.1mm underneath it so is was fine according to the HD engine manual)
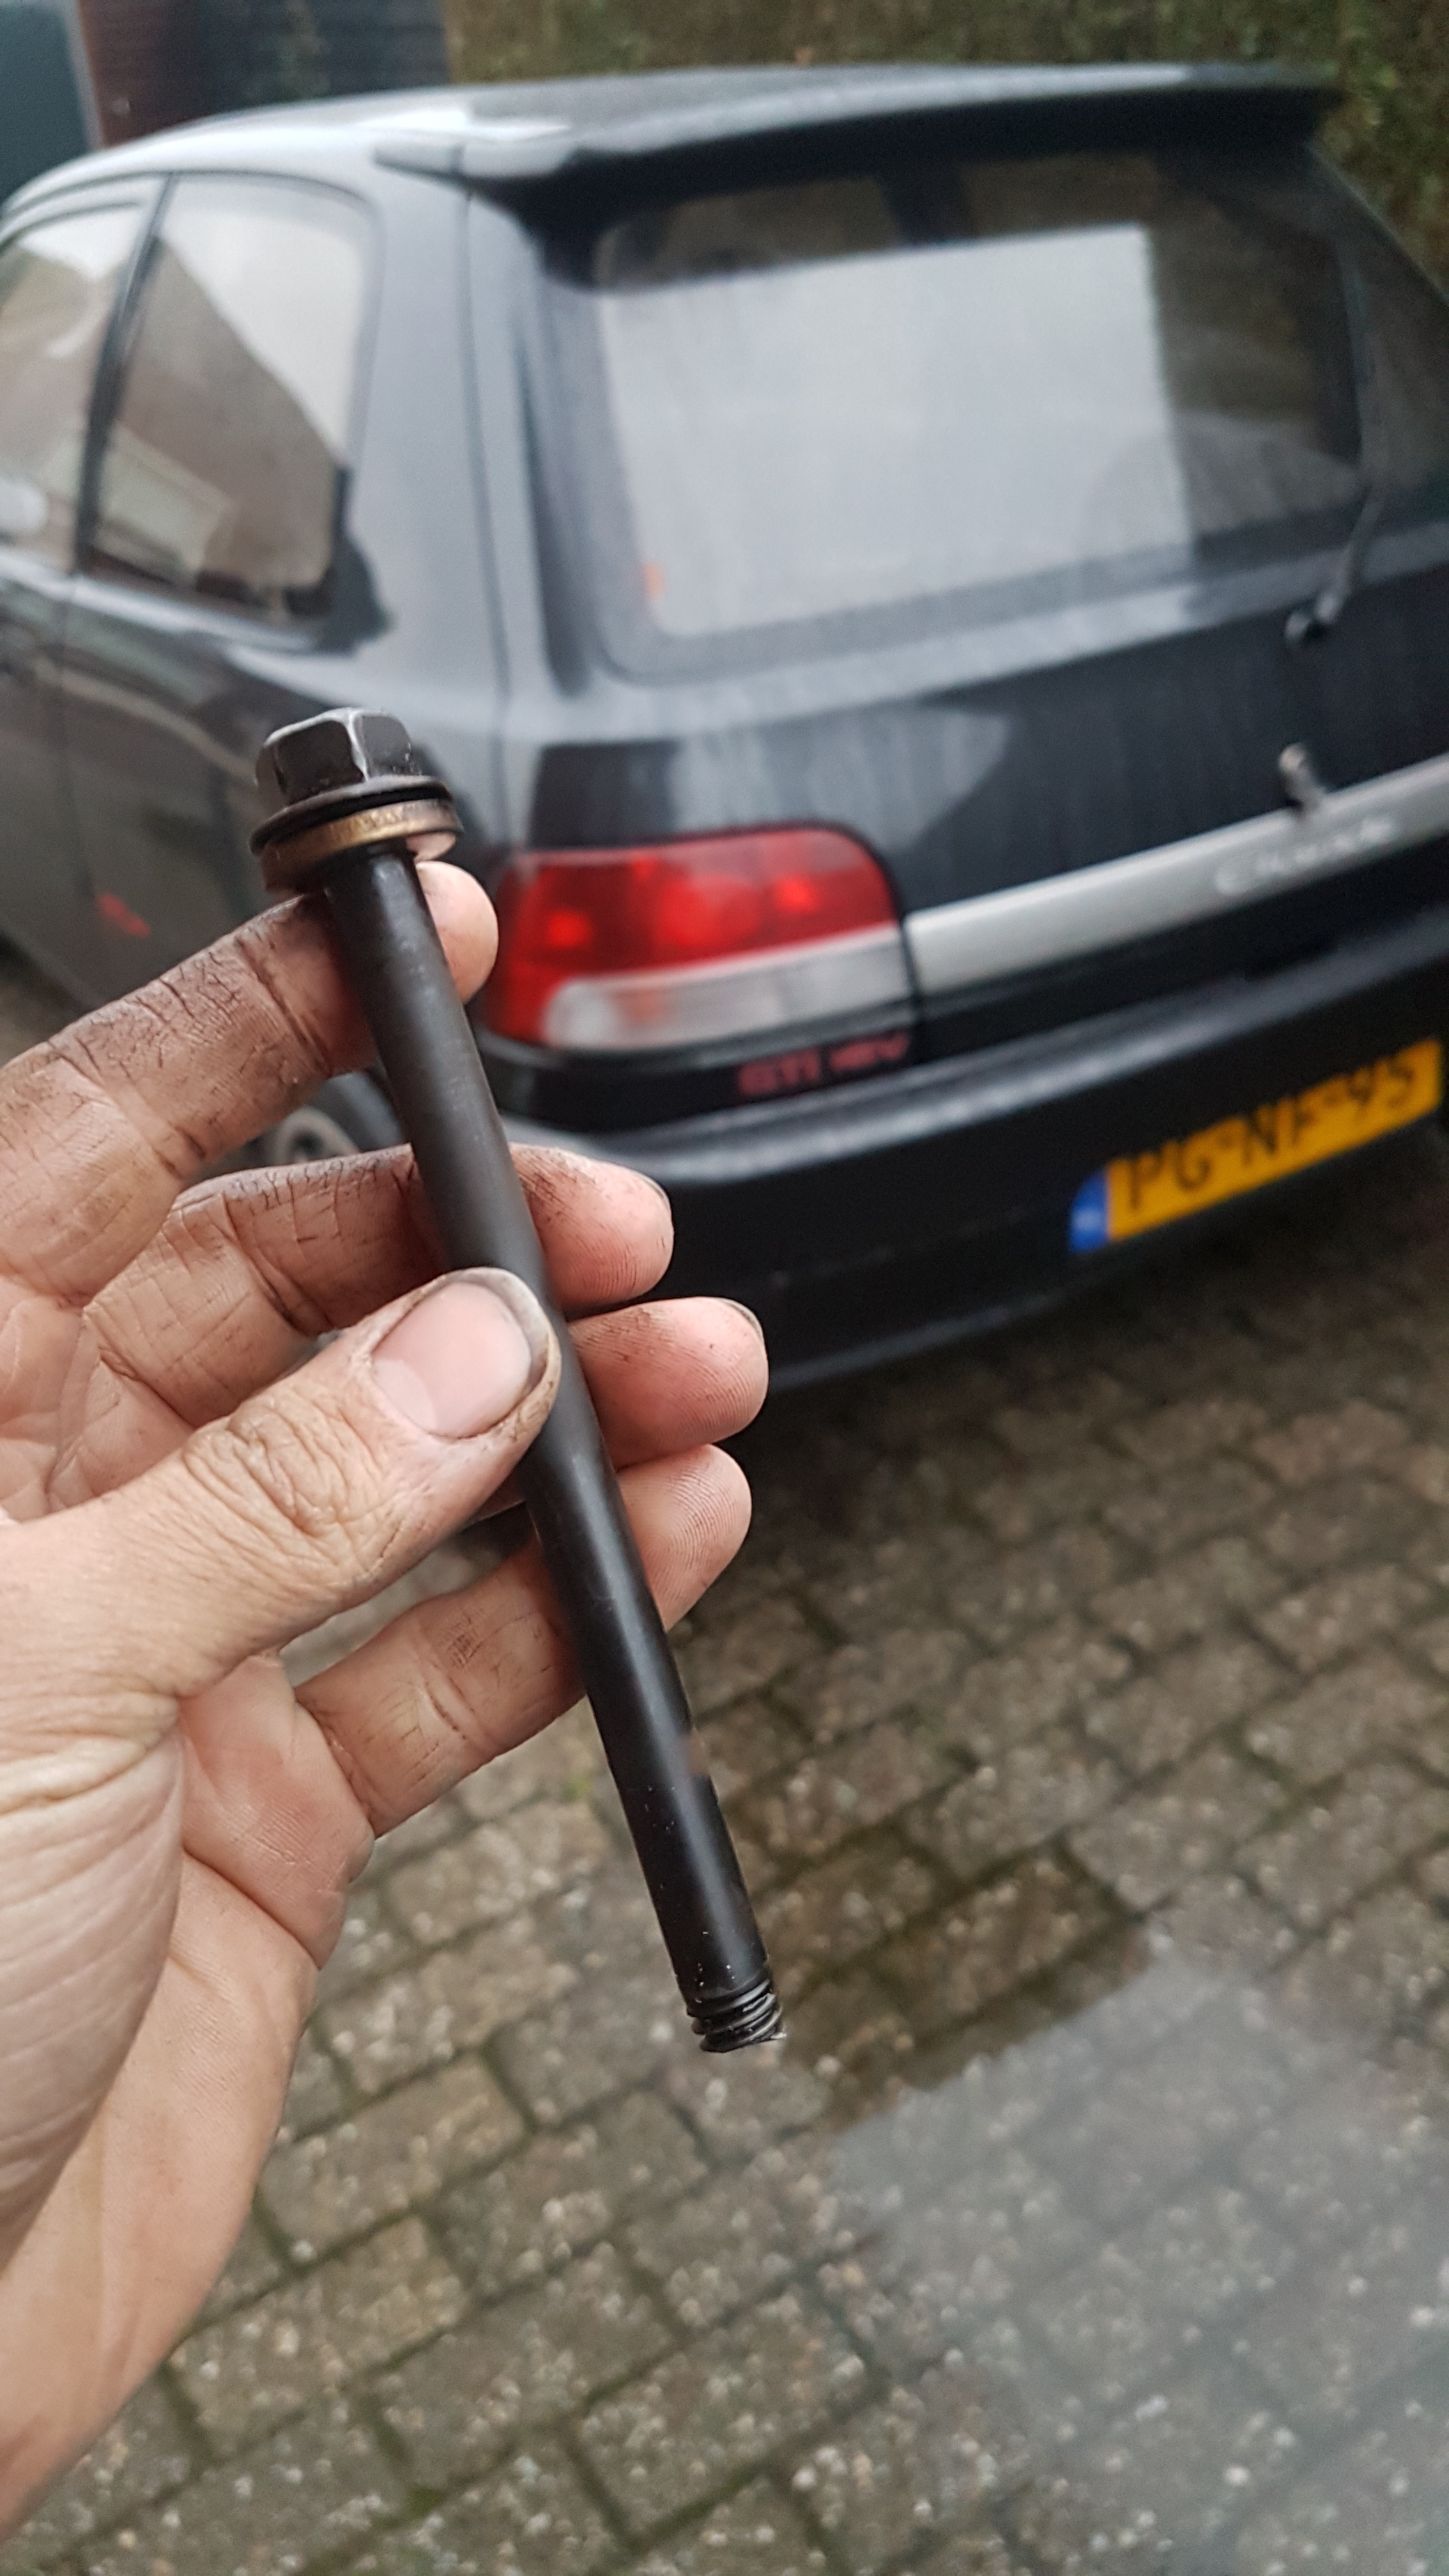
Putting everything back together went smooth, new waterpump, thermostat, timingbelt, and some other stuff. Untill disaster strikes… Cilinderheadbolts, torqing them down in 3 steps in the manuals patern. Nm accoring to the manual. But at the last step not the torque wrench said snap, but one bolt did tho…
I had to go to Japfest (Japanese car festival) so it had to run. So I did, whith 1 bolt less he made it( Thats 320km). No oil leaks, no coolant leaks, no smoking, nothing.
But after al, the sad story is… It has to come apart, again…
Oh man that is heart breaking.
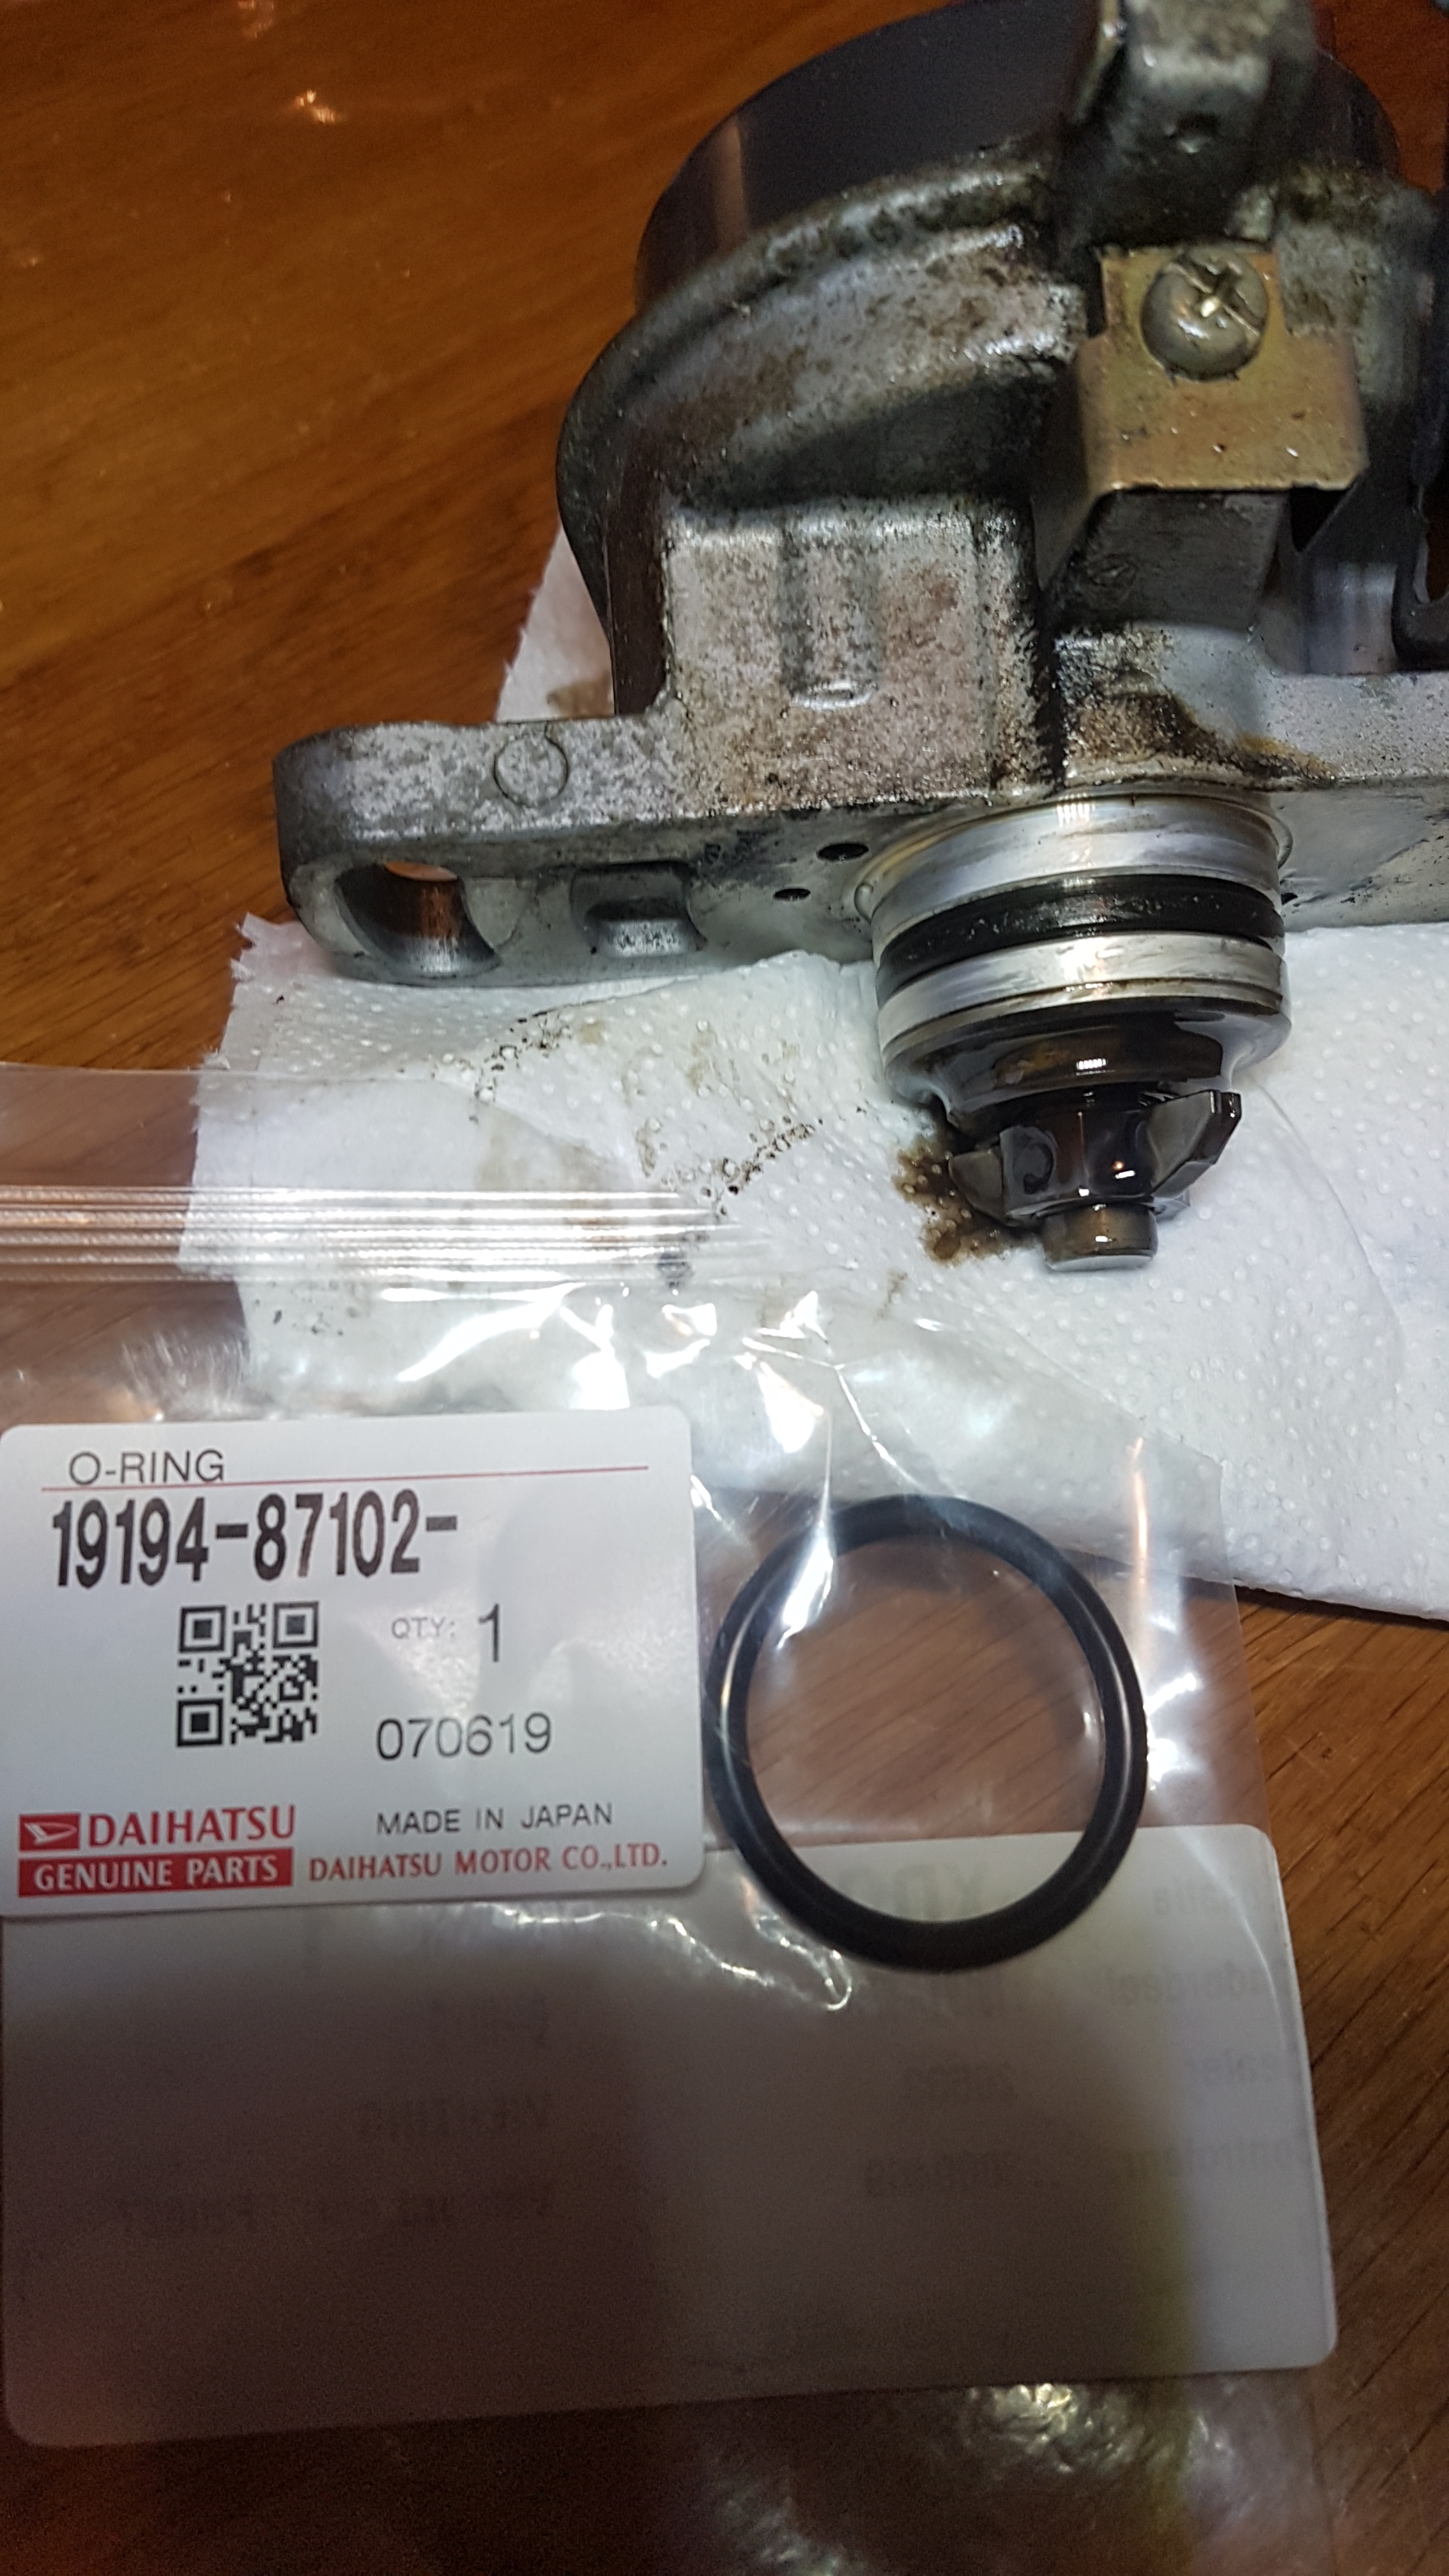
A couple months passed by, done a couple maintenance things. New oem fuel filter,
and replaced a dried out o-ring behind the distributor rotor.Last year Yellowspeed had some black friday sale so i couldn’t resist buying something that will be bolted on in the spring…
Going well but slowly  know the feeling. Hate it when life gets in the way but at the moment, seem to have plenty of time to work on it which is one good thing about it
Yeah, I’m working as a truck/van mechanic so work keeps on going over here. Installed the Yellowspeed coils at the rear last weekend, plans are to install them in the front this weekend
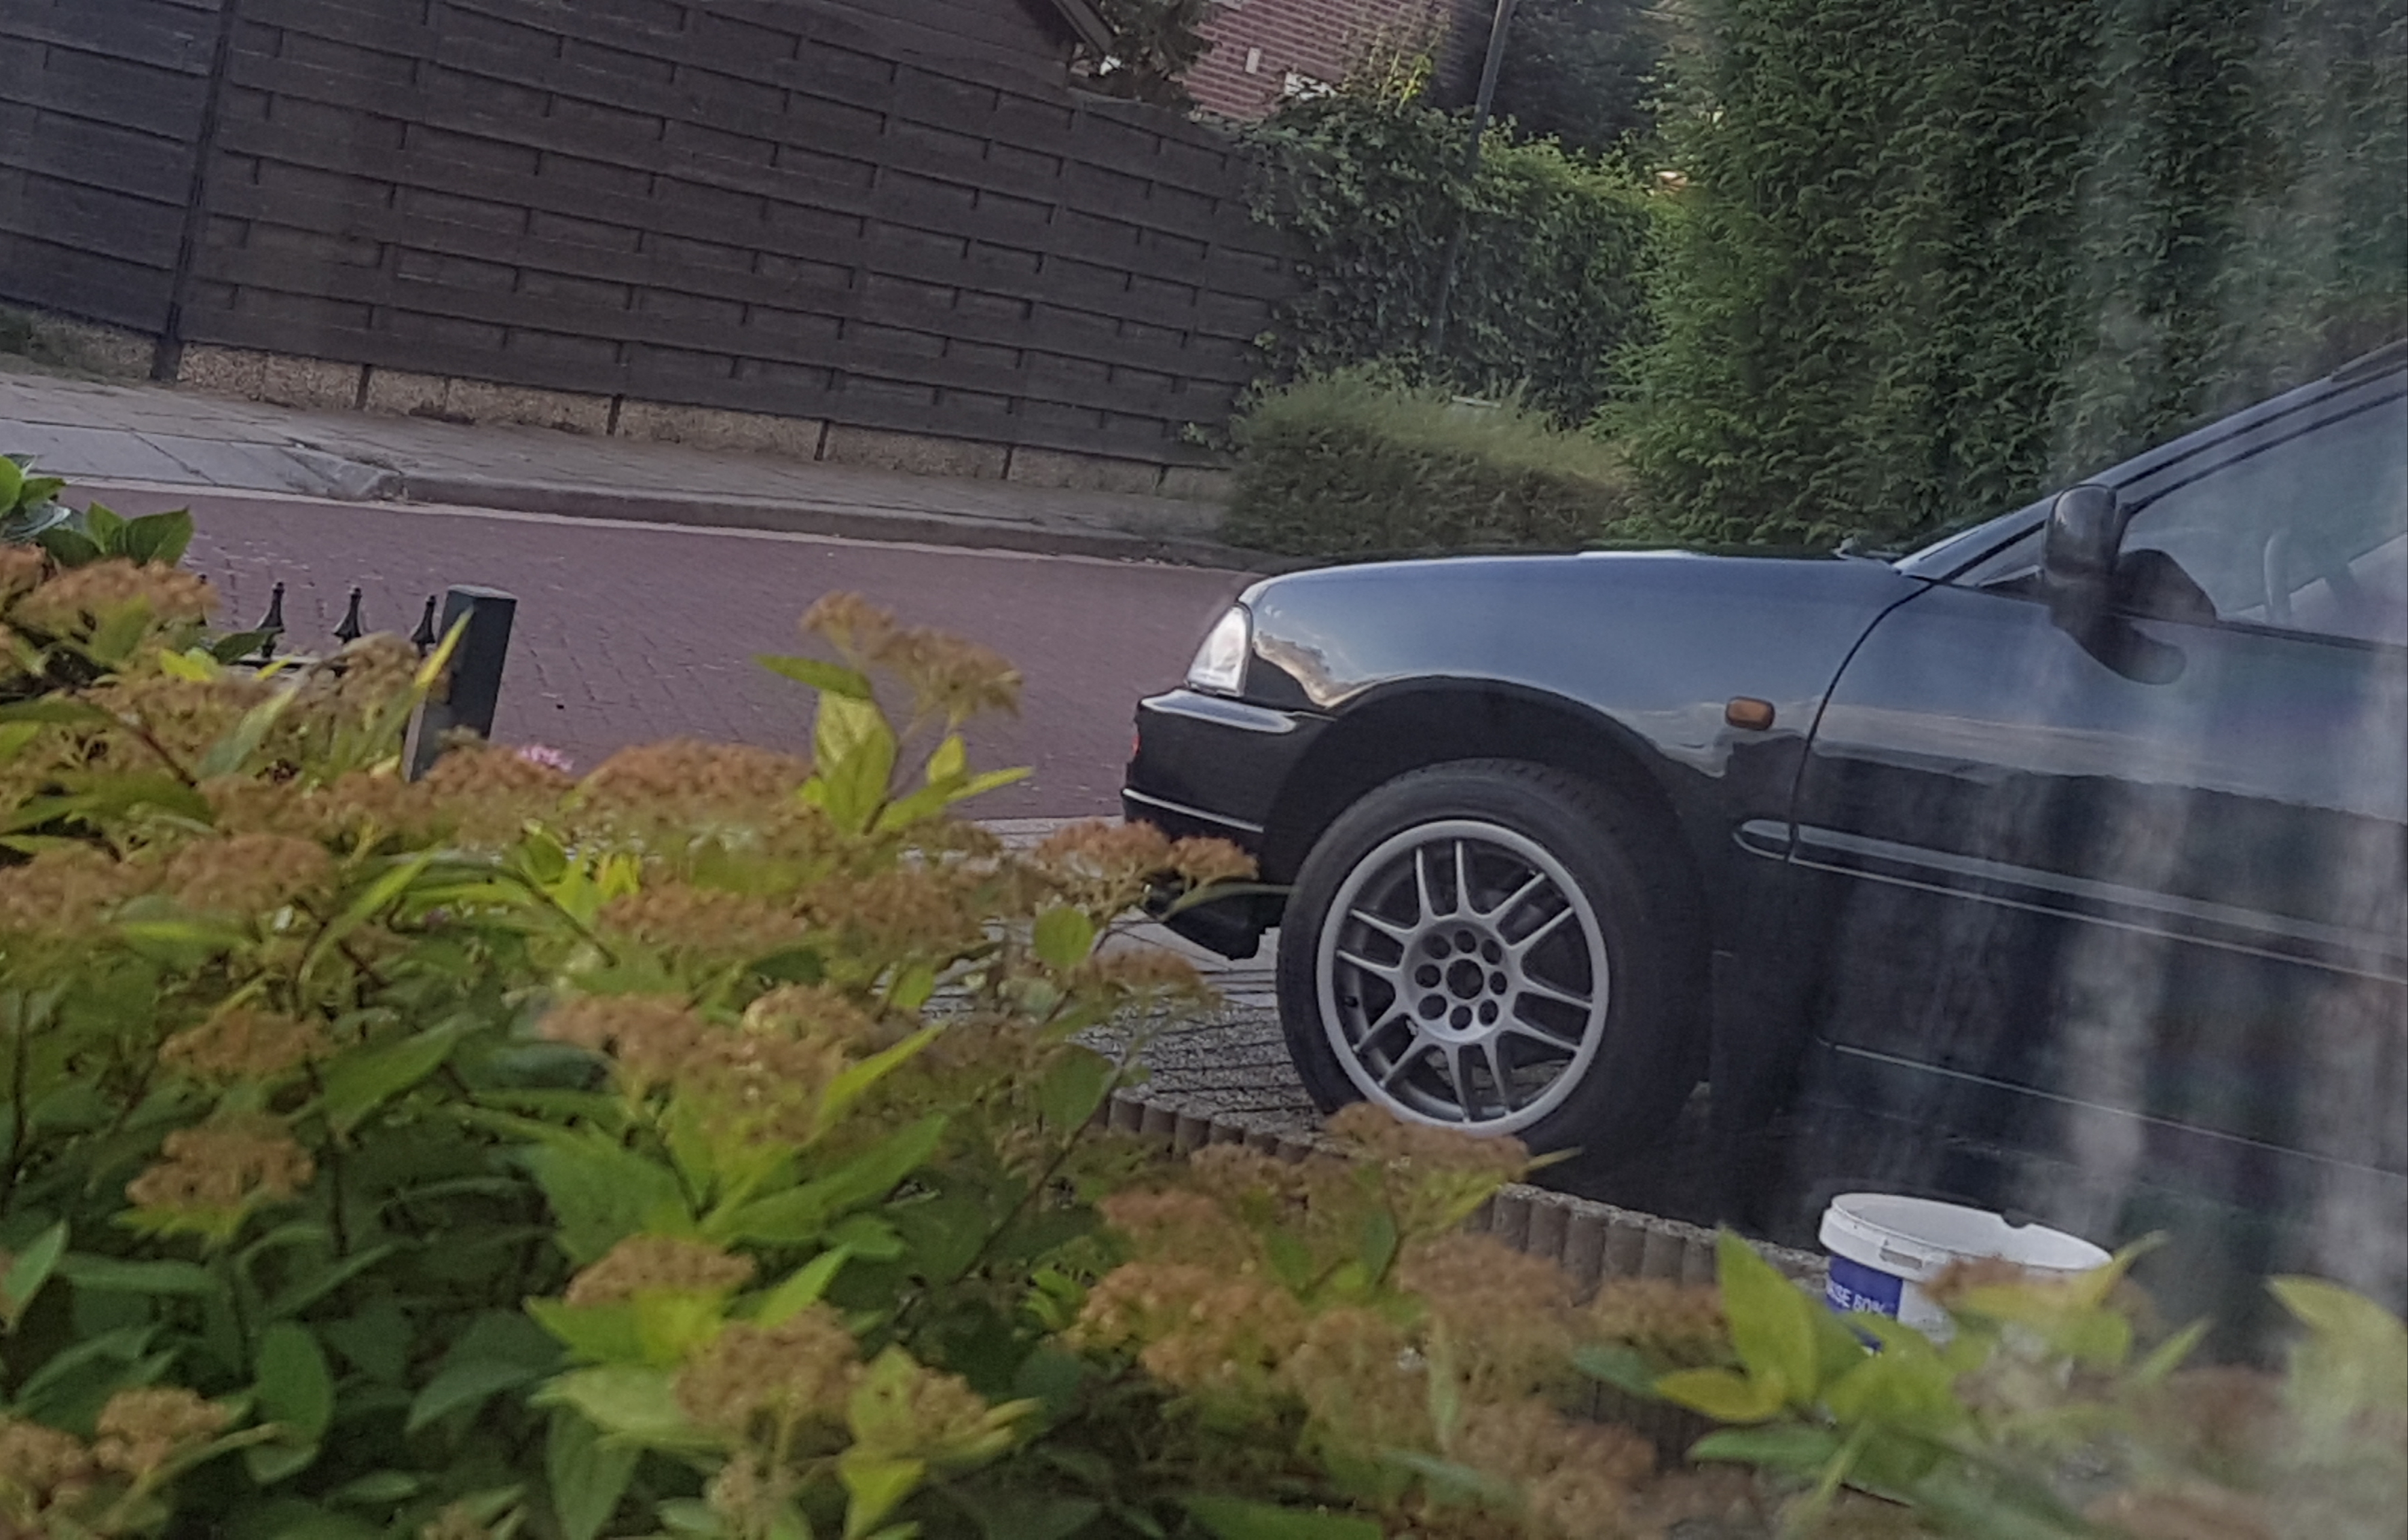
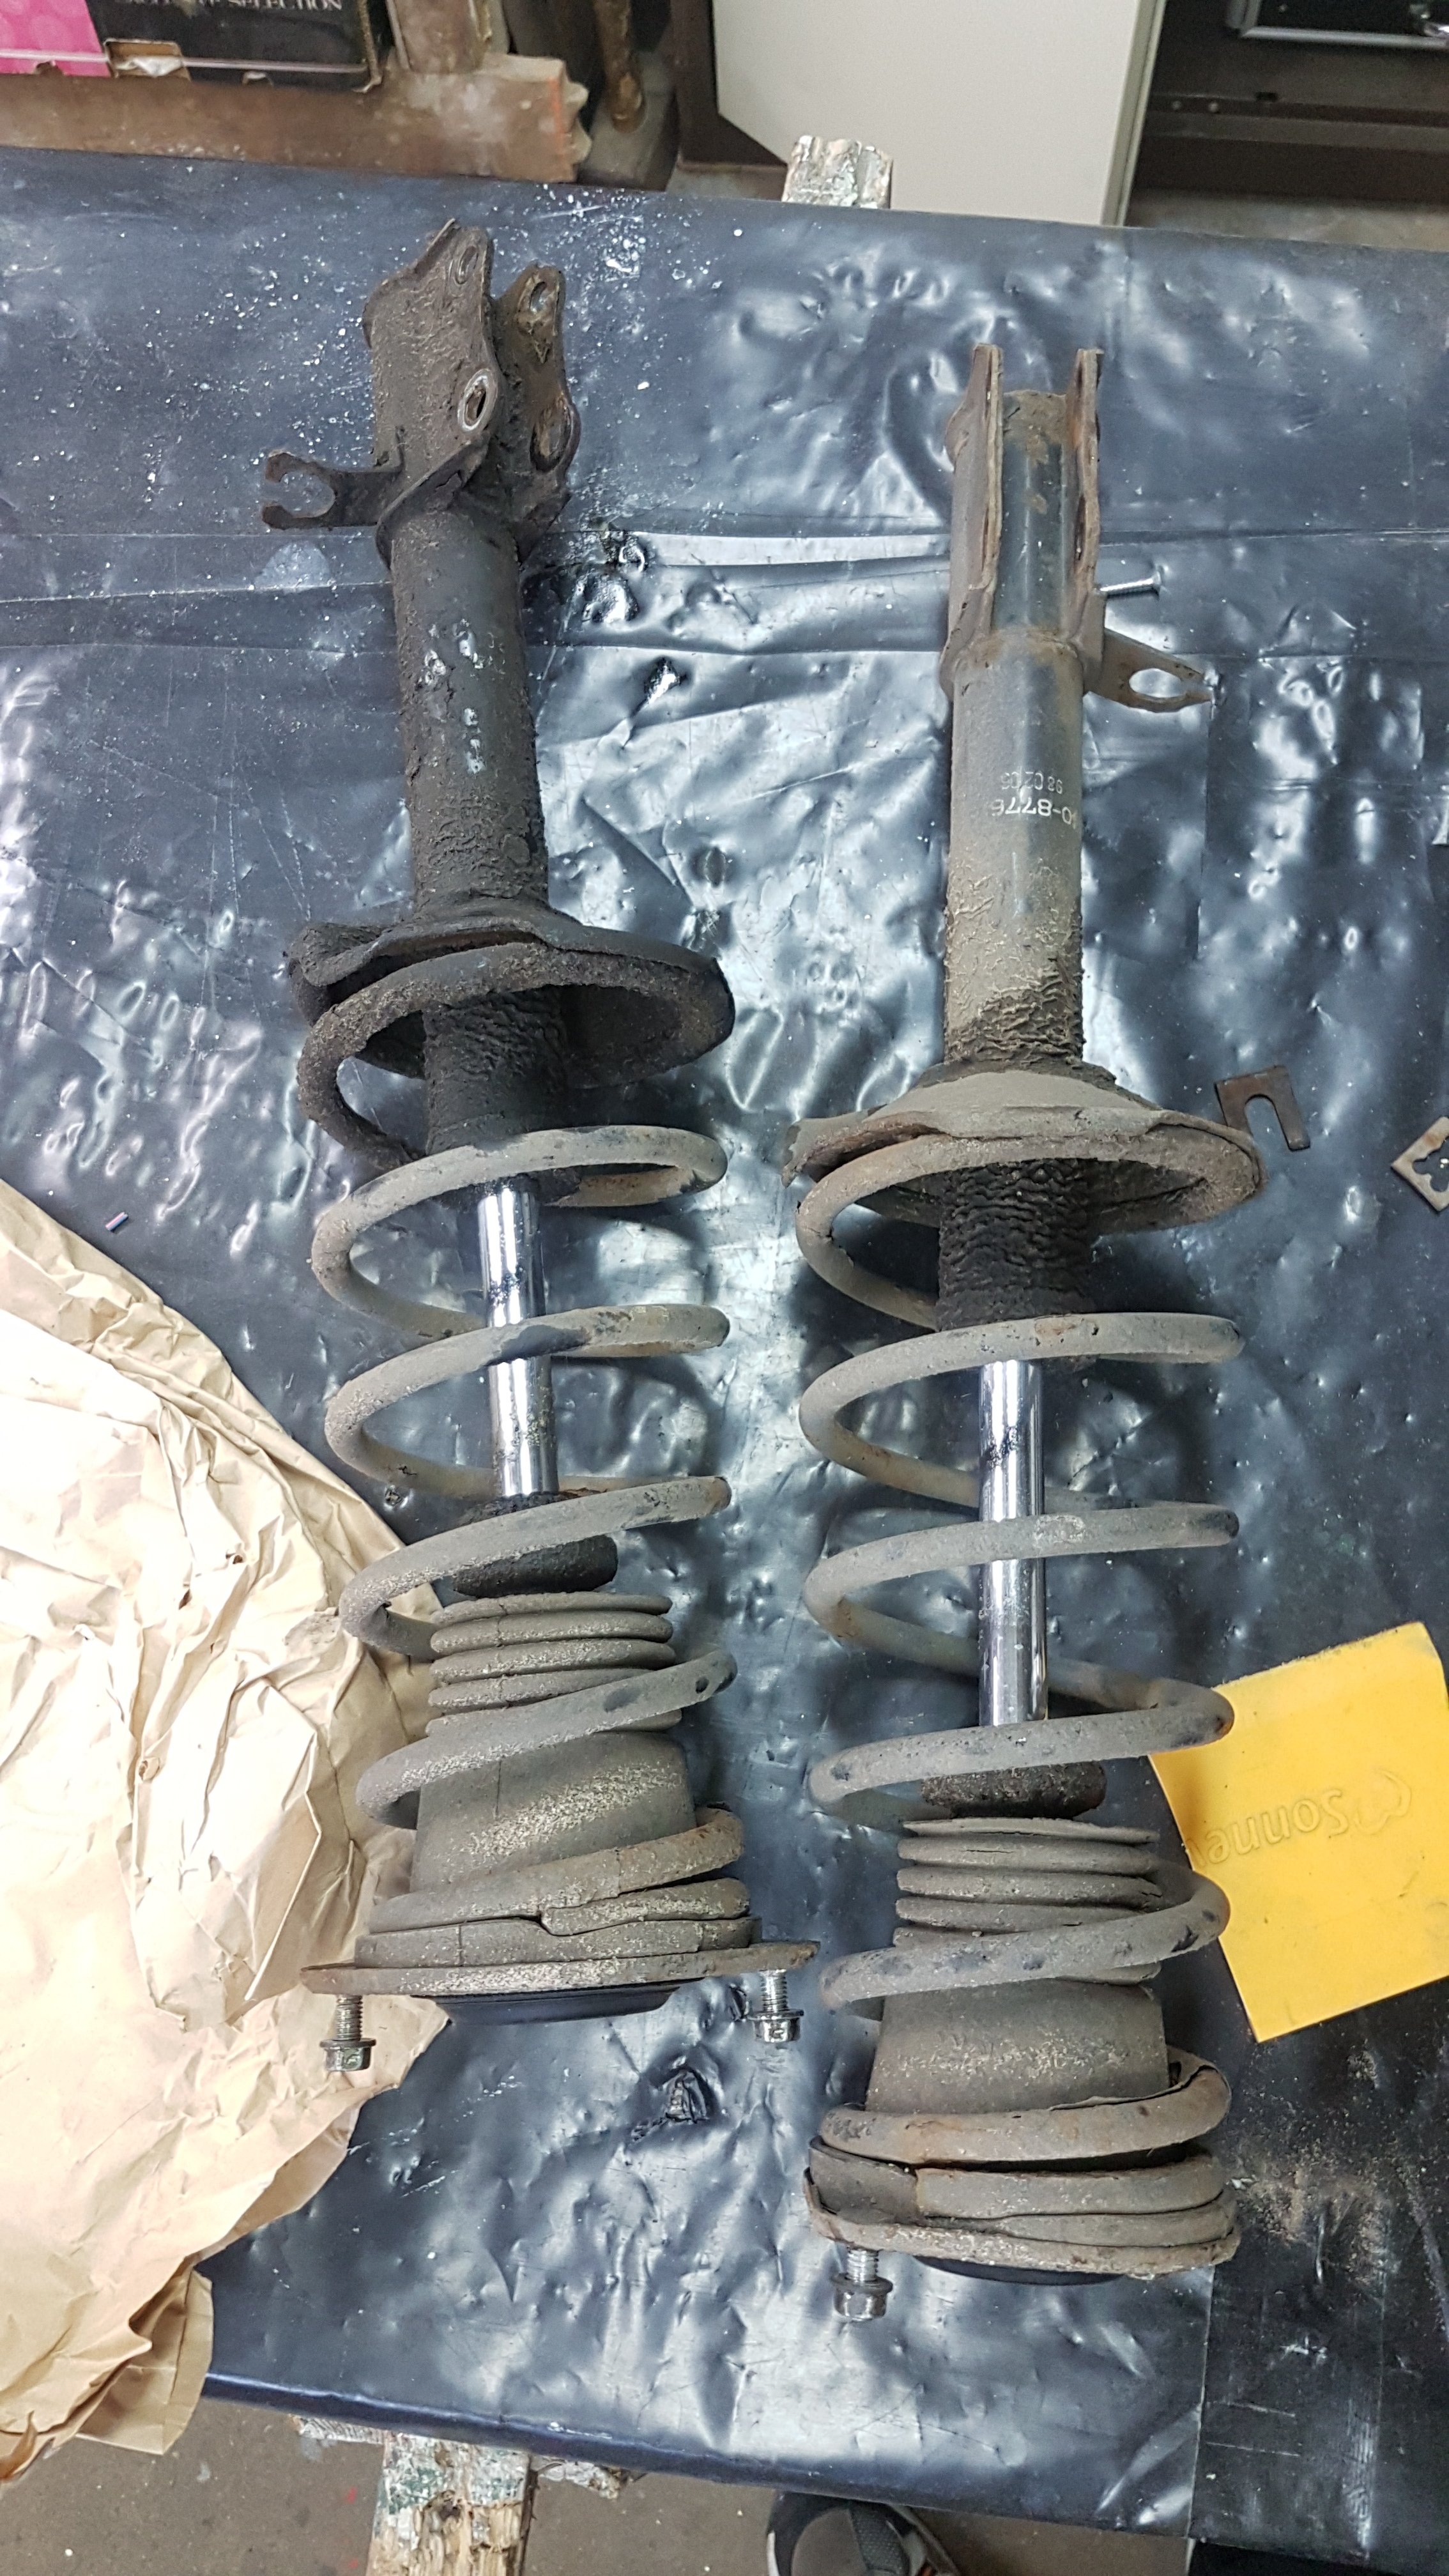
So, we installed the Yellowspeed racing dynamic sport pro coilovers. I ordered them november last year because my rear shock absorbers were leaking and and upgrade is always nice.
The 2 leaky ones from the rear, the oil was even dripping out when they sat for a couple hours.
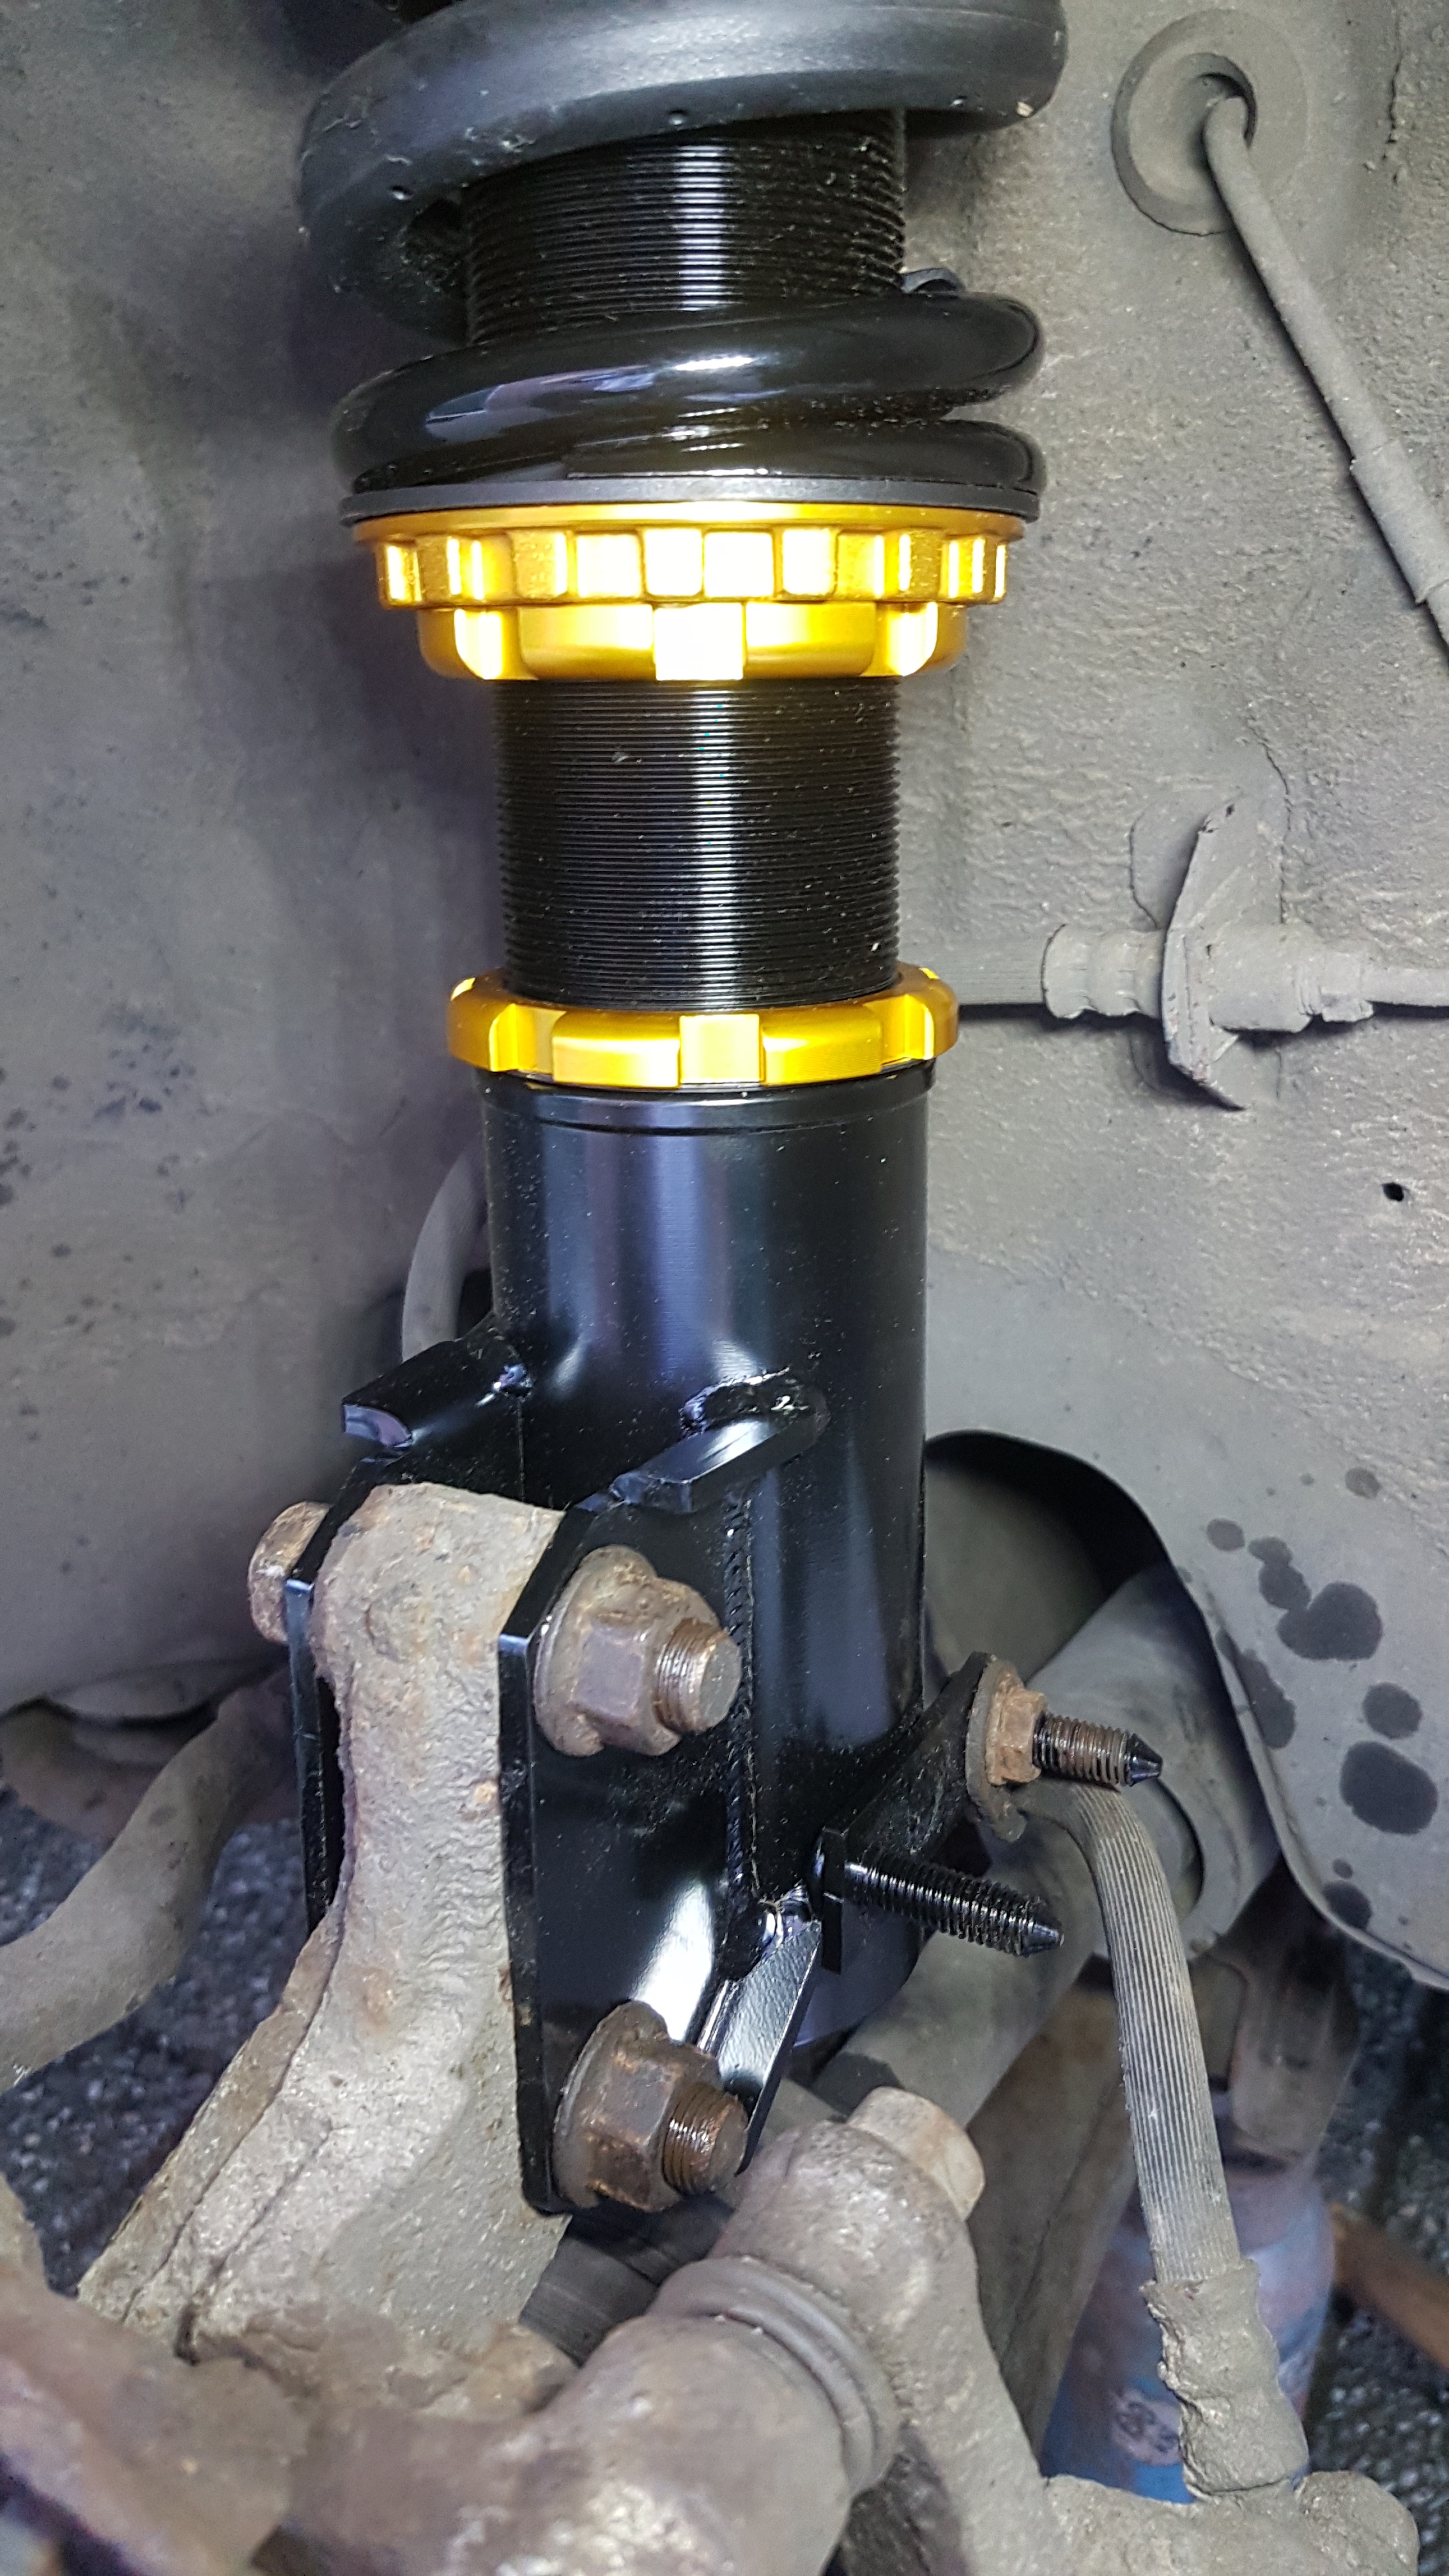
Installing was actually very easy and straight forward, bolts holes lined up and they even thought about the brake line brackets 
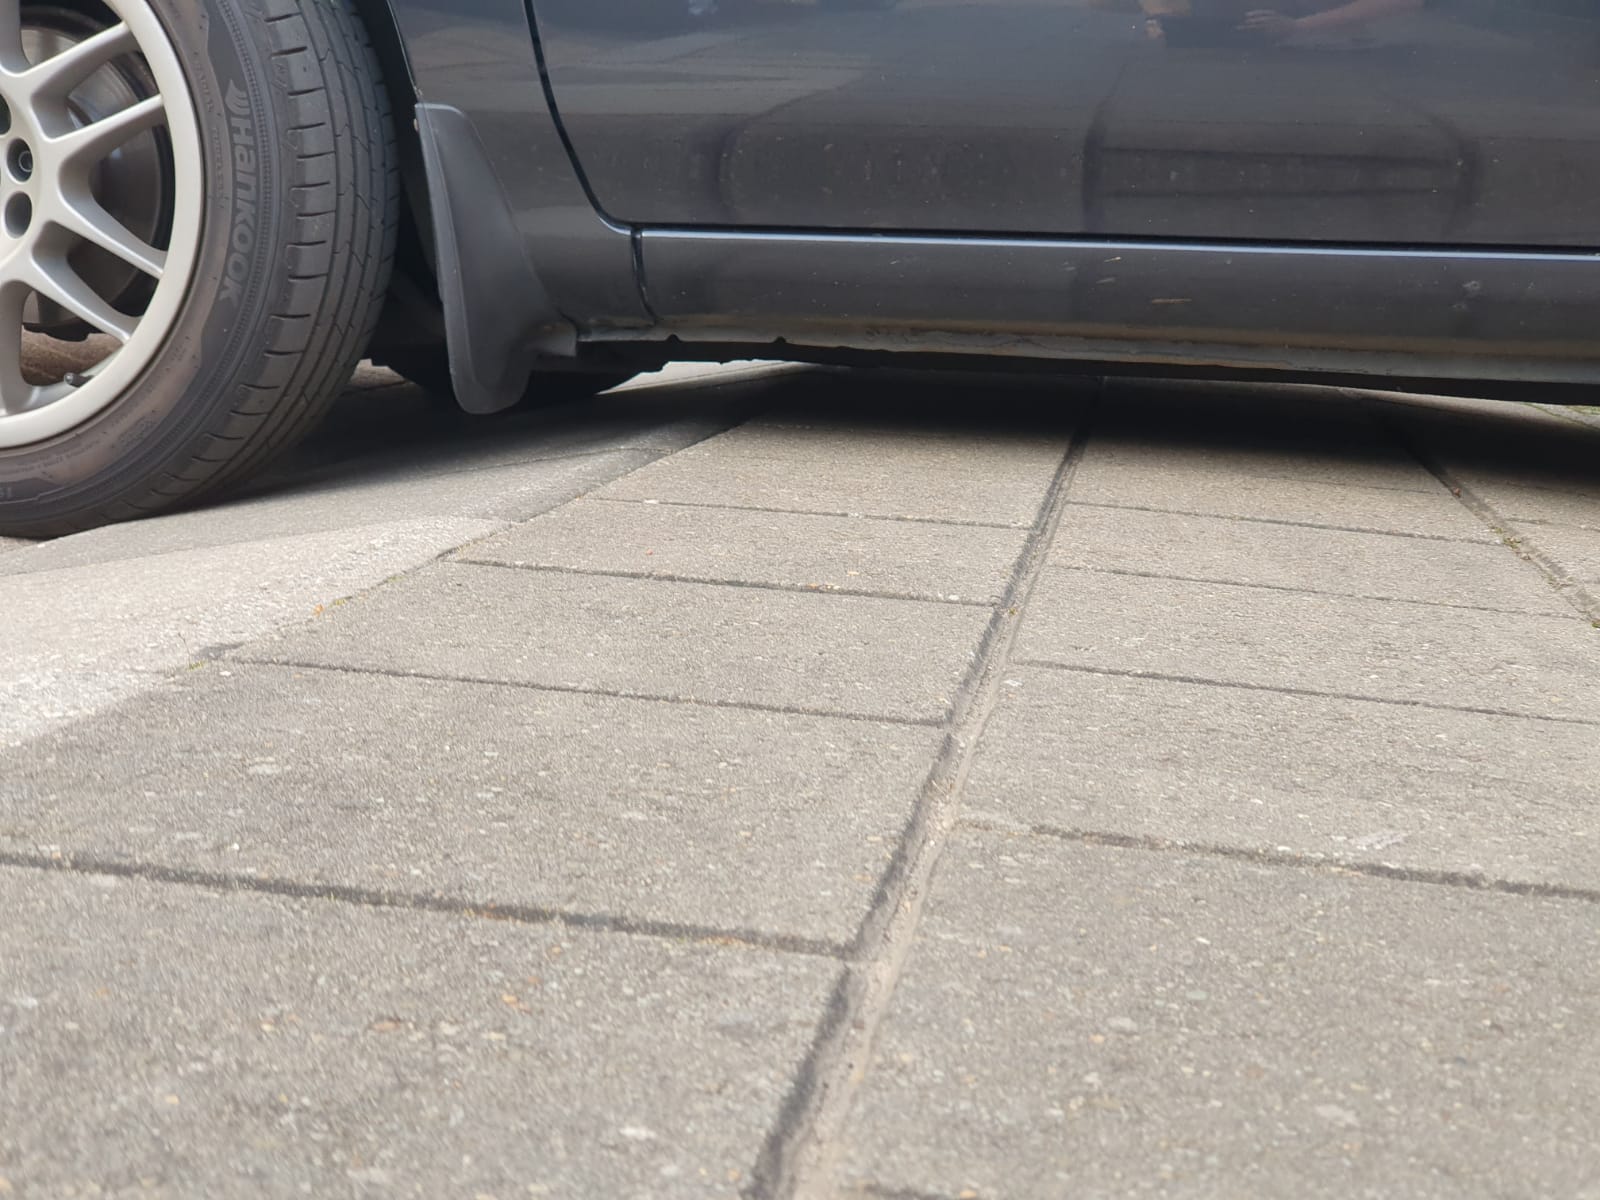
And this is what it looks like for know:
Front dropped about 5cm and the rear about 3cm, and yes the front is a bit higher but other wise i can’t get up my driveway cause i’m scraping the frame rail 
How do they feel, Are you happy with them?
Well I was used to 2 leaky shock absorbers, the Yellowspeeds have 33 clicks to set the shocks to your prefered stiffness. So started in the middle, but damn that was a big difference… So I set them back to the softest setting ( It’s pretty much my daily). Only drove 10km on them yet but I have the idea that they are getting better every km. So yeah i thinks it’s worth the money they’re asking. 
The softer they are the more bouncy they’ll become.
Sometimes stiff is not a good thing , need it a little softer to get some cornering grip
Nice job there